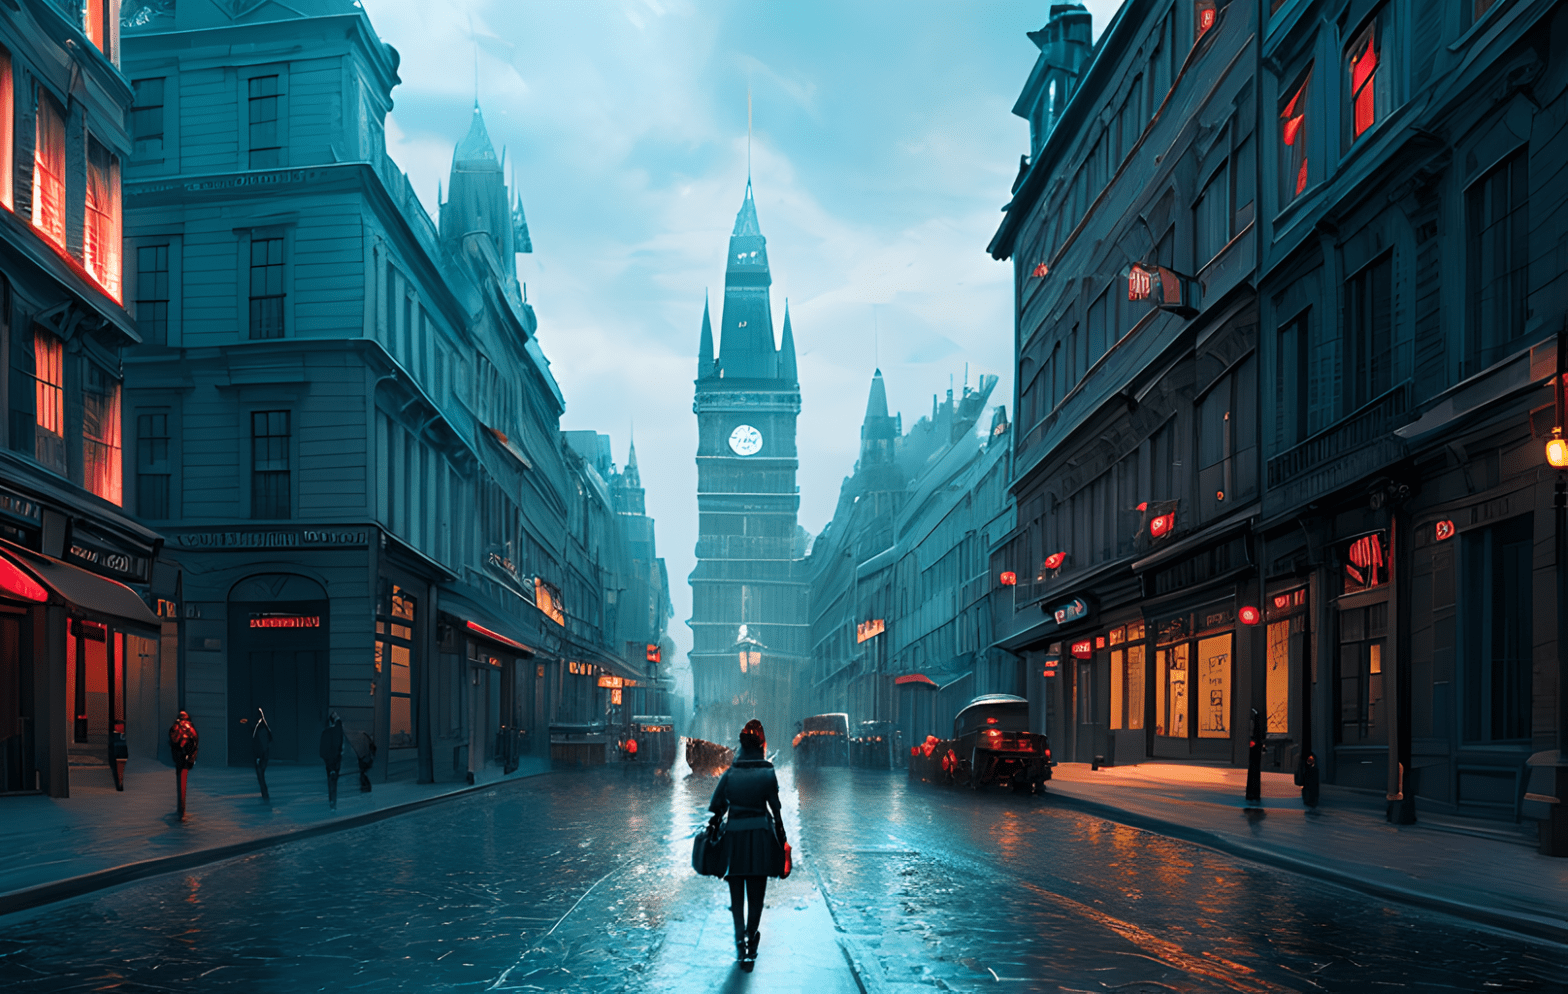
Want to learn Stable Diffusion AI? This beginner’s guide is for newbies with zero experience with Stable Diffusion, Flux, or other AI image generators. It will give you an overview of Stable Diffusion/Flux AI and where to start.
This is the first part of the beginner’s guide series.
Read part 2: Prompt building.
Read part 3: Inpainting.
Read part 4: Models.
Table of Contents
- What is Stable Diffusion?
- How to use Stable Diffusion?
- What’s the advantage of Stable Diffusion?
- Is Stable Diffusion AI Free?
- I’m in! How do you start using Stable Diffusion and Flux AI?
- What Can Stable Diffusion Do?
- How to build a good prompt?
- Rules of thumb for building good prompts
- What are those parameters, and should I change them?
- How many images should I generate?
- Common ways to fix defects in images
- What are custom models?
- Negative prompts
- How to make large prints with Stable Diffusion?
- How to control image composition?
- Generating specific subjects
- What is unstable diffusion?
- Next Step
What is Stable Diffusion?
Stable Diffusion AI is a latent diffusion model for generating AI images. The images can be photorealistic, like those captured by a camera, or artistic, as if produced by a professional artist.
The best part is that it is free. You can run it on your PC, or you can use it online for a fee.
I will talk about the options for using Stable Diffusion and Flux in the later part of this article. But if you can’t wait, grab the Quick Start Guide and dive right into it.
How to use Stable Diffusion?
All you need is a prompt that describes an image. For example:
gingerbread house, diorama, in focus, white background, toast , crunch cereal
Stable Diffusion turns this prompt into images like the ones below.
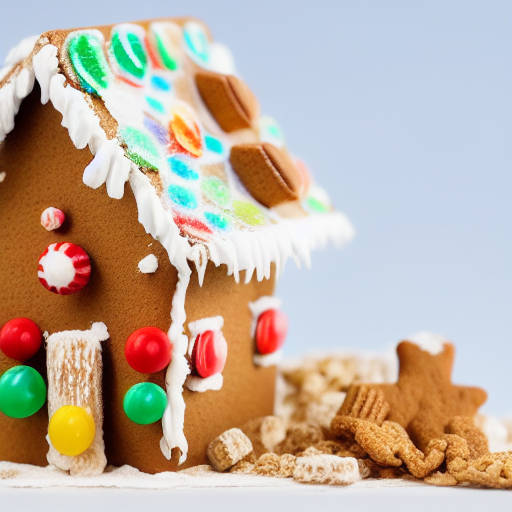
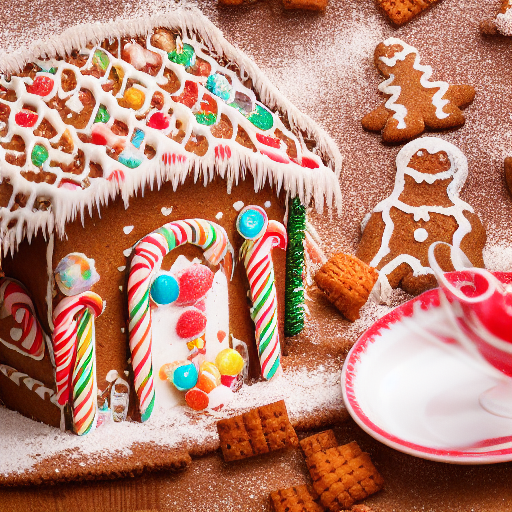
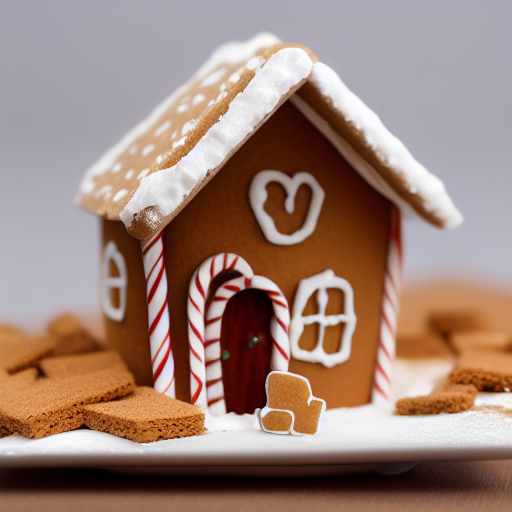
You can generate as many variations as you want from the same prompt.
What’s the advantage of Stable Diffusion?
There are similar text-to-image generation services like OpenAI’s DALLE and MidJourney. Why Stable Diffusion? The advantages of Stable Diffusion AI are
- Open-source: Many enthusiasts have created free tools and models.
- Designed for low-power computers: It’s free or cheap to run.
Is Stable Diffusion AI Free?
Stable Diffusion is free to use when running on your own Windows or Mac machines. An online service will cost you a modest fee.
I’m in! How do you start using Stable Diffusion and Flux AI?
There are many ways to use Stable Diffusion and Flux AI models. You need to decide:
- Run on your PC or use an online service?
- Which GUI do you want to use?
Online generators
For absolute beginners, I recommend using a free online generator. You can start generating without the hassle of setting things up.
Generate a few images and see if AI image is your thing.
Run on your PC
The best PC option is running Windows with an Nvidia GPU card. Most AI models are optimized for Nvidia GPUs. AMD GPUs are starting to get traction, but expect to jump through hoops to use them. The more VRAM your GPU has, the less trouble you will need to
You need an Apple Silicon (M1/M2/M3/M4) to run on a Mac.
Advanced GUI
The downside of free online generators is that the functionalities are pretty limited.
Use an advanced GUI (Graphical User Interface) if you’ve outgrown them. A whole array of tools are at your disposal. To name a few:
- Advanced prompting techniques.
- Regenerate a small part of an image with Inpainting.
- Generate images based on an input image (Image-to-image)
- Edit an image by giving an instruction.
- Control the composition with a reference image (ControlNet)
The most popular GUIs are:
- AUTOMATIC1111 – Easy to use, but development is lagging. Support Stable Diffusion only.
- Forge – Derived from A1111. Support Stable Diffusion and Flux AI. Fast, but some A1111 extensions do not work.
- ComfyUI – Steep learning curve. Support both Stable Diffusion and Flux.
See the Quick Start Guide for setting them up locally or on Google Colab.
What Can Stable Diffusion Do?
1. Generate images from text
The most basic usage of Stable Diffusion is text-to-image (txt2img). Here are some examples of images you can generate with Stable Diffusion.
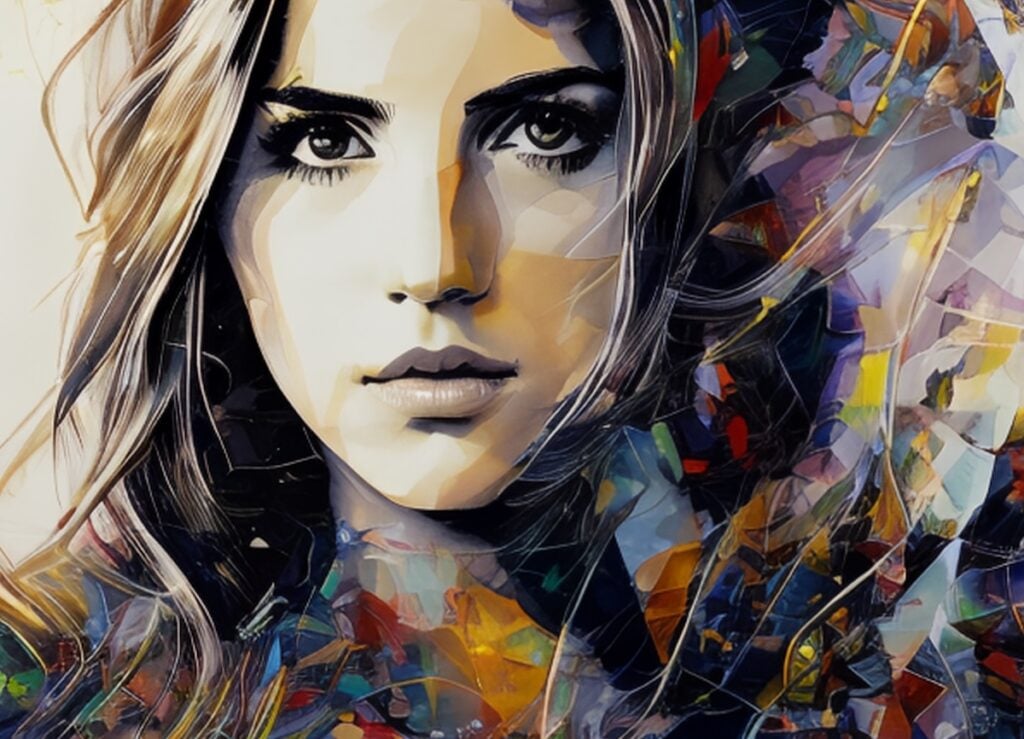
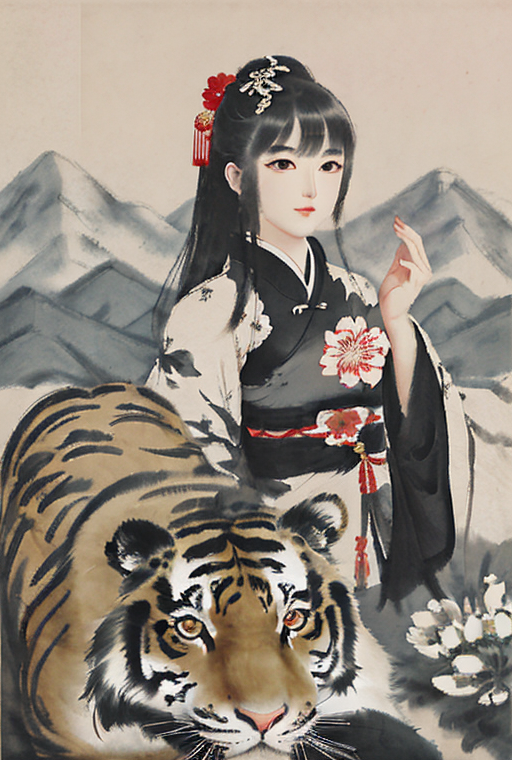
Anime style
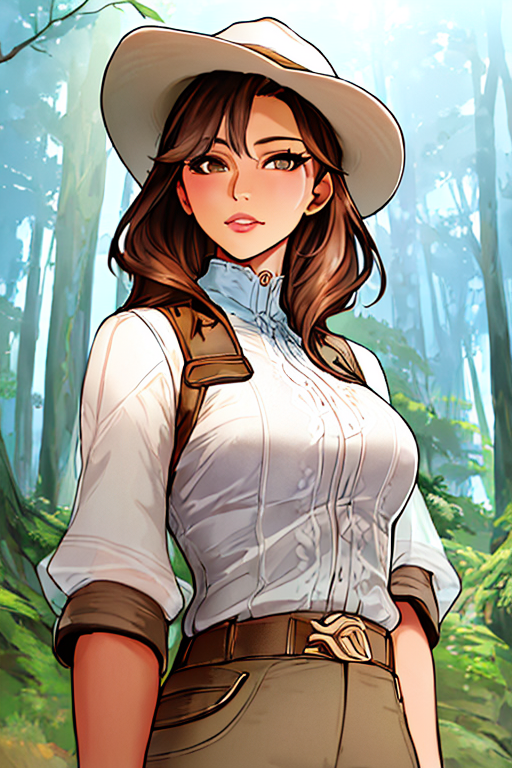
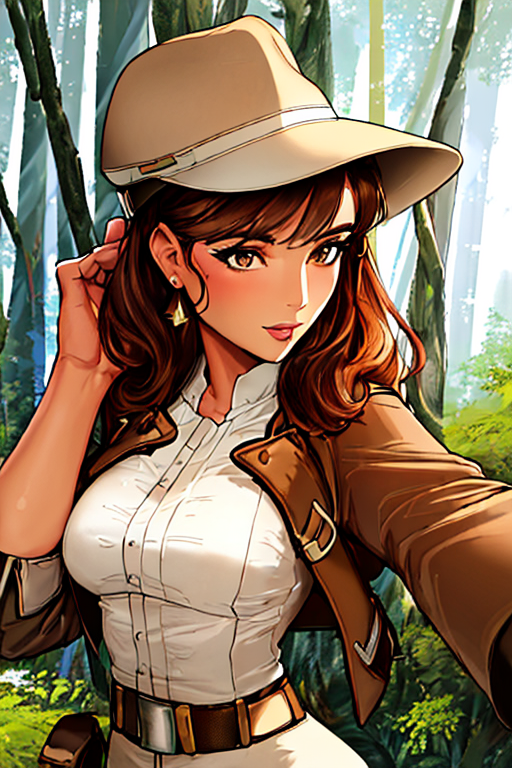
Photorealistic style
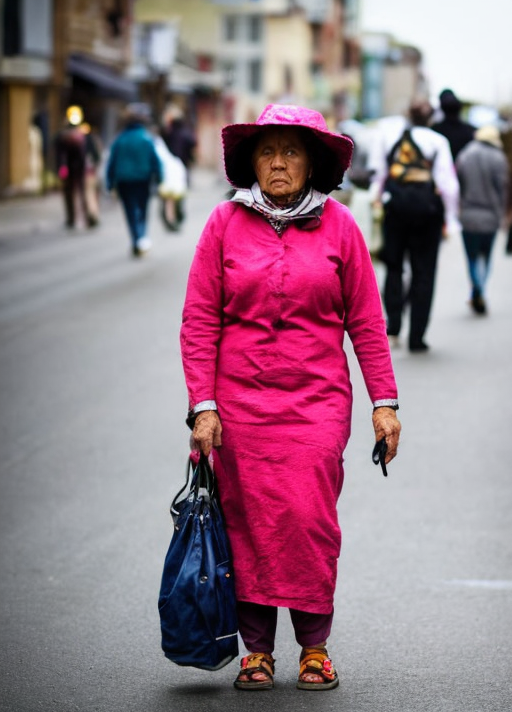
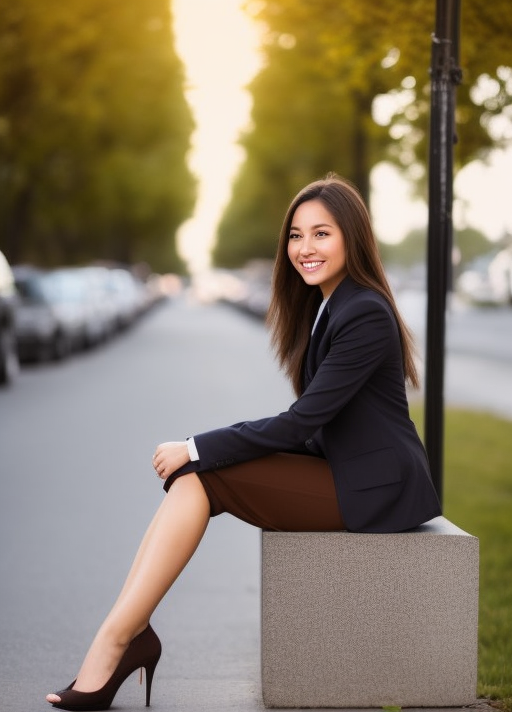
Learn how to generate realistic people and realistic street humans.
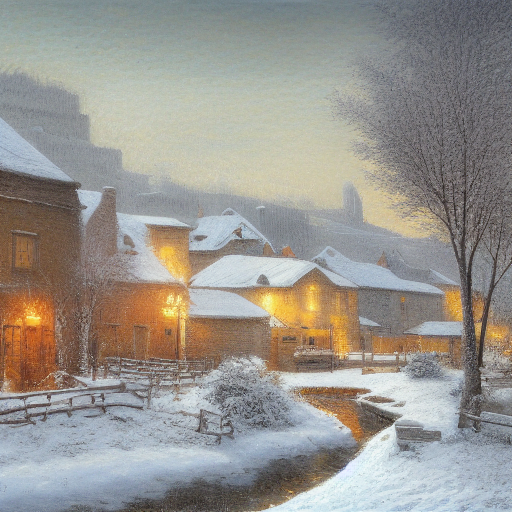
Landscape
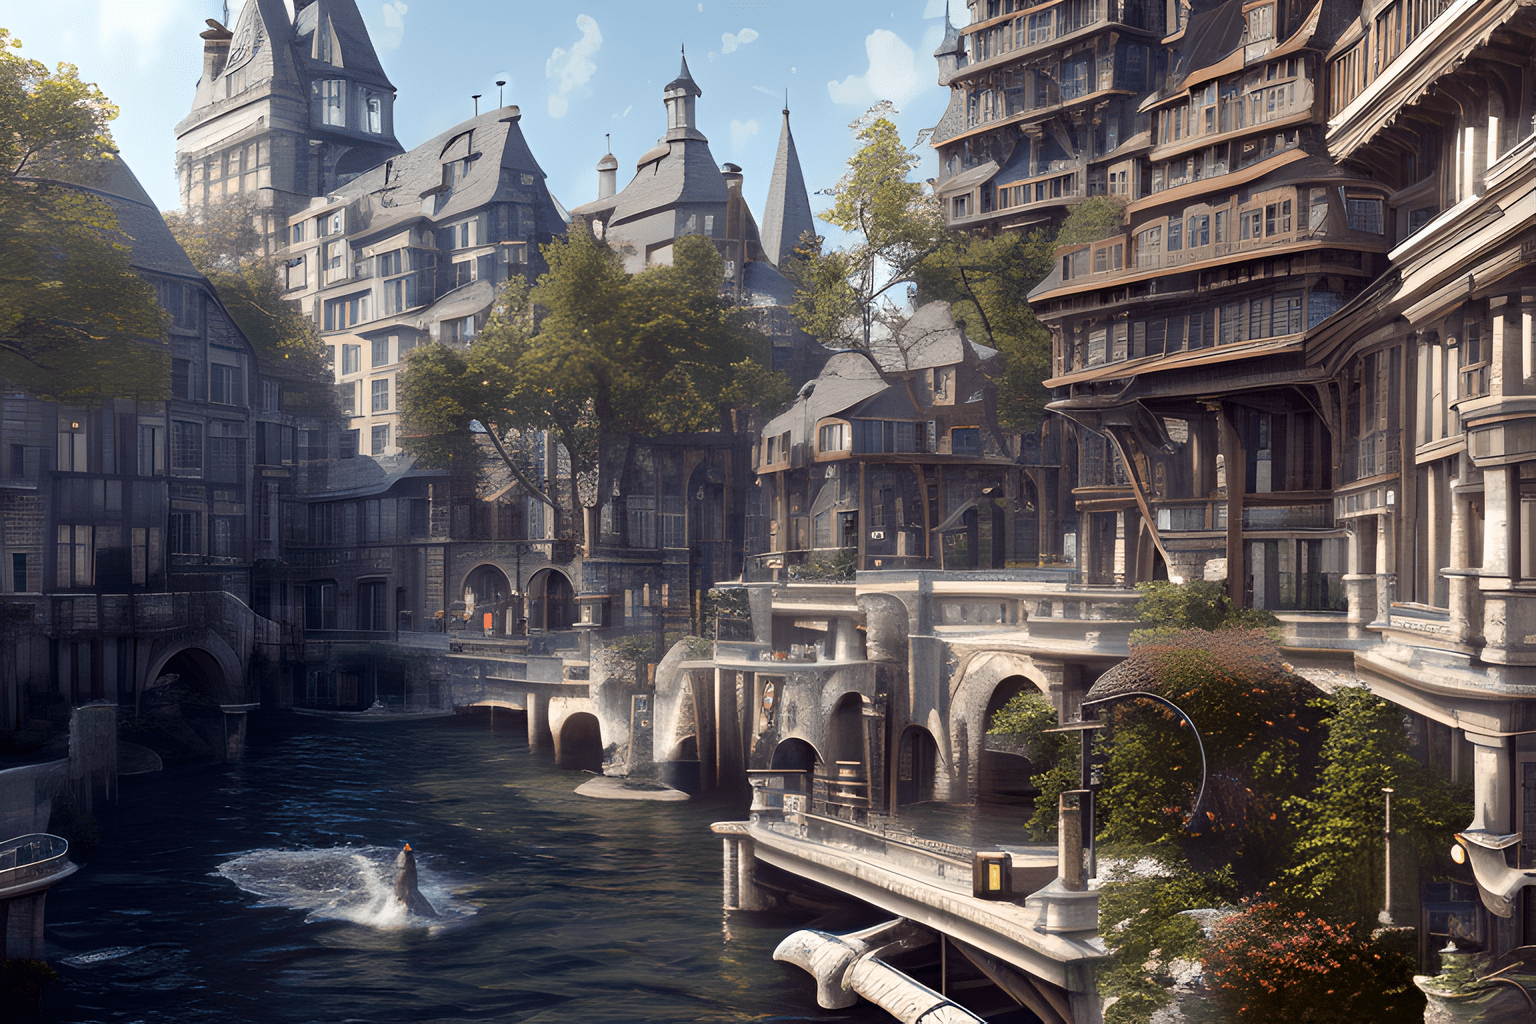
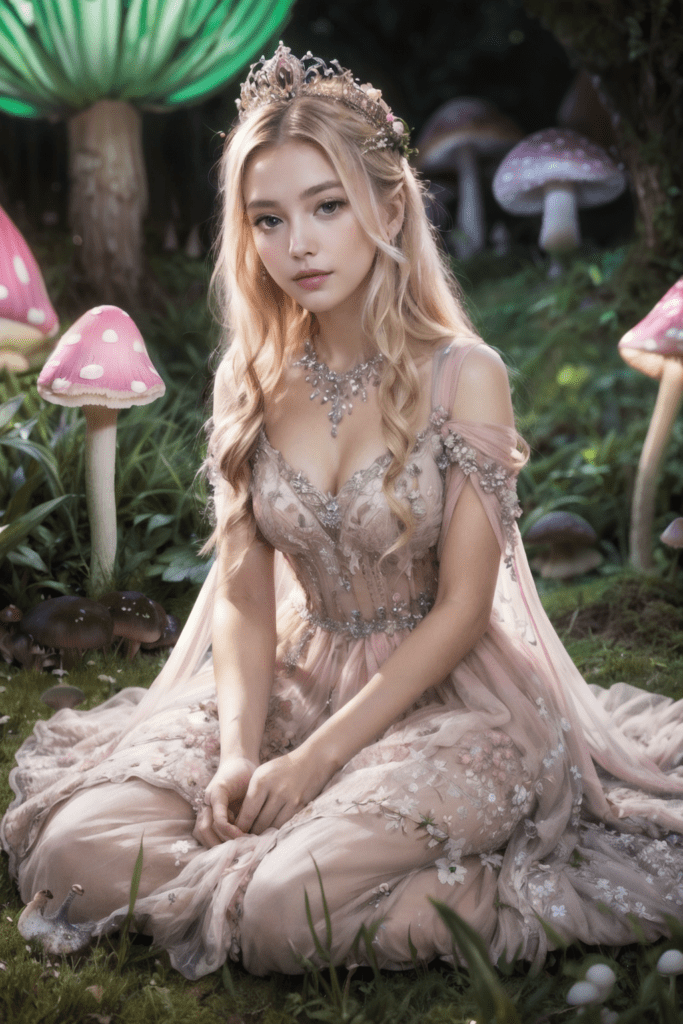
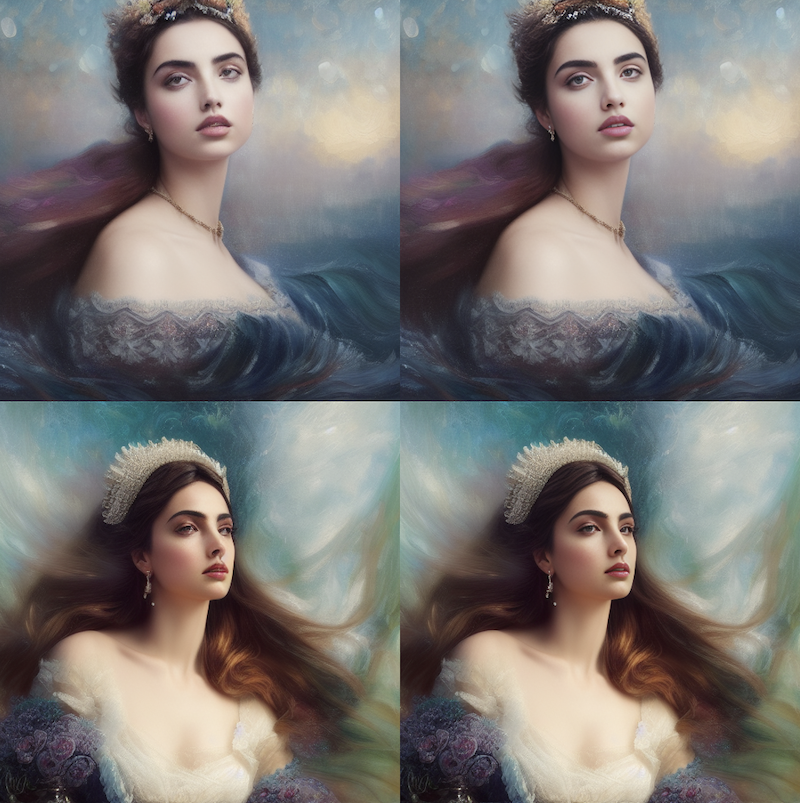
Fantasy
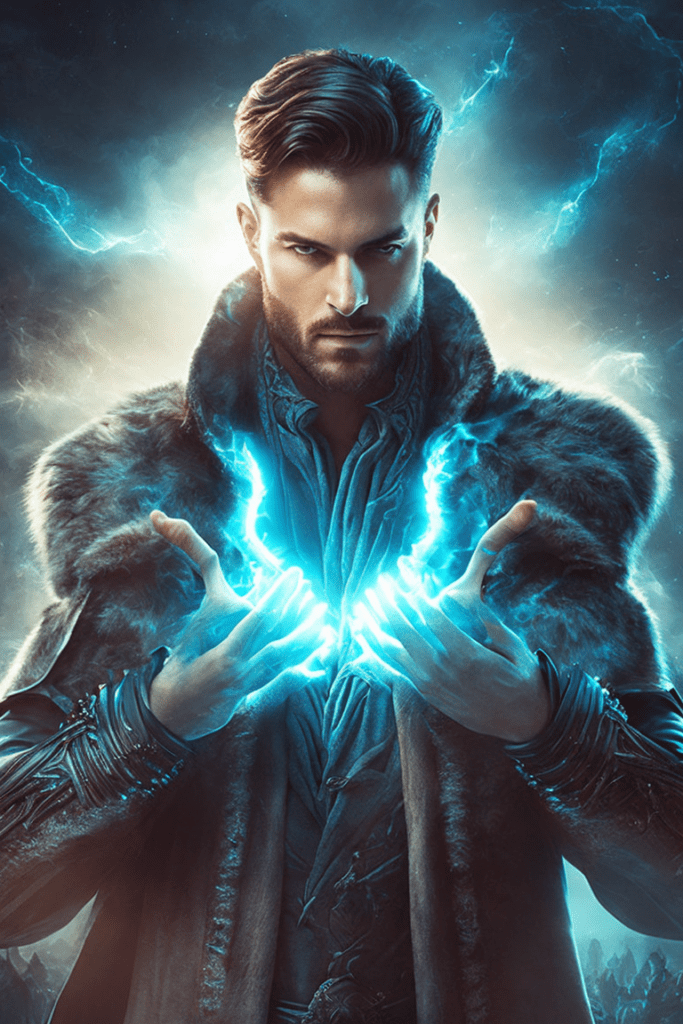
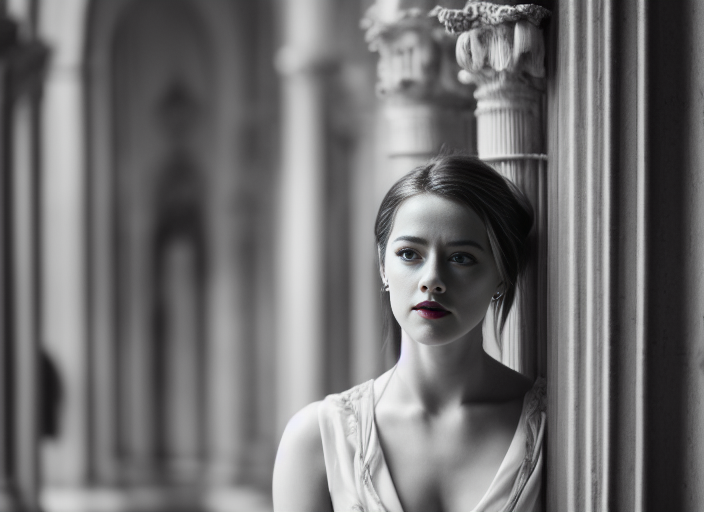
Artistic style
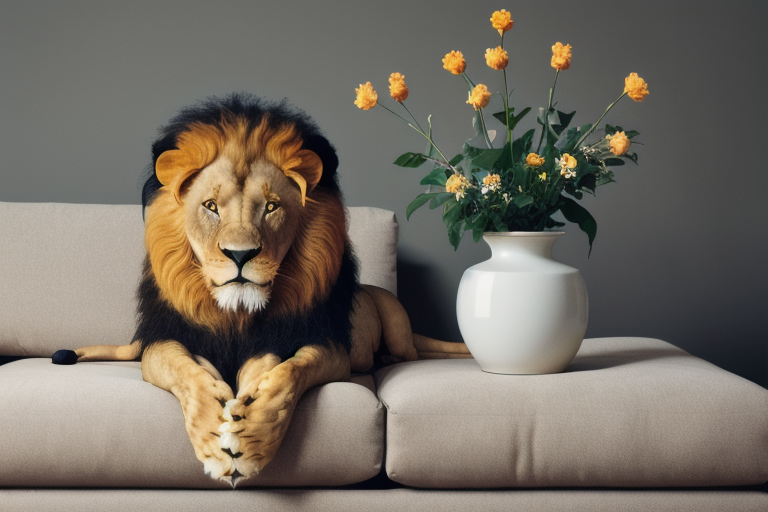
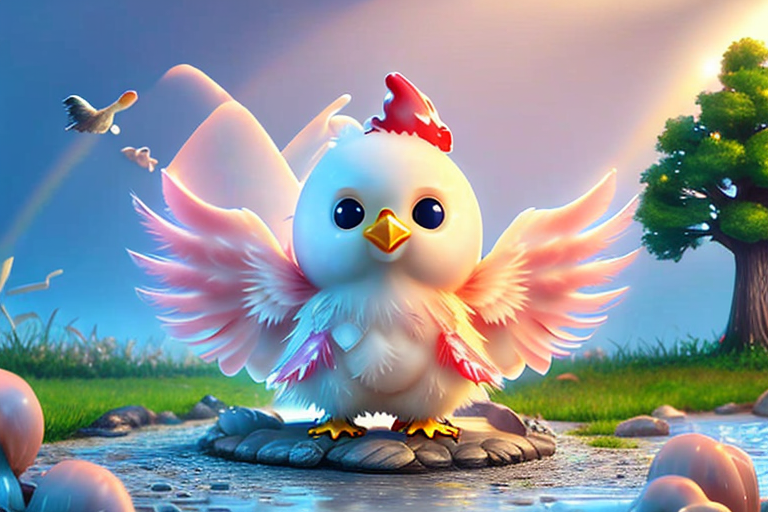
Animals
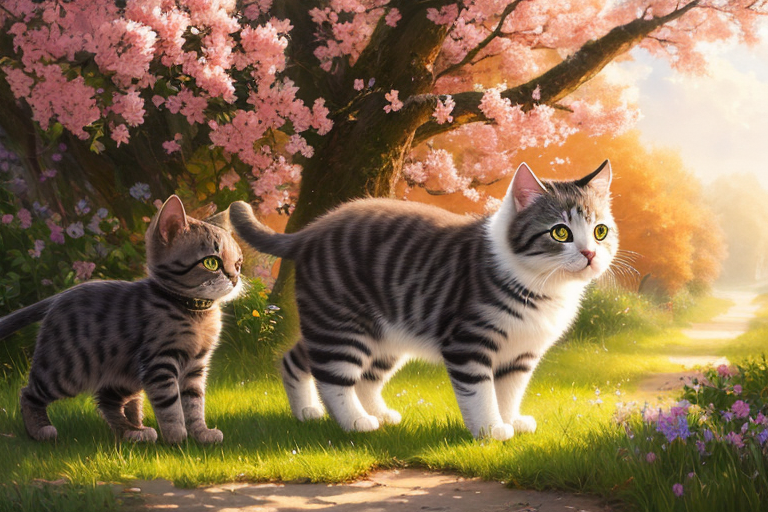
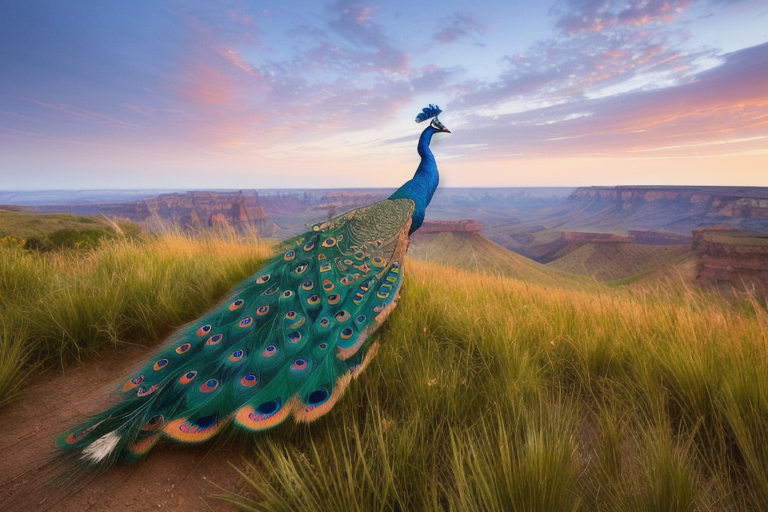
Learn how to generate animals.
Take out the guesswork for becoming an AI artist. Learn Stable Diffusion step-by-step.
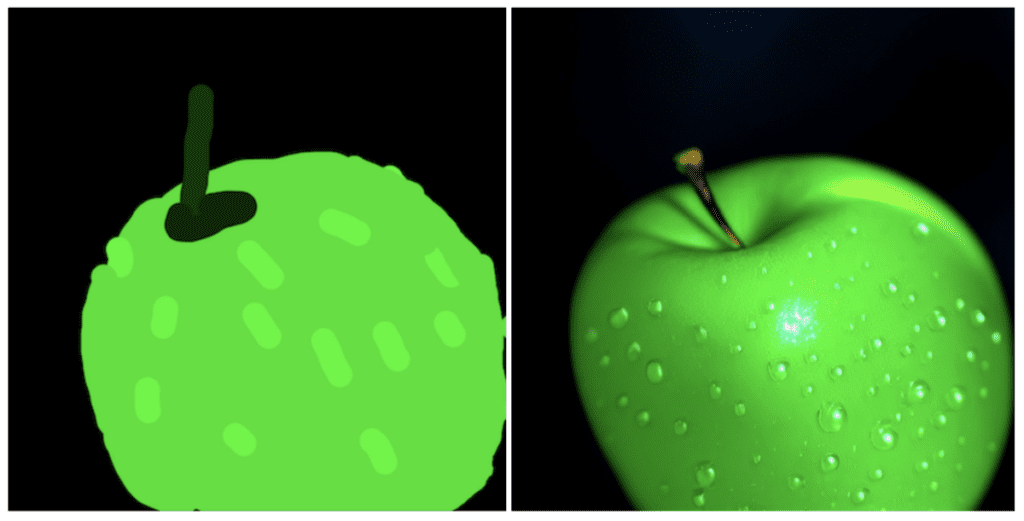
2. Generate an image from an image
Image-to-image (img2img) transforms one image to another using Stable Diffusion AI.
Below is an example of transforming my drawing of an apple into a photo-realistic one. (Tutorial)
3. Photo Editing
You can use inpainting to regenerate part of an AI or real image. This is the same as Photoshop’s new generative fill function, but free.
4. Make videos
There are two main ways to make videos with Stable Diffusion: (1) from a text prompt and (2) from another video.
Deforum is a popular way to make a video from a text prompt. You have probably seen one of them on social media. It looks like this.
The second way is to stylize a video using Stable Diffusion. See the video-to-video tutorial.
This is a more advanced topic. It is best to master text-to-image and image-to-image before diving into it.
How to build a good prompt?
There’s a lot to learn to craft a good prompt. But the basic is to describe your subject in as much detail as possible. Make sure to include powerful keywords to define the style.
Using a prompt generator is a great way to learn a step-by-step process and important keywords. It is essential for beginners to learn a set of powerful keywords and their expected effects. This is like learning vocabulary for a new language. You can also find a short list of keywords and notes here.
A shortcut to generating high-quality images is to reuse existing prompts. Head to the prompt collection, pick an image you like, and steal the prompt! The downside is that you may not understand why it generates high-quality images. Read the notes and change the prompt to see the effect.
Alternatively, use image collection sites like PlaygroundAI. Pick an image you like and remix the prompt. But it could be like finding a needle in a haystack for a high-quality prompt.
Treat the prompt as a starting point. Modify to suit your needs.
Rules of thumb for building good prompts
Two rules: (1) Be detailed and specific, and (2) use powerful keywords.
Be detailed and specific
Although AI advances in leaps and bounds, Stable Diffusion still cannot read your mind. You need to describe your image in as much detail as possible.
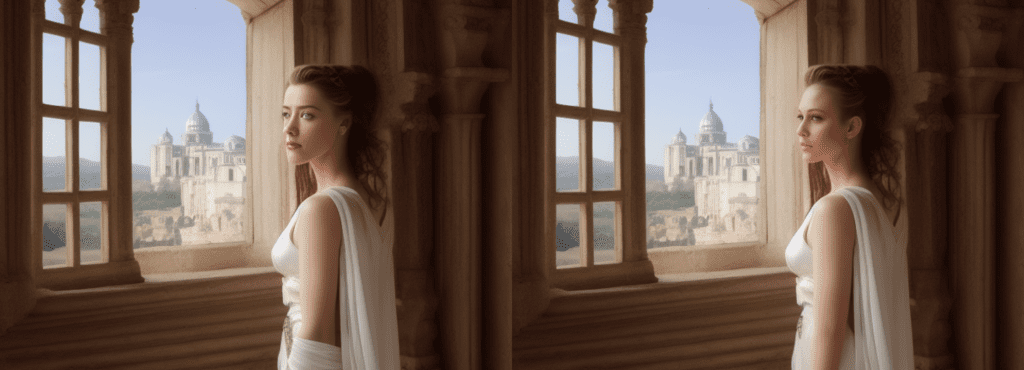
Let’s say you want to generate a picture of a woman in a street scene. A simplistic prompt
a woman on street
gives you an image like this:
Well, you may not want the generate a grandma, but this technically matches your prompt. You cannot blame Stable Diffusion…
So instead, you should write more.
a young lady, brown eyes, highlights in hair, smile, wearing stylish business casual attire, sitting outside, quiet city street, rim lighting
See the drastic difference. So work on your prompt-building skills!
Use powerful keywords
Some keywords are more powerful than others. Examples are
- Celebrity names (e.g. Emma Watson)
- Artist names (e.g. van Gogh)
- Art medium (e.g. illustration, painting, photograph)
Using them carefully can steer the image in the direction you want.
You can learn more about prompt building and example keywords in the basics of building prompts.
Want to cheat? Like doing homework, you can use ChatGPT to generate prompts!
What are those parameters, and should I change them?
Most online generators allow you to change a limited set of parameters. Below are some important ones:
- Image size: The size of the output image. The standard size is 512×512 pixels. Changing it to portrait or landscape size can have a big impact on the image. For example, use portrait size to generate a full-body image.
- Sampling steps: Use at least 20 steps. Increase if you see a blurry image.
- CFG scale: Typical value is 7. Increase if you want the image to follow the prompt more.
- Seed value: -1 generates a random image. Specify a value if you want the same image.
See recommendations for other settings.
How many images should I generate?
You should always generate multiple images when testing a prompt.
I generate 2-4 images at a time when making big changes to the prompt so that I can speed up the search. I would generate 4 at a time when making small changes to increase the chance of seeing something usable.
Some prompt only works half of the time or less. So don’t write off a prompt based on one image.
Common ways to fix defects in images
When you see stunning AI images shared on social media, there’s a good chance they have undergone a series of post-processing steps. We will go over some of them in this section.
Face Restoration
It’s well-known in the AI artist community that Stable Diffusion is not good at generating faces. Very often, the faces generated have artifacts.
We often use image AI models that are trained for restoring faces, for example, CodeFormer, which AUTOMATIC1111 GUI has built-in support. See how to turn it on.
Do you know there’s an update to v1.4 and v1.5 models to fix eyes? Check out how to install a VAE.
Fixing small artifacts with inpainting
It is difficult to get the image you want on the first try. A better approach is to generate an image with good composition. Then repair the defects with inpainting.
Below is an example of an image before and after inpainting. Using the original prompt for inpainting works 90% of the time.
There are other techniques to fix things. Read more about fixing common issues.
What are custom models?
The official models released by Stability AI and their partners are called base models. Some examples of base models are Stable Diffusion 1.4, 1.5, 2.0, and 2.1.
Custom models are trained from the base models. Currently, most of the models are trained from v1.4 or v1.5. They are trained with additional data for generating images of particular styles or objects.
Only the sky is the limit when it comes to custom models. It can be anime style, Disney style, or the style of another AI. You name it.
Below is a comparison of 5 different models.
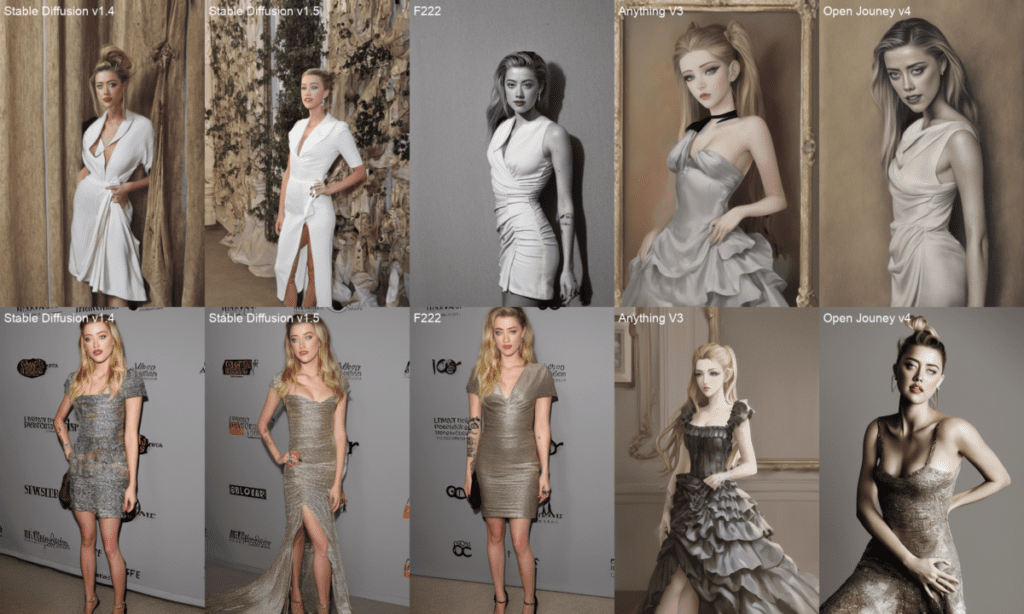
It is also easy to merge two models to create a style in between.
Which model should I use?
Stick with the base models if you are starting out. There are pretty to learn and play with to keep you busy for months.
The three main versions of Stable Diffusion are v1, v2, and Stable Diffusion XL (SDXL).
- v1 models are 1.4 and 1.5.
- v2 models are 2.0 and 2.1.
- SDXL 1.0
You may think you should start with the newer v2 models. People are still trying to figure out how to use the v2 models. Images from v2 are not necessarily better than v1’s.
There were series of SDXL models released: SDXL beta, SDXL 0.9, and the latest SDXL 1.0.
I recommend using the v1.5 and SDXL 1.0 models if you are new to Stable Diffusion.
How to train a new model?
An advantage of using Stable Diffusion is that you have total control of the model. You can create your own model with a unique style if you want. Two main ways to train models: (1) Dreambooth and (2) embedding.
Dreambooth is considered more powerful because it fine-tunes the weight of the whole model. Embeddings leave the model untouched but find keywords to describe the new subject or style.
You can experiment with the Colab notebook in the dreambooth article.
Negative prompts
You put what you want to see in the prompt. You put what you don’t want to see in the negative prompt. Not all Stable Diffusion services support negative prompts. But it is valuable for v1 models and a must for v2 models. It doesn’t hurt for a beginner to use a universal negative prompt. Read more about negative prompts:
How to make large prints with Stable Diffusion?
Stable Diffusion’s native resolution is 512×512 pixels for v1 models. You should NOT generate images with width and height that deviates too much from 512 pixels. Use the following size settings to generate the initial image.
- Landscape image: Set the height to 512 pixels. Set the width to higher, e.g. 768 pixels (2:3 aspect ratio)
- Portrait image: Set the width to 512 pixels. Set the height to higher, e.g. 768 pixels (3:2 aspect ratio)
If you set the initial width and height too high, you will see duplicate subjects.
The next step is to upscale the image. The free AUTOMATIC1111 GUI comes with some popular AI upscalers.
- Read this tutorial for a beginner’s guide to AI upscalers.
- Read this tutorial for more advanced usage.
How to control image composition?
Stable Diffusion technology is rapidly improving. There are a few ways.
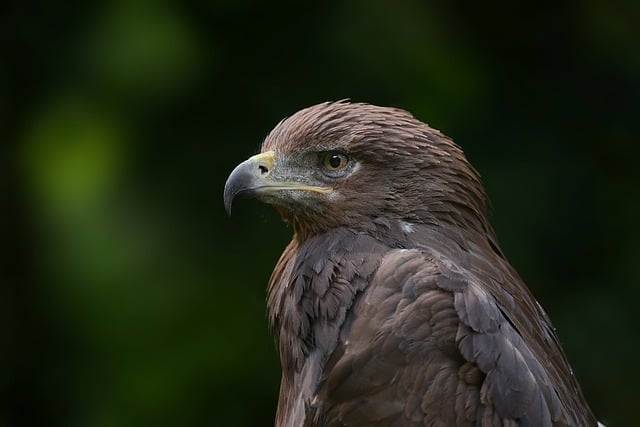
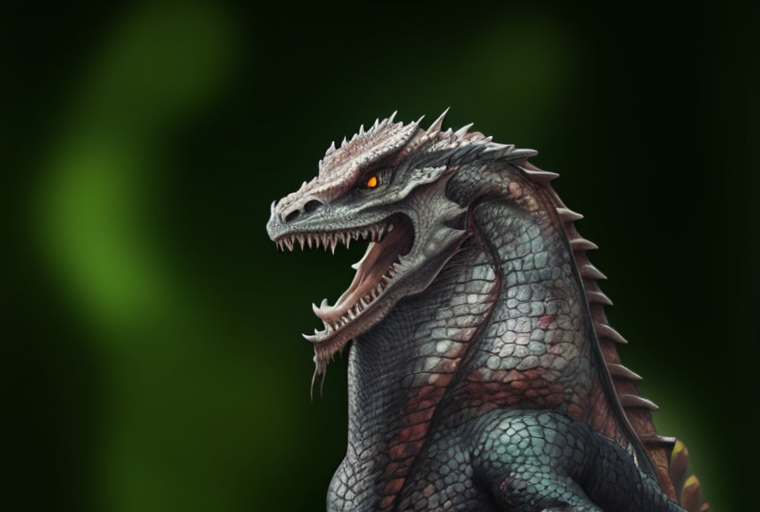
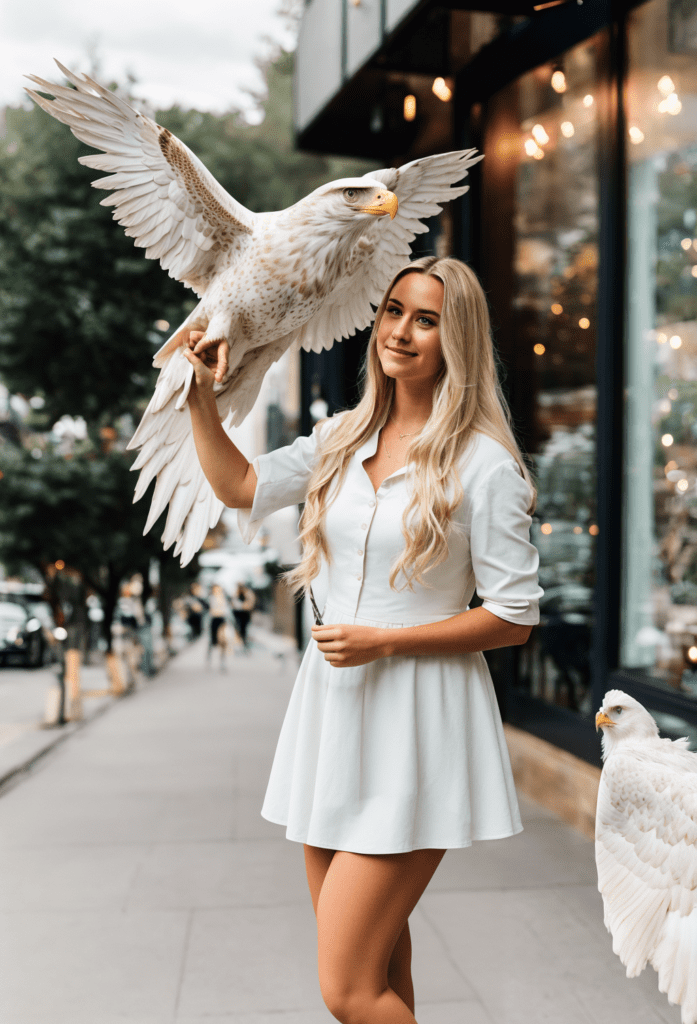
Image-to-image
You can ask Stable Diffusion to roughly follow an input image when generating a new one. It’s called image-to-image. Below is an example of using an input image of an eagle to generate a dragon. The composition of the output image follows the input.
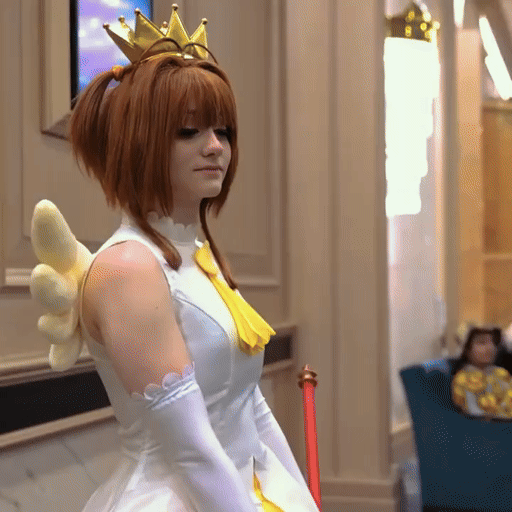
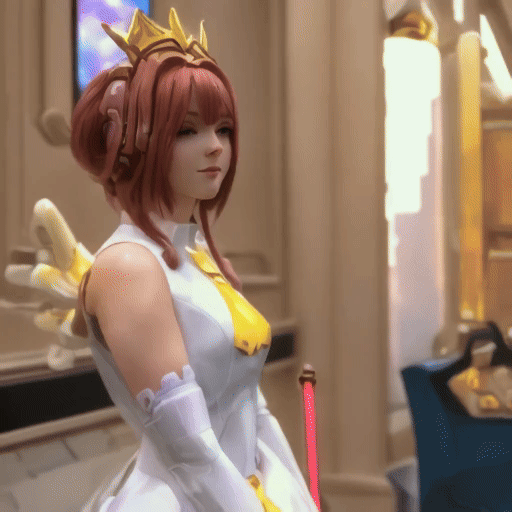
ControlNet
ControlNet similarly uses an input image to direct the output. But it can extract specific information, for example, human poses. Below is an example of using ControlNet to copy a human pose from the input image.
In addition to human poses, ControlNet can extract other information, such as outlines.
Regional prompting
You can specify prompts for certain parts of images using an extension called Regional Prompter. This technique is very helpful for drawing objects only in certain parts of the image.
Below is an example of placing a wolf at the bottom left corner and skulls at the bottom right corner.
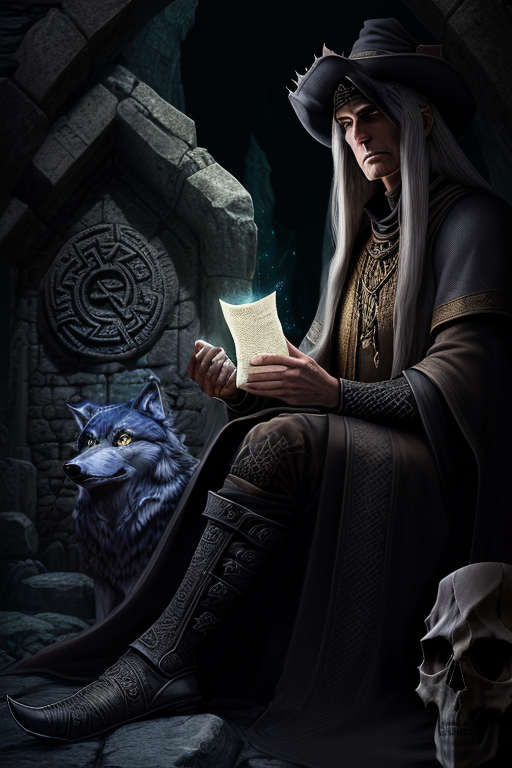
Read the Regional Prompter tutorial to learn more to use it.
Depth-to-image
Depth-to-image is another way to control composition through an input image. It can detect the foreground and the background of the input image. The output image will follow the same foreground and background. Below is an example.
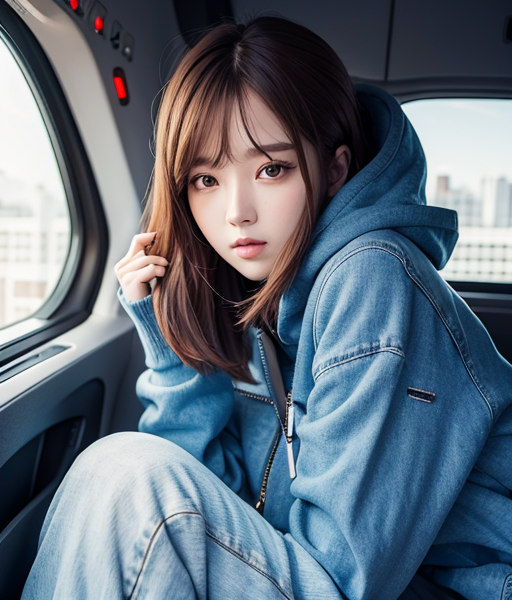
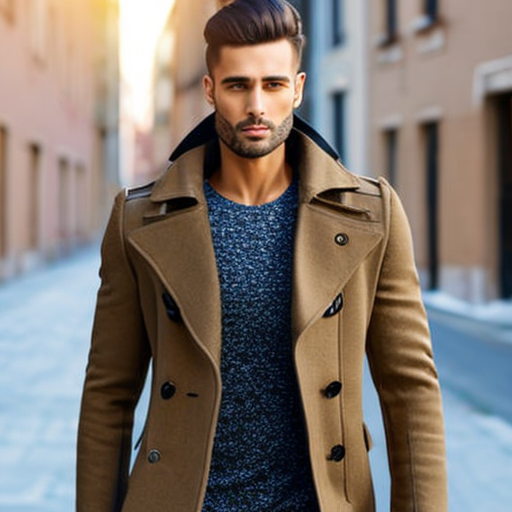
Generating specific subjects
Realistic people
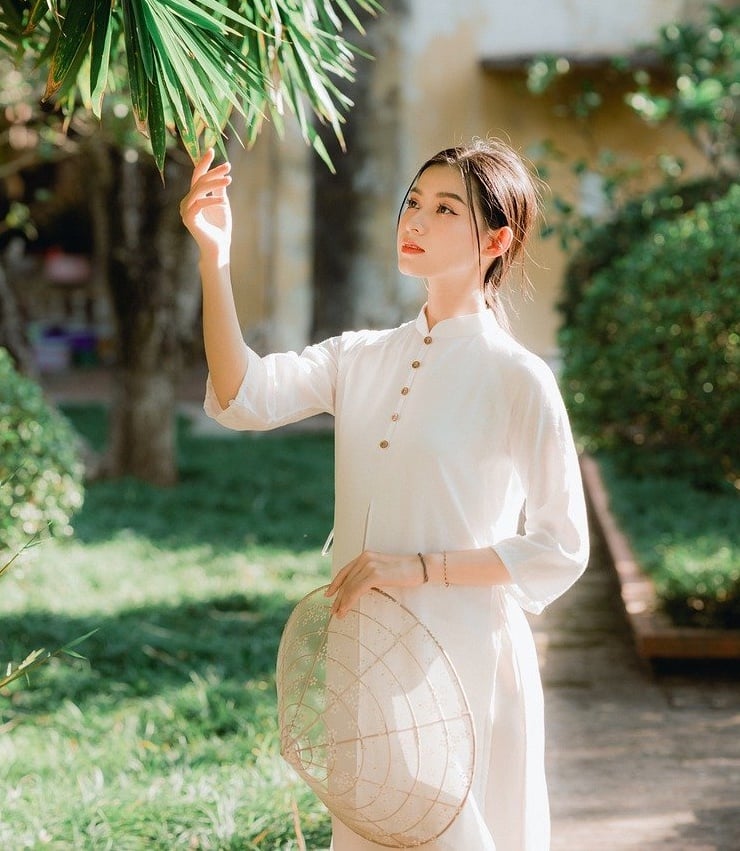
You can use Stable Diffusion to generate photo-style realistic people. Let’s see some samples.
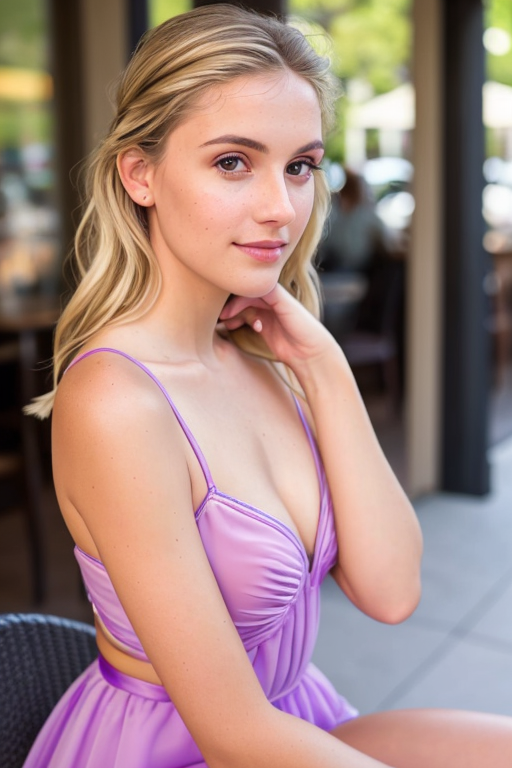
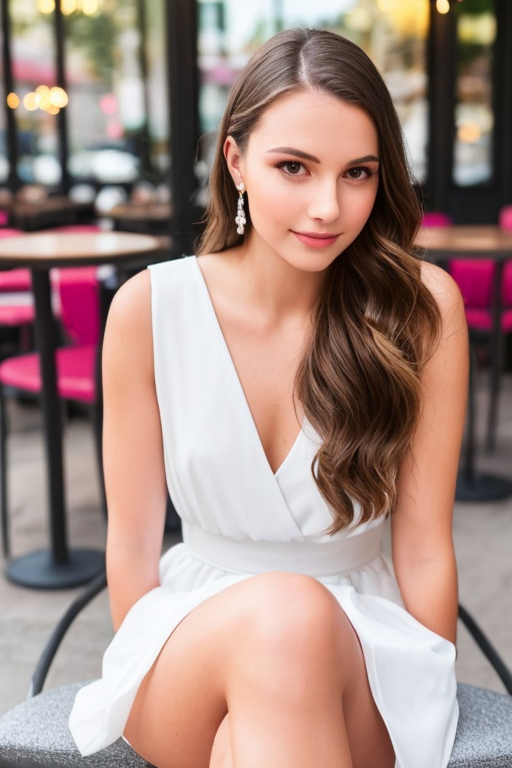
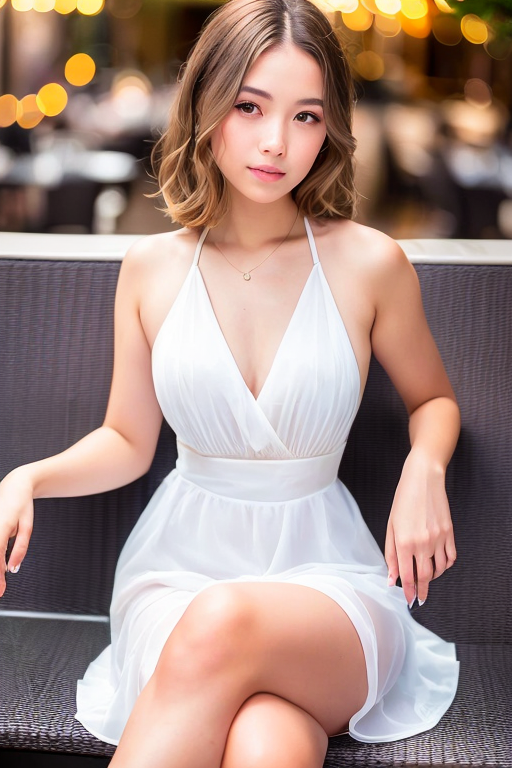

It comes down to using the right prompt and special model trained to produce photo-style realistic humans. Learn more in the tutorial for generating realistic people.
Animals
Animals are popular subjects among Stable Diffusion users.
Here are some samples.
Read the tutorial for generating animals to learn how to.
What is unstable diffusion?
Unstable Diffusion is a company that develops Stable Diffusion models for AI porn. They made headlines when their Kickstarter fundraising campaign got shut down. So far, they have not released any models publicly.
The company is not related to Stability AI, the company that released Stable Diffusion AI.
Next Step
So, you have completed the first tutorial of the Beginner’s Guide!
Check out the Stable Diffusion Course for a step-by-step guided course.
Or continue to part 2 below.
This is part 1 of the beginner’s guide series.
Read part 2: Prompt building.
Read part 3: Inpainting.
Read part 4: Models.
Hi! Automatic1111 with colab doesn’t start, this is the error
[Errno 20] Not a directory: ‘/content//stable-diffusion-webui’
/content
WEBUI ARGUMENTS: –gradio-img2img-tool color-sketch –enable-insecure-extension-access –gradio-queue –share –gradio-auth “a”:”a” –disable-model-loading-ram-optimization –opt-sdp-attention
python: can’t open file ‘/content//stable-diffusion-webui/launch.py’: [Errno 20] Not a directory
Hi total beginner here…
Can I use stable diffusion and controlnet to turn my daughter into an anime character or disney-pixar character? Then maybe planning to learn how to create videos of her.
I am planning to enroll but I need to know if the following is possible:
* upload pics
* turn pics into cartoon characters
* create cartoon strips using same cartoon characters
* maybe create videos in the future (?)
I tried a few ai art generators but somehow am not satisfied because it’s hard to get the poses I want (girl praying while looking at the sky yields very funny results). Just want to be sure if Stable Diffusion is worth the time to learning…
Thanks in advance!
They are all possible with some skills.
I want to create AI generated poster ad. for that I need to add the product picture in the ad. I want to use stable diffusion to integrate a exact copy of an object in the ai generated image. How do I do that? Please help me.
This quick tutorial may help: https://stable-diffusion-art.com/change-background/
More details in my course.
Hello, I encountered an error when running it. This is the error:
ImportError: cannot import name ‘computed_field’ from ‘pydantic’ (/usr/local/lib/python3.10/dist-packages/pydantic/__init__.cpython-310-x86_64-linux-gnu.so)
how do I get around this? Thank you
Follow the link in the post or quick start guide to get the new notebook.
Hello, it gives me this error, what’s wrong?
ImportError: cannot import name ‘computed_field’ from ‘pydantic’ (/usr/local/lib/python3.10/dist-packages/pydantic/__init__.cpython-310-x86_64-linux-gnu.so)
fixed.
hello, it’s still not working for me. I still have the same problem
It’s working now, thank you
Hello, it’s not working and I get an error when running it
Please explain what you are doing and how you are doing it, saying it’s not working doesn’t help.
Hi, is there any way to fix the Openpose editor?
This one should be working https://github.com/huchenlei/sd-webui-openpose-editor
i pasted the url from github under “Install extensions from URL” text bar, but it’s still not working. Am I doing it right or there’s another way?
I updated the checkbox to openpose_editor. You can use the checkbox to load it. You can only see the butttons after using openpose controlnet to preview the preprocessor.
May I ask how do I do this?
512 x 512 seens pretty limited. Most useful images I work with have an aspect ratio of 16 x 9 and a resolution of 1920 x 1080. ???
SDXL and Flux has native resolution of 1024×1024. You can first generate an image with 1344 x 768, and upscale it to higher resolution if needed.
Are there any guides to using Open Stable Diffusion on Android? This thing doesn’t seem to have any user manual at all. This is taking a long time to figure out. ^_^
Sorry I dont.
This blog provides an insightful and straightforward exploration into the intriguing world of stable diffusion art. From breaking down the concept to offering a comprehensive guide on the process, this post is packed with invaluable information on this unique artistic technique. The inclusion of step-by-step advice and illustrative examples enriches the reader’s understanding. Fantastic article – please continue to share more like this
Before today I never heard of Stable Diffusion Art or prompts or models or well frankly none of this. I had no clue it existed. I mean I knew there was some kinda AI software or program that could generate images and what not but thought that to be reserved for the tech companies and engineers that created it, not for the general public for free. Thanks to this article for true beginners like myself I now not only found out about it but learned and understood what it was all about, how to begin using and creating AI art by myself and “I plan to take over the world!” as the brain would say. Thanks so much for the hard work you put into this article for all of us. I’ll see ya on the other side
You are welcome! Leave a message if you have any questions.
Hi! Is there any way to restore openpose editor extension? It seems to be not working
Hi Andrew,
I’ve just started with SD and I have to say, your guides have been so helpful and easy to understand. I really appreciate your work. Thank you.
Nice tutorial for beginners
Your site is a goldmine : thank you so much.
Nice, gentle introduction. Thanks
Nice tutorial for beginners, but as I can see – you have to have a good nVidia video card on the board. So, I’ve decided to make Simple Stable Diffusion Cloud with API here https://stdiff.io. Only starting tbh, so would be gratful if you leave some feedback here, thank you!
Cheers, very helpful guide for a noob, I didn’t realise what prompts were, so was just typing in paragraphs. Such a boomer 🙂
Alienigena fumando en su platillo volante
pintura digital, hiperrealista, fantasía, surrealista
What’s the “free online generator above”? I do not see any generator or place to write prompts, on this page.
Was it removed?
Yes it was removed. Please go to the free generator page. The first one is similar to what I had.
No matter what you put in the prompt there’s an error and it says the prompt includes NSFW words
Thanks for reporting. it’s not working consistently. I have temporarily removed it.
Hi. After some failing Udemy courses I found your website, and in a few hours, I have SD Automatic111 up and running on my machine! I still have so much to learn, and I will dig more into your website tomorrow. Thank you very much!
Andrew, I have mine set to update automatically on start (that box is checked). I noticed the update several days ago because all of a sudden it seems to be using a 3rd party Face Restore. But how would I revert to a prior version? I know nothing about git pulls or coding. Thanks for replying, btw.
Btw, I installed the latest NVIDIA studio driver, and that seems to have fixed the OOM errors, but now the second and subsequent generations are paaaaaaainfully slow, while the first takes only the usual two minutes or so. This seems spontaneous and I’m not sure what’s causing the slowness.
If you are using A1111: https://stable-diffusion-art.com/install-windows/#Reverting_back_to_a_previous_version
Well, I actually tried three previous versions, as well as some driver upgrades/reversions, but that does not seem to have been the issue. The second (and subsequent) generations are exponentially slower than the first, and despite my best efforts, I cannot sort out the problem. folks with much more powerful cards have been reporting this issue as well, so it’s very strange. Thank you for your replies, though I think I’m out of options other than going to a paid site. A new rig is out of the question.
I recommend using MiniConda to create environments. This isolates changes made in one environment to that environment. Whenever I start something new, like ComfyUI, StableDiffusion, Automatic1111, I install it and then create the requirements file. If the environment tanks, I can recreate the original state from the requirements file. Note: I could “copy” the env, but they can be quite large.
Hello Andrew –
Are you aware of any updates to automatic1111 that would cause an increase in memory requirement and generate an OOM error? I’m using a laptop with a local installation and a NVIDIA GeForce GTX 1050 with 3G of memory. It’s measly I know, but has been generating fine forever as long as I’m not inpainting or using ControlNet. Today, however, it’s throwing OOM errors after only one generation! This seems spontaneous, and I can’t sort out why or what has changed. It was fine yesterday. Any ideas would be greatly appreciated!
Thank you!
The software and extension are constantly updated. But if you don’t update them (git pull), they should stay the same.
You can revert back to an earlier version if update was the problem.
When you launch, look at the command line output or logs. They do update automatically and this is where you can figure it out.
This is also where you can see WHAT is running OOM. Example is, does the model load but refiner / upscaler fail?
Also, if you change the size of the image, you can run out.
As a senior on benefits, I really appreciated the old demo, which used to be good, based on Gradio and HuggingFace. The new demo (based on Graviti Diffus) is very limited, and falsely triggers NSFW warning from this innocent, artistic prompt:
“An abstract impressionist painting by Monet and Pissarro, highly expressive brush strokes. Subject is a winter snow scene. (Madonna Joan Baez is cradling Jesus). Medium view. Perfect anatomy, perfect hands. Natural human faces. Detailed faces. Blurred background is Central Park in a snowstorm. Textured paint, canvas texture, abstract, expressive.”
No indication is given as to what word(s) are NSFW. Please bring back the old demo, and if using an NSFW filter, make it reasonable. In my prompt for an impressionist painting, SD 1.5 model, I’m asking for “Perfect anatomy, perfect hands. Natural human faces.” Why is that NSFW? Especially since NSFW is in the negative prompt…
Thanks for the feedback. The original generator is costly to run. I have to find an alternative.
Thank you so much! Amazing.
Can I use 2.1 on mac M2?
Yes, it is supported.
This blog offers a detailed and simple overview of the fascinating field of stable diffusion art. This explains the concept to guiding readers and process, it offers a valuable information about artistic technique. They give step-by-step tips and instructions with visual examples, fantastic post. Keep sharing!
Hi,
There link to generate “realistic people” point to “realistic/” URL, but it should point to “https://stable-diffusion-art.com/realistic-human-street-portrait/”
Great content and keep on going on this line!
thanks!
Amazing work, lots of content, well explained. Thank you very much for your work. <333
When I use the Google Collab (paid Pro) and I want directly upscale the image within the text to image generation with the high res fix, it starts generating the picture, and then it tries to upscale. Within this process, it completely messes up the generated image within the first second of upscaling, moving the face around (i.e. parts of the face are then located on the neck, or the mouth is messed up…). I use the normal ESGRAN upscaler, the settings in the high res fix are denoising strength of 0.2 to 0.3. Tried steps set to zero, or 50. Does not make a difference.
On other solutions like EasyDiffusion (runs locally on the PC), it works flawlessly.
Anyone knows how to fix this?
i wish you to buy you a mcdonalds for you, but poorly i am still a student and cant afford even a penny for google collab thing. all i can is wish for you. and thank you very much for the explanation
One of the best things for me is people find this website useful. So thanks for taking the time to tell me!
AMAZING!
Really, those are the comments…?! This series of articles are just AMAZING!!! Thank you so much, you rock!
You are welcome!
such great article for beginners!
“Rule of thumbs of building good prompts”
should be:
“Rules of thumb of building good prompts”
All good suggestions. Thank you!
Actually, it should be “Rules Of Thumb For Building Good Prompts”. “Of” doesn’t make sense here.
“Only Sky is the limit. Here are some examples.”
should be:
“The sky’s the limit! Here are some examples.”