Depth-to-image (Depth2img) is an under-appreciated model in Stable Diffusion v2. It is an enhancement to image-to-image (img2img) which takes advantage of the depth information when generating new images.
In this tutorial, we will look under the hood to see what it is, how to install and use it, and what it can do for you.
Table of Contents
What can depth-to-image do
With depth-to-image, you have better control of synthesizing subject and background separately.
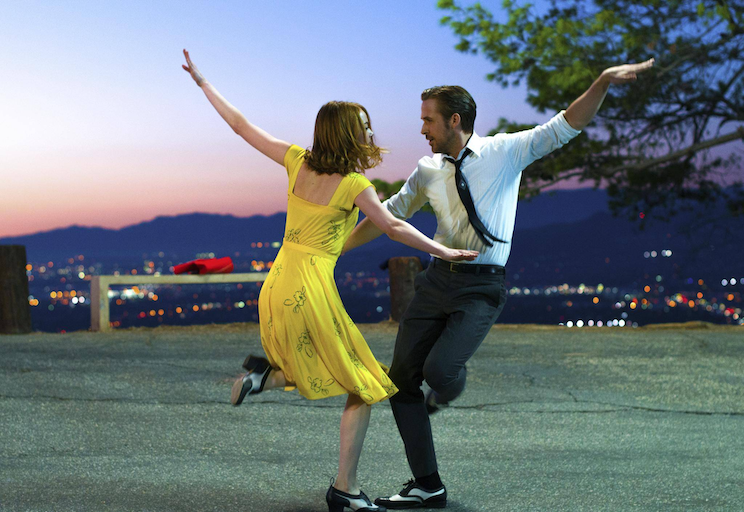
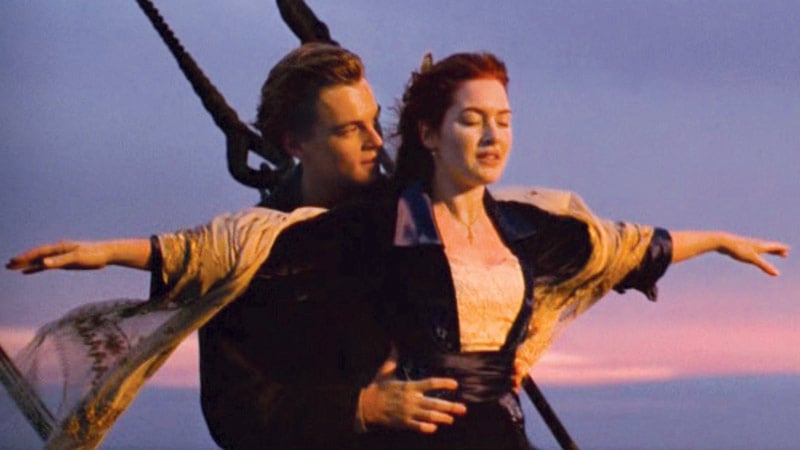
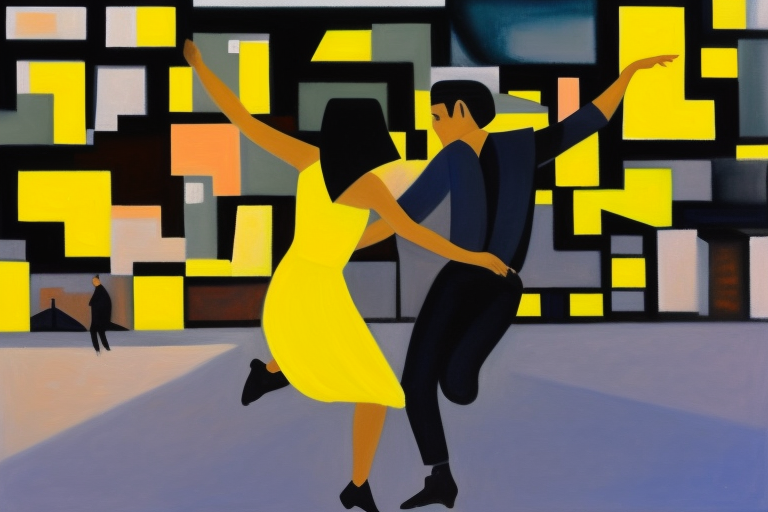
Let’s say I want to do turn this romantic scene in La La Land into a wrestling match…
We will go into more details later, but for now just treat depth-to-image as an enhanced version of image-to-image. They can be used in exactly the same way — given an image and a text prompt, it will generate a new image.
Let’s say I use the prompt
photo of two men wrestling
for both image-to-image and depth-to-image. Below are the results with denoising strength varying from 0.4 to 1.0. (Remember the higher the denoising strength, the more the image would change.)
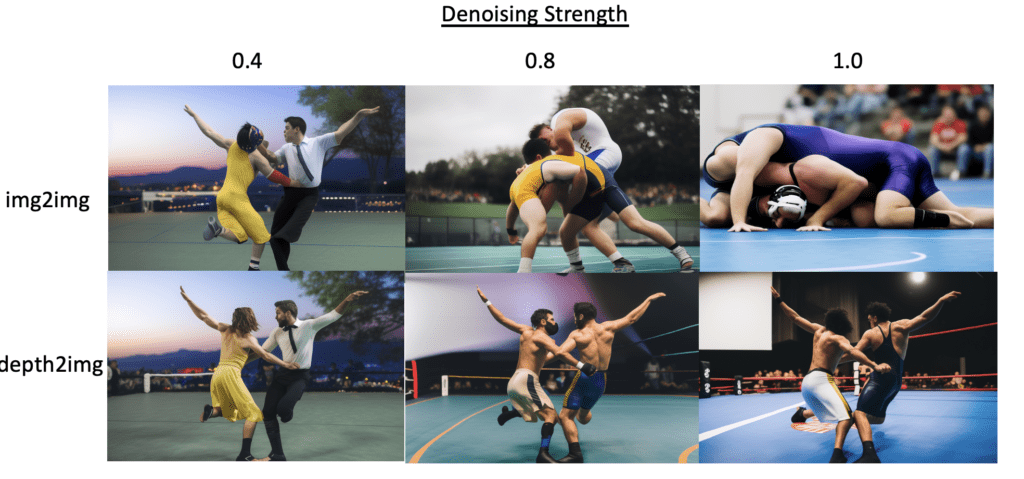
Let’s look at the image-to-image generations (top row). We ran into a problem: At low denoising strength, the image didn’t change enough. At high denoising strength, we do see two wrestlers but the original composition is lost.
Depth-to-image resolves this problem. You can crank up denoising strength all the way to 1 (the maximum) without losing the original composition!
Now you know what depth-to-image can do, let’s see how it works.
So what is depth-to-image?
Recall that in image-to-image, Stable Diffusion takes an image and a prompt as inputs. The image generation is based on BOTH the image and the prompt. The final image resembles the input image in color and shapes.
In depth-to-image, Stable Diffusion similarly takes an image and a prompt as inputs. The model first estimates the depth map of the input image using MIDaS, an AI model developed in 2019 for estimating monocular depth perception (that is estimating depth from a single view). The depth map is then used by Stable Diffusion as an extra conditioning to image generation.
In other words, depth-to-image uses three conditionings to generate a new image: (1) text prompt, (2) original image and (3) depth map.
Equipped with the depth map, the model has some knowledge of the three-dimensional composition of the scene. Image generations of foreground objects and the background can be separated.
Depth map
You don’t need to supply a depth map to use depth-to-image. This section reproduces the depth map for educational purpose.
A depth map is a simple gray scale image of the same size of the original image encoding the depth information. Complete white means the object is closest to you. More black means further away.
Here’s an example of an image and its depth map estimated by MIDaS.

Let’s combine the image and the depth map (using Depthy). Hover the pointer over the image to see the effect.
See model architecture if you want to learn more about how the depth-to-image works in deeper level.
Install depth-to-image model
How to install
To install the depth-to-image model in AUTOMATIC1111 GUI:
- Download the model file (512-depth-ema.ckpt)
- Download the config file, rename it to
512-depth-ema.yaml
Put both of them in the model directory:
stable-diffusion-webui/models/Stable-diffusionHow to use
To use the model, press the refresh button next to the checkpoint dropbox at the top left. Select 512-depth-ema.ckpt to load the model.

Note that the depth model can be used for image-to-image and inpainting, but not text-to-image. You will see an error if you try to do that.
To use the model, go to img2img tab. Follow instructions for img2img and inpainting to use.
As evident from the model name, this is a 512 model. That means it works best when at least one side of the new image is 512 pixels.
Some usage ideas
Now that’s go through some use cases.
An alternative to img2img
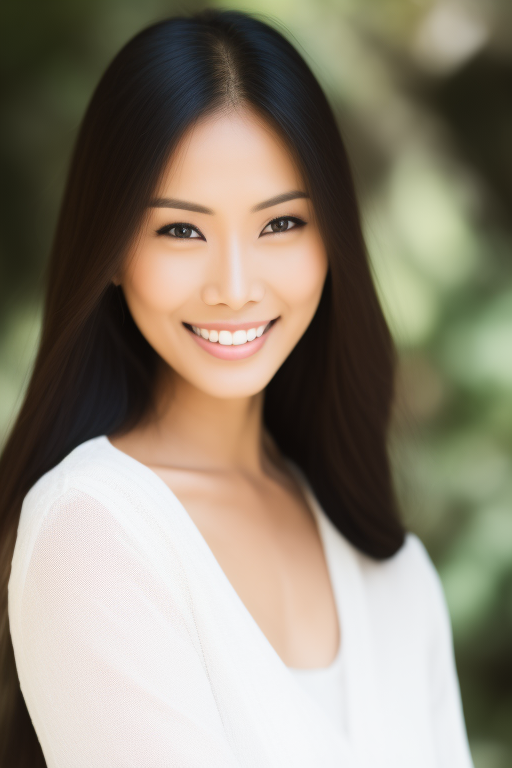
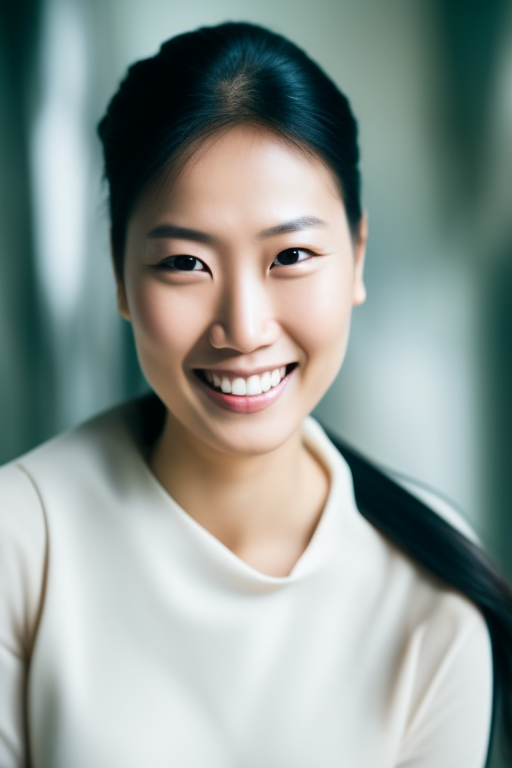
Let’s say you have an portrait photo like this.

You want to have some variety by including an asian woman. But you have already designed additional elements surrounding him so you don’t want the shape of the person to change.
You can kind of do that with img2img, but you cannot set denoising strength too high because you will lose the original shape.
With img2img, this is the best you can do:
There’s some change in shape but not too bad. However, the denoising strength is still too low to deviate from the original man’s skin color. Also the long hair prompt was not followed.
Now the dilemma: Increasing denoising strength to 1 would result in what we want but we will lose the original shape:
Using depth-to-image model would allow us to set denoising strength to 1 without losing the original shape:
Note that the man’s shape is completely preserved, and Stable Diffusion somehow figure out how to render the long hair.
Inpainting
You can similarly use depth-to-image in inpainting, either for fixing defects or creating something new.
You want to use depth-to-image if you care about preserving the original composition.
Style transfer
An advantage of depth-to-image is you can dial denoising strength all the way up to 1 without losing composition. That makes transforming a scene to a different style easy.
Here are some examples:

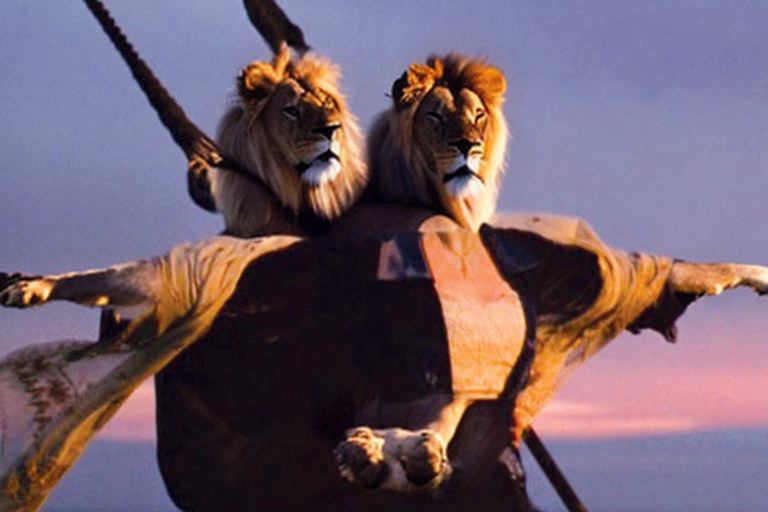
Steal a pose
It’s difficult to generate a particular human pose with Stable Diffusion. With depth-to-image, you can use a photo with the pose you want as the base image. Set denoising strength to 1 and you are in business! The pose will be completely preserved with depth-to-image. The photo can be a movie scene, a painting or a picture you take with your phone.
No more extra limbs, weird hands and endless inpainting to fix poses!
Summary
Depth-to-image is a great alternative to image-to-image, especially when you want to preserve the composition of the scene.
This powerful tool hasn’t got much attention since its release. I hope this article would inspire you to think about including it in your workflow.
Hi, getting the error “error: OpenCV(4.7.0) :-1: error: (-5:Bad argument) in function ‘resize’ > Overload resolution failed: > – src data type = 23 is not supported > – Expected Ptr for argument ‘src'” when using de depth model. All other models work fine.
I am also getting this error.
How do you use inpainting for depth 2 img?
Hi Andrew, sorry to trouble you, I failed to download the 512-depth-ema.ckpt by the link, if there is another way to get the model?
Hi, I just checked the link and it is working. That’s the link from the official source. I don’t know other ways.
Thanks a lot for the quick response! I tried controlnet, the depth-map did not work as well as SD2 depth-2-image, especially when there are more than 1 person in the image.
Can it work for SD1.5 model?
You will need to use controlnet. The depth-map option is doing the same thing.
See the guide:
https://stable-diffusion-art.com/controlnet/
I don’t seem to find a way to do the proposed depth2img with inpainting – the diffusers pipelines are either inpainting or depth2img (i have fine-tuned my own depth2img model). How to proceed?
Hi Chris, you can use inpainting with depth model in Automatic1111. Inpainting is just a special case of image-to-image where the noise is only added to the masked area. You can reference their code for your custom implementation.
Hi Andrew – thanks for your reply! Do you know how to do this with diffusers? AFAIK the conversion script (diffusers -> CKPT) does not work with a fine-tuned depth model, so I’m stuck with huggingface diffusers lib.
seems the A1111 implementation is not that far off from the diffusers pipelines.
Do you know how to get it to work on the Automatic1111 Web-UI?
I’m getting the following error.
RuntimeError: Input type (MPSFloatType) and weight type (torch.FloatTensor) should be the same
Hi Wesley,
AUTOMATIC1111 has only recently updated to enable depth-to-image. Try updating the GUI and restart. Type “git pull” in terminal under the webui’s directory.
I finally got the time to do that, it is working but I’m getting very bad results. the first few followed what I was promoting. After that it seems to just be doing whatever it wants.
Try use more negative prompts. This is a v2 model.