
A stunning Stable Diffusion artwork is not created by a simple prompt. The workflow is a multiple-step process. In this post, I will go through the workflow step-by-step.
The steps in this workflow are:
- Build a base prompt.
- Choose a model.
- Refinement prompt and generate image with good composition.
- Fix defects with inpainting.
- Upscale the image.
- Final adjustment with photo-editing software.
Table of Contents
Software used in this workflow
I will use AUTOMATIC1111 GUI in this workflow because I want to tap into some advanced prompting techniques and test multiple models. The Colab notebook in the Quick Start Guide runs this GUI and includes all the models used in this tutorial. Check out install guide for Windows if you want to install this GUI locally.
In the post-processing stages, I will use GIMP, a free and open-source photo editor, for making small final adjustments.
1. Build a base prompt
The first task is to search for a prompt that roughly matches what you want. This includes two aspects: (1) Subject and (2) Style.
You should describe the subject in as much detail as possible. Next, include multiple keywords that influence the styles and aesthetics.
Let’s say I want to create a digital illustration of a woman. Using the prompt generator (you can also find a list of keywords in this post), I get the following initial prompt
A digital painting of [blake lively:Ana de Armas:0.8 ] , full-body, contemporary white top, red dress, by Artgerm, Guangjian, artstation, soft eyes, extremely detailed face, stunningly beautiful, highly detailed, sharp focus, radiant light rays
Putting a standard negative prompt “just in case”…
ugly, disfigured, deformed, cropped
I have used keyword blending to control how my model looks.
This is just a draft prompt. We will make changes to it in the workflow. Let’s move on to the next step.
2. Select a model
Testing the base prompt is also a good time to pick a model. (Read this post for instructions to install and use models.)
For digital portraits, I would test these three models:
- Stable Diffusion 1.5: The base model
- F222: Specialized in females (Caution: this is a NSFW model)
- OpenJourney: MidJourney v4 Style
Here are samples from each model. We will pick a model based on the style. Don’t worry about getting a perfect image. Defects can be fixed later.
I am going to use portrait size 512×832 pixels to increase the chance of generating a full-body portrait. The rest of the parameters are pretty standard: 25 sampling steps of Euler a sampler, CFG scale 7.
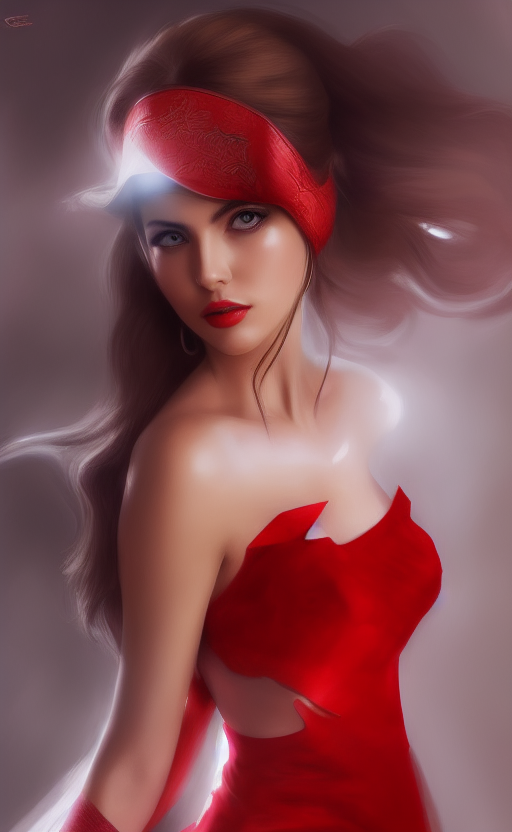
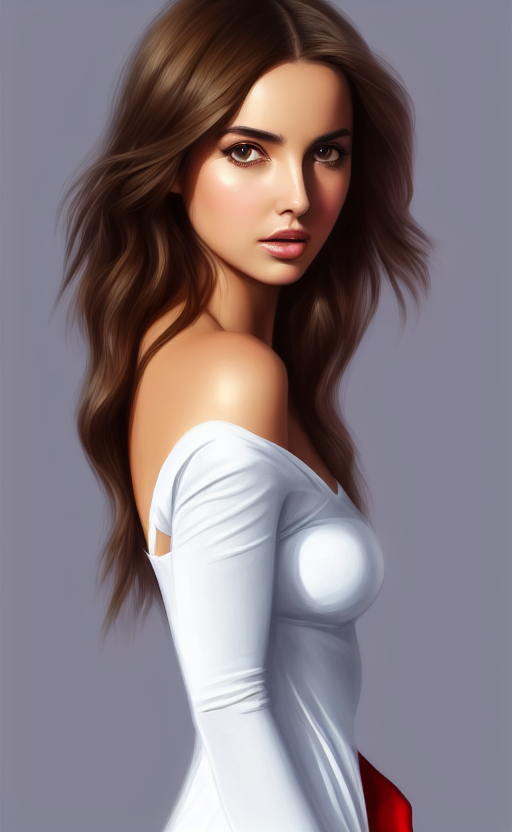
Stable Diffusion v1.5
Stable Diffusion v1.5 generates a mix of digital and photograph styles. Some of them are nice but many of them have bad anatomy that it will be hard to fix.
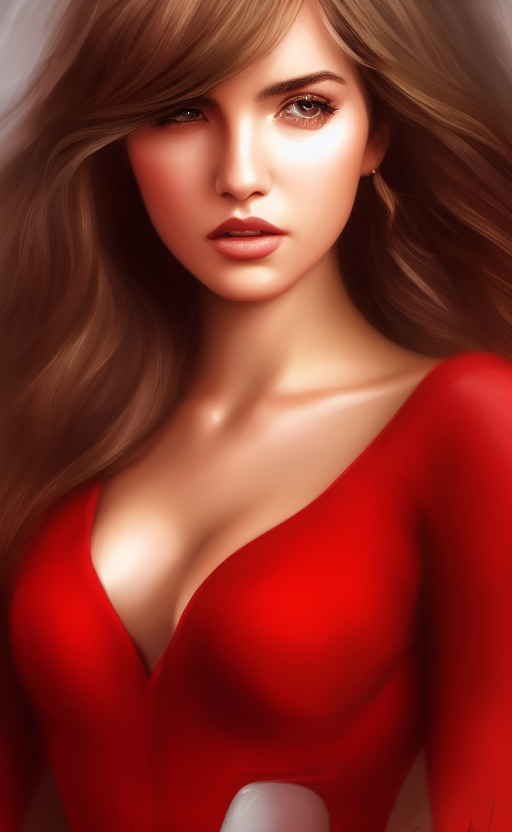
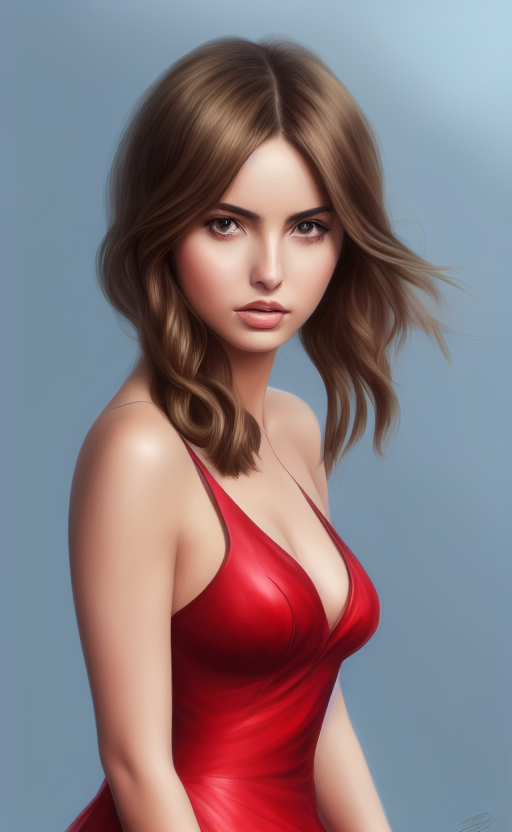
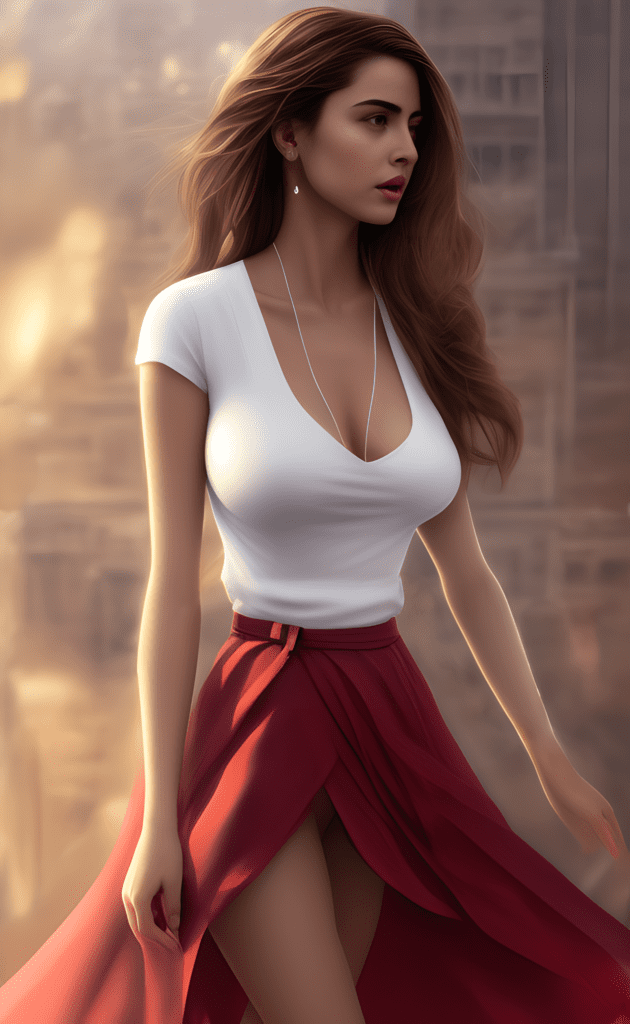
F222
It’s a safe bet to use F222 to generate portrait-style images. Being fine-tuned with large amount of female images, body parts are usually generated correctly. It generates a pretty standard digital art style with this prompt.
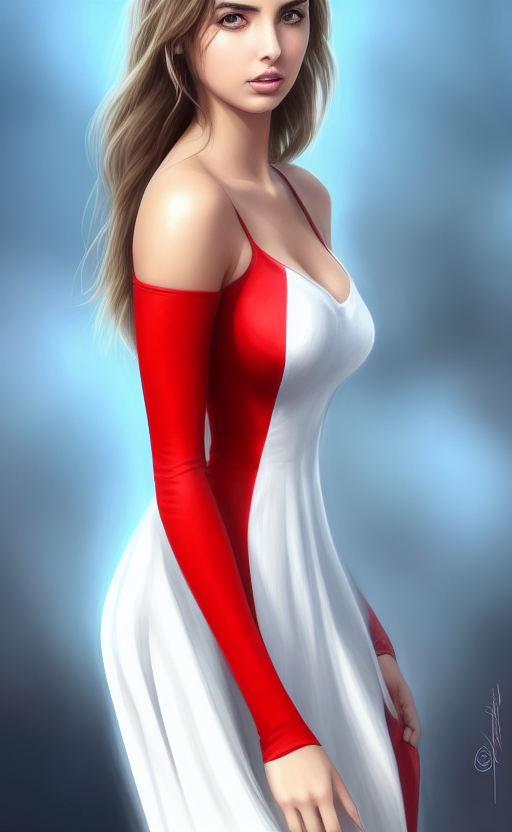
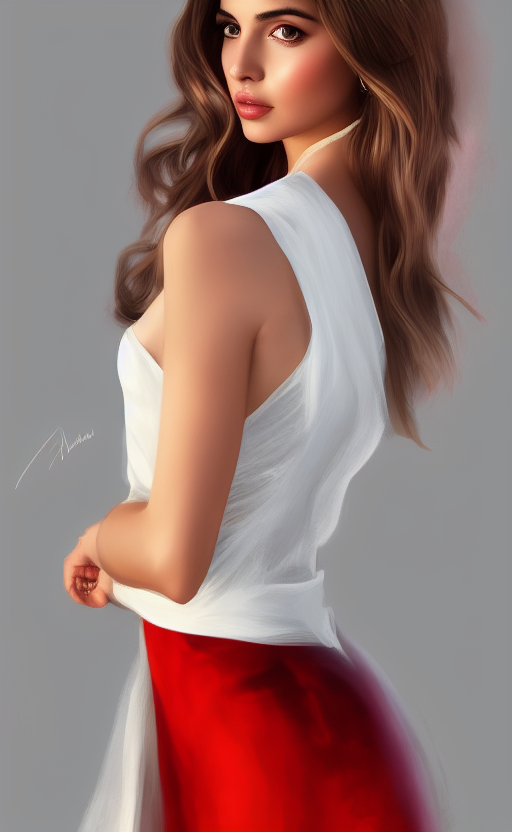
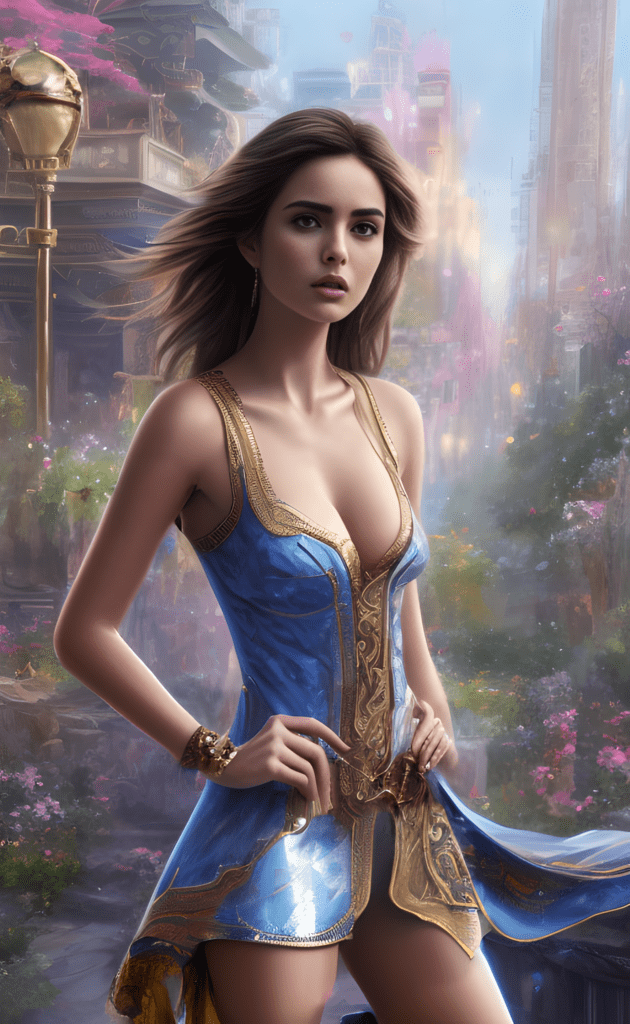
OpenJourney
OpenJourney was trained with images generated by MidJourney v4, a paid AI image generation service. The images have a distinct feel and look.
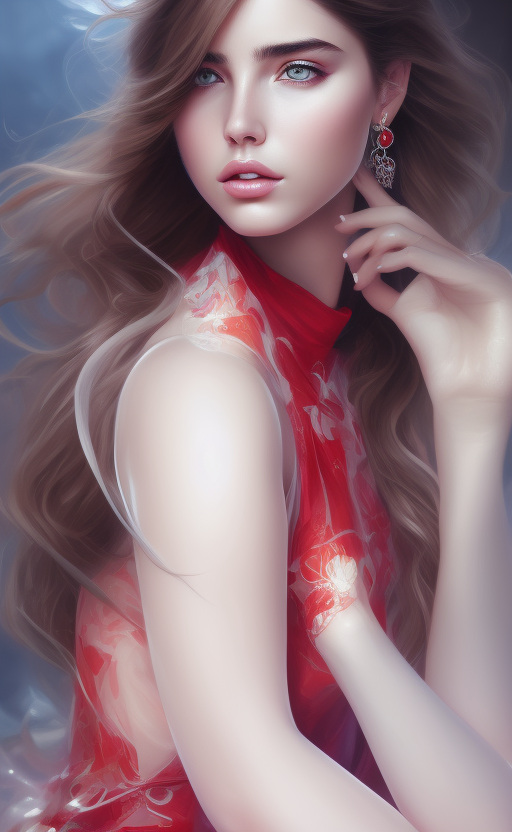
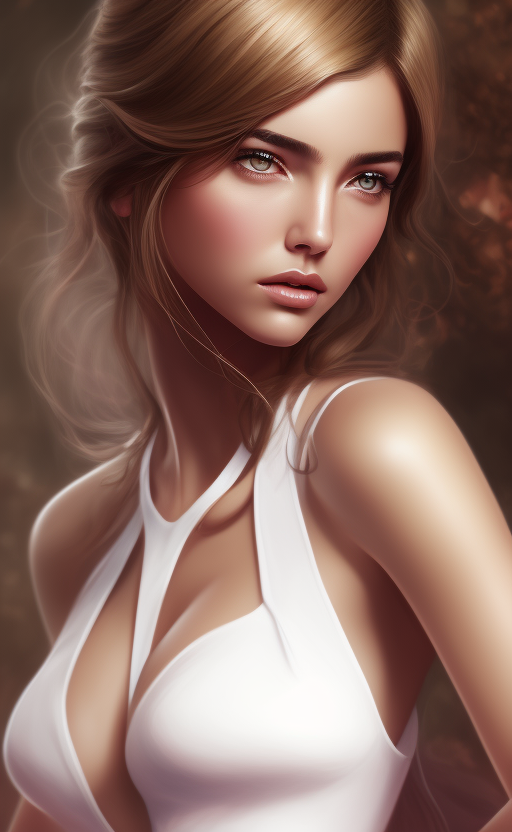
I like both F222 and OpenJourney’s styles. But let’s pick OpenJourney to continue with the workflow.
3. Refine prompt and get a good composition
Refine prompt
Now you have picked a model, let’s refine the prompt by adding or removing keywords until you get an image you can use for the next stage.
When testing new prompts, I would generate at least 4 images at a time. Some prompts just do not work all the time. You don’t want to write off a prompt because of one bad image.
I would add a few keywords to generate a more interesting background and lighting effects.
Select a good composition
The goal at this stage is not to pick a perfect image, but to pick one with a good composition. Any small defects can be fixed later using inpainting.
But don’t pick one with many defects. You will spend an insane amount of time inpainting.
Squint your eyes
How to pick a good composition? It’s no different from any other artworks. A common trick is to squint your eyes when you look at an image. You see a blurry version of it, removing any distracting details. It’s a good composition if the color and shape are still pleasing to you.
Invoke emotion
Have you ever seen an artwork that you cannot take your eyes off? More often than not, it was not because of the technical execution but because the art conveys a message that touches you emotionally.
Good artworks deliver a message and invoke emotions. Pick an image that resonates with you.
Pick one image to work with
I keep the batch size to 4 and the seed to -1 (random). I keep modifying the prompt, generating a batch of 4 images while keeping an eye on composition.
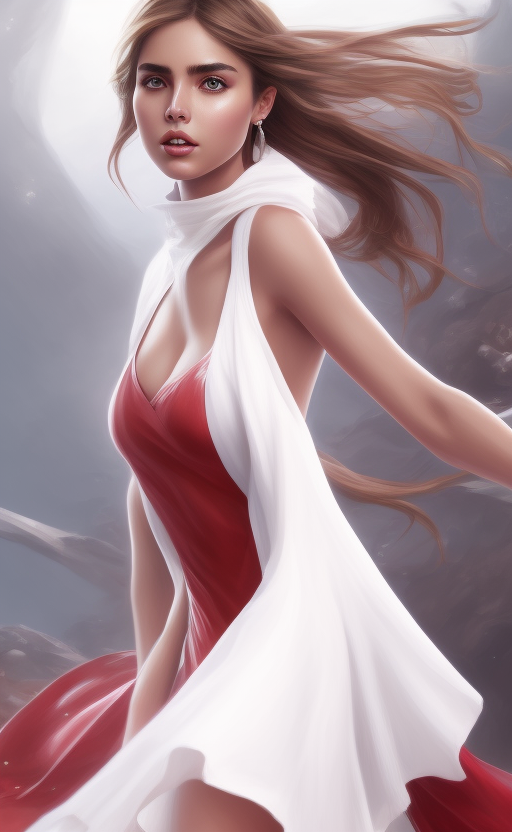
Now, I see this image that totally resonates with me…. Let’s use it for the rest of the tutorial…
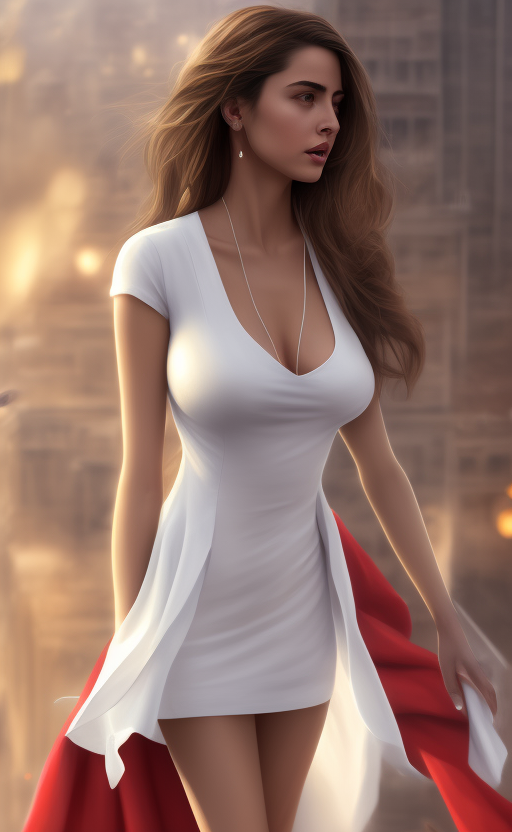
And this is the final prompt:
A digital painting of [blake lively:Ana de Armas:0.8] in street cityscape background, happy, full-body, contemporary white top, red dress, (stocking:1.2), by Artgerm, Guangjian, artstation, soft eyes, extremely detailed face, stunningly beautiful, highly detailed, sharp focus, radiant light rays, cinematic lighting, colorful, volumetric light
The negative prompt is still the same:
ugly, disfigured, deformed, cropped
4. Fix defects with inpainting
Touch up the subject
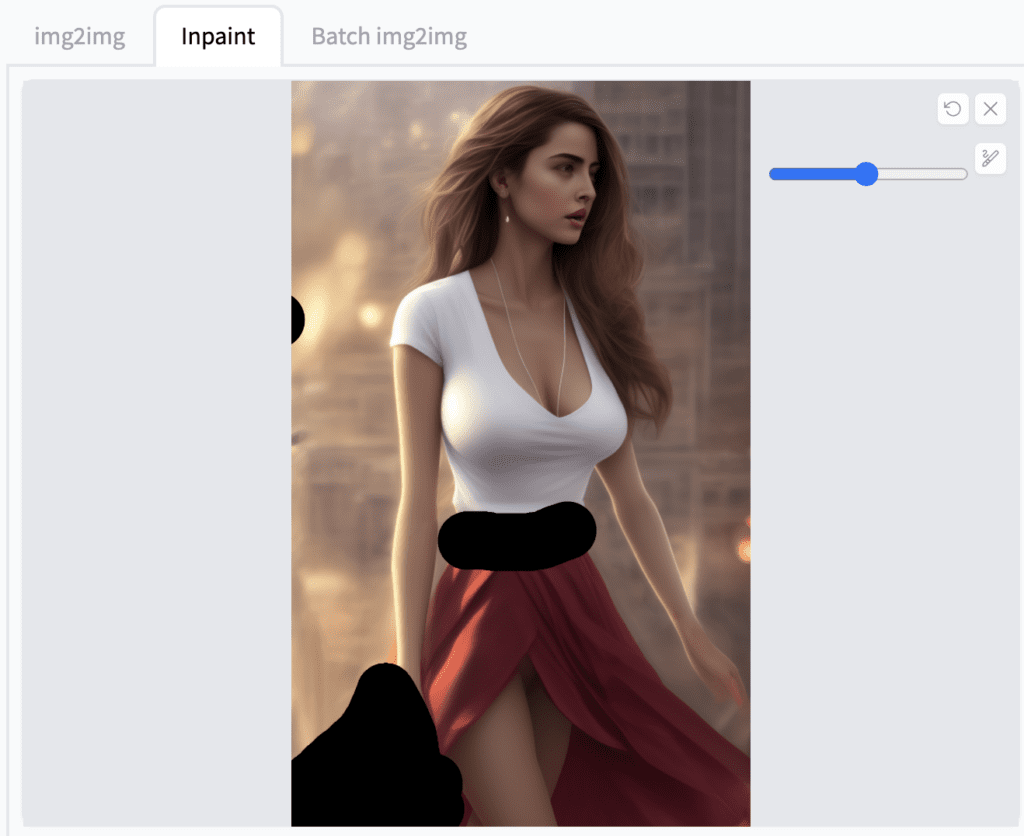
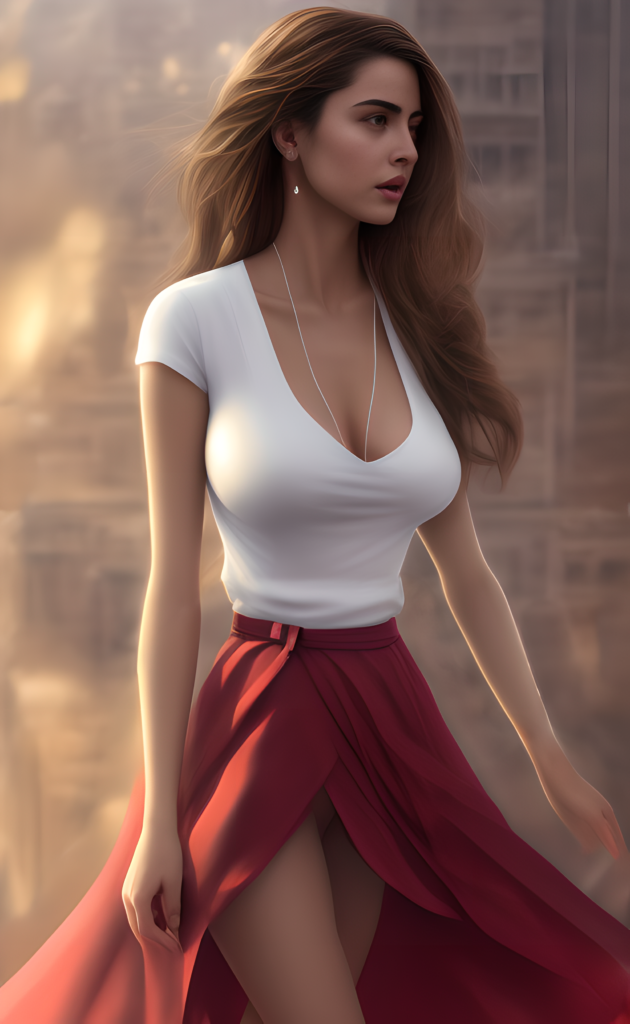
The upper half of this image is in good shape but the lower half is not quite coherent. Let’s use inpainting to fix it.
If you have just generated this image in txt2img tab with AUTOMATIC1111, use Send to inpaint button to send the image and parameters to the Inpaint tab.
If you have saved the image on your local storage, go to PNG info tab, drag and drop the image to the image canvas. The generation parameters will be populated in the text box. Press Send to inpaint.
Navigate to img2img tab. Select the Inpaint sub-tab. Use the paint brush tool to draw the mask for the area you want to regenerate.
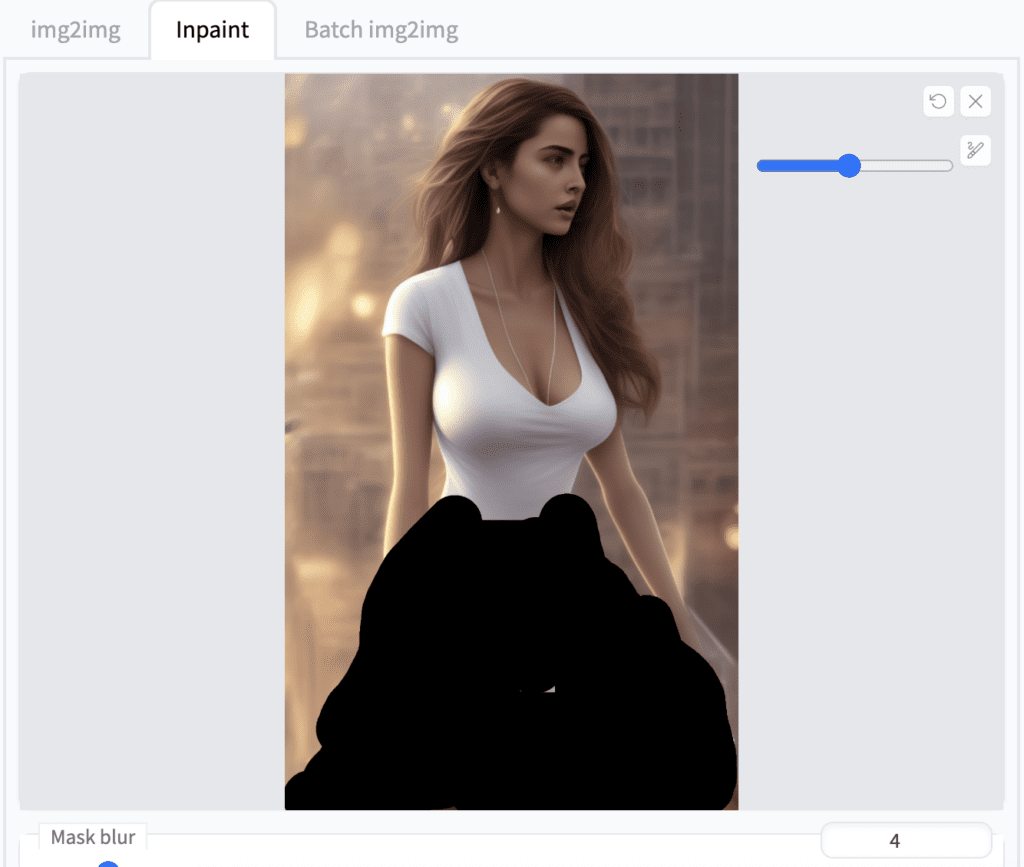
Inpaint with mask content as original and denoising strength 0.66. I want a red dress so I delete the keyword “white” and increase the emphasis of red dress to 1.3 in the prompt:
A digital painting of [blade lively:Ana de Armas:0.8 ] in street cityscape background, happy, full-body, contemporary top, (red dress: 1.3), (stocking:1.2), by Artgerm, Guangjian, artstation, soft eyes, extremely detailed face, stunningly beautiful, highly detailed, sharp focus, radiant light rays, cinematic lighting, colorful, volumetric light
When inpainting clothings or other body parts, inpaint in full resolution is usually not neccesary. So I leave this option unchecked.
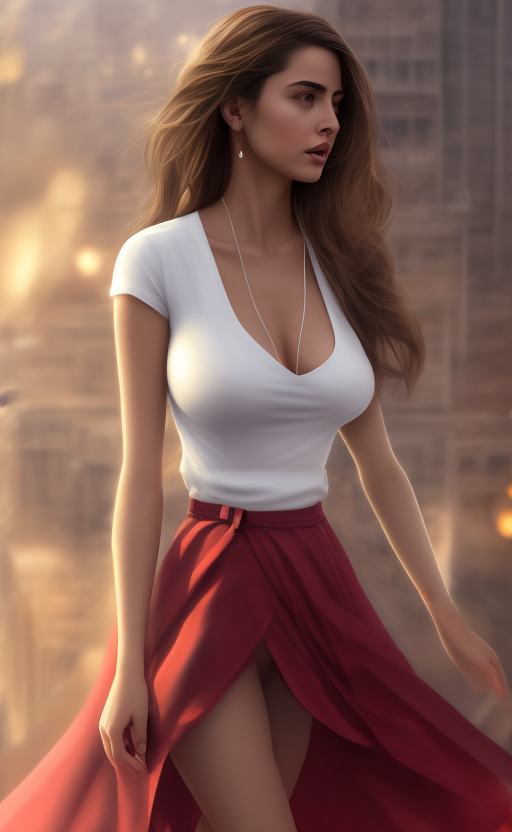
Here’s the inpainting result I picked:
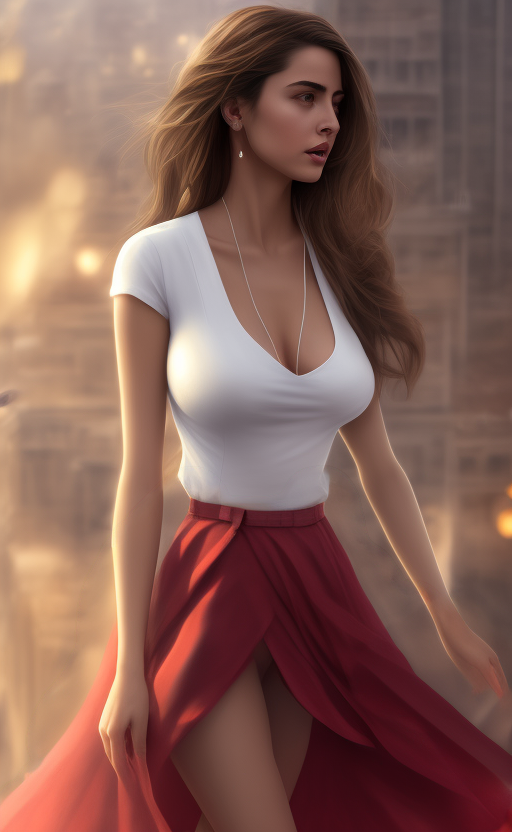
Let’s fix up the belt and the dress a bit more. The prompt can stay the same. Denoising strength can be adjusted depending on how much change you want. For this inpainting it stays the same at 0.66.
Now we get:
I found keeping mask content as original but adjusting denoising strength up and down worked most of the time.
Touch up the background
Finally, touch up the background to remove any distracting details. Again, a good way to do this is to squint your eyes to see the blurry version of the image. Remove anything in the background that stands out.
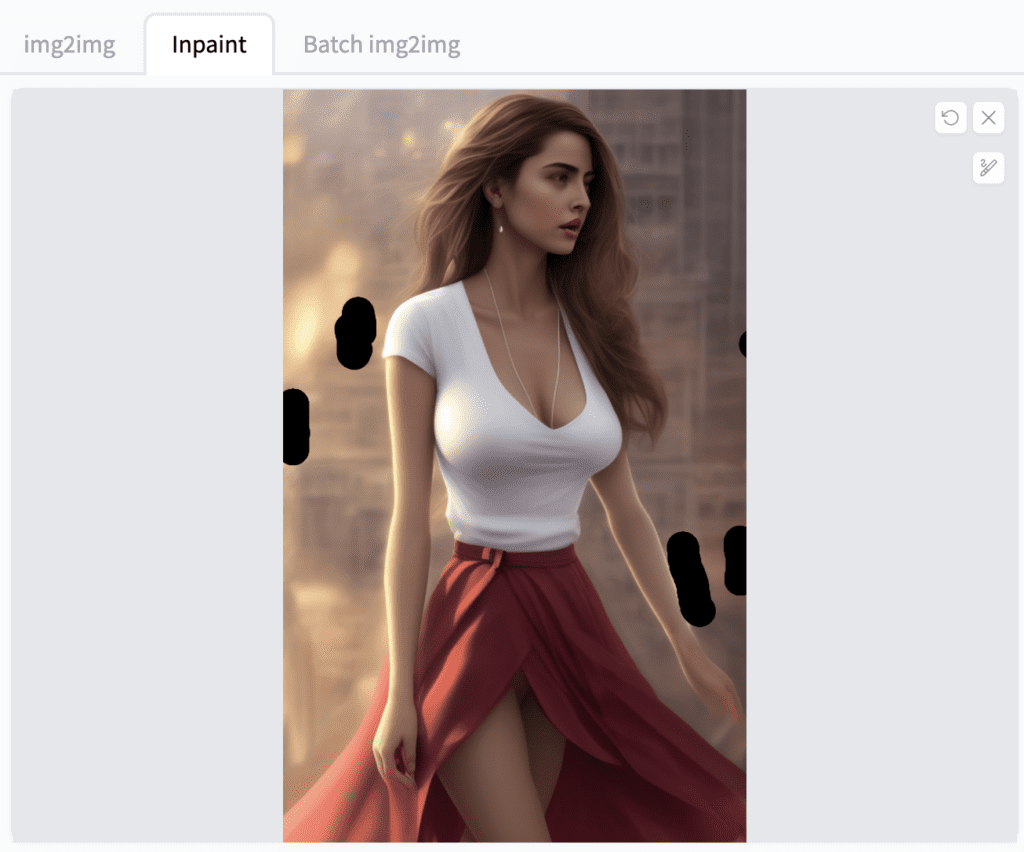
Now with the background got fixed up, the image is in a pretty good shape!

5. Upscale the image
This part of the workflow is to make the image larger since it is pretty small: only 512×832 pixels. We will enlarge it 4 times with an AI upscaler.
In AUTOMATIC1111, under the inpainting results, click Send to extras.
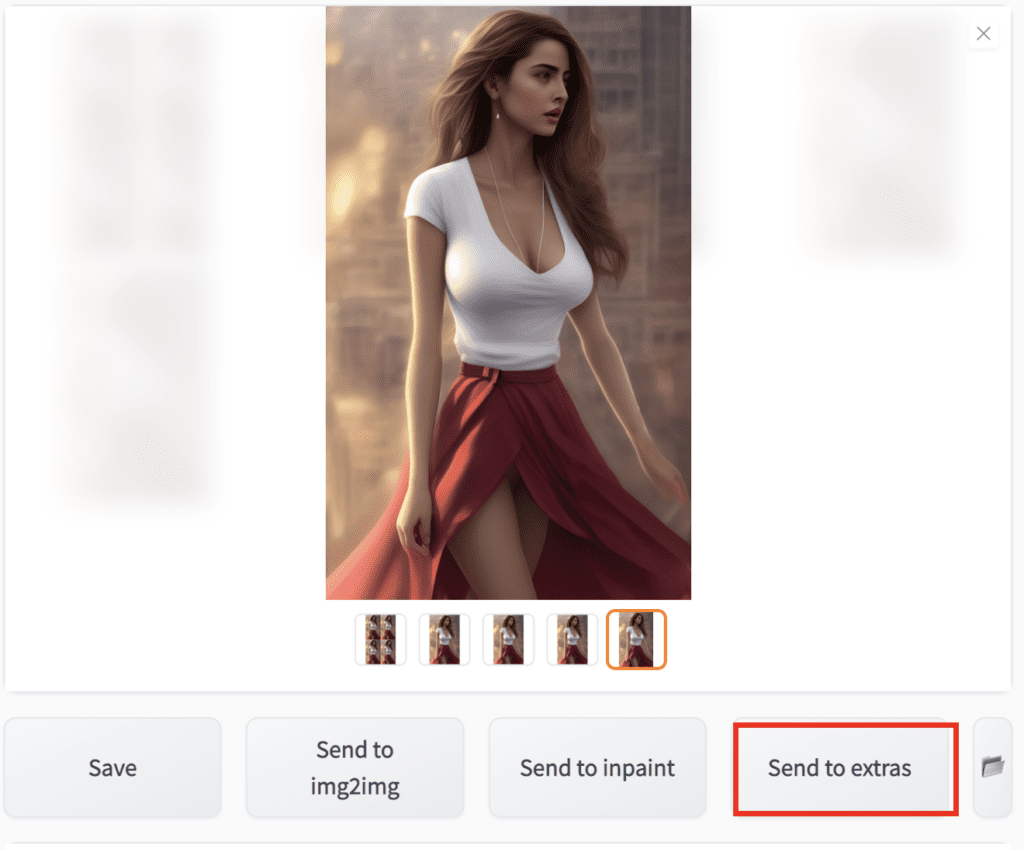
Go to Extras tab. You can experiment with different upscalers and settings. Be sure to save the resulting image to your local computer and zoom in to inspect the details, especially the face.
After some experimentation, here’s the setting I settled with:
- Resize: 4
- Upscaler: R-ESRGAN 4x+
- CodeFormer visibility: ~0.5
- CodeFormer weight: ~0.5
- Upscale before restoring faces: Yes
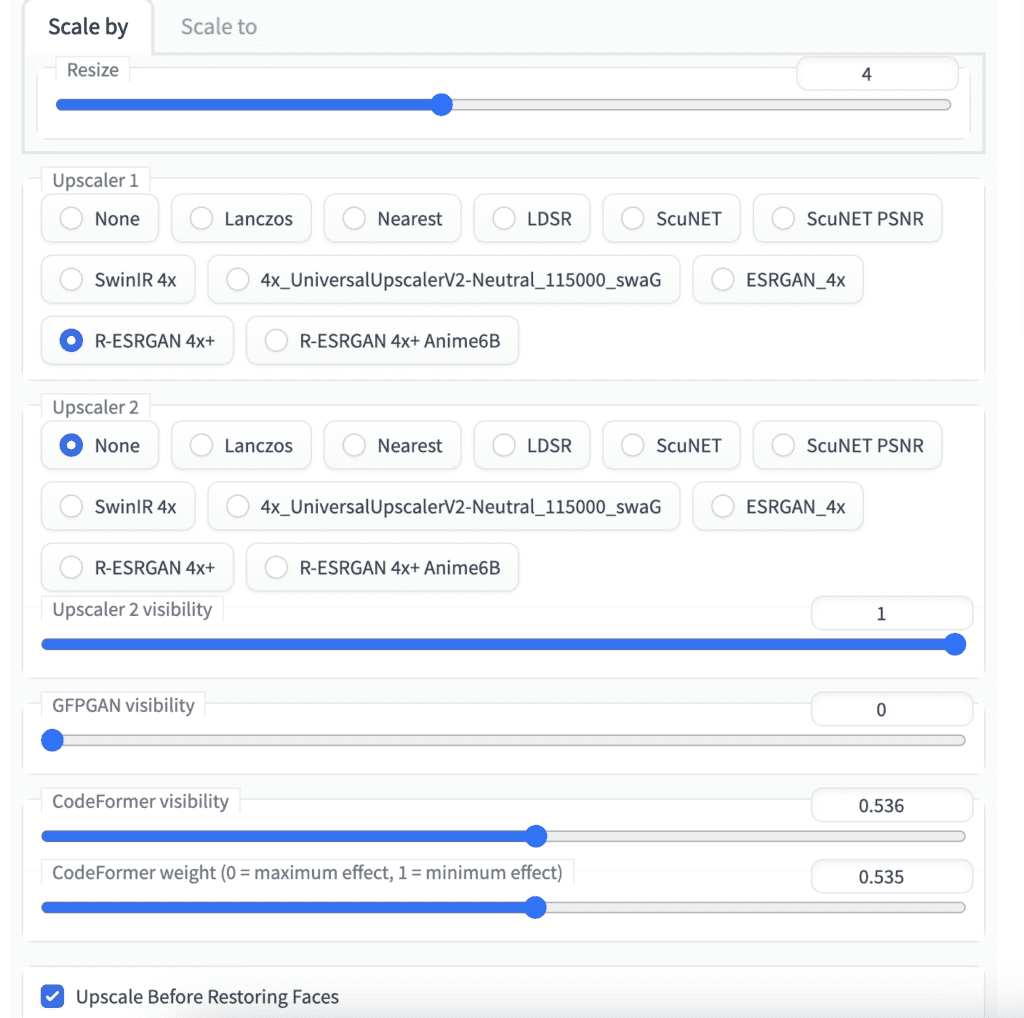
The general rule is to apply the least amount of face restoration you can get away with. This can be achieved by lowering the CodeFomer visibility and/or increasing the CodeFormer weight. Upscale before restoring faces could reduce artifact introduced by the upscaler.
Here’s the upcaled image:
6. Final adjustment
The final step is to do some small adjustments in luminosity and contrast using GIMP, or any photo editing software of your choice. There’s a lot more you can do to touch up an image. I will only mention the very basics: levels, curves and crop.
Adjust levels
In GIMP, click Colors → Levels in the top menu. Adjust the left and right up-arrow so that they cover the tails of the histogram. This is to make sure the image is using the whole range of intensity values.
Then adjust the middle up-arrow to the level of brightness to your taste.

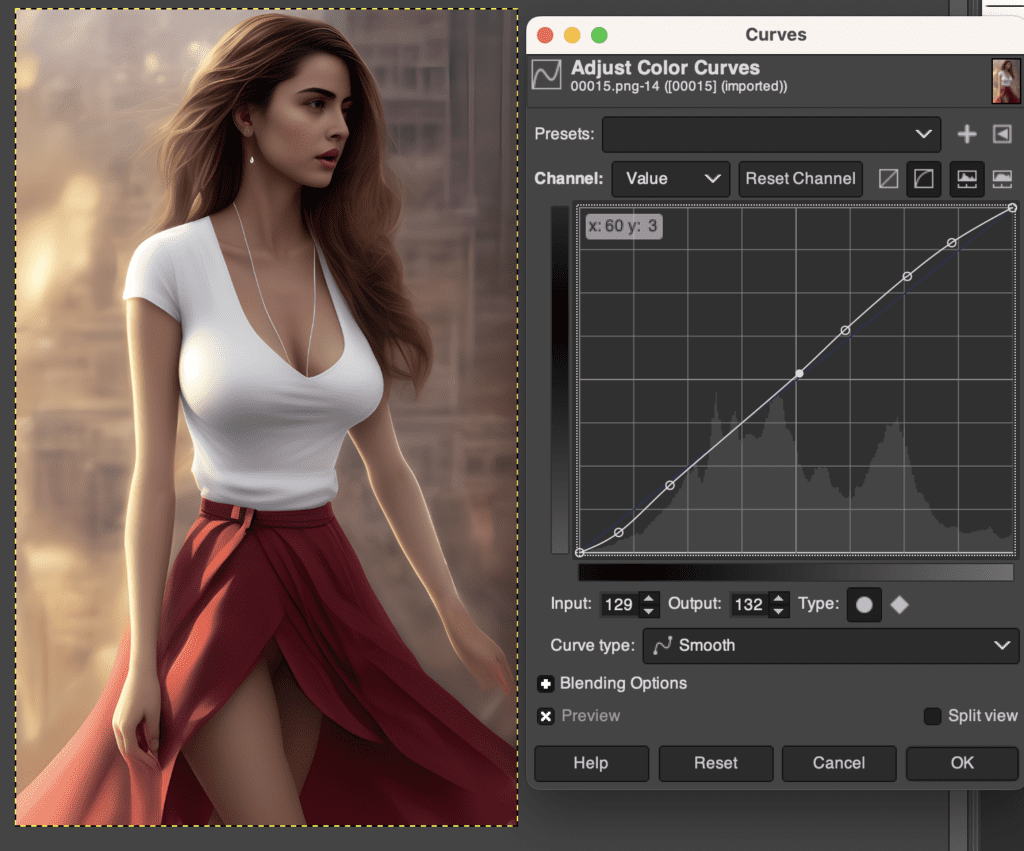
Adjust curves
In GIMP, click Colors → Curves in the top menu. Adjust the upper part and lower part of the curve separately to control the contrast applied to the bright part and the shadow independently.
Crop
Like real photos, AI images may need to be cropped to improve composition. This has something to do with the simple automated cropping applied to the training data.
To crop an image in GIMP, click Tools → Transform tool → Crop.
Since this image looks pretty good already, I am not going to crop it.
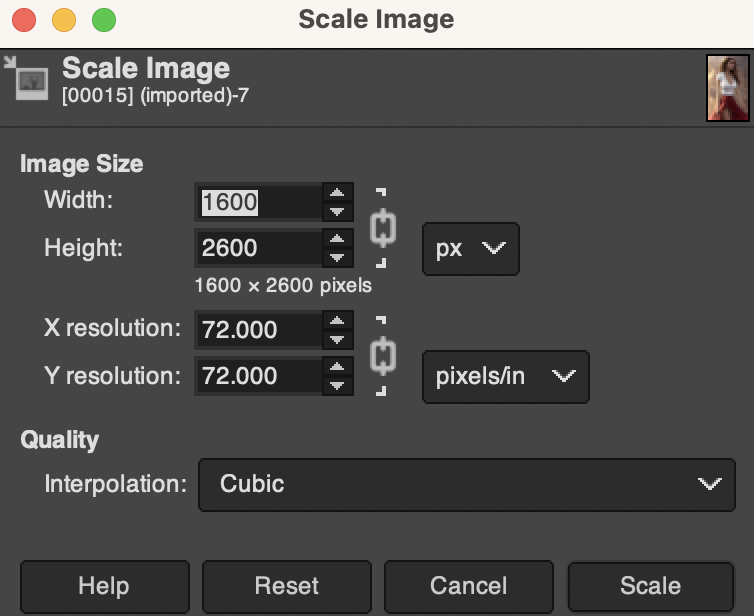
Resize (optional)
You can optionally resize the image for different usages. To resize, click Image → Scale Image. Enter the new width and height.
Final result
So here we get the final result.
See more images from the same workflow here.

To recap, the steps in this Stable Diffusion workflow are
- Build a base prompt.
- Choose a model.
- Refinement prompt and generate image with good composition.
- Fix defects with inpainting.
- Upscale the image.
- Final adjustment with photo-editing software.
how many fingers they have. Seems uncompleted
This post was from early days of SD. Now you can use hand fixer to fix hands. https://stable-diffusion-art.com/fix-hands/
Where do the bones go? I love AI and what it can produce. Friggin unbeleavable.
But alas, I am sad.
The fact AI has extrapolated that girls arms should be that skinny is crazy.
As a father, I’m saddened that my own young daughter is going to have to grow up in a world where the average impresionable male will be influenced by AI generated images and that the expectation is that girls have such anime sized arms.
But… AI is pretty cool right?
This post was from a while back when AI image generators are in wild west. Now the default images are more normal because of increased censorship.
Thanks for the workflow. I have several questions.
When you find a good composition with the second prompt, is it possible to keep the same seed and enrich the prompt in txt2img? Or changing the prompt will change radically the result?
Is it better to perform inpaint on original resolution (512) or first increase by 2 (1024) to inpaint more details?
Thanks
1. Some keywords won’t change the composition too much but others will change it completely. You can try scheduling the keyword later this technique to conserve composition.
https://stable-diffusion-art.com/prompt-guide/#Poor_man8217s_prompt-to-prompt
2. Both works. In original resolution, you can use inpaint only masked to improve resolution.
bro this dress leaves her whole stuff out…
Well done
Thank you!