You don’t need to throw away good images because of small blemishes. You can use inpainting to change part of an image as much as you want. In this article, we will go through
- A basic inpainting workflow
- Inpainting settings
- Inpainting model
- ControlNet inpainting
- Automatic inpainting
Table of Contents
Software setup
We will use AUTOMATIC1111, a popular and free Stable Diffusion software. You can use this GUI on Windows, Mac, or Google Colab.
Check out Think Diffusion if you want a fully managed AUTOMATIC1111 online service. They offer 20% extra credits to our readers. (and a small commission to this site)
Check out the Quick Start Guide if you are new to Stable Diffusion. Check out the AUTOMATIC1111 Guide if you are new to AUTOMATIC1111.
A basic example of inpainting
Step-by-step workflow
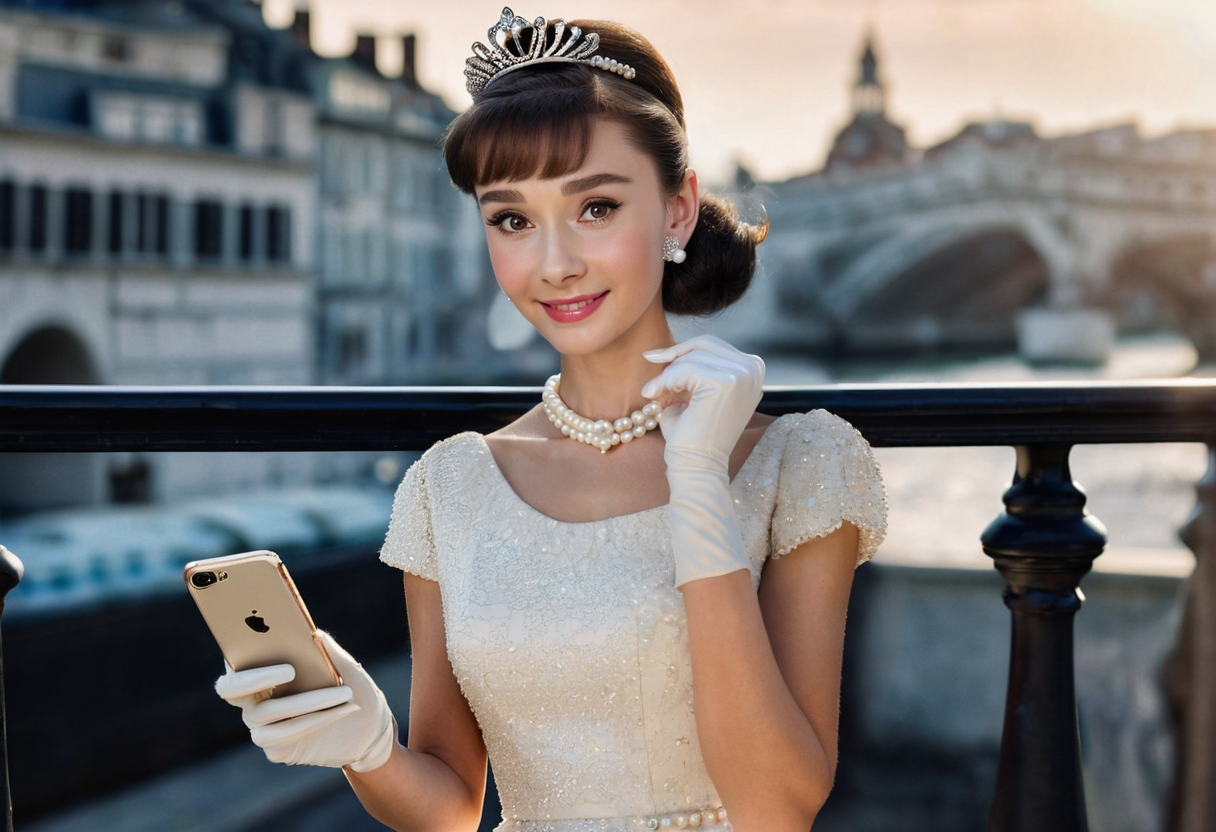
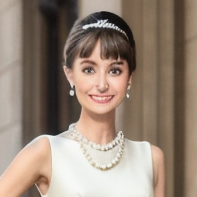
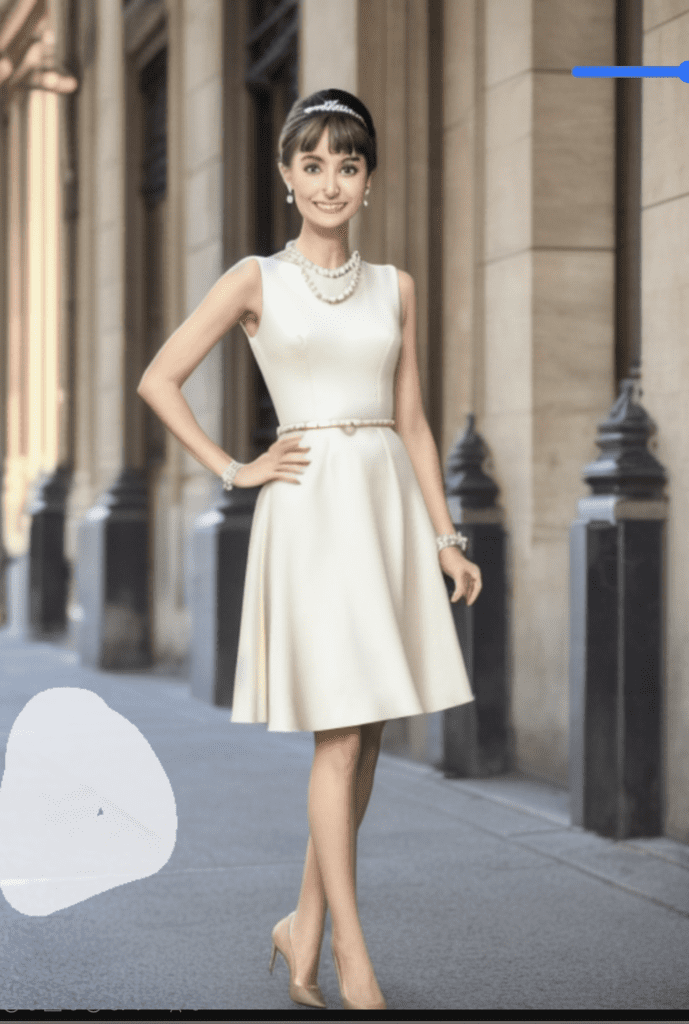
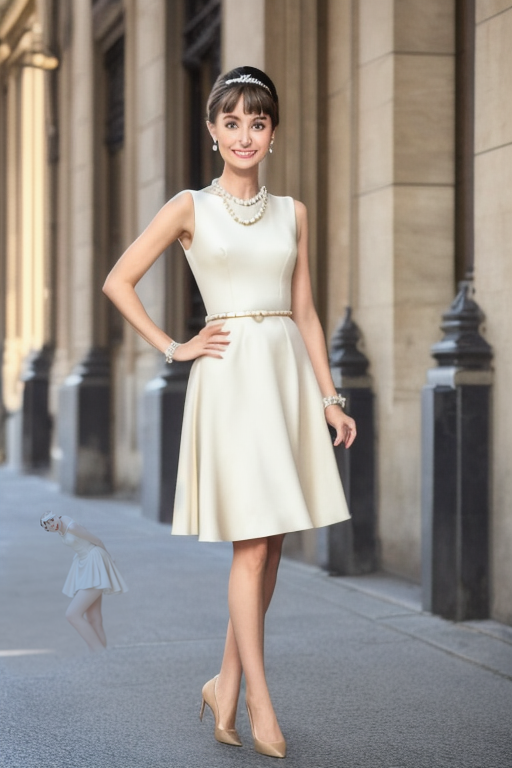
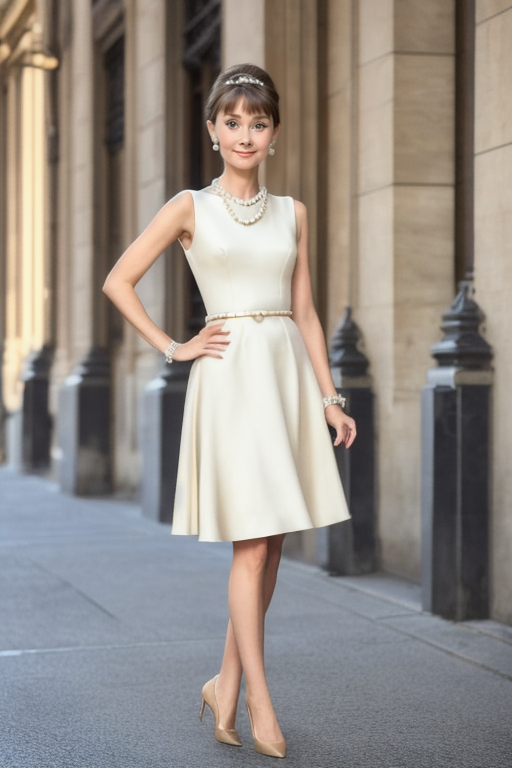
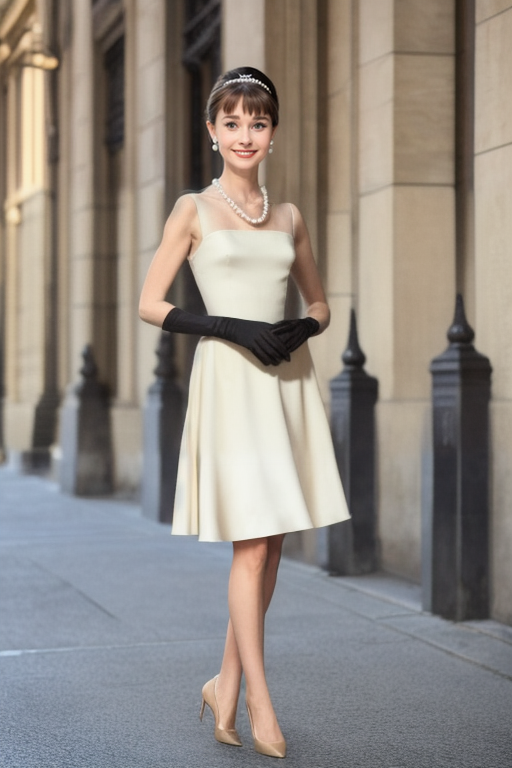
We will go through the basic usage of inpainting in this section. Let’s say you used the txt2img page to generate an image using the following settings.
Model: Realistic Vision V5.1
Prompt:
full body, audrey hepburn, black hair, 18 years old, 1940’s, photoshoot, Fujifilm XT3 Viltrox, posing, instagram, happy smile, stand up, ultra detailed, sharp focus, elegant, jewels, urban background, rim lighting, short beige dress, beige kitten-heels, black gloves, pearl tiara, pearls necklace, brilliant pearl earrings, hdr, high contrast, sunlight, , shadows, skin pore, pretty, beautiful, feminine, loving, in love, adorable , fashion, chic, excellence, leg, dress
ugly, deformed, nsfw, disfigured
CFG Scale: 7
Size: 512 x 768
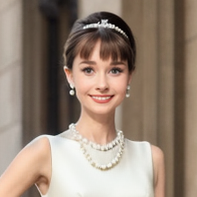
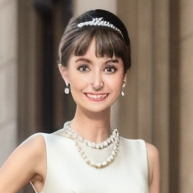
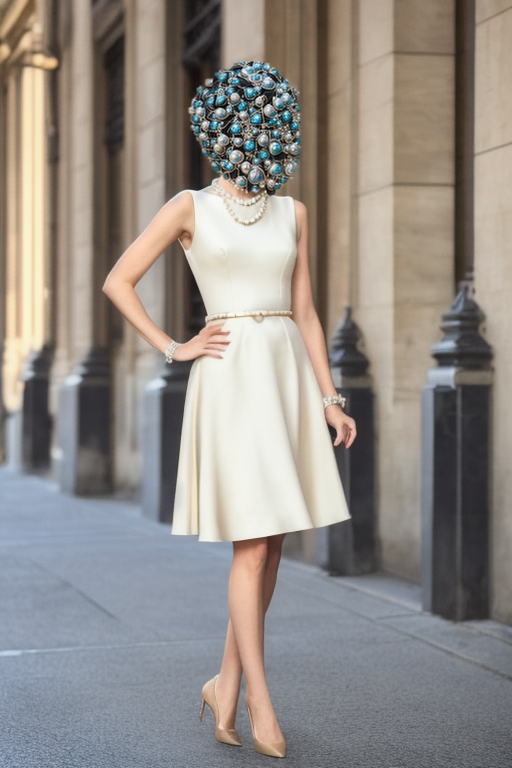
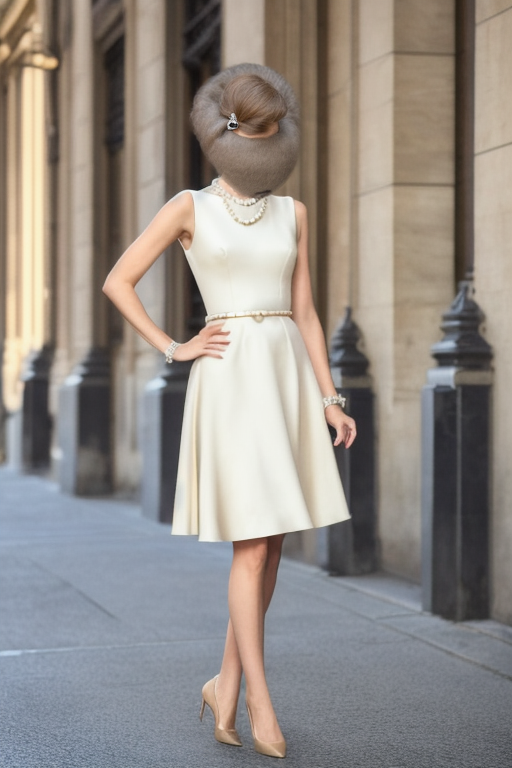
You got some good images. But the faces are not quite right in full-body images.

This is because the face is too small to be generated correctly. Luckily, you can use inpainting to fix it. Click the Send to Inpaint icon below the image to send the image to img2img > inpainting.

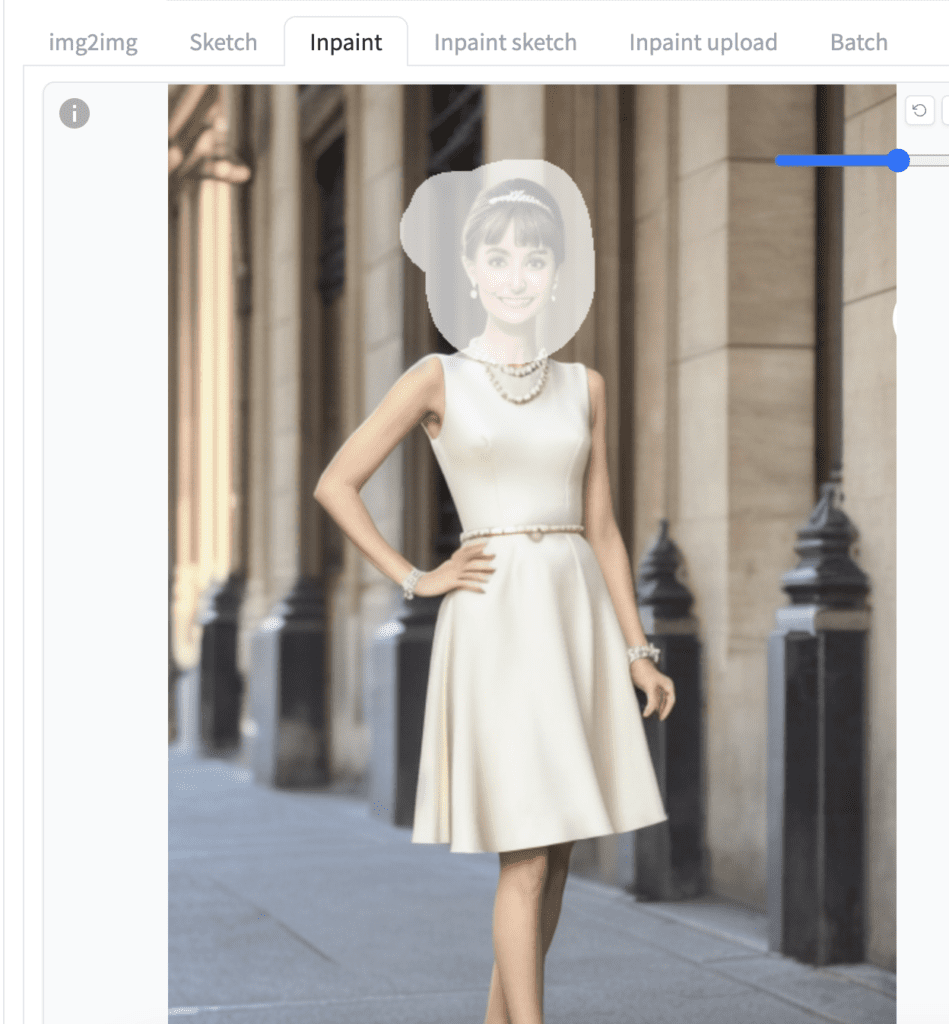
You should now be on the img2img page and Inpaint tab.
Use the paintbrush tool to create a mask on the face.
The default settings are pretty good. You only need to confirm a few things:
- Inpaint area: Only masked – We want to regenerate the masked area.
- Batch size: 4 – How many inpainting images to generate each time.
- Denoising strength: 0.75 – This is the most critical parameter controlling how much the masked area will change. A higher value changes the image more.
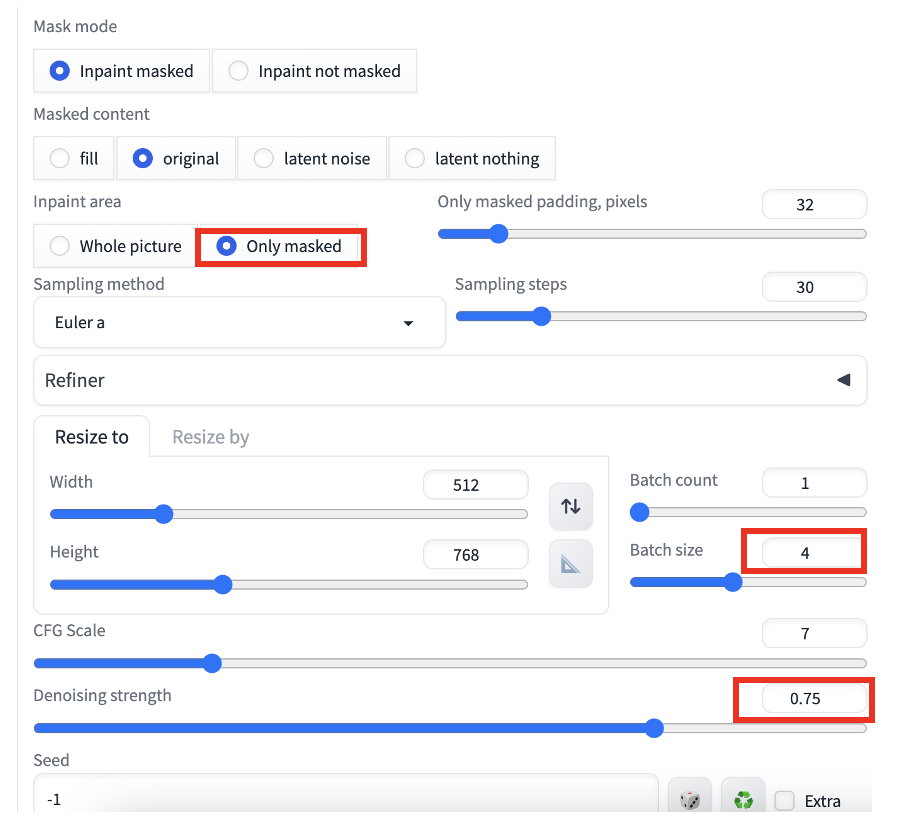
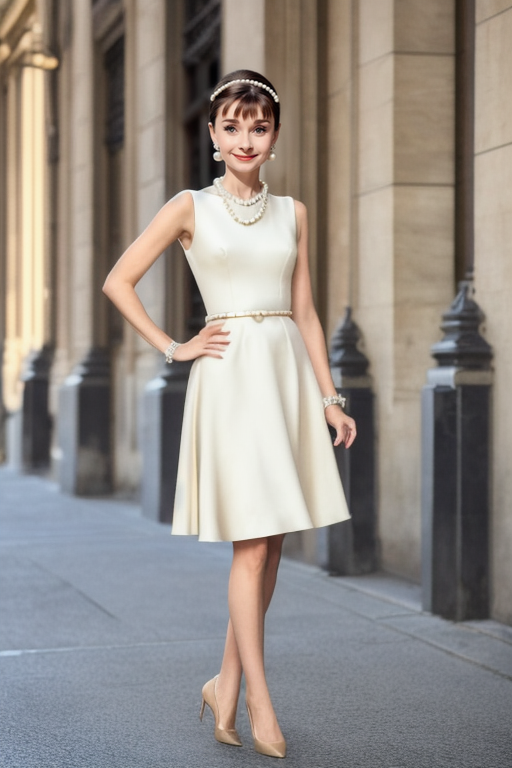
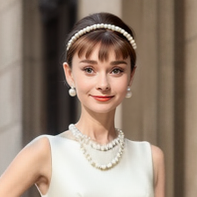
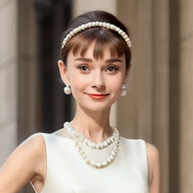
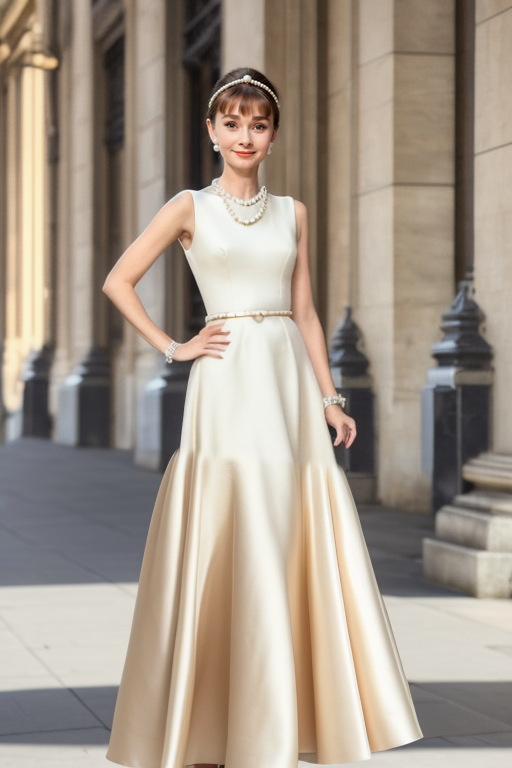
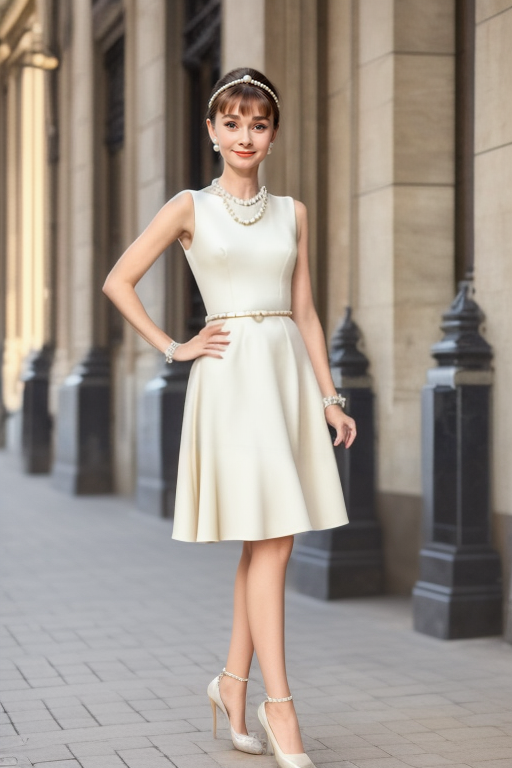
Press Generate to start inpainting. You get images with the face fixed while keeping everything outside the mask the same.
How does inpainting work?
Inpainting is similar to image-to-image, where random noise is added to the whole image in the latent space before denoising. But random noise is added only to the masked area in inpainting.
Inpainting settings explained
We will go through the essential settings of inpainting in this section.
Denoising strength
Denoising strength is the most important setting in inpainting. It controls how much the masked area should change.
As a rule of thumbnail, too high a value causes the inpainting result to be inconsistent with the rest of the image. (There’s a way to fix it in the later part of this article) Too low a value could result in a blurry result. Setting denoising strength to 0.5 is a good starting point.
Inpaint the whole picture vs only masked
Do you wonder why Stable Diffusion is not able to generate the face correctly in the first place? It is because the face is too small. The native resolution of Stable Diffusion v1 is 512×512 pixels. It cannot generate a face not covered by enough pixels.
The only masked option is designed to fix this. It crops out the masked area and uses the whole resolution for that area. It then scales the result back to its original size. It fixes the issues of painting small faces or objects.
The whole picture option takes the input picture and masks as is without cropping.
The most common use case of the only masked option is to regenerate faces in finer detail. It is often at the expense of the consistency of the rest of the image since you crop out the masked area for inpainting.
Use the whole picture option if global consistency is important, such as fixing blemishes in the background.
Inpaint the whole picture won’t fix the face:

On the other hand, you should inpaint the whole picture when regenerating part of the background. Using the only masked option can create artifacts like the image below.

Masked content
The Masked content option specifies whether you want to change the image of the masked area before inpainting.

- Original: No change.
- Fill: Replace with the average color of the masked area.
- Latent noise: Random noise only.
- Latent nothing: No color or noise (An all-zero latent image)
Original is the most common selection in masked content. You may want to use Fill when you want something quite different from the original image. Latent noise and Latent nothing usually end in disasters.


Prompt
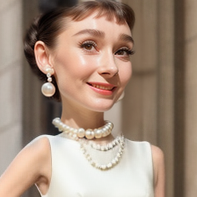
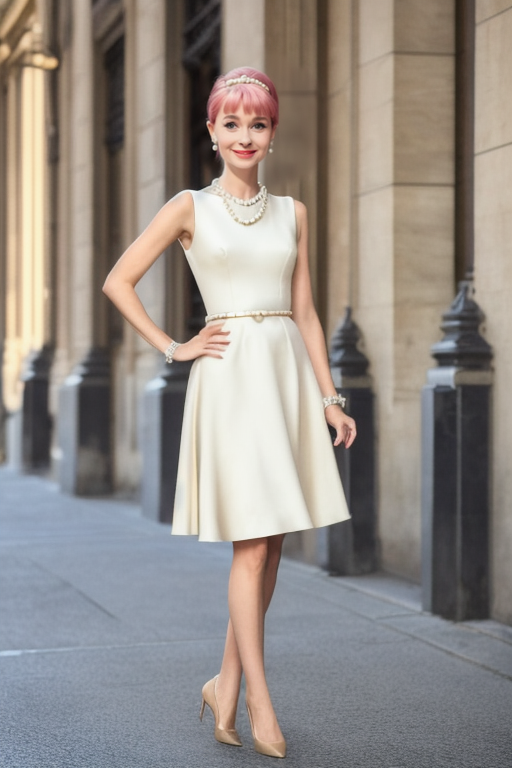
One of the most powerful ways to use inpainting is to change the content of the masked area. For example, using a technique for generating consistent faces, I replaced “audrey hepburn” with
Ana de Armas, (emma watson:0.5), Liza Soberano
Now I get a consistent generic face with the look I wanted.

Inpainting models
Do you know there are Stable Diffusion models designed for inpainting? The model is slightly different from the standard Stable Diffusion model. It has 5 additional input channels to the UNet representing the masks and masked images.
You normally don’t need an inpainting model when fixing a small patch. They are for inpainting big areas. Since changing the checkpoint model could greatly impact the style, you should use an inpainting model that matches your original model. For example,
The inpainting model can produce a higher global consistency at high denoising strengths. See the images below. I inpainted the lower half of the image with the original and the inpainting models. (denoising strength is set to 1)
Error when using inpainting model
If you encounter the following error when using an inpainting model.
“RuntimeError: Sizes of tensors must match except in dimension 1. Expected size 1 but got size 2 for tensor number 1 in the list.”
You may have set the optimization Negative Guidance minimum sigma on the Settings page. Go to the Settings page > Optimization. Set Negative Guidance minimum sigma to 0.
ControlNet inpainting
OK, so far, we have covered some basic inpainting operations. We will cover using ControlNet with inpainting in this section.
ControlNet is an indispensable tool for Stable Diffusion. You can copy the outline, human poses, etc, from another image. In the case of inpainting, you use the original image as ControlNet’s reference.
The following guide applies to Stable Diffusion v1 models.
Tile resample
ControlNet Tile allows you to follow the original content closely while using a high denoising strength.
To use ControlNet Tile, scroll down to the ControlNet section in the img2img tab.
- Enable: Yes
- Control Type: Tile/Blur
- Preprocessor: tile_resample
- Model: control_xxx_sd15_tile
- ControlNet: Starts with 1. Lower it if you see artifacts.
You should not use an inpainting checkpoint model with ControlNets because they are usually not trained with it.
Adjust the downsampling rate as needed. A higher downsampling rate makes the control image blurrier and will change the image more.
Using a denoising strength of 1, we can still inpaint the face and preserve details like hairstyle. See below the hairstyle preserves after the face swap.

Canny
Canny extracts the outline of the image. ControlNet Canny creates images that follow the outline.
For inpainting, Canny serves a function similar to tile resample but does not fix colors. The ControlNet preprocessor extracts the outline of the inpainted area.
Follow the instructions in the previous section but use the following settings instead.
- Preprocessor: Canny
- Model: control_xxxx_sd15_canny
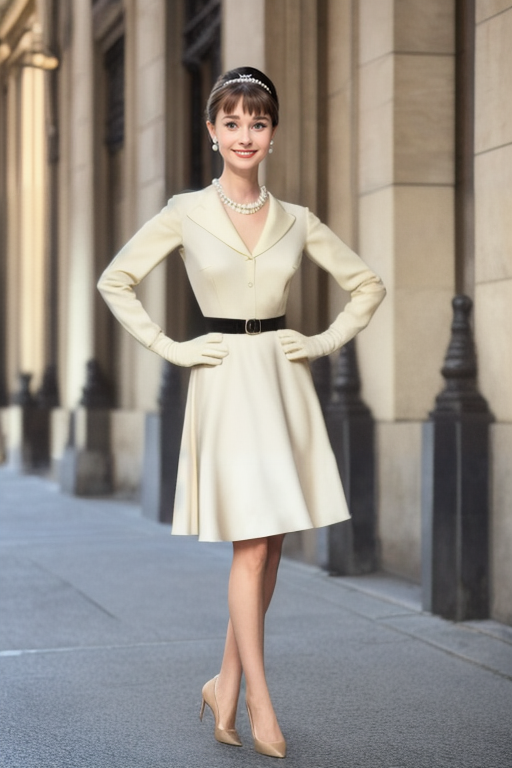
The image below is created with the part of the prompt changed from “black hair” to “pink hair.”
Inpainting
Remember the inpainting checkpoint model allows you to use a high denoising strength without losing global consistency? You can achieve the same effect with ControlNet inpainting.
- Preprocessor: inpaint_only
- Model: control_xxxx_sd15_inpaint
The images below are generated using denoising strength set to 1. ControlNet inpainting allows you to regenerate the clothing completely without sacrificing global consistency.
Automatic inpainting
Finally, if you have been using inpainting to fix faces, you may feel that the process is mechanical: Send to Inpaint. Create a mask around the face. Set denoising strength to 0.5 and inpaint.
Why not automate this? The Adetailer extension does exactly that. It automatically detects and fixes faces with the only masked option. The default setting is good to go. You can enable it in txt2image to perform automatic inpainting.
What should I do if I have a generated image but I’m bothered by the image on the wall that shouldn’t be there?
Weird… I am doing everything like you described but see only error message like below. I tried to change settings but it doesn’t help. Any idea why?
modules.devices.NansException: A tensor with all NaNs was produced in Unet. This could be either because there’s not enough precision to represent the picture, or because your video card does not support half type. Try setting the “Upcast cross attention layer to float32” option in Settings > Stable Diffusion or using the –no-half commandline argument to fix this. Use –disable-nan-check commandline argument to disable this check.
you can try adding those two arguments.
Change models sometimes help.
Thank you, Andrew.
Could you write an article explaining how Stable Diffusion fundamentally creates images? All I can find everywhere are technical articles about latent space and tensors. Does the model really know how to draw, let’s say, a 50-year-old woman and her differences to a young woman or does it look for the specific references in the dataset? Thank you.
Hi, I do have an article explaining Stable Diffusion in semi-technical terms: https://stable-diffusion-art.com/how-stable-diffusion-work/
Excellent as always.
Your website is the Stable Diffusion Bible, many thanks.
Seems to me 1x models still have a long life ahead of them.
Many things you can do with them do not seem doable in SDXL (at least not yet).
Indeed. sdxl has its place but v1 models are here to stay.