Stable Diffusion XL (SDXL) is the latest AI image model that can generate realistic people, legible text, and diverse art styles with excellent image composition. It is a larger and better version of the celebrated Stable Diffusion v1.5 model, and hence the name SDXL.
As described in the article “SDXL: Improving Latent Diffusion Models for High-Resolution Image Synthesis” by Podell and coworkers, the Stable Diffusion XL is in every way better than the v1.5 model.
The improvements are
- Higher quality images
- Follows the prompt more closely
- More fine details
- Larger image size
- Ability to generate legible text
- Ability to produce darker images
This post will go through:
- What the SDXL model is.
- My test result of comparing images generated with the v1 and SDXL models.
- Running SDXL 1.0 on AUTOMATIC1111 Stable Diffusion WebUI.
Table of Contents
What is the Stable Diffusion XL model?
The Stable Diffusion XL (SDXL) model is the official upgrade to the v1.5 model. The model is released as open-source software.
Number of parameters
It is a much larger model. In the AI world, we can expect it to be better. The total number of parameters of the SDXL model is
- 3.5 billion (SDXL Base model)
- 6.6 billion (SDXL Base + refiner model)
This is compared with 0.98 billion for the v1.5 model.
Differences between SDXL and v1.5 models

The SDXL model is, in practice, two models. You run the base model, followed by the refiner model. The base model sets the global composition. The refiner model adds finer details. (You can optionally run the base model alone.)
The language model (the module that understands your prompts) is a combination of the largest OpenClip model (ViT-G/14) and OpenAI’s proprietary CLIP ViT-L. This is a smart choice because Stable Diffusion v2 uses OpenClip alone and is hard to prompt. Bringing back OpenAI’s CLIP makes prompting easier. The prompts that work on v1.5 will have a good chance to work on SDXL.
The SDXL model has a new image size conditioning that aims to use training images smaller than 256×256. This significantly increases the training data by not discarding 39% of the images.
The U-Net, the most crucial part of the diffusion model, is now 3 times larger. Together with the larger language model, the SDXL model generates high-quality images matching the prompt closely.
The default image size of SDXL is 1024×1024. This is 4 times larger than v1.5 model’s 512×512.
Sample images from SDXL

According to Stability AI’s own study, most users prefer the images from the SDXL model over the v1.5 base model. You will find a series of images generated with the same prompts from the v1.5 and SDXL models. You can decide for yourself.
Realistic images
I tested the SDXL model, so you don’t have to.
Let’s first compare realistic images generated using the prompt in the realistic people tutorial.
Prompt:
photo of young Caucasian woman, highlight hair, sitting outside restaurant, wearing dress, rim lighting, studio lighting, looking at the camera, dslr, ultra quality, sharp focus, tack sharp, dof, film grain, Fujifilm XT3, crystal clear, 8K UHD, highly detailed glossy eyes, high detailed skin, skin pores
Negative prompt:
disfigured, ugly, bad, immature, cartoon, anime, 3d, painting, b&w
All parameters except image sizes are kept the same for comparison. The size for the v1 models is 512×512. The size for the SDXL model is 1024×1024.
Here’s the SD 1.5 images.
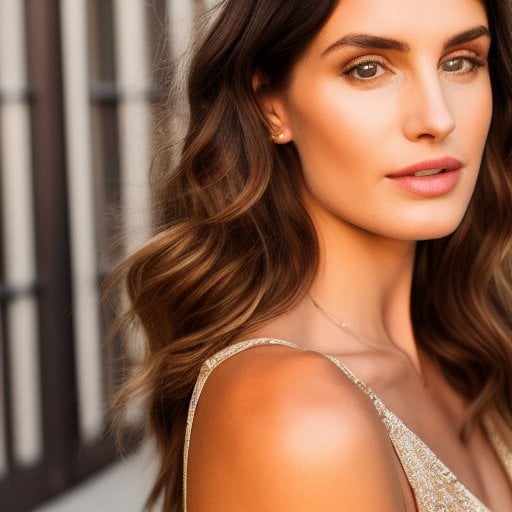
Here are the base and the base + refiner models.


Some observations:
- The SDXL model produces higher quality images.
- The refiner model improves rendering details.
Using the base v1.5 model does not do justice to the v1 models. Most users use fine-tuned v1.5 models to generate realistic people. So I include the result using URPM, an excellent realistic model, below.

You can see the SDXL model still wins in fine detail. It is capable of generating because of the larger VAE.
Below is another set of comparison images using a different seed value.


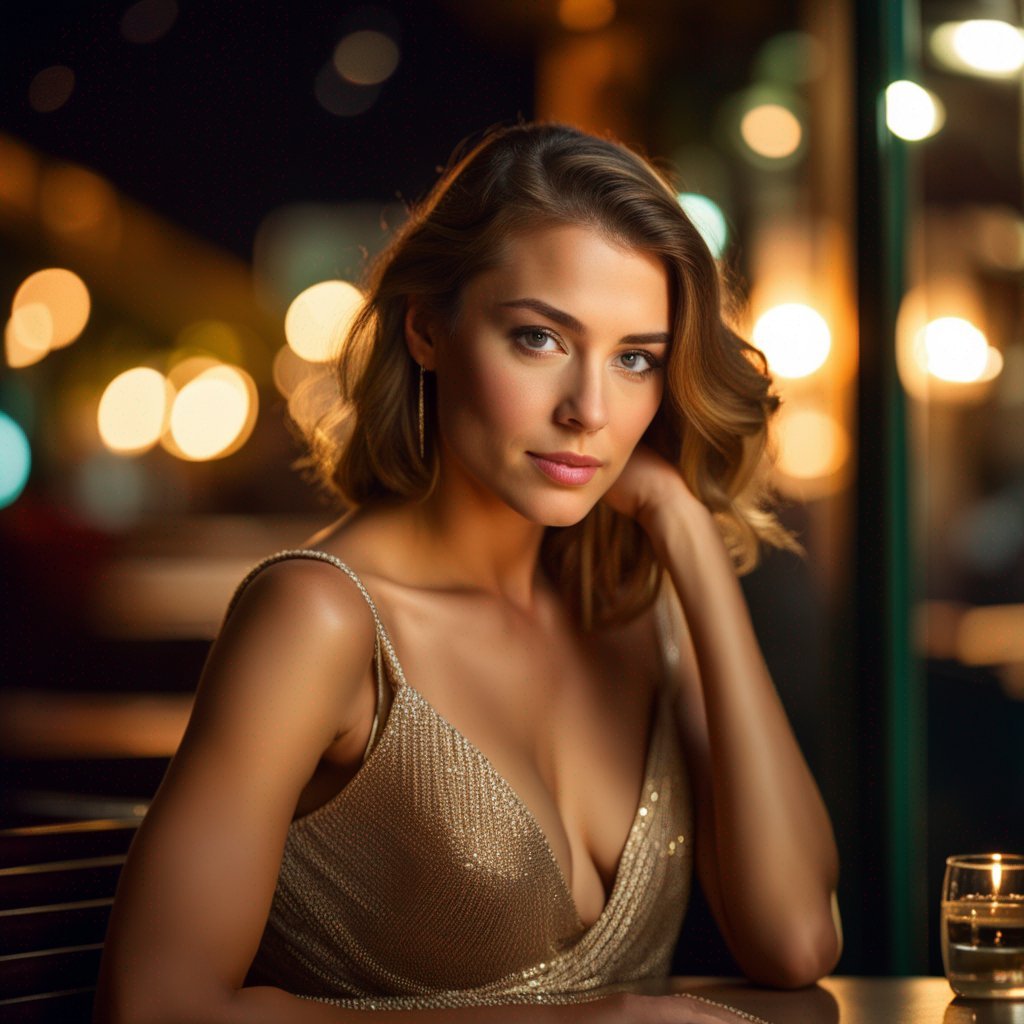
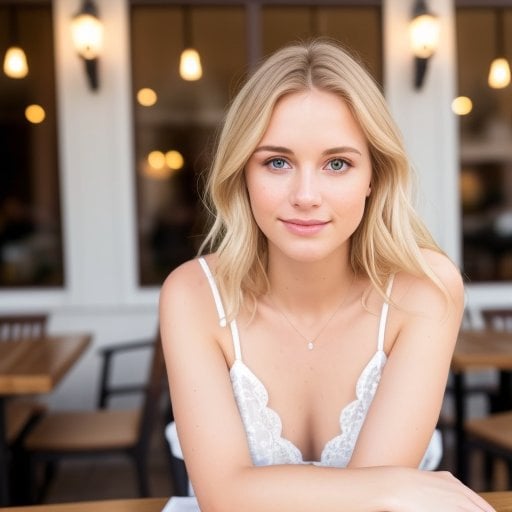
The SDXL base model produced a usable image in this set, although the face looks a bit too smooth for a realistic image. The refiner adds nice realistic details to the face.
Note that the SDXL model can generate darker images, which the v1.5 model is not very good at.
Legible text
The ability to generate correct text stood out as a ground-breaking capability when I tested the SDXL Beta Model. SDXL should be at least as good.
Prompt:
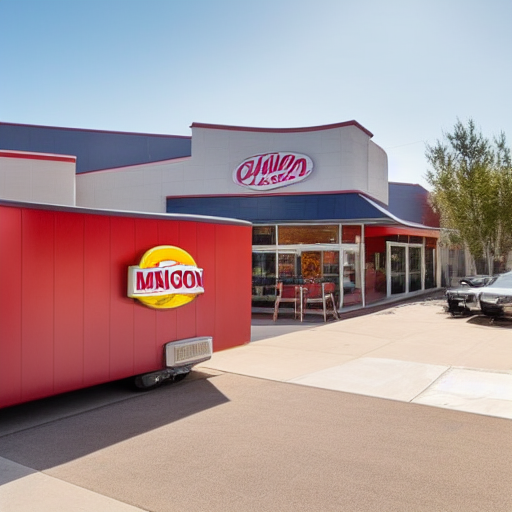
A fast food restaurant on the moon with name “Moon Burger”
Negative prompt:
disfigured, ugly, bad, immature, cartoon, anime, 3d, painting, b&w
Here are the images from the SDXL base and the SDXL base with refiner.
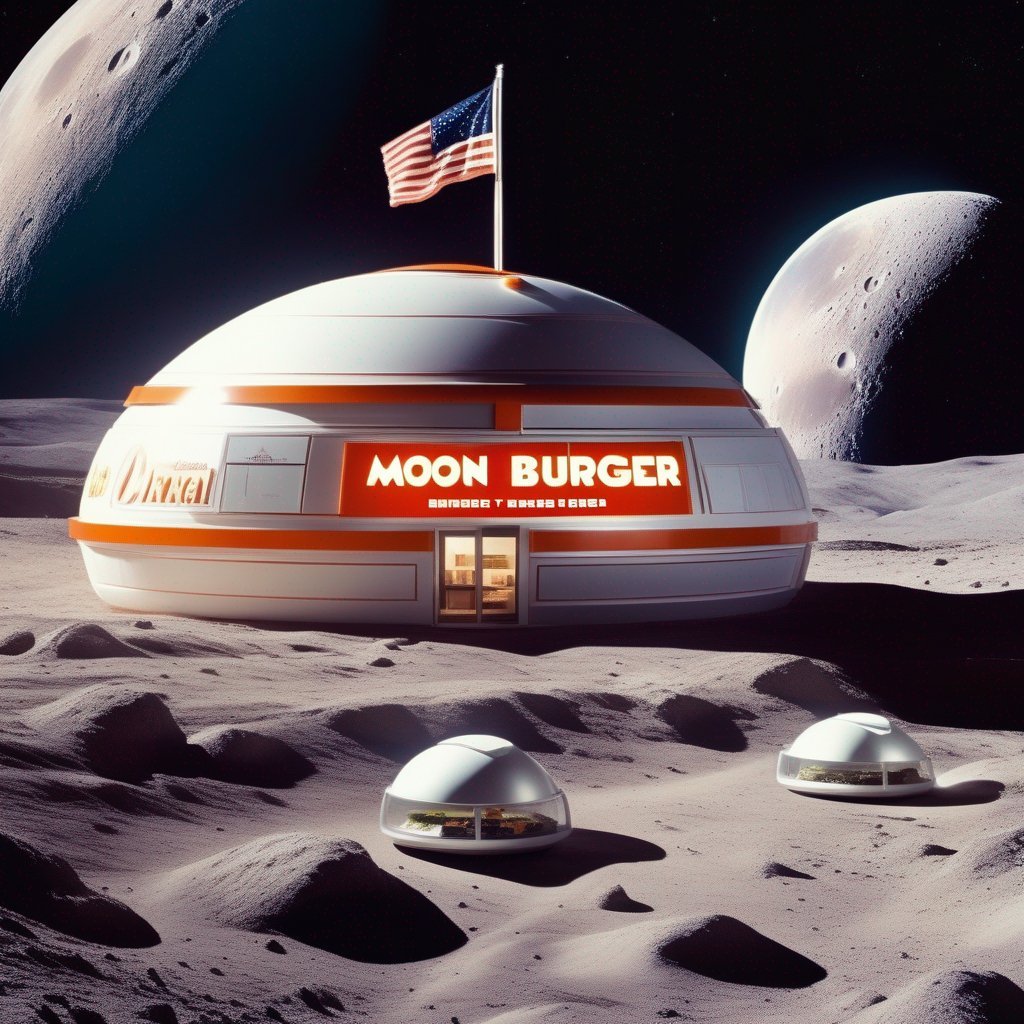
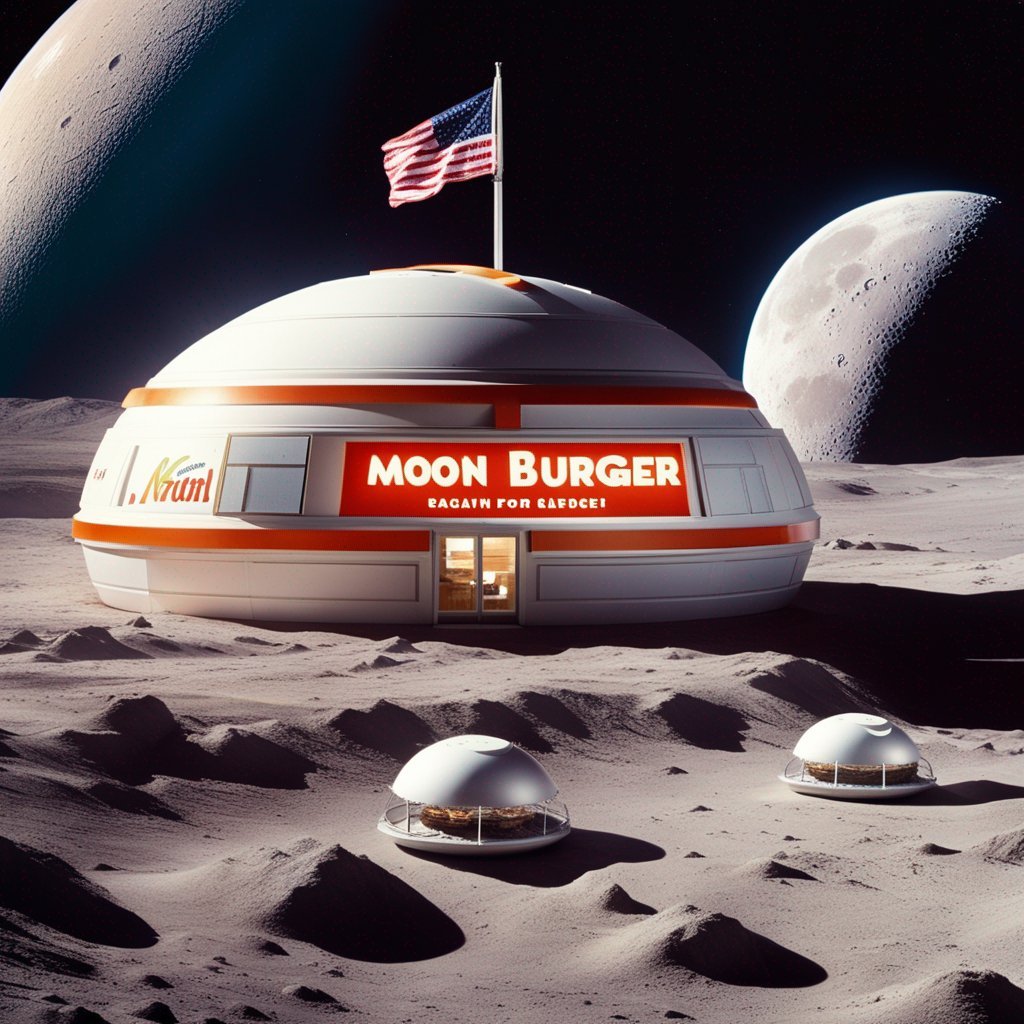
On the other hand, the v1.5 base model fails miserably. Not only did it fail to produce legible text, but it also did not generate a correct image.
Anime Style
Let’s compare the images with the Anime style.
anime, photorealistic, 1girl, collarbone, wavy hair, looking at viewer, upper body, necklace, floral print, ponytail, freckles, red hair, sunlight
disfigured, ugly, bad, immature, photo, amateur, overexposed, underexposed
Here are images from SDXL models with and without refiners.


Here are images from v1.5 and the Anything v4.5 model (fine-tuned v1.5).


The SDXL base model produces decant anime images. The images are fantastic for a base model. The refiner adds good details but seems to add some repeating artifacts. Getting to a particular style likely needs custom fine-tuned models like the v1.
Scenes
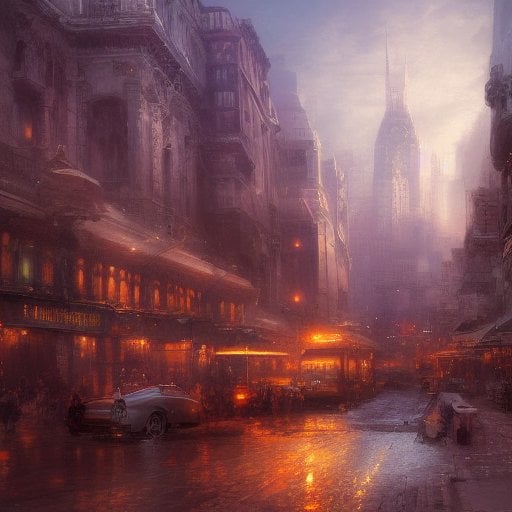
Finally, some sample images of a city with this simple prompt.
Painting of a beautiful city by Brad Rigney.
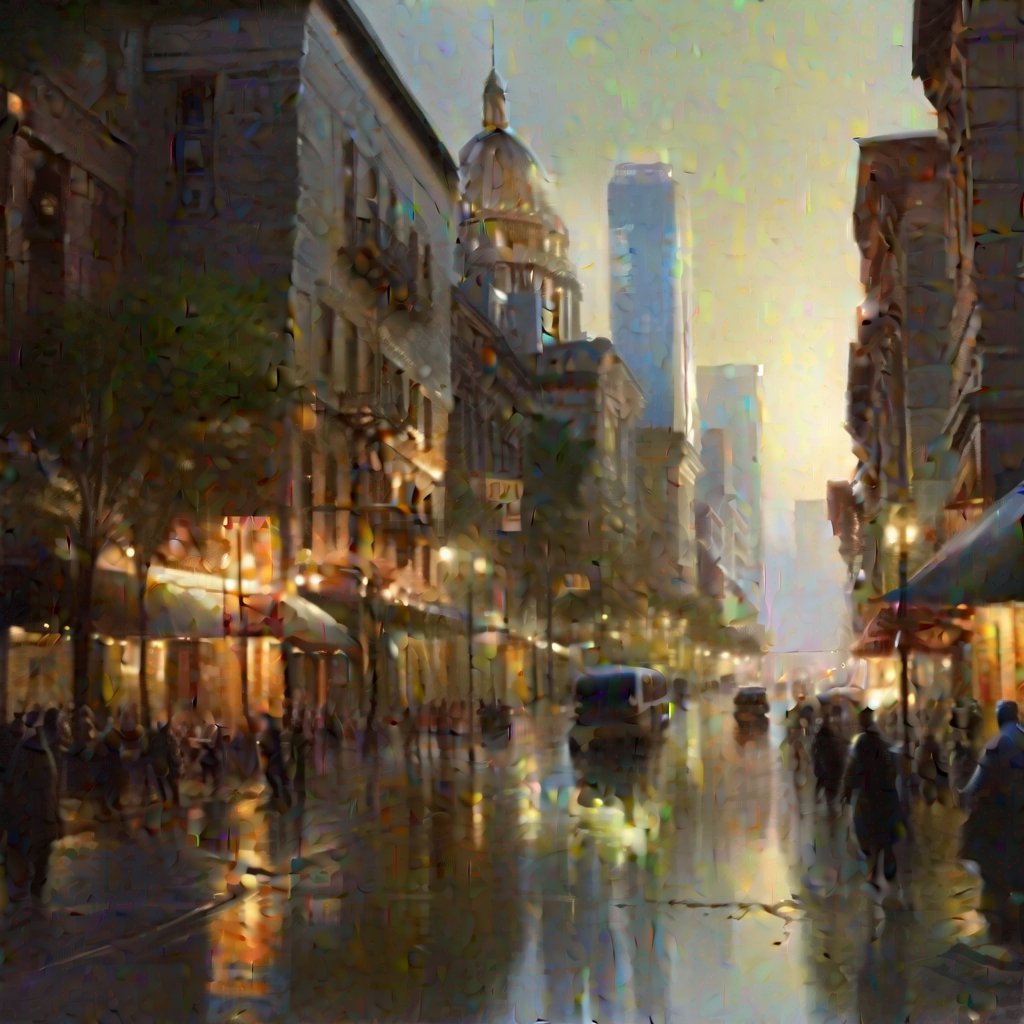
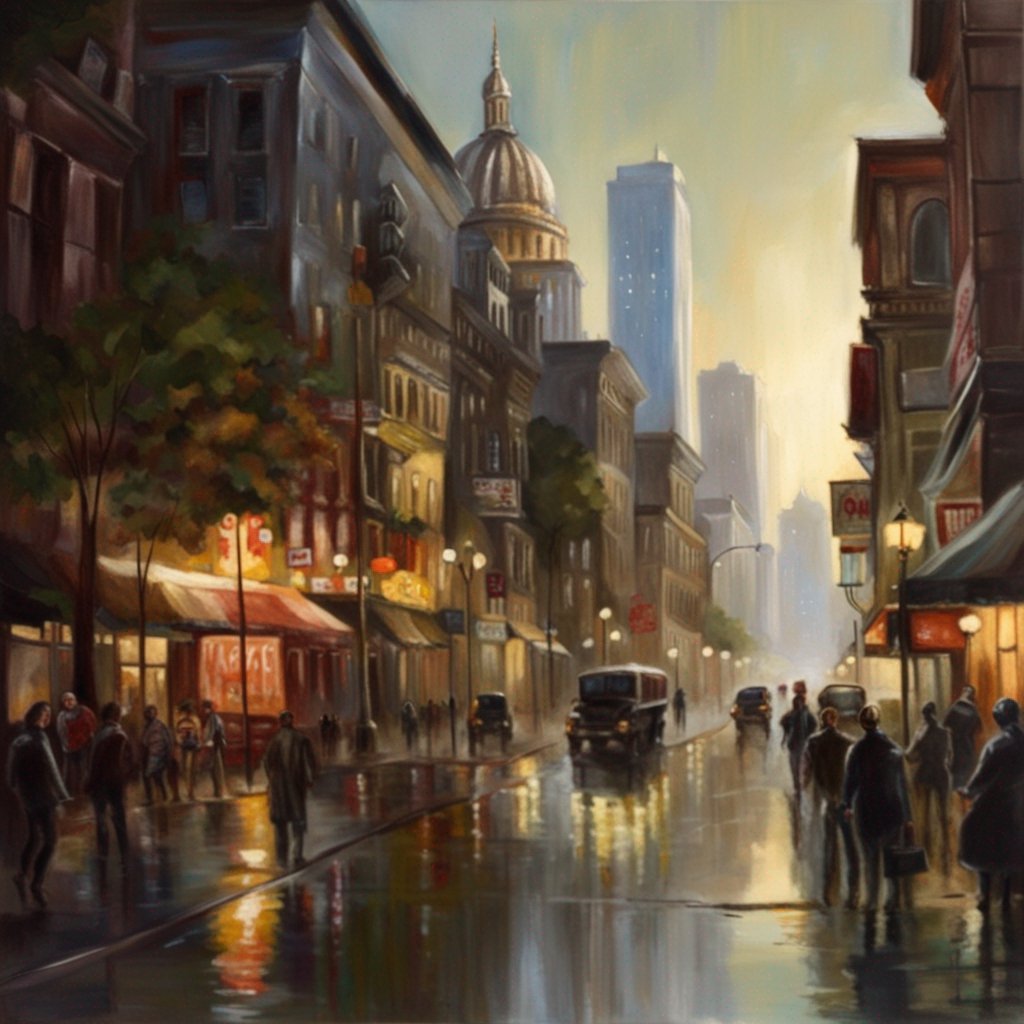
This is from v1.5 for comparison.
Download and install SDXL 1.0 models
You can find the SDXL base, refiner and VAE models in the following repository.
Here are the direct download links of the safetensor model files. You typically don’t need to download the VAE file unless you plan to try out different ones.
Download SDXL 1.0 refiner model
To install the models in AUTOMATIC1111, put the base and the refiner models in the folder stable-diffusion-webui > models > Stable-diffusion.
Tips on using SDXL 1.0 model
A Stability AI’s staff has shared some tips on using the SDXL 1.0 model. Here’s the summary.
Image size
The native size is 1024×1024. SDXL supports different aspect ratios but the quality is sensitive to size. Here are the image sizes used in DreamStudio, Stability AI’s official image generator
- 1:1 – 1024 x 1024
- 5:4 – 1152 x 896
- 3:2 – 1216 x 832
- 16:9 – 1344 x 768
- 21:9 – 1536 x 640
Use the Aspect Ratio Selector extension to conveniently switch to these image sizes. Add the following lines to resolutions.txt in the extension’s folder (stable-diffusion-webui\extensions\sd-webui-ar).
XL1:1, 1024, 1024
XL5:4, 1152, 896
XL3:2, 1216, 832
XL16:9, 1344, 768
XL21:9, 1536, 640
Negative prompt
Negative prompts are not as necessary in the 1.5 and 2.0 models. Many common negative terms are useless, e.g. Extra fingers.
Keyword weight
You don’t need to use a high keyword weight like the v1 models. 1.5 is very high for the SDXL model. You may need to reduce the weights when you reuse the prompt from v1 models. Lowering a weight works better than increasing a weight.
Safetensor
Always use the safetensor version, not the checkpoint version. It is safer and won’t execute codes on your machine.
Refiner strength
Use a low refiner strength for the best outcome.
Refiner
Use a noisy image to get the best out of the refiner.
Run SDXL model on AUTOMATIC1111
AUTOMATIC1111 Web-UI now supports the SDXL models natively. You no longer need the SDXL demo extension to run the SDXL model.
The update that supports SDXL was released on July 24, 2023. You may need to update your AUTOMATIC1111 to use the SDXL models.
You can use AUTOMATIC1111 on Google Colab, Windows, or Mac.
Download the Quick Start Guide if you are new to Stable Diffusion.
Installing SDXL 1.0 models on Google Colab
Installing the SDXL model in the Colab Notebook in the Quick Start Guide is easy. All you need to do is to select the SDXL_1 model before starting the notebook.

Installing SDXL 1.0 models on Windows or Mac
Download the SDXL base and refiner models and put them in the models/Stable-diffusion folder as usual. See the model install guide if you are new to this.
Download SDXL 1.0 refiner model
After clicking the refresh icon next to the Stable Diffusion Checkpoint dropdown menu, you should see the two SDXL models showing up in the dropdown menu.
Using SDXL base model in text-to-image

Using the SDXL base model on the txt2img page is no different from using any other model. The basic steps are:
- Select the SDXL 1.0 base model in the Stable Diffusion Checkpoint dropdown menu
- Enter a prompt and, optionally, a negative prompt.
- Set image size to 1024×1024, or something close to 1024 for a different aspect ratio. (See the tips section above.)
IMPORTANT: Make sure you didn’t select a VAE of a v1 model. Go to Settings > Stable Diffusion. Set SD VAE to None or Automatic.
TIPS: In Settings > User Interface > QuickSetting: Add sd_vae to add a dropdown menu for selecting VAEs next to the checkpoint dropbox.
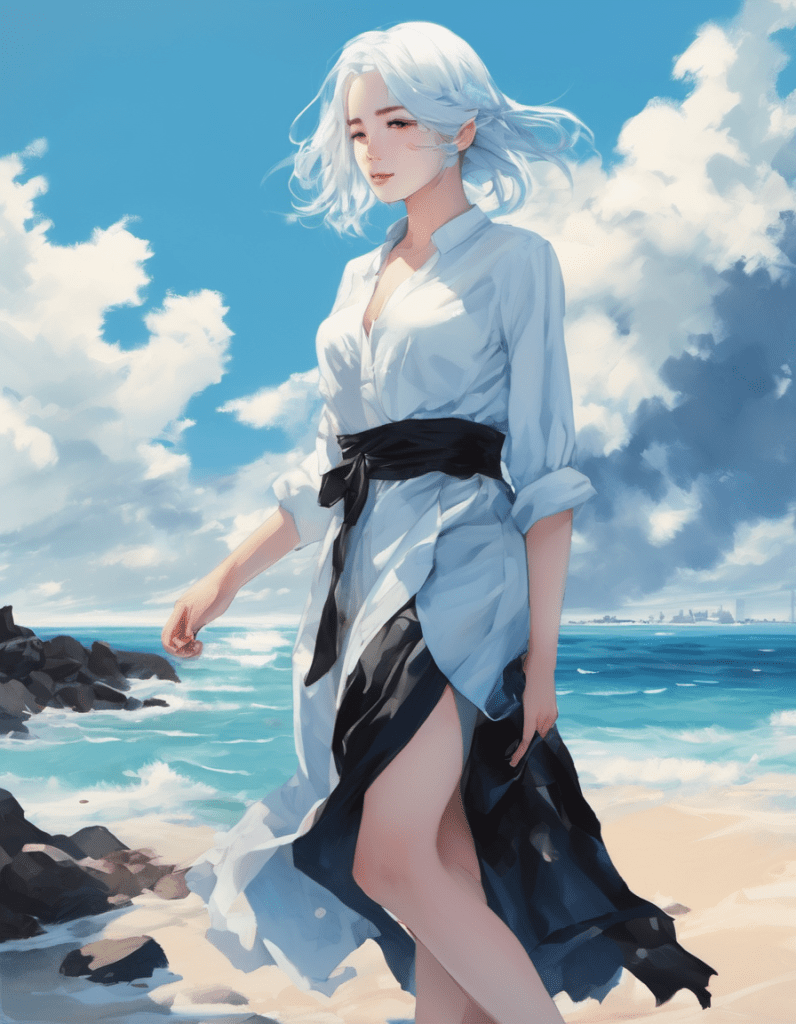
Prompt:
1girl ,solo,high contrast, hands on the pocket, (black and white dress, looking at viewer, white and light blue theme, white and light blue background, white hair, blue eyes, full body, black footwear the light blue water on sky and white cloud and day from above, Ink painting
Negative prompt:
sketch, ugly, huge eyes, text, logo, monochrome, bad art
Size: 896 x 1152
Using the base + refiner models
You can now use the refiner model with the base model in the txt2img tab. You need WebUI version 1.6.0 or higher.
To enable the refiner, expand the Refiner section:
- Checkpoint: Select the SD XL refiner 1.0 model.
- Switch at: This value controls at which step the pipeline switches to the refiner model. E.g., Switching at 0.5 and using 40 steps means using the base in the first 20 steps and the refiner model in the next 20 steps. Switching at 1 uses the base model only.

Click Generate for text-to-image.
What Switch at value should you use? Below are images from switching at from 0.4 to 1.0 with 30 steps.
a woman dancing happily, cinematic photo, 35mm photograph, film, bokeh, professional, 4k, highly detailed
Prompt
drawing, painting, crayon, sketch, graphite, impressionist, noisy, blurry, soft, deformed, ugly
Negative prompt
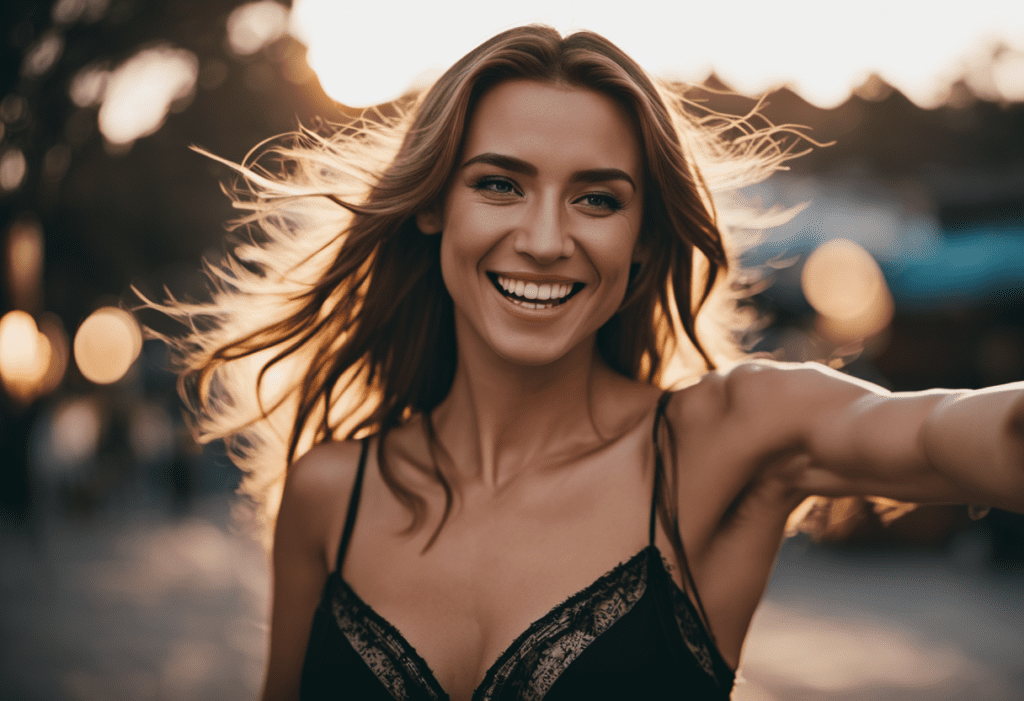
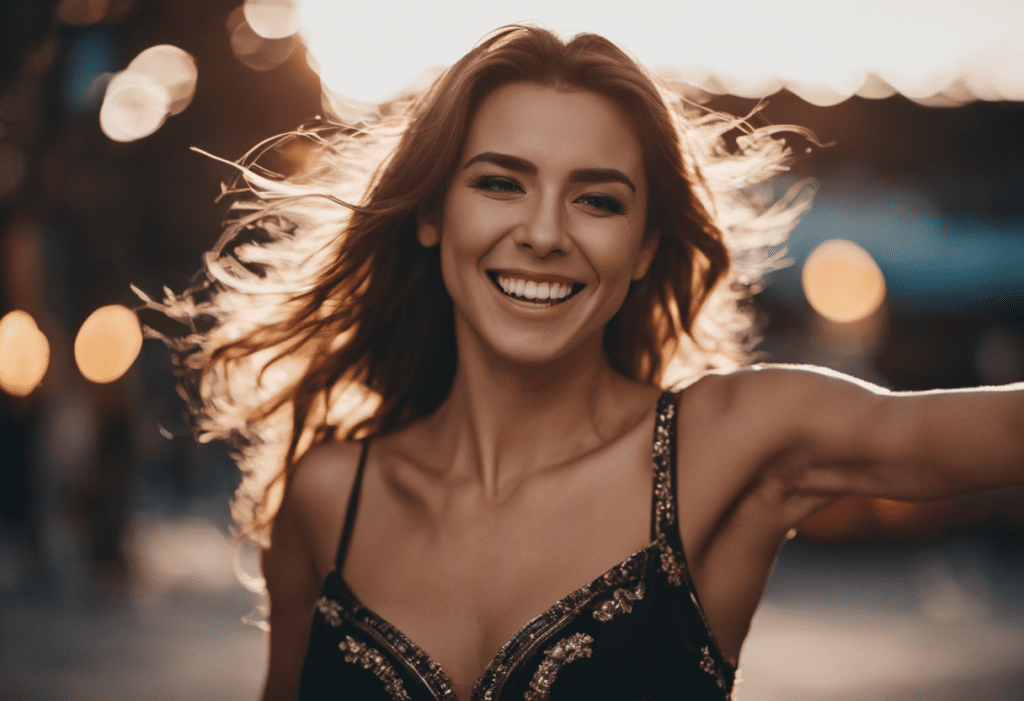
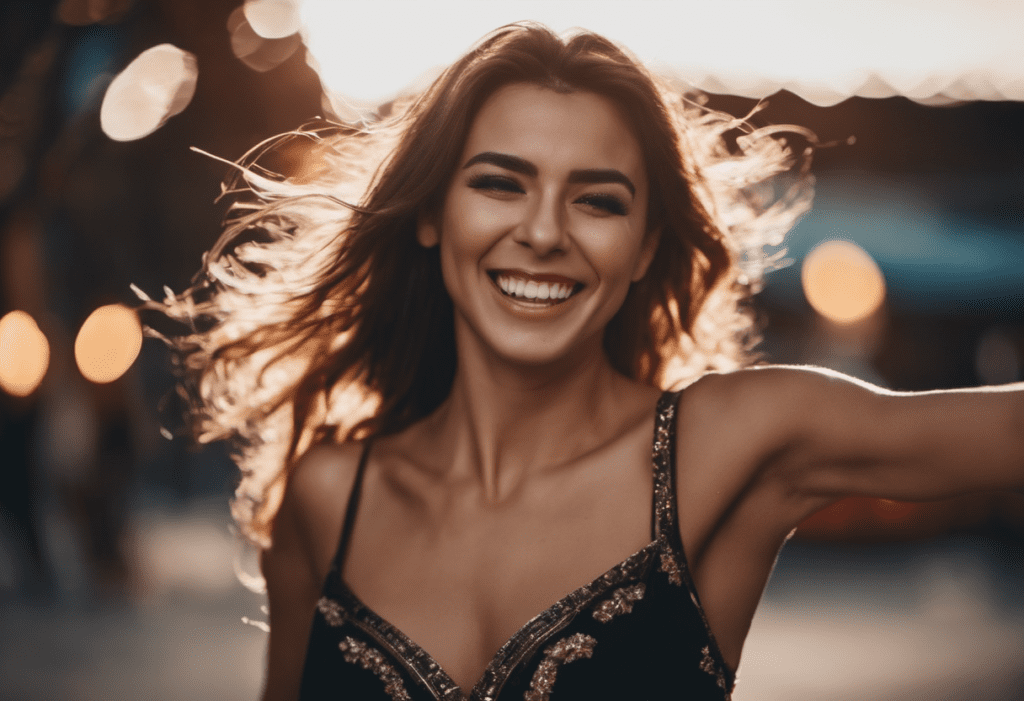
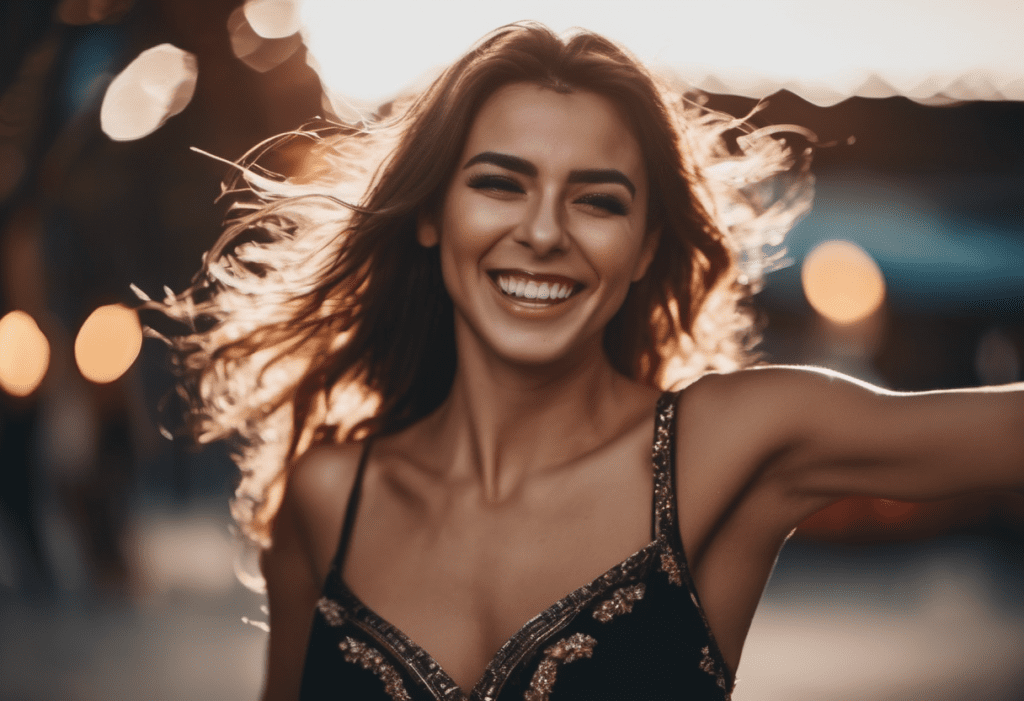
Switching at 0.8 and 1.0 (not using refiner) are quite similar. 0.6 produces the highest quality image.
How about changing the number of sampling steps?
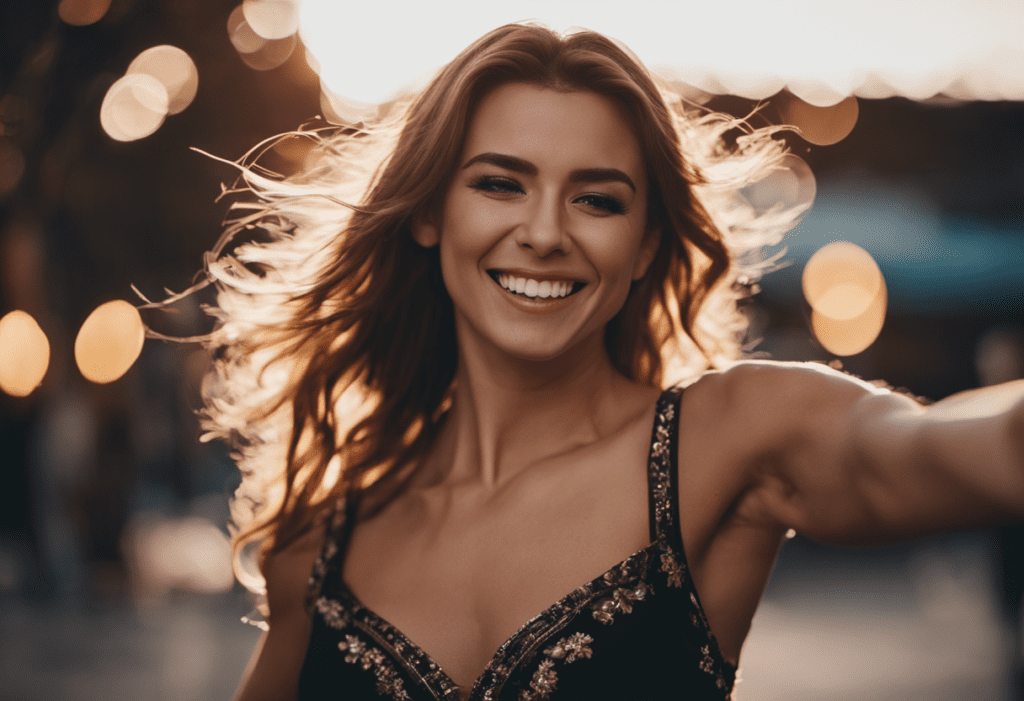
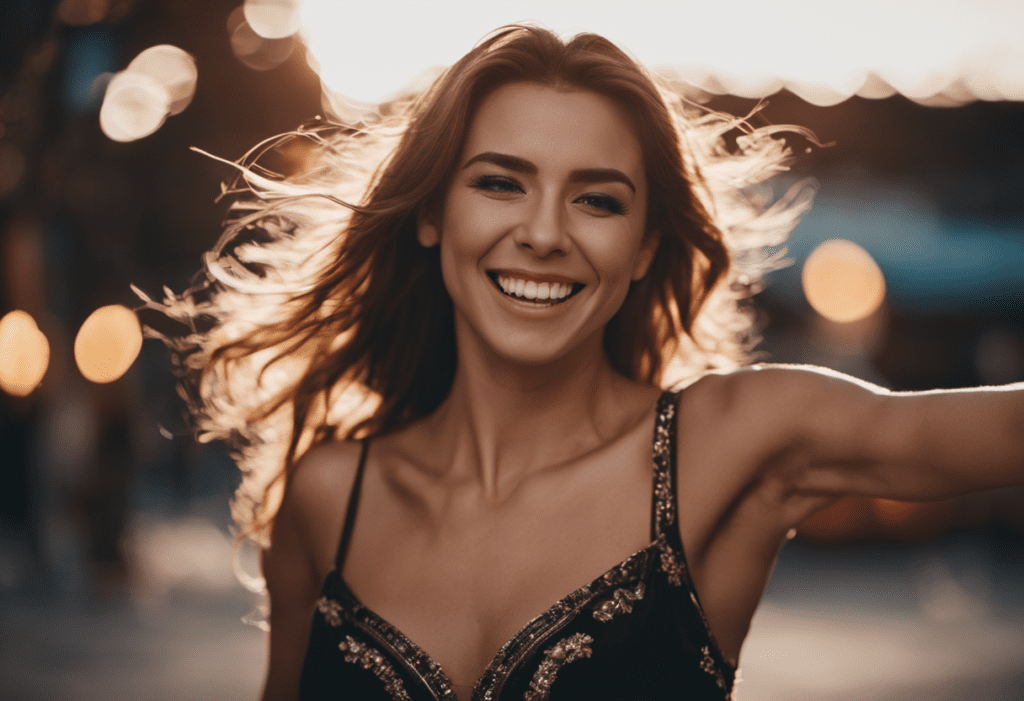
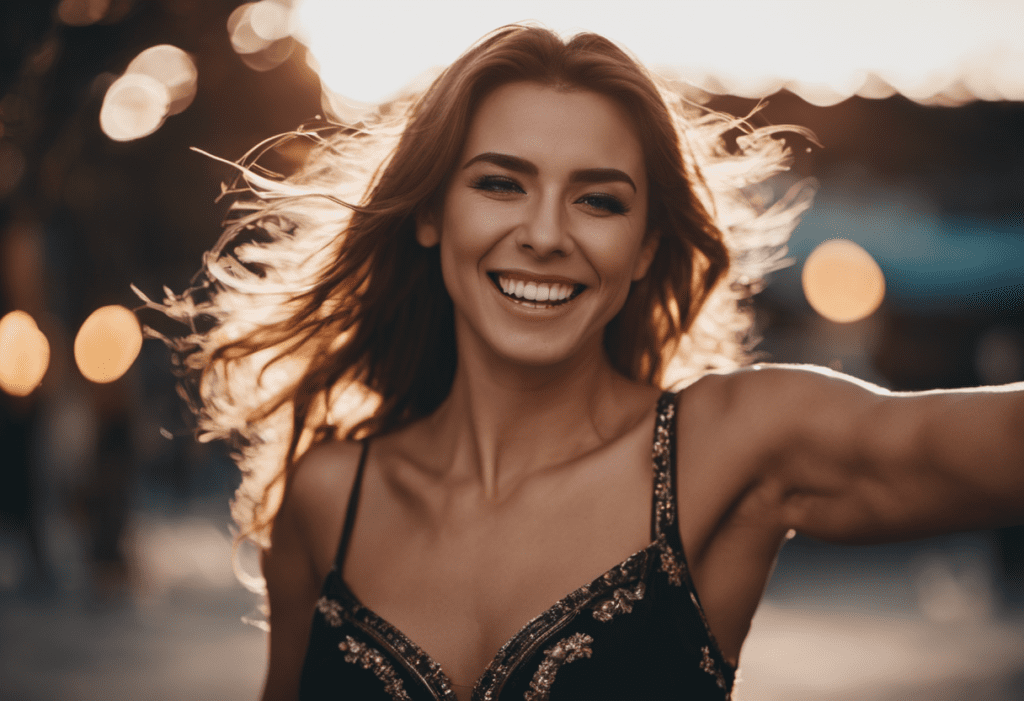
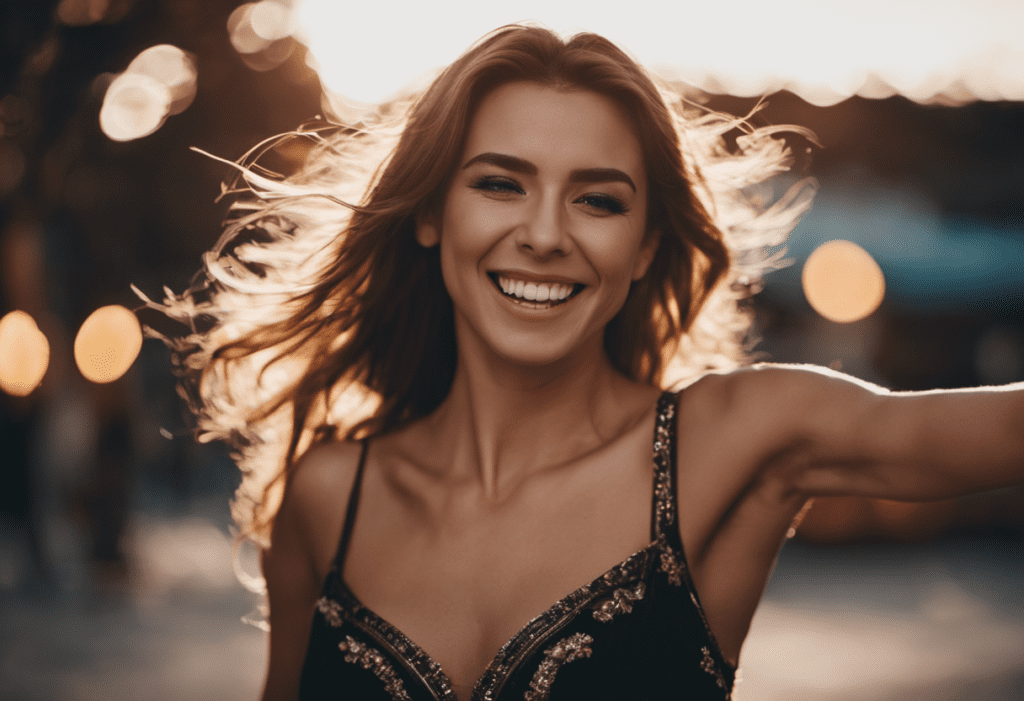
A higher number of steps produces slightly higher-quality images. But the difference are minimal above 30 steps.
To sum up, I would use 30 steps and switch at 0.6 for generating images with base + refiner.
Using preset styles for SDXL
DreamStudio, the official Stable Diffusion generator, has a list of preset styles available. They are actually implemented by adding keywords to the prompt and negative prompt. You can install the StyleSelectorXL extension to add the same list of presets styles to AUTOMATIC1111.

Installing StyleSelectorXL extension
To install the extension, navigate to the Extensions page in AUTOMATIC1111. Select the Install from URL tab. Put the following in the URL for extension’s git repository.
https://github.com/ahgsql/StyleSelectorXLPress Install. After you see the confirmation of successful installation, restart the AUTOMATIC1111 Web-UI completely.
Using SDXL style selector
You should see a new section appear on the txt2img page.
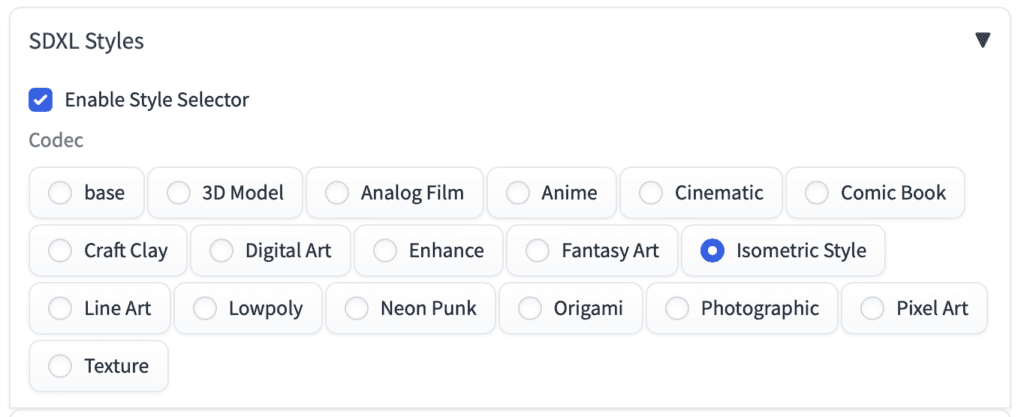
Write the prompt and the negative prompt as usual. Make sure the SDXL Styles option is enabled. Select a style other than base to apply a style.


Some notes about SDXL
Make sure to use an image size of 1024 x 1024 or similar. 512×512 doesn’t work well with SDXL.
You normally don’t use the refiner model with a fine-tuned SDXL model. The style may not be compatible.
Frequently Asked Questions
Can I use SDXL on Mac?
Yes, you will need Mac with Apple Silicon M1 or M2. Make sure your AUTOMATIC1111 is up-to-date. See the installation tutorial.
Can I use ControlNet with SDXL models?
ControlNet currently only works with v1 models. SDXL is not supported.
But it appears to be in the work.
What image sizes should I use with SDXL models?
Here are the recommended image sizes for different aspect ratios.
- 21:9 – 1536 x 640
- 16:9 – 1344 x 768
- 3:2 – 1216 x 832
- 5:4 – 1152 x 896
- 1:1 – 1024 x 1024
Stable Diffusion XL Resources
SDXL prompts: Get a quick start with these prompts.
Styles for SDXL: Over a hundred styles were demonstrated.
SDXL Artist browser: Investigate artistic styles in Stable Diffusion XL.
Interesting reads
Stability AI launches SDXL 0.9: A Leap Forward in AI Image Generation – Official press release of SDXL 0.9.
ANNOUNCING SDXL 1.0 — Stability AI – Official press release of SDXL 1.0
SDXL: Improving Latent Diffusion Models for High-Resolution Image Synthesis – Research article detailing the SDXL model.
Diffusers · vladmandic/automatic Wiki – Using Diffusers mode in SD.Next
# disable ad on single page
Well, I dont know whats going on:
RuntimeError: Expected all tensors to be on the same device, but found at least two devices, cpu and cuda:0! (when checking argument for argument index in method wrapper_CUDA__index_select)
Hello,
I have the same thing. Apple M1 / 16 GO / 14.1.2
Thank you
Hello everyone, I would like to ask a question regarding the use of SDXL models. I am full of admiration for the amazing results that are achievable with the SDXL models. However, my own attempts only ever yield ridiculously poor results. I have really tried every conceivable variation of parameters (naturally including a minimum resolution of 1024×1024, etc.), but it just doesn’t improve anything. On the other hand, I achieve very good results with the older SD 1.5 models. One current assumption is that it has to do with my hardware and simply that my graphics card is unsuitable for the SDXL models. I am using a GTX 1080 (8GB). Could someone perhaps comment on whether my assumption is correct that my graphics card is the reason for the poor results? Thank you very much. Best regards!
Hello,
I have the A1111 1.6.1 stable diffusion so it should support SDXL and I don’t need to download anything. But I can’t choose sdxl in checkpoint. SDXL is still present in my settings. I try to add Lora SDXL 1.0 but i don’t see them in the Lora tab. Do you have any solution?
Great info on SDXL, especially SDXL Style Selector tip. It really blows my mind away.
Hello everyone,
I’m a bit confused. I have downloaded sd xl. The pictures should actually be better. I now always get pictures that are worse than the first old model? Do any of you have any ideas or tips? Many thanks in advance!
Have you set image size to 1024×1024?
Hallo zusammen,
ich bin etwas irritiert. Ich habe sd xl heruntergeladen. Die Bilder müssten doch eigentlich besser sein. Ich bekomme jetzt immer Bilder, die schlechter sind als das erste alte Modell? Hat jemand von Euch dazu bitte eine Idee oder einen Tipp? Herzlichen Dank schon im Voraus!
R.W.
When i start pictures with sdxl 1.0 it syas :TypeError: Expected state_dict to be dict-like, got .how can i deal with it?
Looks like your model file is not correct. Try redownloading.
you probably need to update your python virtual environment requirements & diffusers . See my instructions here:
https://github.com/lshqqytiger/stable-diffusion-webui-directml/discussions/211
Thank you for this blog post, super helpful! When I switch between base and refiner model in Automatic 1111, it takes very long time to process the request in the UI (I am not using the extension). I am wondering if you have encountered this issue. I also saw https://www.reddit.com/r/StableDiffusion/comments/15nj8xt/switching_between_sdxl_and_sdxl_refiner_models/
This is how A1111 handle SDXL correctly so I don’t think there’s much we can do until the next release.
Ideally, A1111 would be able to generate an SDXL base + refiner image without the need to switch model.
Make sure you have multiple models loaded at a time:
Setting-> SD-> maximum number of models loaded at a time = 3
uncheck only keep one model on device
I had a similar problem running on the google colab notebook. It started working for me after I followed this step in the article:
“IMPORTANT: Make sure you didn’t select a VAE of a v1 model. Go to Settings > Stable Diffusion. Set SD VAE to None or Automatic.”
I also went to the HuggingFace url (https://huggingface.co/stabilityai/stable-diffusion-xl-base-0.9/tree/main) and filling the agreement form, but I don’t think that was necessary at this point with AUTOMATIC1111.
This was supposed to be a reply to Michael’s comment.
Hi,
I have followed the steps to run the model on AUTOMATIC1111 Windows 11, and everything looks normal while the image is rendering, but right at the end it delivers a black image. Anything I can try to solve this? I have an AMD 6700XT GPU, every other model works fine.
Thank you.
***can’t
UPD
I’m now experiencing issues with AUTOMATIC1111 failing during launch attempts and can login to Webui.
Hello Andrew! I want to express my gratitude for creating this exceptional portal. Your work is truly inspiring and filled with remarkable discoveries. I hope to properly thank you in the future. If possible, please respond to my message. I am currently facing an issue with the sdxl release on my Mac M1 with 16GB RAM. I am encountering an error stating:
“RuntimeError: MPS backend out of memory (MPS allocated: 15.20 GB, other allocations: 3.15 GB, max allowed: 18.13 GB). Tried to allocate 1024.00 MB on private pool. Use PYTORCH_MPS_HIGH_WATERMARK_RATIO=0.0 to disable upper limit for memory allocations (may cause system failure).”\n
Should I proceed with installing a pytorch library or should I take the risk of disabling the upper limit for memory?
p.s. I am operating through AUTOMATIC1111
Hi! Your machine should work.
You can try restarting your Mac. Some program may have used up too much RAM.
If you recently updated A1111, try deleting the venv folder and start normally.
A wonderful tutorial, as usual. Thank you. I wanted to add here a piece of my new workflow. I’m using SDXL natively on a Mac M2 with Automatic1111. I have discovered that I get much better results if I run the refiner more than once on a given image generated by the base model. That is, I choose my base model image and run the refiner on that in a batch of 5 to 10, all at a “fairly” high denoising strength (DS), like .4 or even .5 (this step usually requires some DS experimentation before the batch run). Then I pick out the best of those images and run the refiner a second time at a lower DS, like .2 or .25, again in a batch. I may even run the refiner a third time at a DS of about .1. All of this takes time, but I’m finding it totally worth the effort.
Some of my efforts are on deviant arts if anyone is interested.
Is there any special setup to run SDXL on Mac? I tested on my M1 and it errored out during image generation.
I didn’t do anything special, but I’m running on an M2 Mac with 32G. I am unable to run SDXL and any of the better upscales without getting an OOM error. So I just upscale on the Extras tab and hope for the best. I get decent results.
I got it working on my M1 Macbook too. Thanks!
I should’ve added that I did try to install all of this on my D: drive, but failed and got mostly errors!
Thank you! I additionally added into the notebook code: !COMMANDLINE_ARGS=”–no-half”
and then it worked 🙂
Thanks Andrew. It might actually be a disk space problem, Windows has started throwing warnings and whilst I’ve cleared a few GB, I can’t now install everything. I will leave it until I have a larger drive! Thanks again for the help, and these awesome guides!
Hi, I am using Automatic1111 with Google Colab and SDXL 1.0 Base works great, thank you for providing all the helpful articles!!! When I want to use the refiner on the img2img tab I always get this error message (I never got it before with any model): SDXL 1.0 Refiner NansException: A tensor with all NaNs was produced in Unet. This could be either because there’s not enough precision to represent the picture, or because your video card does not support half type. Try setting the “Upcast cross attention layer to float32” option in Settings > Stable Diffusion or using the –no-half commandline argument to fix this. Use –disable-nan-check commandline argument to disable this check.
The proposed float32 option in the Settings makes no difference…I think in the Colab Notebook version there is no commandline? I googled this problem but found no solution, do you have any idea? Thanks a lot!
Hi, I have updated the notebook today (7/28). Please pull the latest copy and try again.
If problem still persists, Check to make sure in Settings > Stable Diffusion > SD VAE, None is selected.
Thanks for responding. Following your link again to the licence agreement shows only a directory at Hugging Face. Opening LICENSE.md displays a licence but without the accept button. I notice in the console I get this message:
Repository Not Found for url: https://huggingface.co/api/models/stabilityai/stable-diffusion-xl-base-0.9.
Please make sure you specified the correct `repo_id` and `repo_type`.
If you are trying to access a private or gated repo, make sure you are authenticated.
I’ve re-entered my token from Hugging Face as well, still have inactive generate/refine buttons in SDXL. Rather than burden you and your readers with this, would repeating the process again from scratch be useful? Thank you again.
Ah, you have already accepted the license terms if it shows a directory.
It appears the extension cannot find the repos. You can try
1. Updating the SDXL extension: delete the SDXL folder in extensions folder and try again.
2. (this is more advantageous, do it at your own risk..) Update A1111, delete venv folder and relauch.
Just keep in mind that the SDXL demo version doesn’t allow you to create work for commercial purpose, including artwork for sale. It’s a research tool only.
PS: love your tutorials.
Hi – total newbie here, thanks for the extensive guides! I’ve followed the steps above down to the cat playing the guitar, but in the SDXL Demo tab the generate and refine buttons are both inactive, despite playing around with the controls. Have I missed a step or done something wrong? Many thanks 🙂
You likely have missed filling in the agreement form. A1111 console should say you have no permission to download.
Attempting to run SDXL locally on A1111, on an M2 Pro Mac, I get “Error: Torch not compiled with CUDA enabled”. My understanding at this point is that CUDA only supports NVidia discrete graphics cards, not the M2’s GPU. (Some sources I’ve looked at claim that CUDA doesn’t run on the Mac at all.)
I checked the SDXL Demo section in the settings tab, and the selected generator device is CPU.
Has anyone successfully run SDXL on an M2 Mac, and if so, any idea what I’m missing here?
Thanks!
How do I train LoRAs with Koyha without my PC exploding? I have 12GB vram and 16gb system memory and it ate it all up until I was essentially using disk cache. Will there be a pruned version of this model?
Please ask in their github page.
I ran SD.Next on Paperspace (it’s actually much easier to get it running than to get Automatic1111 working). With SDXL, none of the SD upscale method works (other than the non-AI upscalers).
Yes, have colab pro. Regular generations work but as soon as I try to run SDXL, it fails as described above.
I just tested the SDXL demo on colab. I am able to generate multiple images on the demo. The only glitch is I needed to refresh the A1111 page after generating the first image, which didn’t show up.
You can try
– Starting a new folder e.g. AI_PICS2
– Enabling only the SDXL demo to ensure there’s no interference from other options.
– Don’t use any other models before running SDXL. (reduce memory usage)
Tried all three suggestions but still same, still same error right after completion of one image processing. Will try some other workarounds and see. Thanks
Hi. A detailed guide as always. Don’t know where I would be without these extensive guides.
I tried to setup the SDXL demo extension on A1111 on google colab. Followed all the instructions to the dot. The extension gets added. The page appears on A1111. The weights get loaded (base+refiner) however I dont see them in the checkpoint dropdown.
Once I enter any prompt, the processing starts, however it ends with an error (Connection error) and nothing gets created. If I try again, the processing stops in the cell and the process ends. Been trying to get around this issue but everytime, its the same result.
You seems to have setup everything correctly.
Do you have colab pro? (paid version) They have blocked SD in free tier.
I have a question regarding the usage of portrait. So If I understand correctly, in order to use RealisticVision with SDXL, I would need to wait for RealisticVision to be trained with SDXL. Does this mean I have to wait for an update from the creator? (currently their baseModel is 1.5)
Yes.
You forget to mention that the use of SDXL is not free. You get a few tokens.
Also, you will only gain access to the files is you fill out the form which requires you to have a scientific need to use it. And you attest the need to use for scientific purposes and your input is correct meaning you could get your ass sued if they figure out you’re just a user.
WAIT until it’s available publicly.
It is free to use SDXL 0.9. The access token is for downloading the model from huggingface. Once it is downloaded, it is in your local computer and you can use as many times as you want.
The license is for restricting commercial and non-ethical use. “Research” doesn’t need to be developing ML models. Testing the model and understanding the limitation is perfectly fine.
There’s also a license when you use v1 models that you will need to abide to.
Hi. My problem is that, aside from the type of research, the agreement requires to state
1) Organization
3) Personal researcher link (CV, website, github)
I am an artist who does not work commercially. I do not have either website, github or any relevant CV. And I dislike to lie or fabricate things. So where does this leave me?
Better I wait for when A1111 support is implemented, uh?
I think they are free text fields. If you don’t have such info. You can fill in “Not available”
1) Organization
In situation like this, you can consider yourself a sole proprietor.
2) Personal researcher link (CV, website, github)
No one stops you from uploading a single readme and create a github repository.
1 & 2 above are not lies, and you are not fabricating anything because they did not define what an organization is, and did not require what needs to be in your github repository.
Two more things:
1. It’s possible to use SDXL with your Colab notebook!
https://github.com/lifeisboringsoprogramming/sd-webui-xldemo-txt2img – it loads the models from huggingface every time, which isn’t a huge problem and ensures I don’t end up with a malicious file, but sometimes it takes a while. Whatever. The interface is similar to txt2img, just simpler. People who use other notebooks are complaining on Reddit that maybe they don’t want to use the refiner – no worries, it’s separate. (A “send to refiner” button would be handy, but “send to inpaint” is there.)
The one big problem is memory leakage – running it on T4 + High RAM works, but just watch the RAM usage go up, up, up… until it crashes. (Also, maximum number of images in a batch is 1. With 54 GB RAM.)
But…
2. SDXL is awesome with low light.
I’ve spent hours and hours (weeks) trying to force the 1.5 models to generate the exact low light I wanted and not ruin the face. Lots of 1.2s and 0.9s and LowRA:0.4s etc. were used. Then I did this in SDXL:
movie still,wide portrait of a man with long beard and long hair standing by a fire outside at night
Kaboom. It doesn’t seem to understand weights yet, but the results are so stunning – and fast, I can’t believe how fast it is compared to what I was expecting – 1 second per iteration, very decent results with 20 iterations. I just try 4-5 times, sometimes add a very short negative prompt (“blue light”), and I get what I want. The VRAM usage is about 9GB, which is about the same as I get with regular 1.5 models with larger batches (larger being 4).
I’m now “doing” landscape photography and using Photoshop Beta generative fill to expand the image. (Another magical tool, the generative fill, even though it has very weird ideas as to what “breaks community rules” – such as a blank prompt.) I would need days of generating and inpainting with various models to get what SDXL gives me within 5-10 minutes. Also, for face transplants, I simply send the image to inpaint and use a “normal” 1.5-based model. Turns out I make a very good-looking medieval warrior standing inside a narrow corridor lit only with torches. Even if one of the torches was held by a disfigured hand before I spent 4 seconds with Photoshop 😉
Can’t wait for ControlNet. Although once I have ControlNet I will never get anything done again.
PS. It sometimes gets hands right at first try! (Sometimes. Don’t get overexcited.)
Very good points. Thank you!
And will add the colab notebook option!
It’s already old news, the RAM leakage issue is fixed (yay!) and multiple sampler options added (yay 2!) – in other words, I recommend it even more now. But it needs the high RAM option.
Trying to figure out how to make it NOT download the models from huggingface every time. It crashed a while ago, I restarted without the Google Drive needing remount, and it saved me quite a few minutes by simply not copying the models again. (They are not in the usual folder. They’re… somewhere…)
It is still in dev. Also, you gain access without permission and could get sued if you’re not a scientist with the need to examine the model.
Why do you assume I – or anybody else, since the extension requires a huggingface.co token – gained access without permission?
That could be done but require code change to the notebook.
Given A1111 team is close to release a native support, I am not sure if this worth the effort.