Lighting plays a crucial role in photography and has a significant impact on the overall quality and mood of an image. You can use lighting to enhance the subject, create depth and dimension, convey emotions, and highlight important details.
In this post, you will learn about the following methods to control lighting
- lighting keywords
- Regional prompting
- ControlNet img2img
Table of Contents
Software
We will use AUTOMATIC1111 Stable Diffusion GUI to create images. You can use this GUI on Google Colab, Windows, or Mac.
Use lighting keywords
The simplest way is to add lighting keywords to the prompt.
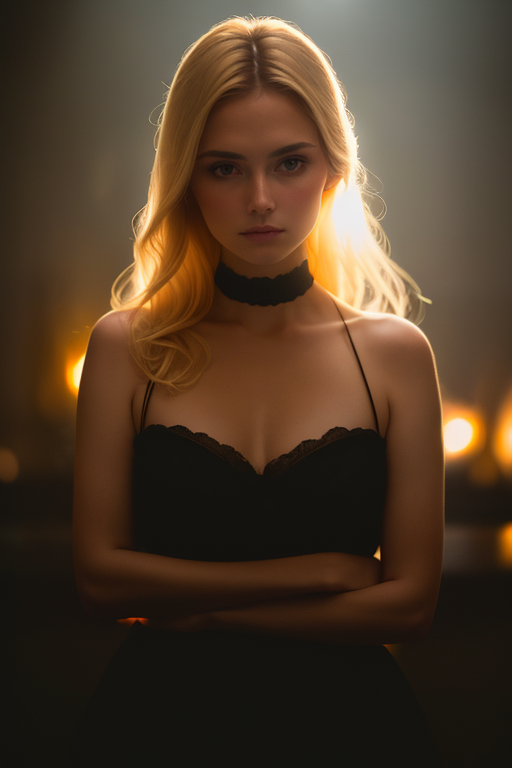
I will use the following base prompt and negative prompt to illustrate the effect.
fashion photography, a woman
disfigured, ugly, bad, immature, cartoon, anime, 3d, painting, b&w, nsfw
Model: DreamShaper v6 (c249d7853b)
Width: 512
Height: 768
CFG scale: 7
Seed: 94858136 – 94858143
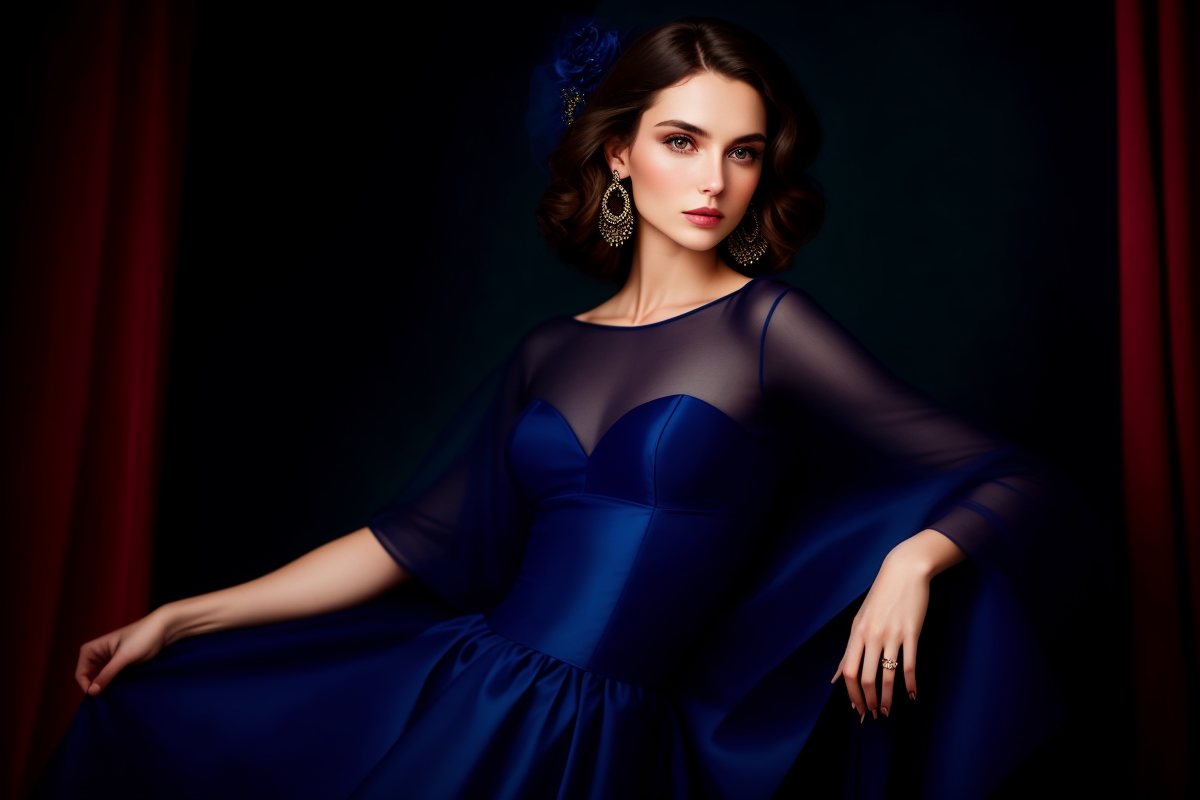
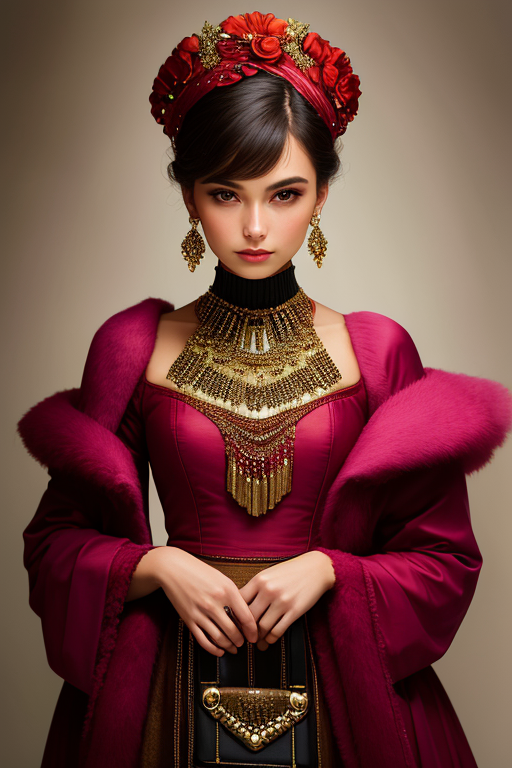
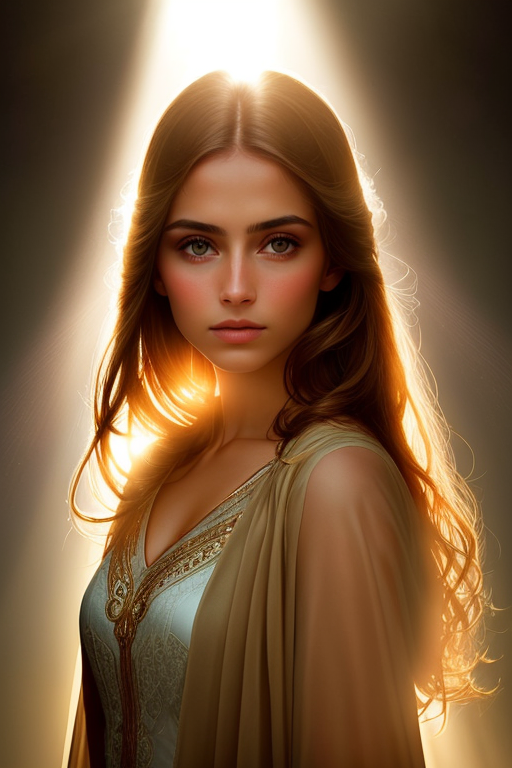
Example images generated with the base prompt. They are well-lit and good looking, but the lighting is uninteresting.
Volumetric lighting is distinct light beams on the image. It is used in photography to increase the sense of volume.
Adding the keyword volumetric to the prompt:
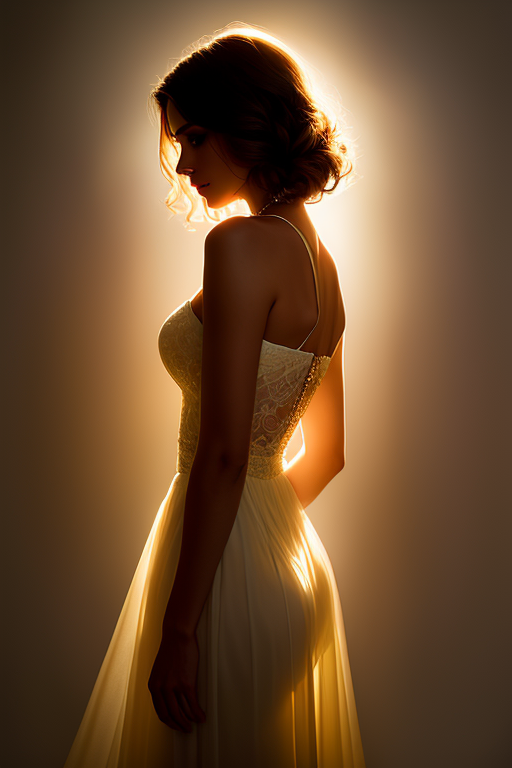
Rim lighting adds a lit outline to the subject. It may render the subject darker. You can combine with other lighting terms to light up the subject.
Adding the keyword rim lighting to the prompt:
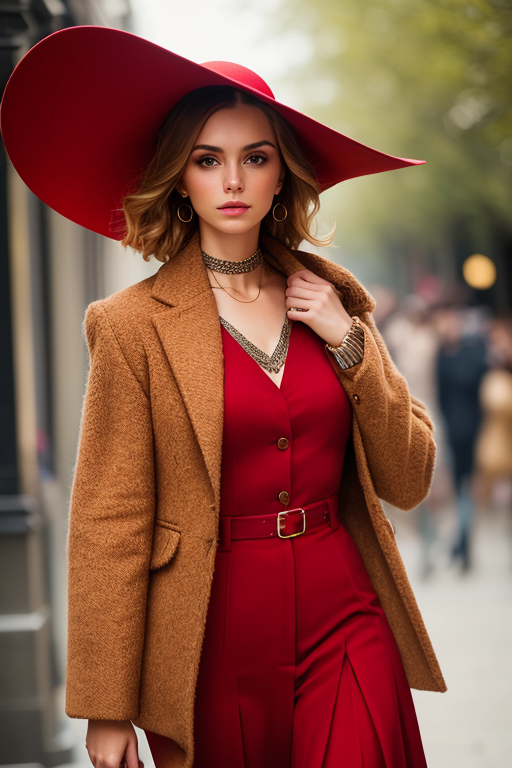
Sunlight adds… sunlight to the image. It tends to render a nature background.
Adding the keyword sunlight to the prompt.

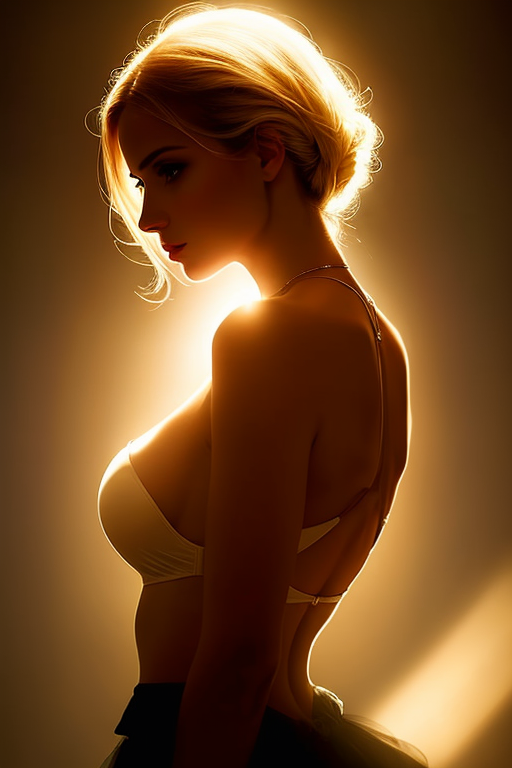
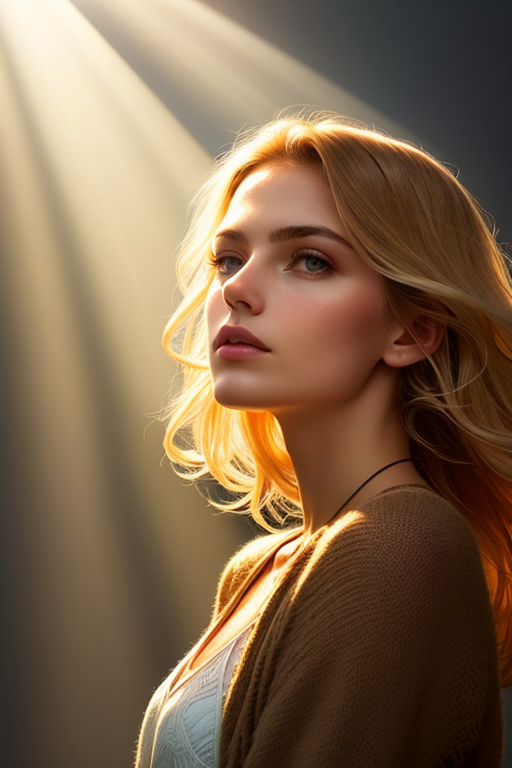
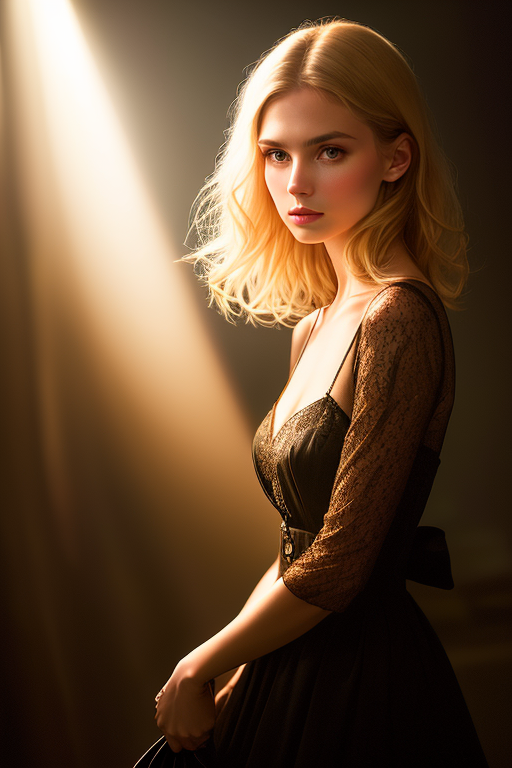
Backlight puts the light source behind the subject. You can produce some stylish effects by adding this one keyword.
Adding backlight to the prompt.
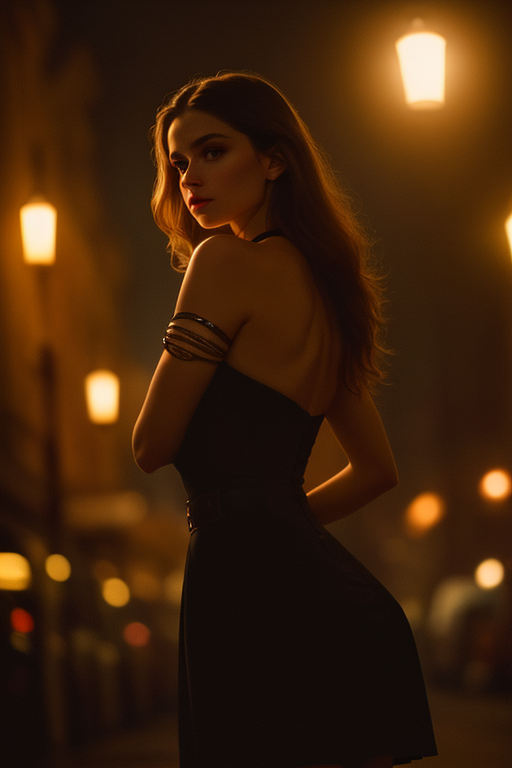
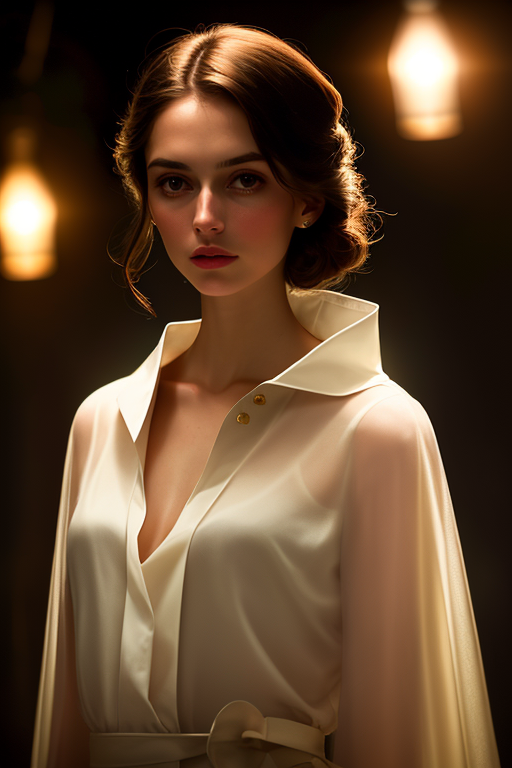
It is well-known that Stable Diffusion won’t produce dark images unguided. There are many ways to solve this, including using models and LoRA. But an easier way is to add some dim-lighting keywords.
Adding dimly lit to the prompt.
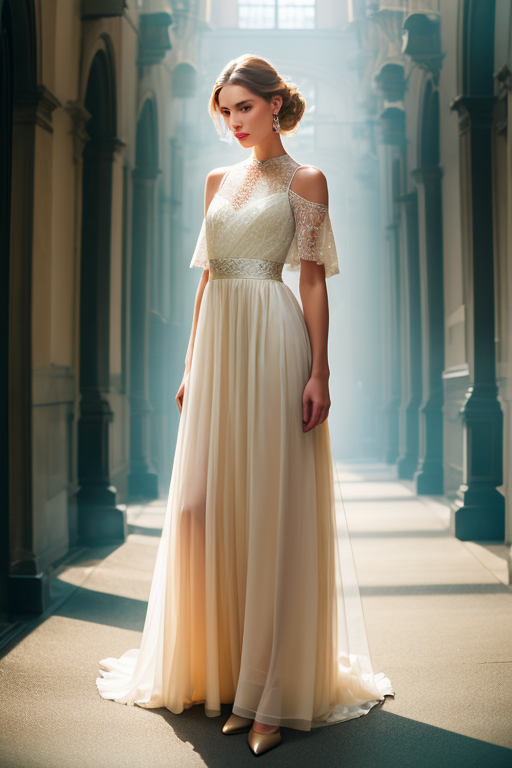
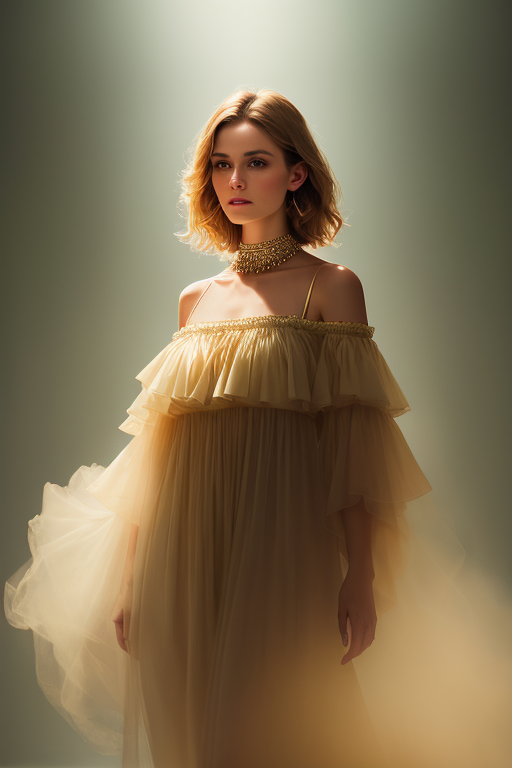
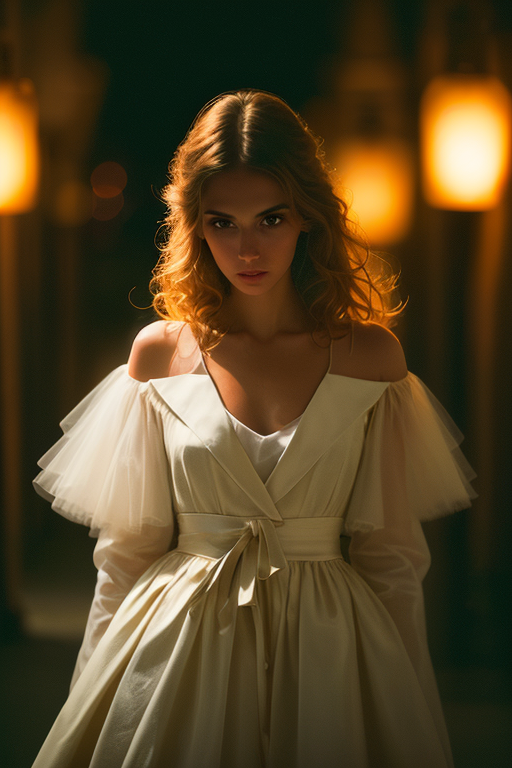
Crepuscular rays adds light ray breaking through clouds. It can create stunning visual effects.
This prompt and portrait aspect ratio normally renders full-body images, and adding crepuscular rays zooms out. I use crepuscular rays, face to zoom in on the face a bit.
Tips
- Increase the weight of the keyword if you don’t see the effect.
- These lighting keyword doesn’t always work. Test with generating a few images at a time.
- Find more lighting keywords in the Prompt Generator.
Control regional lighting
Lighting keywords in the prompt applies to the whole image. You can further dial-in the lighting effect to specific areas of the image.
You will need the Regional Prompter extension. Read the article for the installation instructions.
In this example, you will apply different lighting to the upper and the lower part of the image.
In the txt2img page, expand the Regional Prompter section.
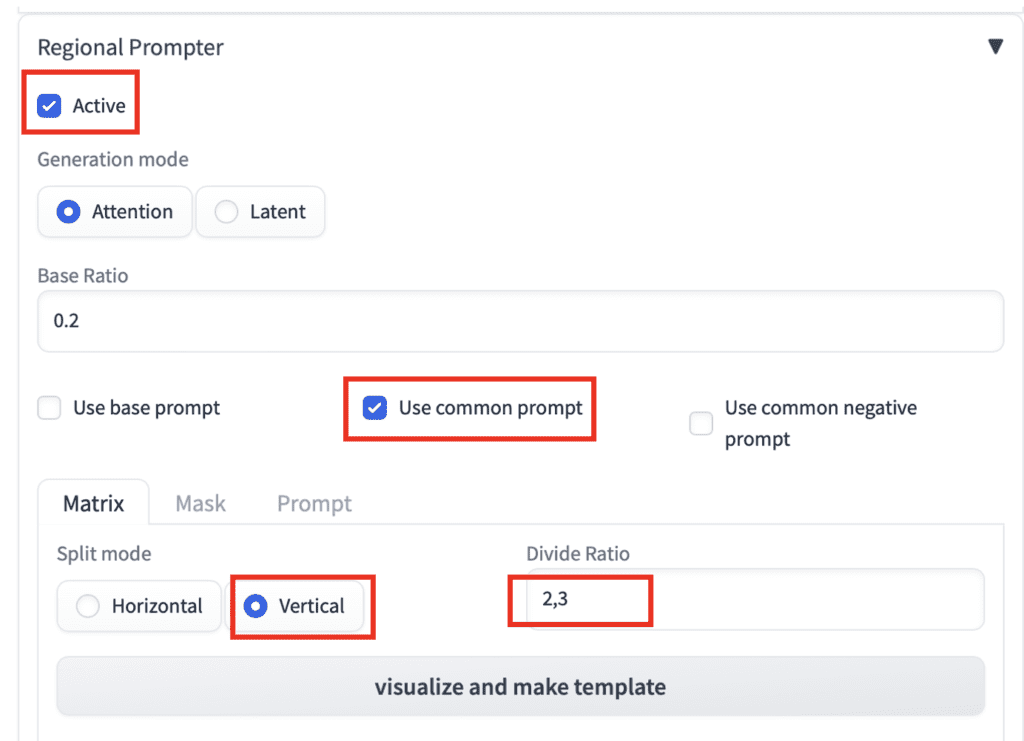
- Active: Yes
- Use common prompt: Yes
- Split mode: Vertical
- Divide Ratio: 2,3
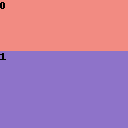
Click visualize and make template to confirm that the image is split into two vertical regions.
Put in the prompt:
fashion photography, a woman
BREAK
( hard light:1.2), (volumetric:1.2), well-lit
BREAK
(dimly lit:1.4)
And use the same negative prompt:
disfigured, ugly, bad, immature, cartoon, anime, 3d, painting, b&w, nsfw
All other parameters stay the same.
You will get some images that are well-lit on top but dark on the bottom.
Now try swapping the lighting assignment.
fashion photography, a woman
BREAK
(dimly lit:1.4)
BREAK
( hard light:1.2), (volumetric:1.2), well-lit
The lighting swaps accordingly.
Tips:
- Adjust the weights of the keywords if you don’t see the effect.
- Regional prompting doesn’t work 100% of the time. Prepare to generate more and cherry-pick.
Control light with ControlNet
Nowadays, any tutorial is not complete without mentioning ControlNet… So here you go!
This method allows you to control illumination precisely.
You will need the ControlNet extension installed. Follow this tutorial to install.
Txt2img settings
On the txt2img page, generate an image as usual.
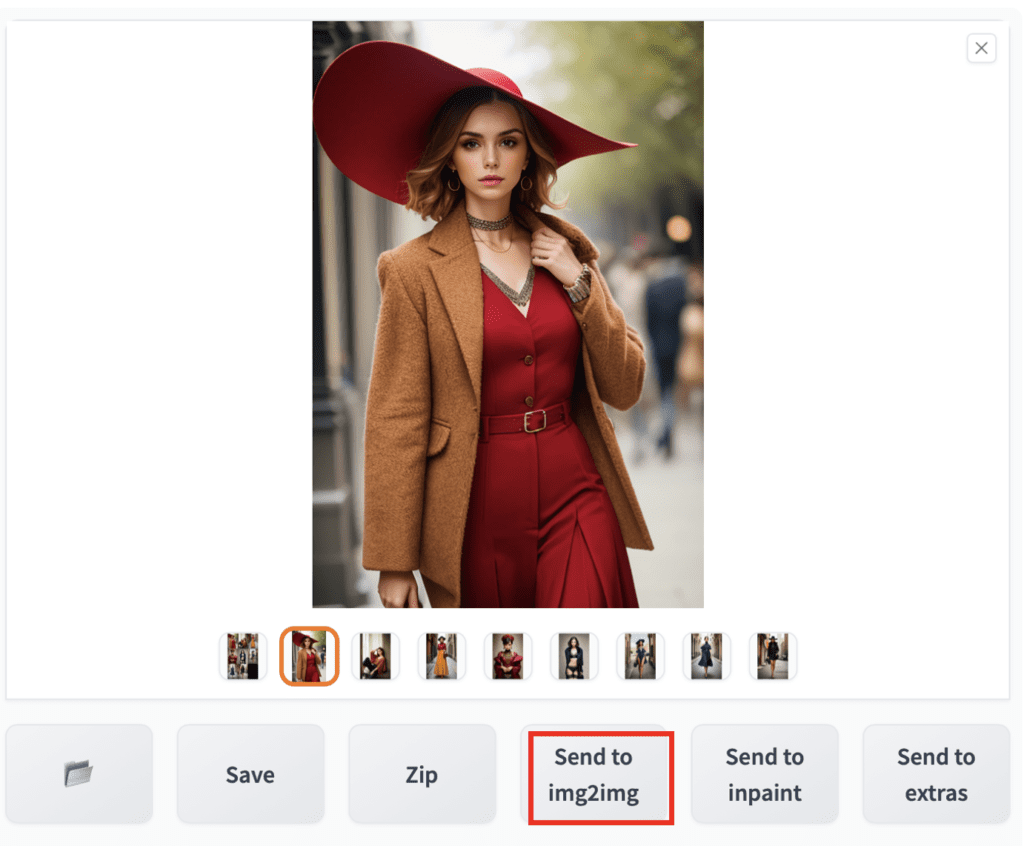
Pick an image you want to add lighting to.
Save it to your local Storage (We will need it later for ControlNet).
Press Send to img2img.
Img2img settings
Your prompt, negative prompt, image size, and seed value are now ported to the img2img page.
On the img2img page, navigate to the ControlNet section.
Upload the image you just saved to ControlNet Unit 0.
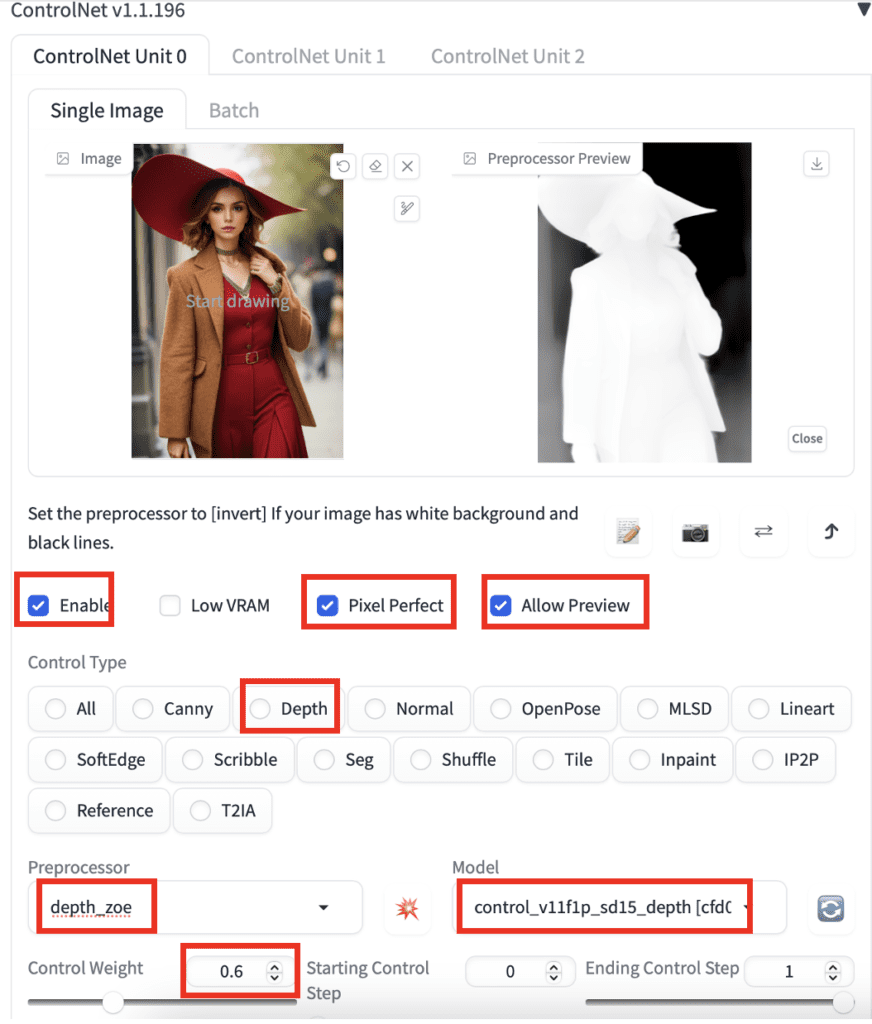
Use the following settings.
- Enable: Yes
- Pixel Perfect: Yes
- Allow preview: Yes
- Control Type: Depth
- Preprocessor: depth_zoe
- Model: control_xxxx_depth
- Control Weight: 0.6
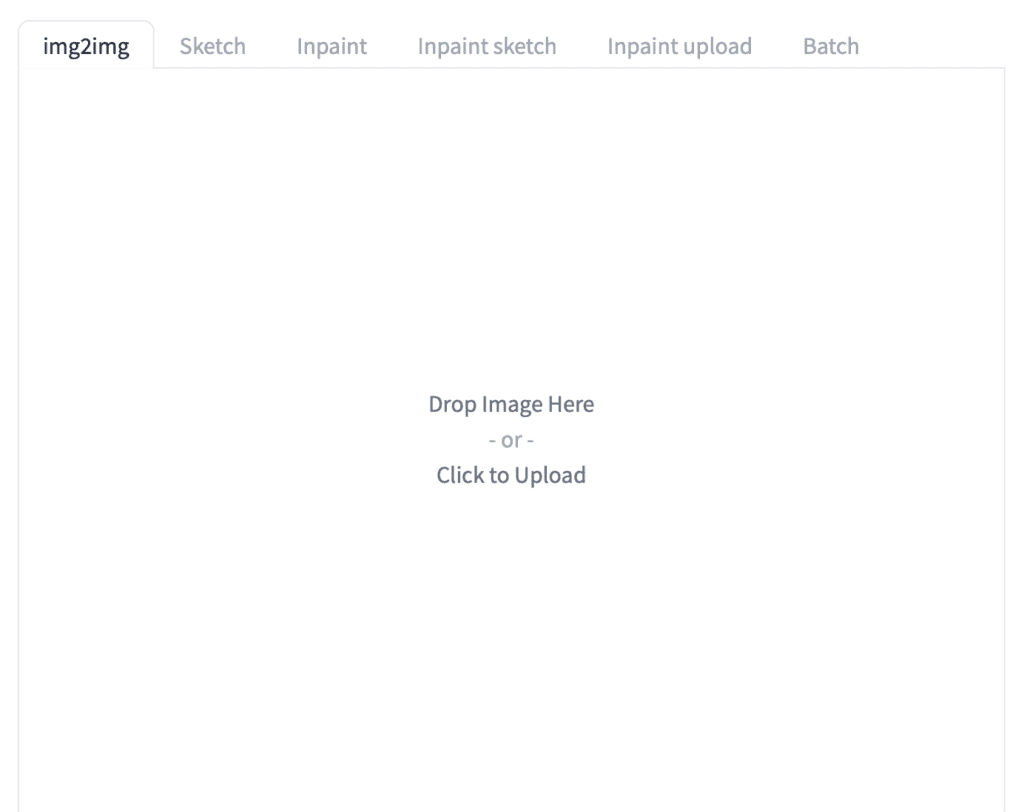
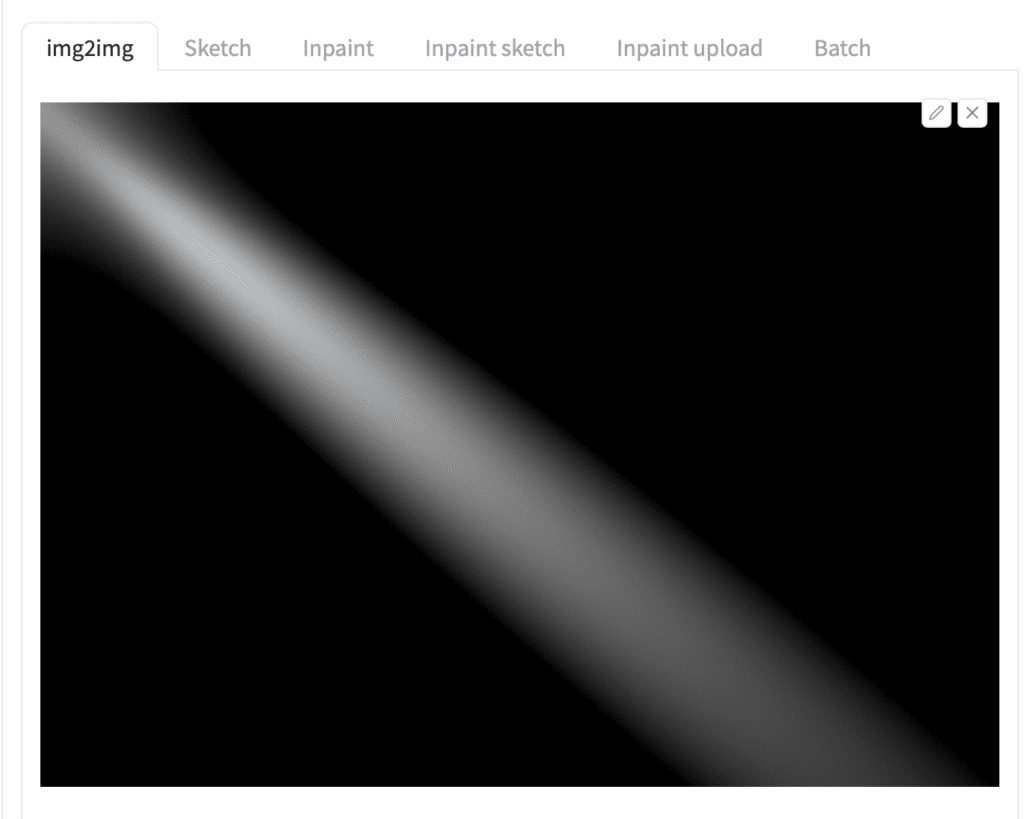
Scroll up to the img2img canvas. Remove the image.
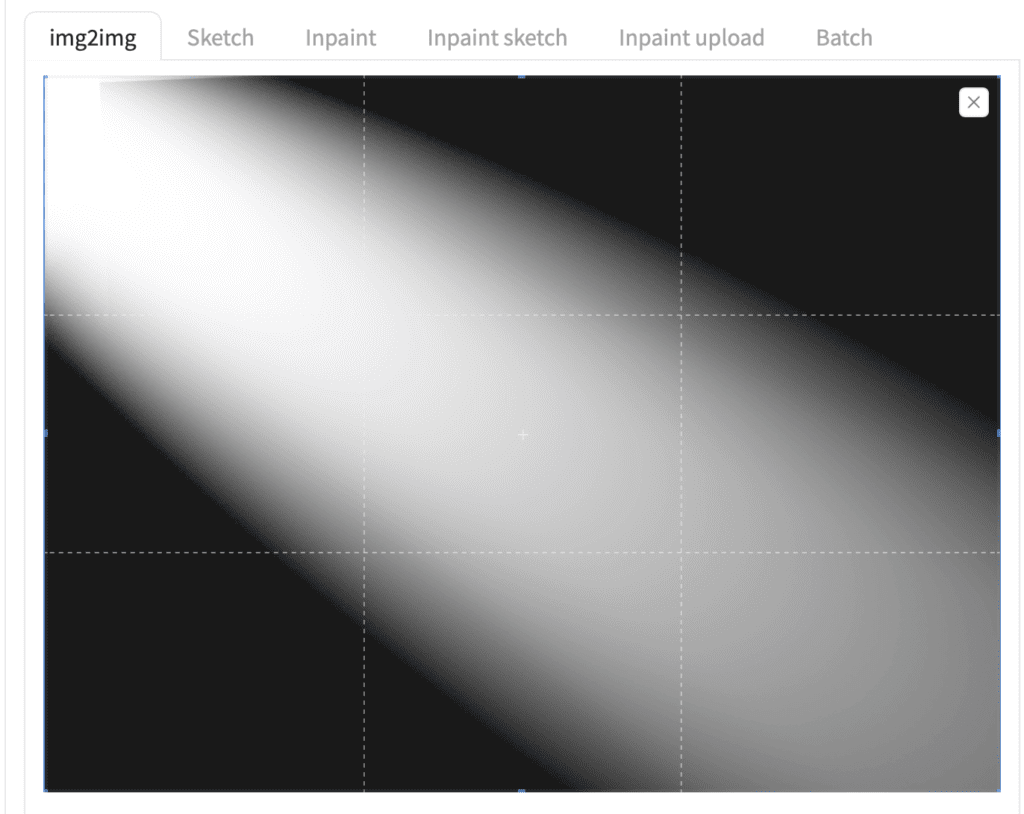
We will use the following image to control lighting. This image specifies a spotlight near the top.

Upload this image to the img2imag canvas.
Set the resize mode to Just Resize.
Set denoising strength to 0.95.
Press Generate.
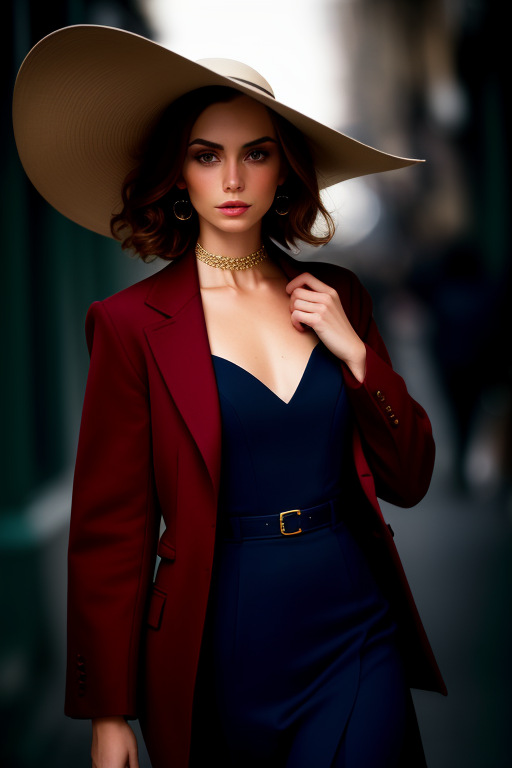
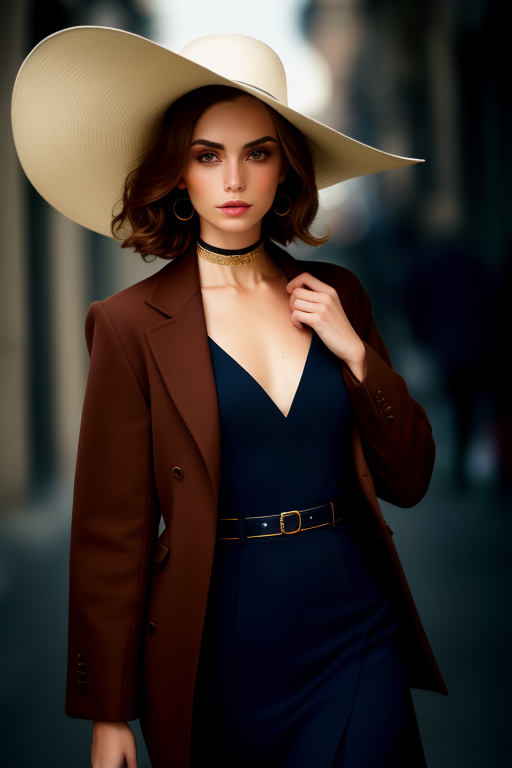
You should get images with the light source on top.
You can zoom in on a region of the img2img canvas using the Edit Tool (the pencil icon) in the top right corner.
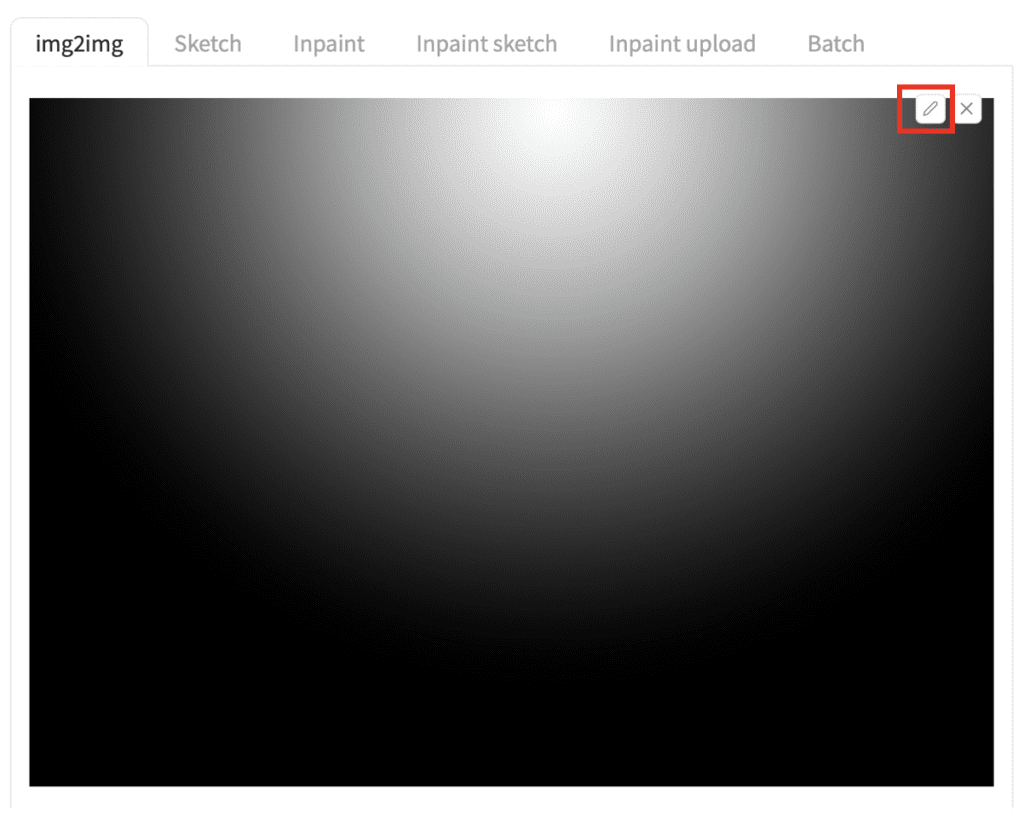
After clicking the pencil icon, drag the corner of the highlighted region to resize. There’s currently a bug in this tool. You may need to do it twice.
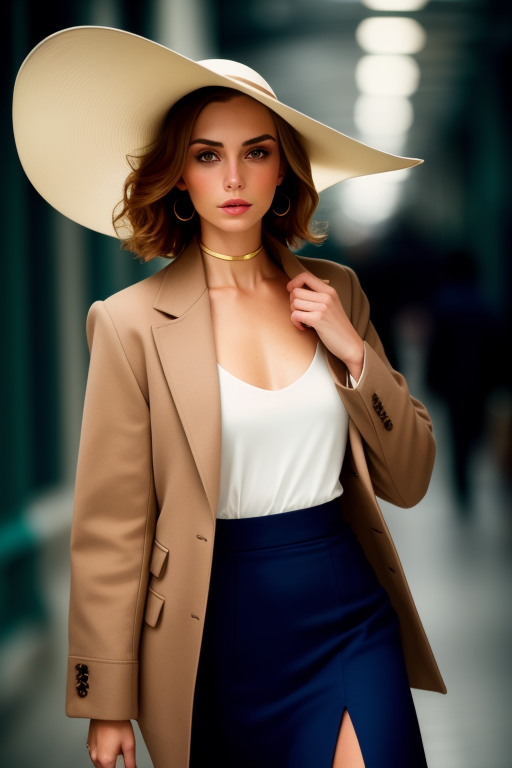
For example, the screenshot below shows the same image was cropped so that the light source is on the top left.

See the face and the left-hand side of the hat is lit up more than the previous image.
Likewise, light up the image from the bottom left using the light source below.
Or a higher contrast diagonal light.

Below are some examples of light source patterns.
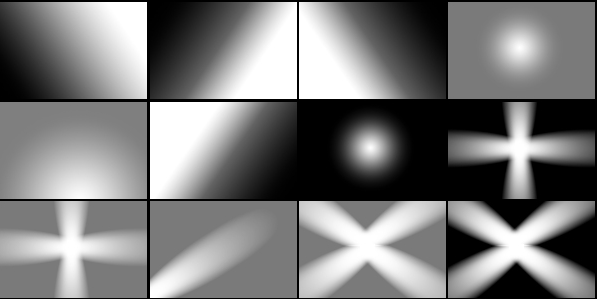
Use them without change or zoom into a region to achieve the desired lighting effect.
Remark
You don’t have to use the depth control model. Other models, such as canny and line art realistic, will also work. Experiment with the preprocessors to see which one works for you.
Reduce the Cotrolnet weight if you see unnatural colors.
Adjust the denoising strength and observe the effect.
All lies, doesn;t work at all. Author also hides the prompts he uses and scrubbed his images of the prompts. Fraudulent page.
I have been trying to take the ControlNet approach to an image I created in A1111, but saved for this type of editing later. I used the PNG Info tab to re-enter the prompt, seed, dimensions, CFG, etc. However, I get completely new images, not just the lighting.
ADetailer and ESRGAN_4x were both used to create the original image. I don’t want to lose the face and pose. Any help you could provide would be greatly appreciated.
Also, what is the order of operations if you do inpainting and depth-based ControlNet lighting?
You can try adding the canny controlnet to the img2img method.
Hello,
very good work, that help me a lot for what i’m doing. just have a question? how do you generate your photo to control the light? do you take picture yourself? do you buy them? i will be very happy if you can explain me 🙂
Hi! They were made in photoshop with some spotlight brushes.
There is no editing tool (pencil icon) in the upper right corner on img2img canvas, A1111 v1.6.1.
Yes, they took it away since it was buggy (but usable) and gradio didn’t fix it.
Very useful explanation, learning, thanks.
God’s rays works even for this atheist. It’s a lot easier to remember than Crepuscular rays
Bravo et … merci !
i tryed even “rig lighting”, add professional light (key lighting and backlight) with less tokens. 🙂
excellent ! thanks a lot !
Use promt “chiaroscuro” ))))
Good one!