Z-Image Turbo ControlNet Union 2.1 version 2602 dropped recently, and users are already calling it a game-changer. If you’ve been using Z-Image for speed, quality, and prompt adherence, this ControlNet lets you control character composition in detail. In addition, this update brings a new capability: coloring grayscale images.

In this guide, I’ll walk you through everything you need to know about this new version, what Gray Control does, and how to set it up in ComfyUI.
Table of Contents
Software needed
We will use ComfyUI, a free AI image and video generator. You can use it on Windows, Mac, or Google Colab.
Think Diffusion provides an online ComfyUI service. They offer an extra 20% credit to our readers.
Read the ComfyUI beginner’s guide if you are new to ComfyUI. See the Quick Start Guide if you are new to AI images and videos.
Take the ComfyUI course to learn how to use ComfyUI step by step.
What is ControlNet Union?
ControlNet Union is a universal ControlNet model. Traditional ControlNet models typically only do one thing for each model: OpenPose, Canny, etc. So you will need different ControlNet models for different tasks.
ControlNet Union is “one model for them all”. A single ControlNet model can perform multiple controls, so you don’t need multiple models.
What’s New in Version 2602?
The latest update to Z-Image Turbo ControlNet Union 2.1 brings:
- Gray Control: Color a black-and-white image.
- Improved quality: Users report better outputs compared to earlier versions.
Step-by-Step Installation
Step 0: Update ComfyUI
Before loading the workflow, make sure your ComfyUI is up-to-date. The easiest way to do this is to use ComfyUI Manager.
Click the Manager button on the top toolbar.

Select Update ComfyUI.
Restart ComfyUI.
Step 1: Download the Models
Get Z-Image Turbo and ControlNet Union 2.1 models.
- Download ae.safetensors and put it in ComfyUI > models > vae folder.
- Download qwen_3_4b.safetensors and put it in ComfyUI > models > text_encoders folder.
- Download z_image_turbo_bf16.safetensors and put it in ComfyUI > models > diffusion_models folder.
- Download Z-Image-Turbo-Fun-Controlnet-Union-2.1-2602-8steps.safetensors. Put it in ComfyUI > models > model_patches.
Step 2: Load the workflow
Download the workflow JSON file below.
Drop it to ComfyUI to load.
Step 3: Install missing nodes
If you see nodes with red borders, you don’t have the custom nodes required for this workflow. You should have ComfyUI Manager installed before performing this step.
Click Manager > Install Missing Custom Nodes.
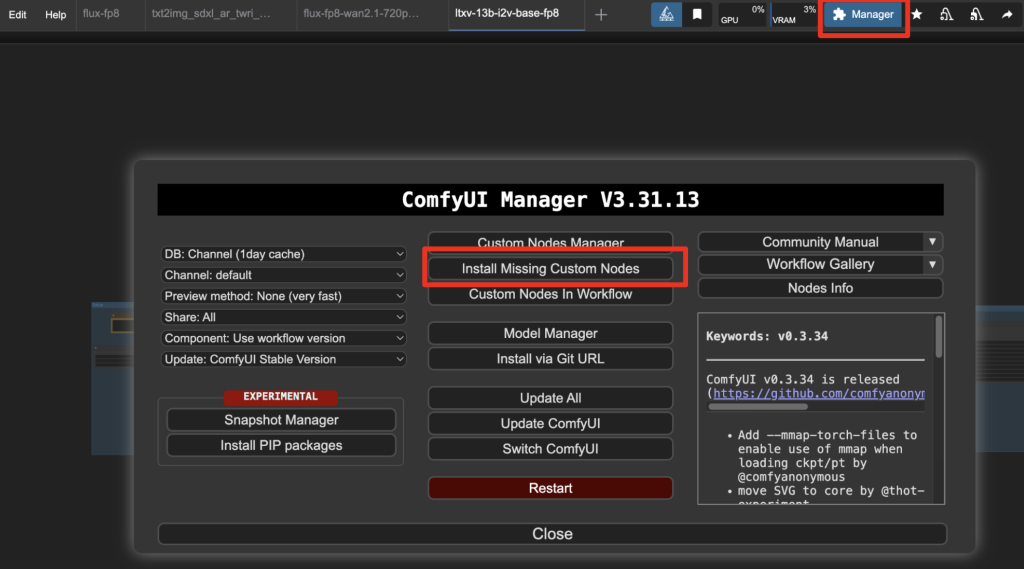
Install the nodes that are missing.
Restart ComfyUI.
Refresh the ComfyUI page.
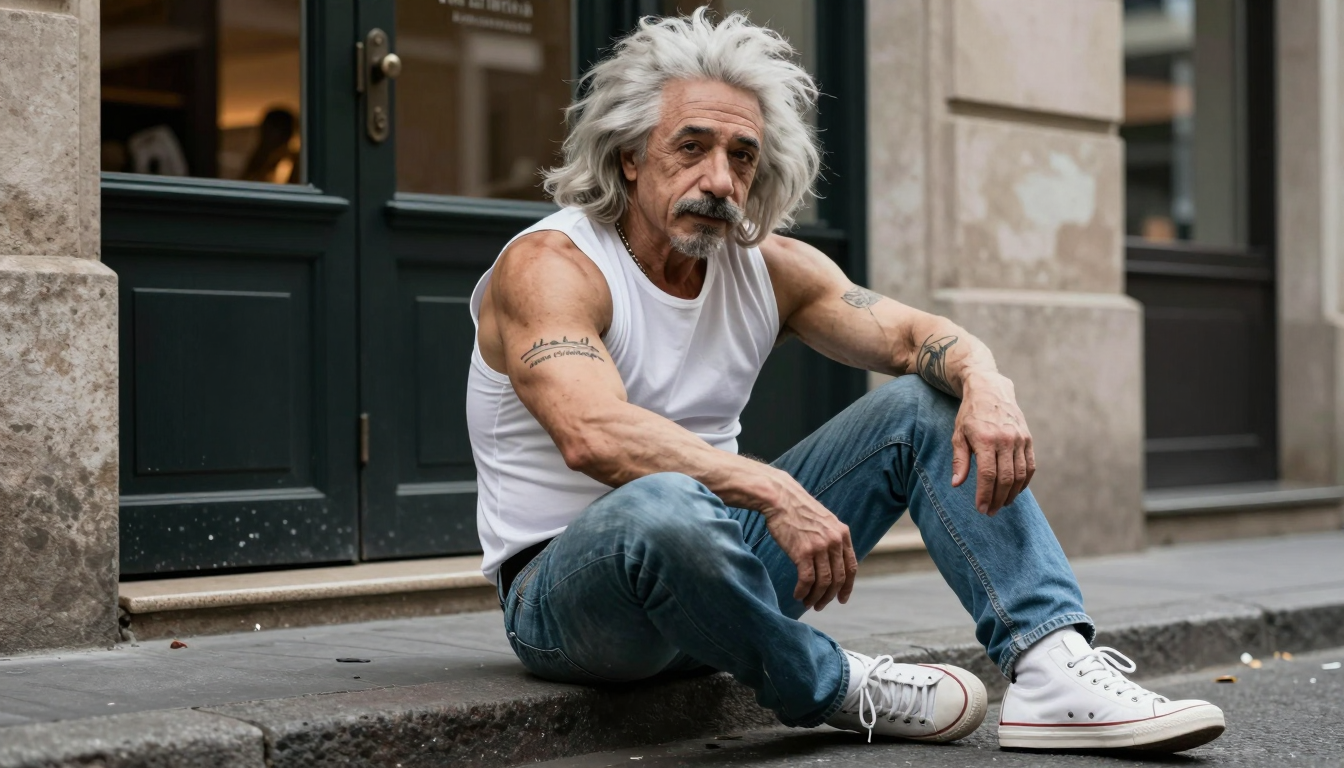
Step 4: Upload a reference image
Upload an image to the Reference Image node.
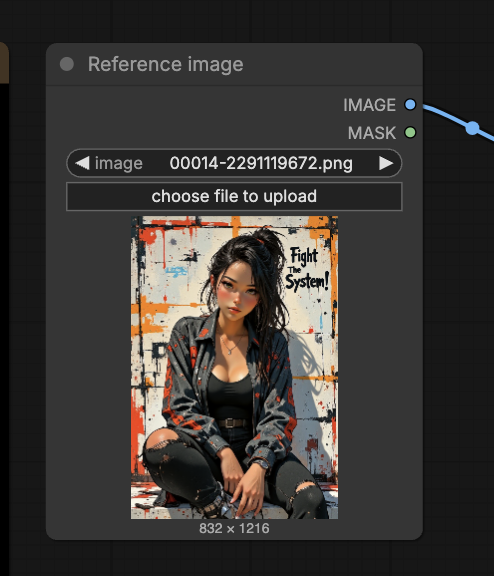
You can use the test image below.
Step 5: Select a ControlNet Preprocessor
Select a ControlNet preprocessor in the AIO Aux Preprocessor node.
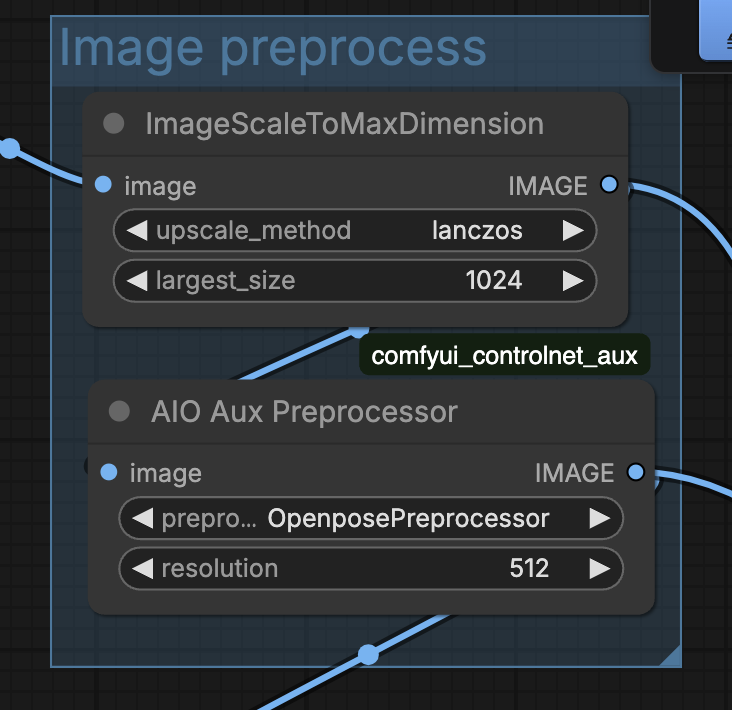
Some useful preprocessors are:
- OpenPose: Copy human pose
- DW: Copy human pose
- HED: Copy outline
- Zoe Depth Map: Copy depth composition
- Canny: Copy outlines
Select None if you want to color a black-and-white photo.
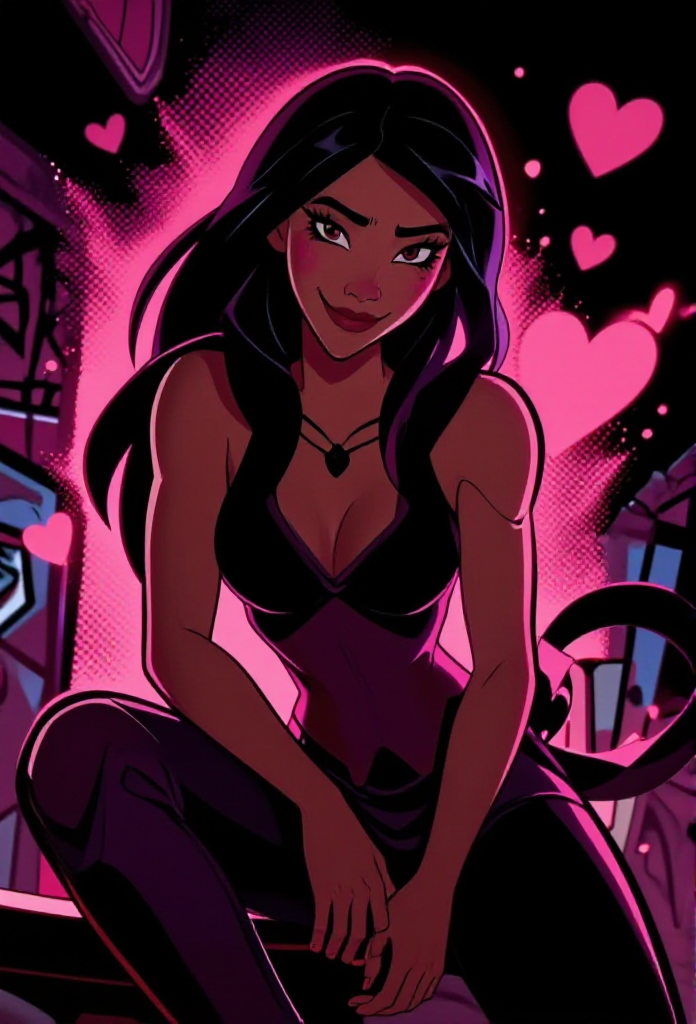
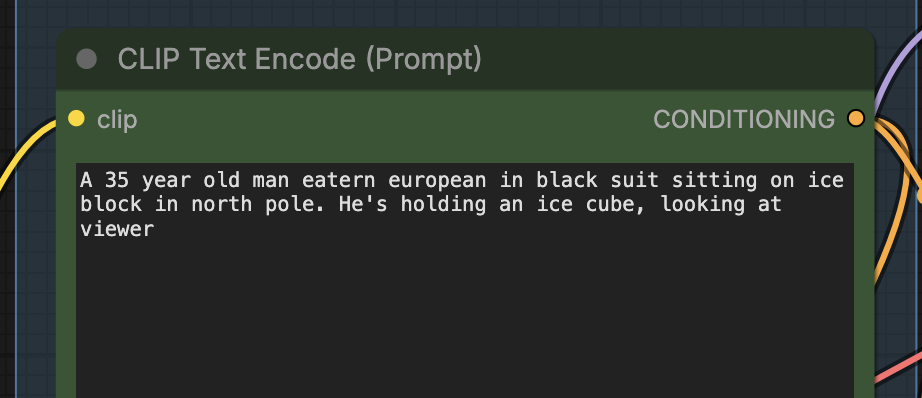
Step 6: Revise the prompt
Describe the image you would like to generate in the prompt.
Step 7: Generate an image
Click the Run button to run the workflow.

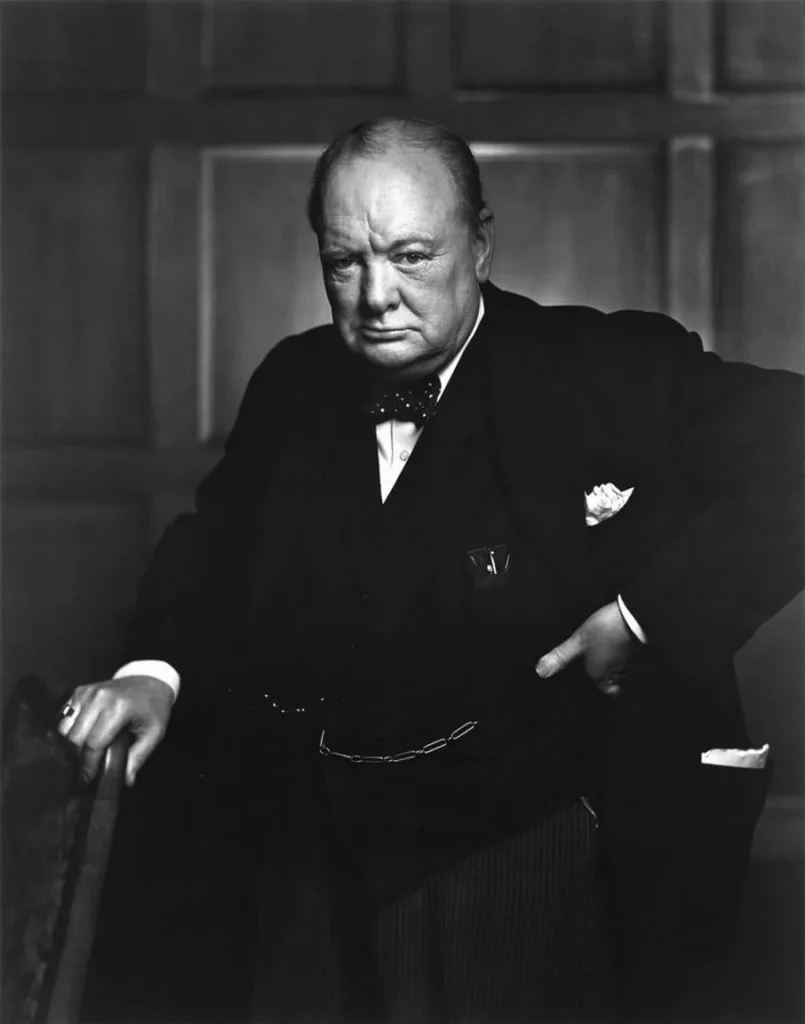
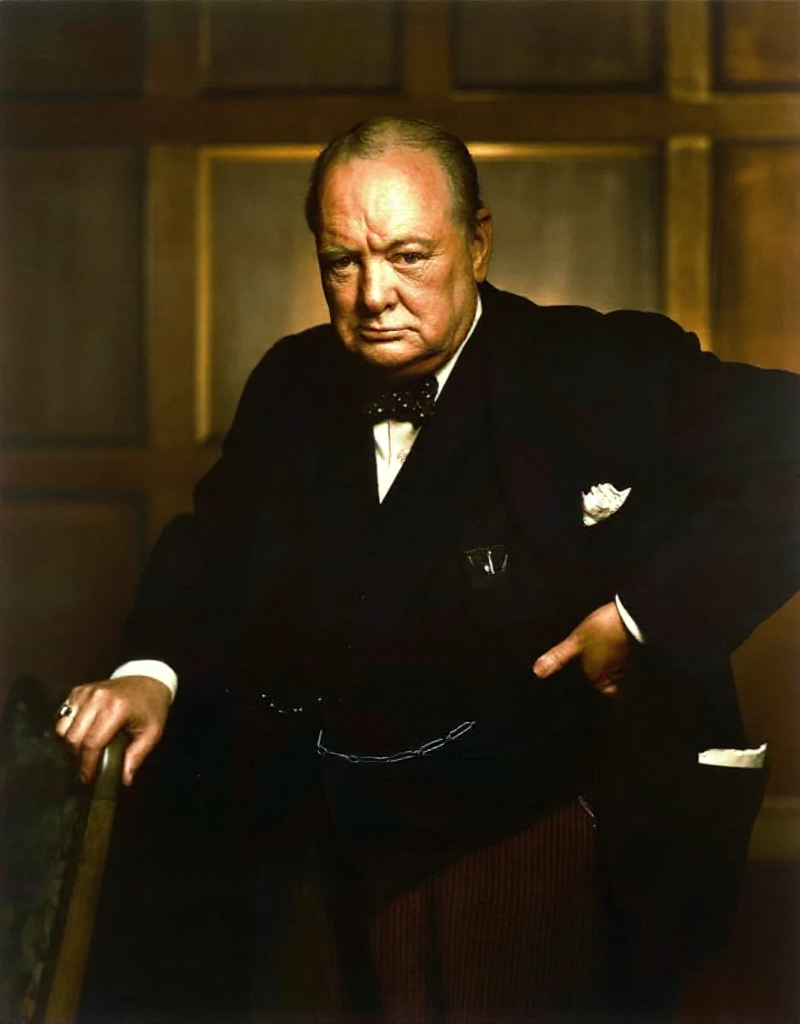
Grayscale mode
Use the grayscale model of ControlNet Union to color a black-and-white image.
Settings
- Preprocessor: None
- Prompt: A color photo, natural color, soft light
Tips
- Change the seed value to generate a new image.
- Adjust the ControlNet strength to finetune the image. You should use the lowest value you can get away with.
- The ControlNet model seems to be trained with particular preprocessors. For example, try different depth models (Midas, Zoe, Depth Anything, etc.) to see which one works.
Reference
- Z-Image Turbo ControlNet Union 2.1 Version 2602 Release – Reddit r/StableDiffusion
- ControlNet Union on Hugging Face – Official model page
- ComfyUI ControlNet Auxiliary – GitHub repo for the nodes
Thanks, Andrew, controlnet seems to work very well with Z-image for many poses, particularly using the depth preprocessors. With more complex poses I used strength 1.0 but could get away with 0.7 or 0.8 with simpler ones. I got great results using a refiner workflow with two samplers, the first taking the controlnetted model input followed by a simple upscale of the latent into the second sampler without further controlnet. I used res_2s/beta57 in the first sampler with 8 steps and dpmpp 2m sde/linear-quadratic in the second with 6 steps and denoise 0.3. This gives very good skin textures, particularly if followed with a 4xNomos8k upscale.
Further to this, I tried the same approach with Qwen2512 and the corresponding Qwen-Fun-Controlnet-Union model but the ModelPatchLoader node threw an error which appears to be because it didn’t see the DiT blocks it expects. When I switched to standard controlnet nodes, it worked fine, including with the 8 step lora. So there are two recent models that work with controlnet and a third, Flux.2 klein, doesn’t need it as it can already take poses from reference images. Good news!
Thanks for sharing!
What I mean is : extract the pose from image 1, and instead of applying it to a text prompt generation, apply it to an existing image
This is not possible yet. z-image has no IP-adapter. The cloest thing is z-image edit, but it has not been released.
How would you modify this worflow to feed a second image to be modified to follow the pose of the reference image, rather than using a prompt?
You will need to modify MODEL with a second set of controlnet node. You can duplicate the controlnet nodes so that so that modify the model in series i.e. MODEL -> Controlnet1 -> Controlnet2 -> sampler