
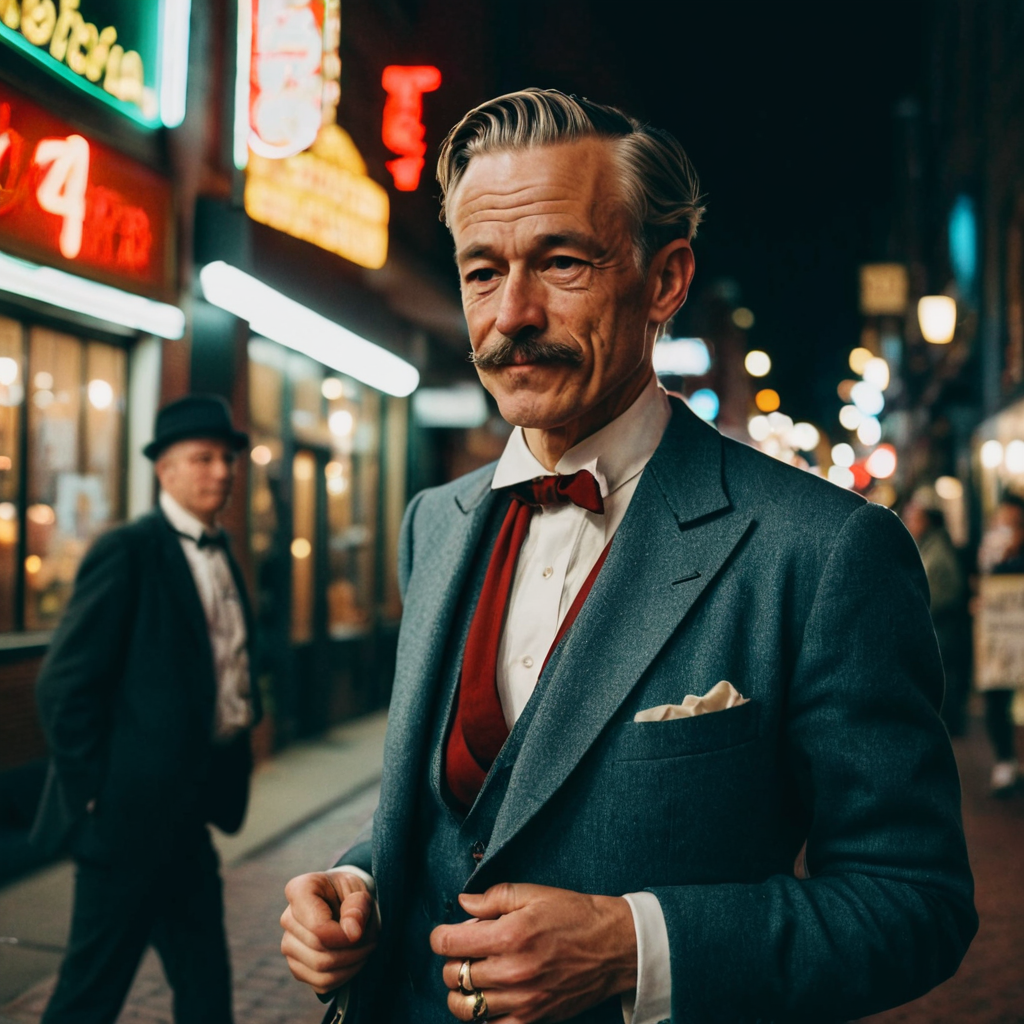
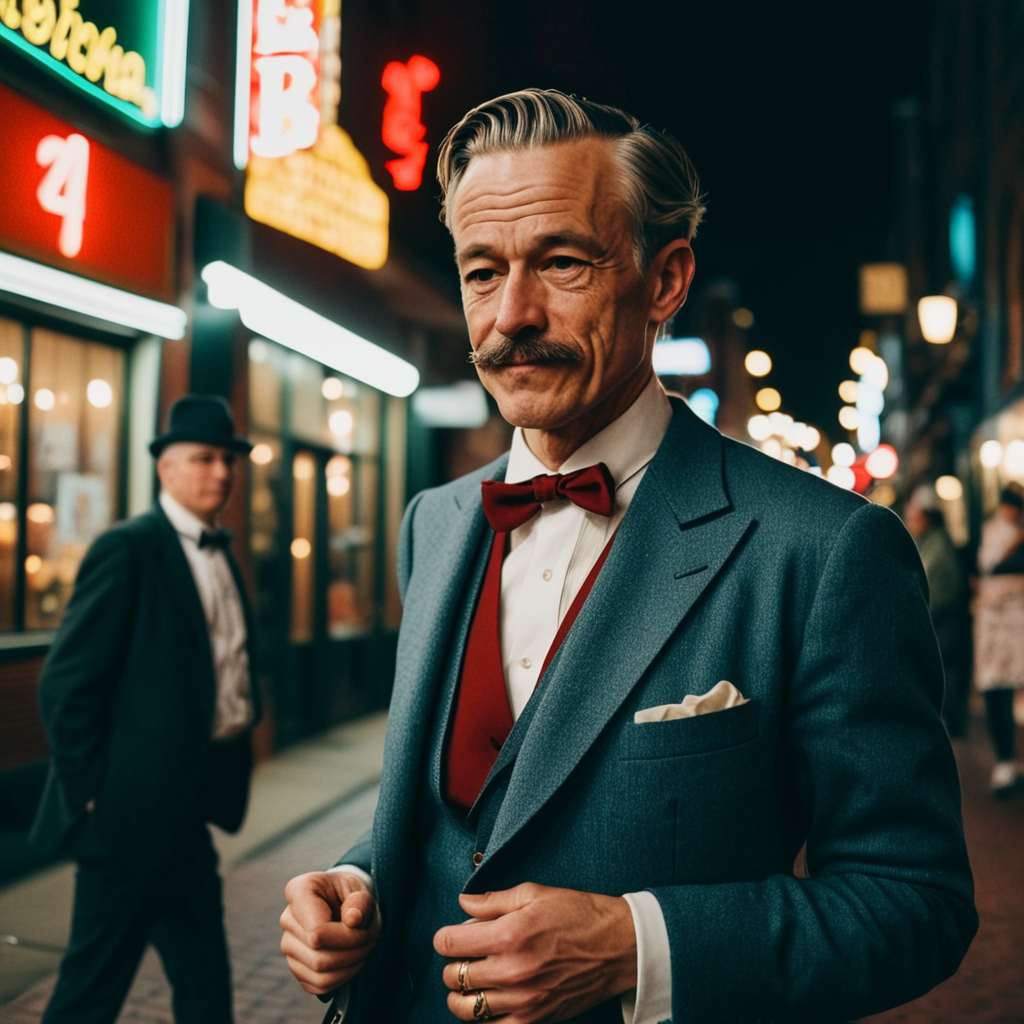
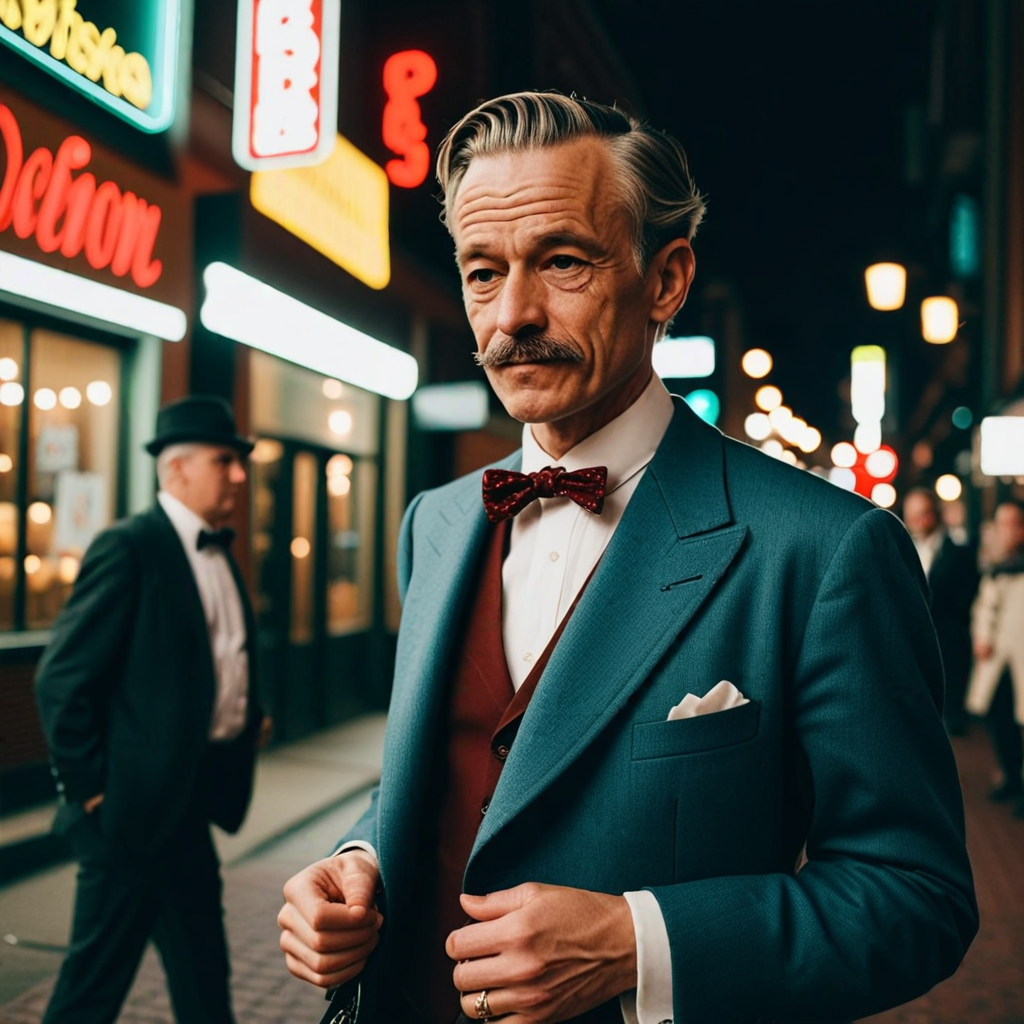
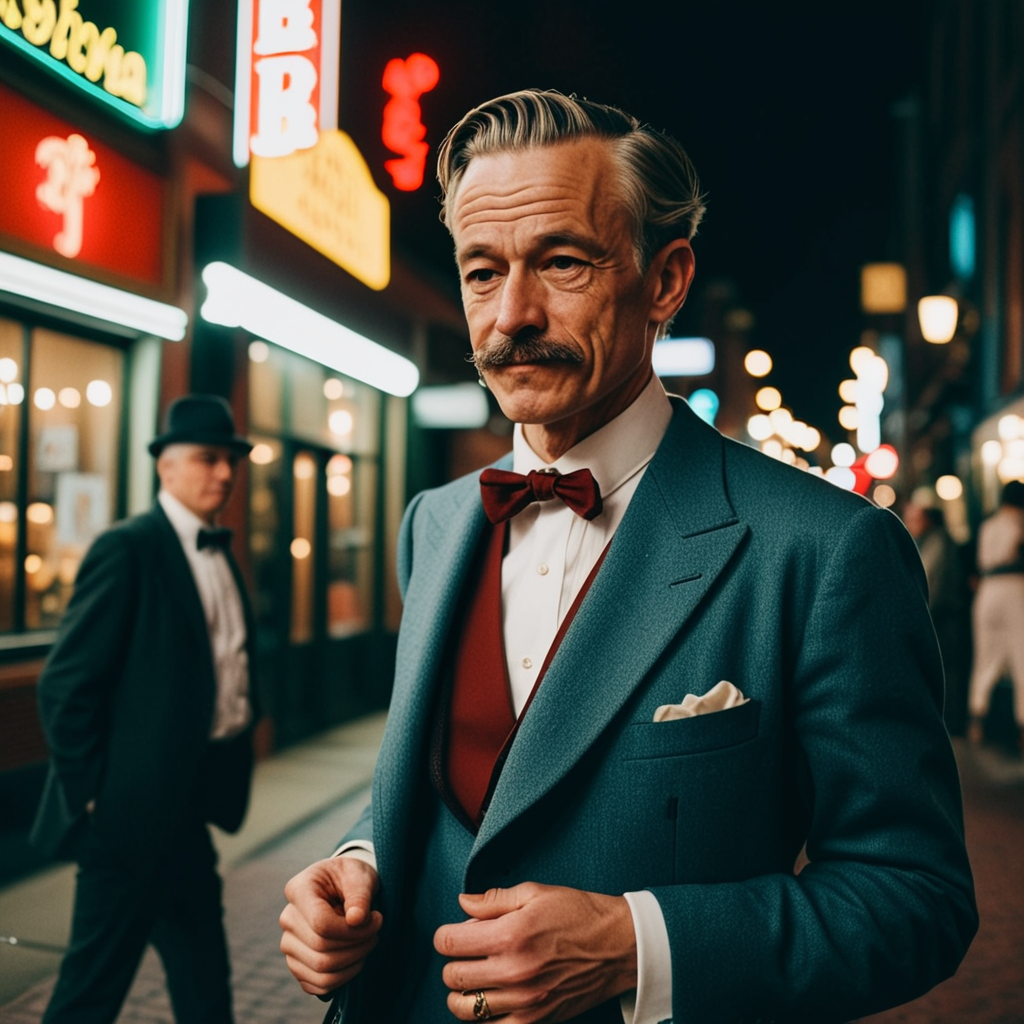
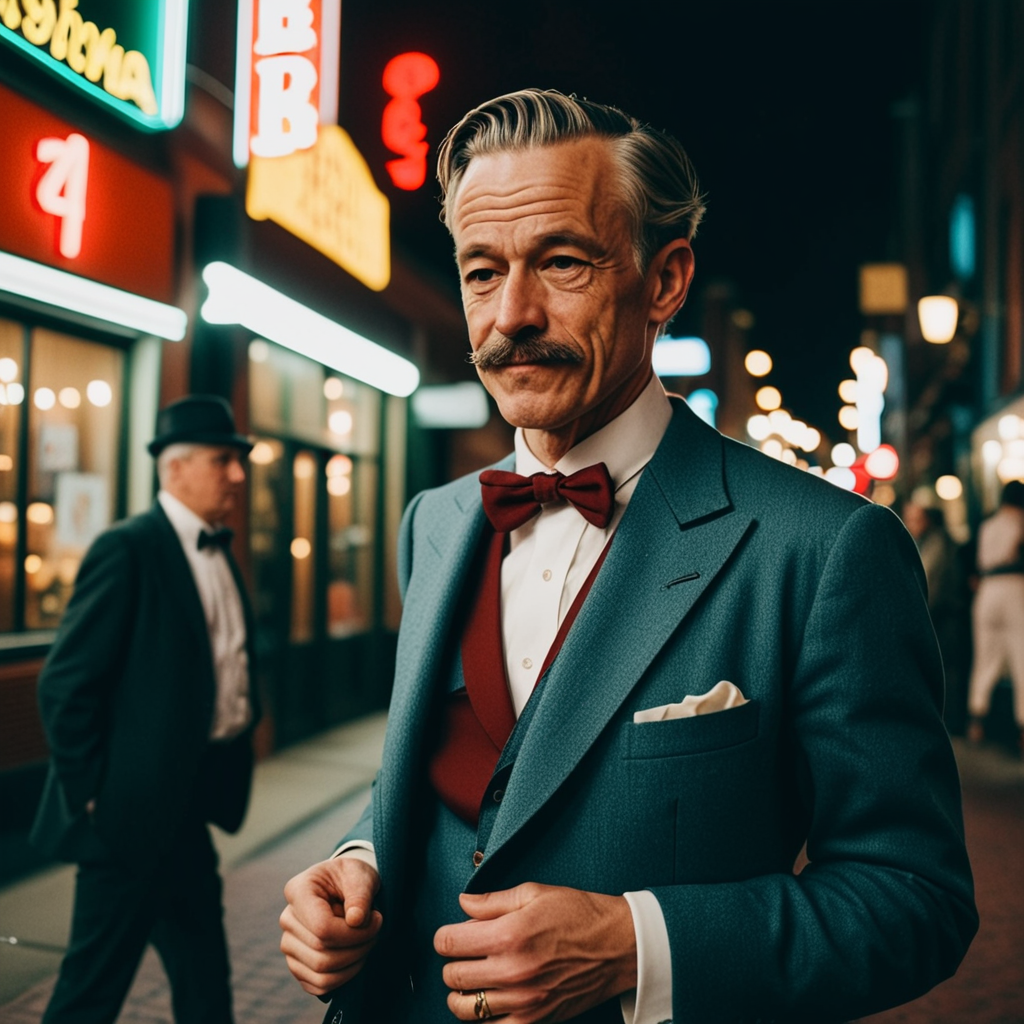
Self-attention Guidance (SAG) enhances details in an image while preserving the overall composition. It is useful for fixing nonsensical details that give the AI image away.
In the example below, it fixes the man’s bow tie and modifies other details in the background.

Here’s the video version of this article.
Table of Contents
Software
We will use ComfyUI, a free AI image and video generator. You can use it on Windows, Mac, or Google Colab.
Think Diffusion provides an online ComfyUI service. They offer an extra 20% credit to our readers.
Read the ComfyUI beginner’s guide if you are new to ComfyUI. See the Quick Start Guide if you are new to AI images and videos.
Take the ComfyUI course to learn how to use ComfyUI step by step.
How does SAG work?
The details of Self-attention guidance (SAG) can be found in the technical report “Improving Sample Quality of Diffusion Models Using Self-Attention Guidance” by Susung Hong and coworkers.
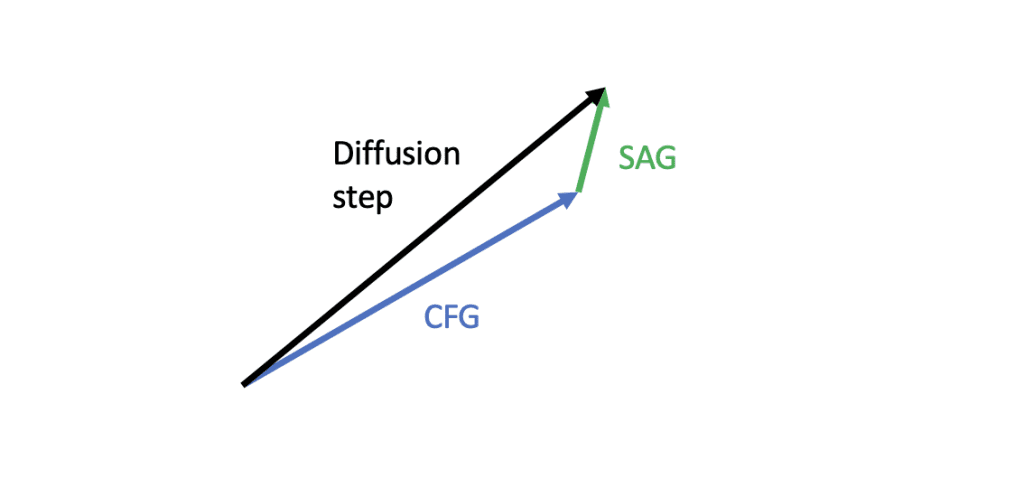
SAG works by adding additional guidance on top of the classifier-free guidance. The general idea is similar to the perturbed attention guidance (PAG). SAG is a prior work of PAG produced by the same research group.
Blurring diffusion
To understand SAG, we first need to understand the idea behind its predecessor, the Blurring diffusion model. The idea is simple. It replaces the image used for the negative prompt with a blurred one.
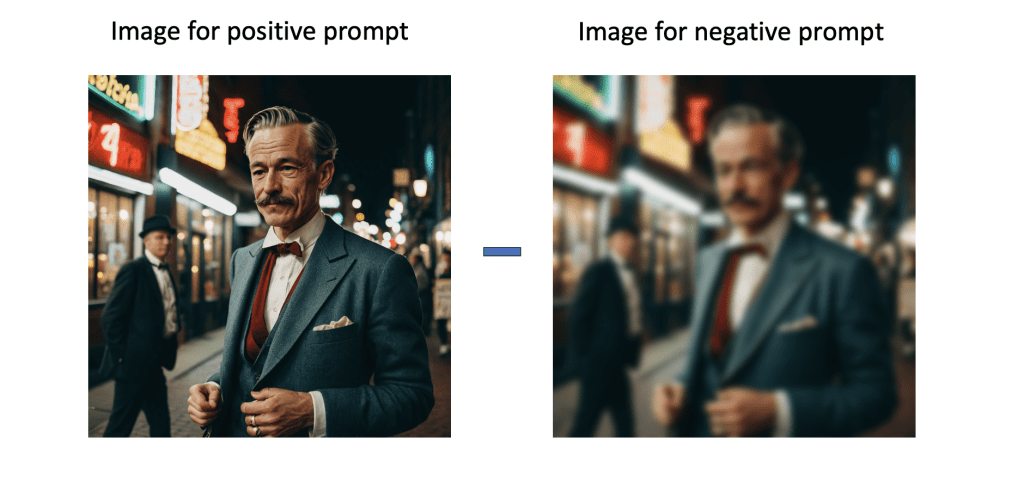
The blurring process removes the fine details from the image, forcing the model to focus on the global composition.
SAG
SAG goes one step further by selectively blurring the parts of the image the model deems important based on the self-attention map. The Stable Diffusion model generates this map in the normal image generation process to decide which part of the image it should focus on.
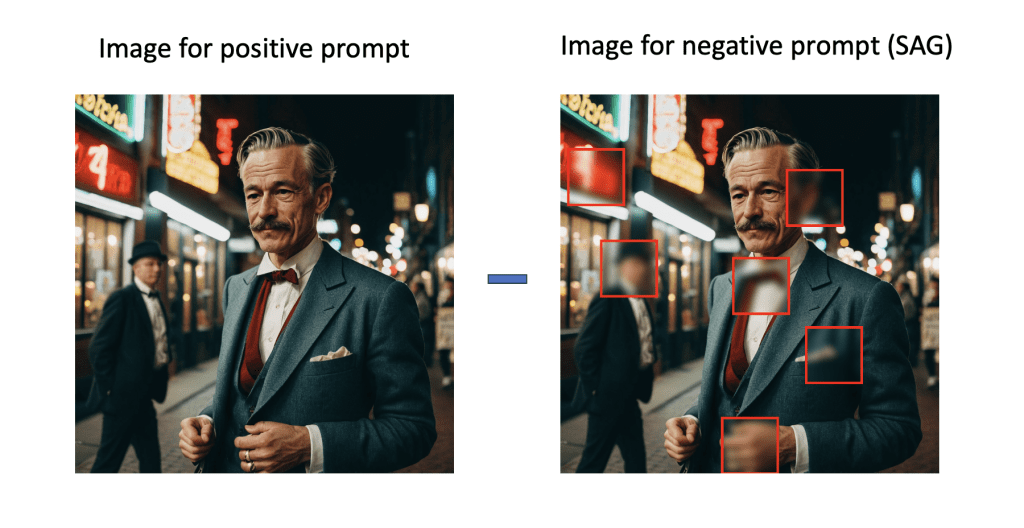
SAG steers away from the negative prompt based on the selectively blurred image. It forces the model to focus on the global composition of selected areas. Because the attention map is derived from the negative latent image, it tends to fix the details in the background instead of the main subject.
In other words, SAG is not a new model but an alternative guidance method. It works with any Stable Diffusion model and sampling method. You may not get the full benefit when using fast models like Stable Diffusion Lightning or Hyper. They tend to ignore negative prompts.
However, SAG does come with a price: It makes one more U-Net call per sampling step (3 instead of 2). You can expect the image generation time to increase by 50%.
ComfyUI
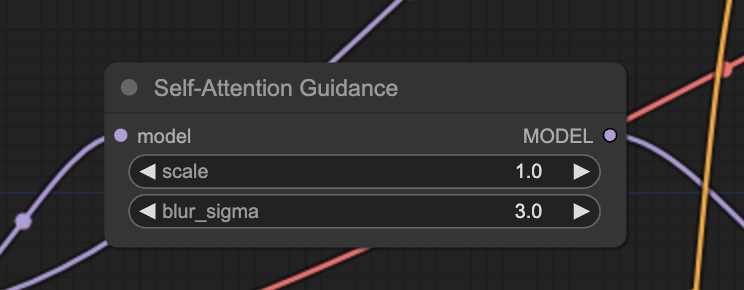
ComfyUI has native support of SAG. All you need to do is to insert the Self-Attention Guidance node between the Load Checkpoint and KSampler nodes.
Or you can download the workflow below.
The following workflow compares images with and without SAG using the same seed.
The scale parameter controls the strength of the guidance. It is analogous to the CFG scale. Setting it to 0 disables SAG.
The blur_sigma controls how much you blur the latent image for the negative guidance.
Parameters
SAG scale
You can enhance the effect of SAG by increasing its scale value. The effect saturates around 1.5. Setting it to 0 disables it.
A good SAG value is between 0.5 and 1.
Blur Sigma
Theoretically, higher sigma increases the blur of the negative image. The effect of changing sigma is very subtle. You can leave it at the default value of 3.

More examples
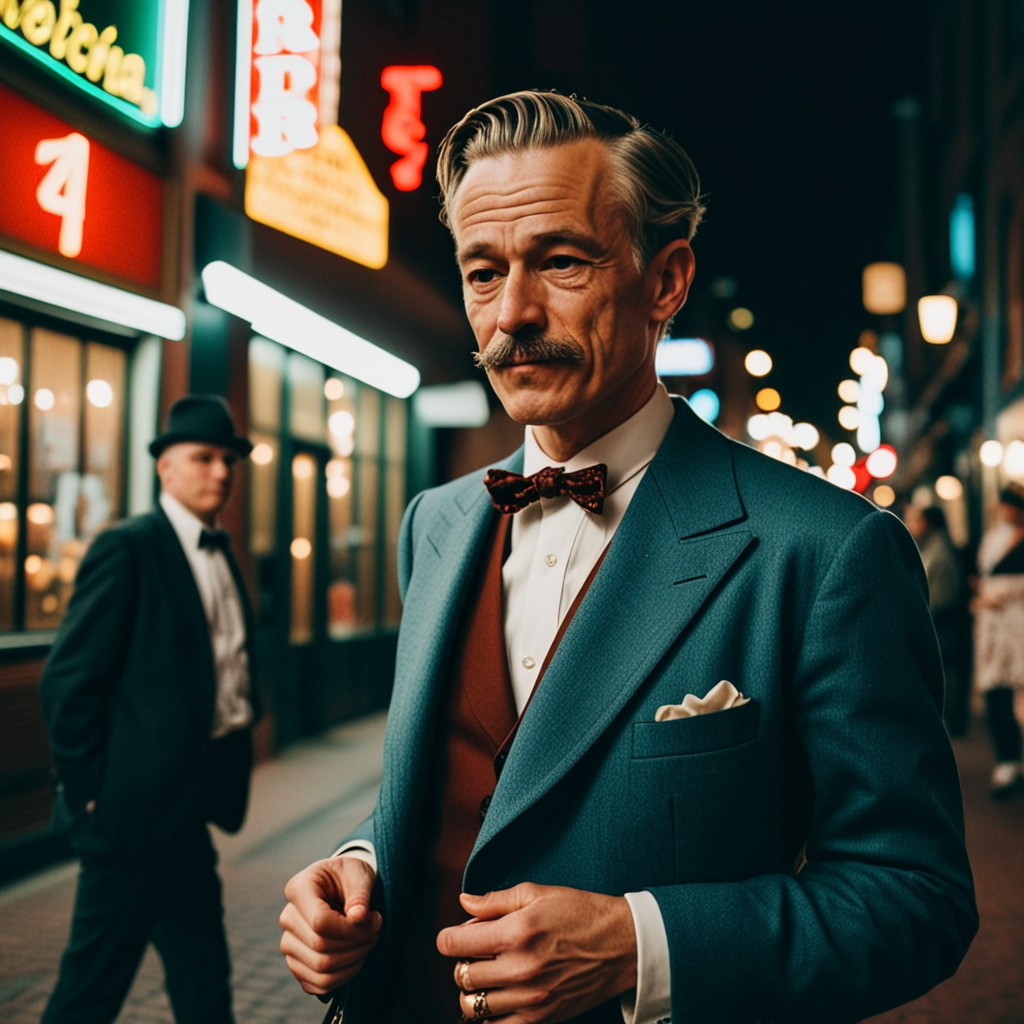
Below are a few more examples of SAG (scale 1 and blur sigma 3). You can see some subtle changes in the background. It is not always better but you should see a general improvement.
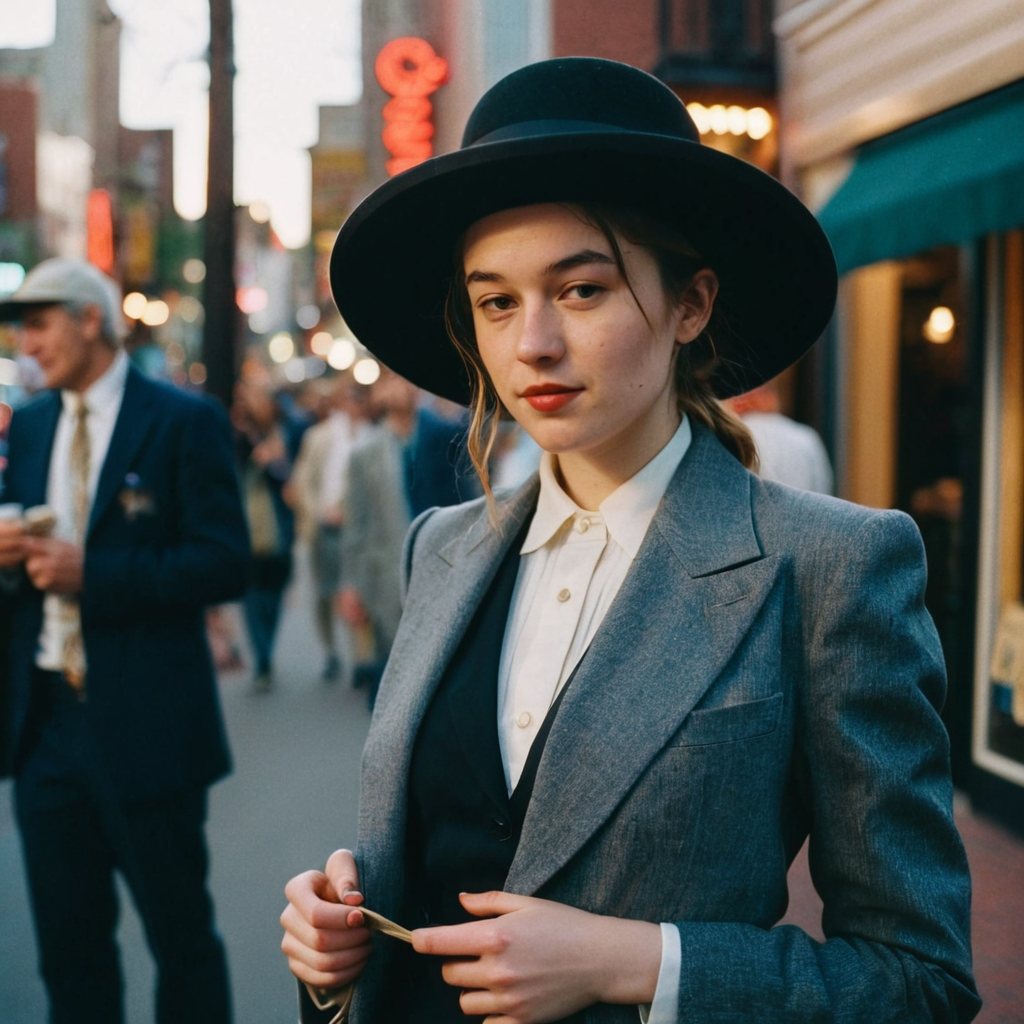
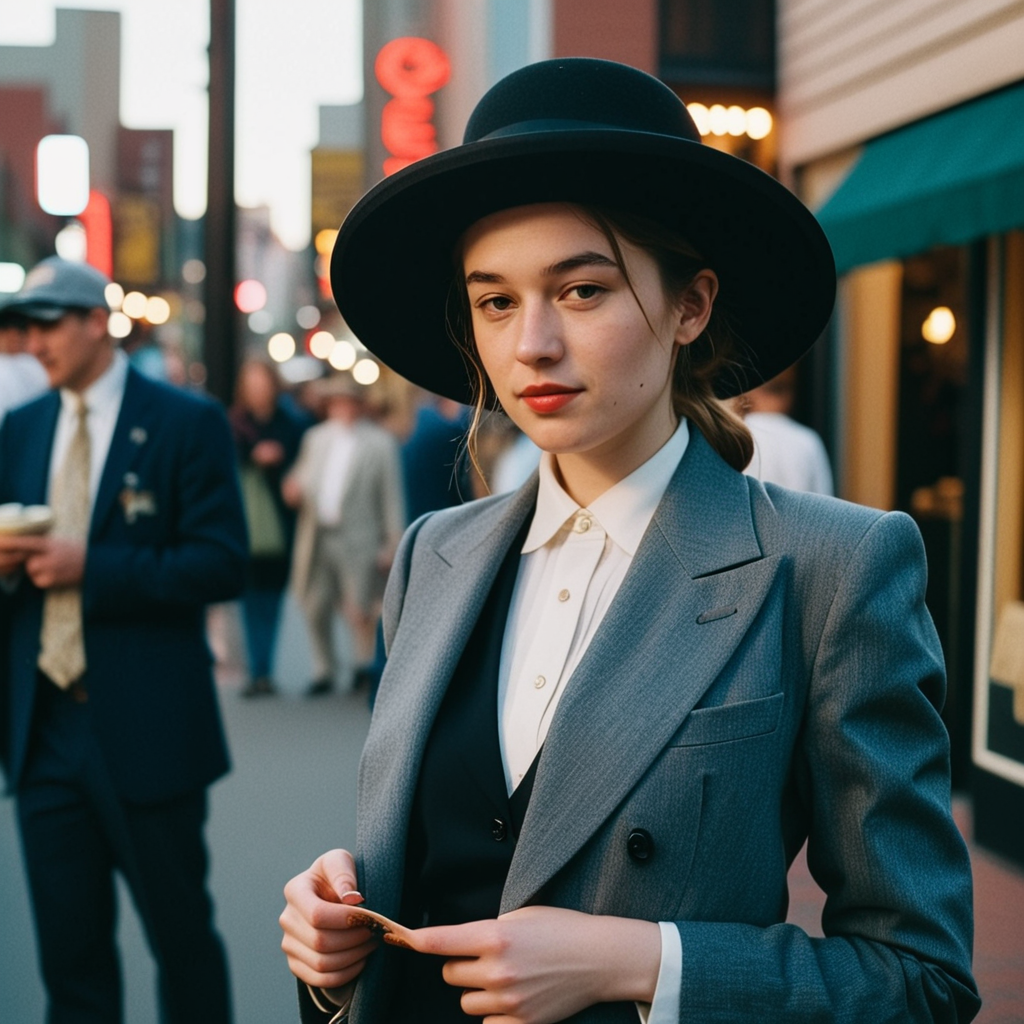
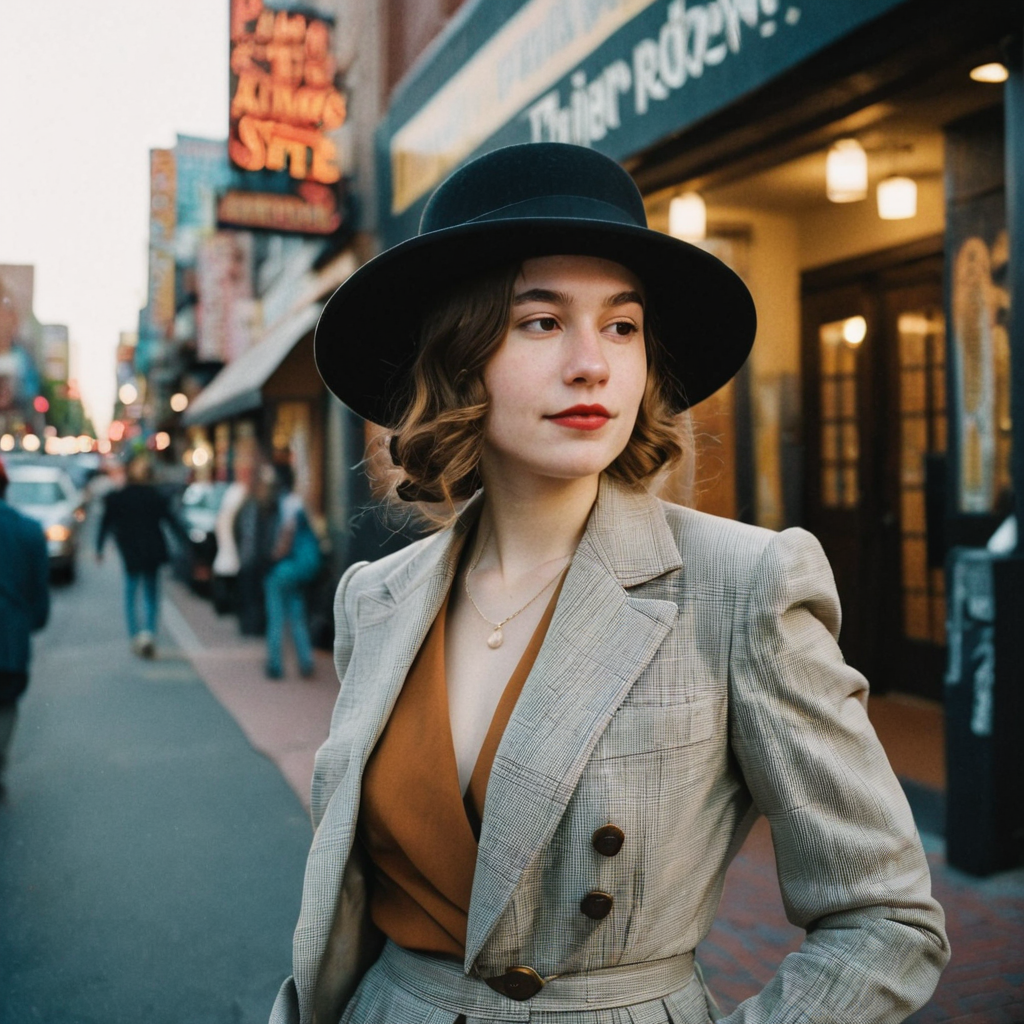
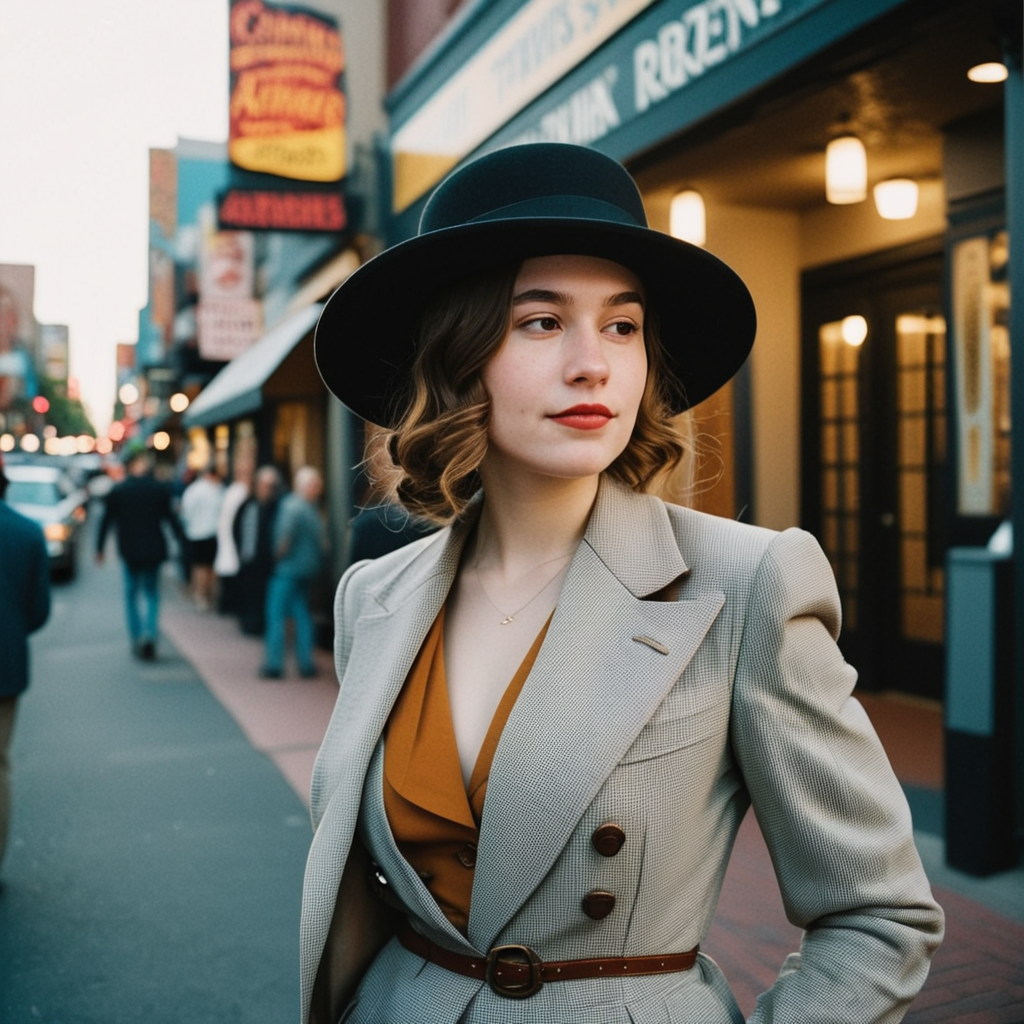
Many users report that SAG can clean up nonsensual objects in the background. In my testing, it does tend to change the background more than the main subject. It doesn’t always change things for the better, but I did see improvements more often.
So, you can use SAG as a “background fixer.” If you see an image you like, you can add the SAG node and see what if like it.
References
- Blurring Diffusion Models – The blurring model on which SAG is based.
- Improving Sample Quality of Diffusion Models Using Self-Attention Guidance – Research article.
Is not possible to use it in Automatic1111 or Forge?
Thanks for the post!
The A1111 extension didn’t work. Didn’t try on forge.
Hmm… i think for me personally its not worth it using SAG. Look at the finer details like the clothing textures. With SAG they are much less detailed and the image gets this AI plastic look.
Some details in the background are also getting worse instead of better while using SAG. For example, look at the man in the background in the second example picture. While Using SAG he becomes much younger and wears a hat on his cap.
I think I prefer the original every time – at least with your provided samples. And you can fix things like the bowtie easy via inpainting.
I generally have the feeling that many of these gimmicks to enhance details or image quality tend to go in the direction of snake oil or disimprove the result at best. And the more complicated you make your workflow, the more likely it is that incompatibilities and sources of error will creep in.
Nevertheless, thanks for the article! Was an interesting read.
Yeah, its effect is very subtle. Thanks for reading!