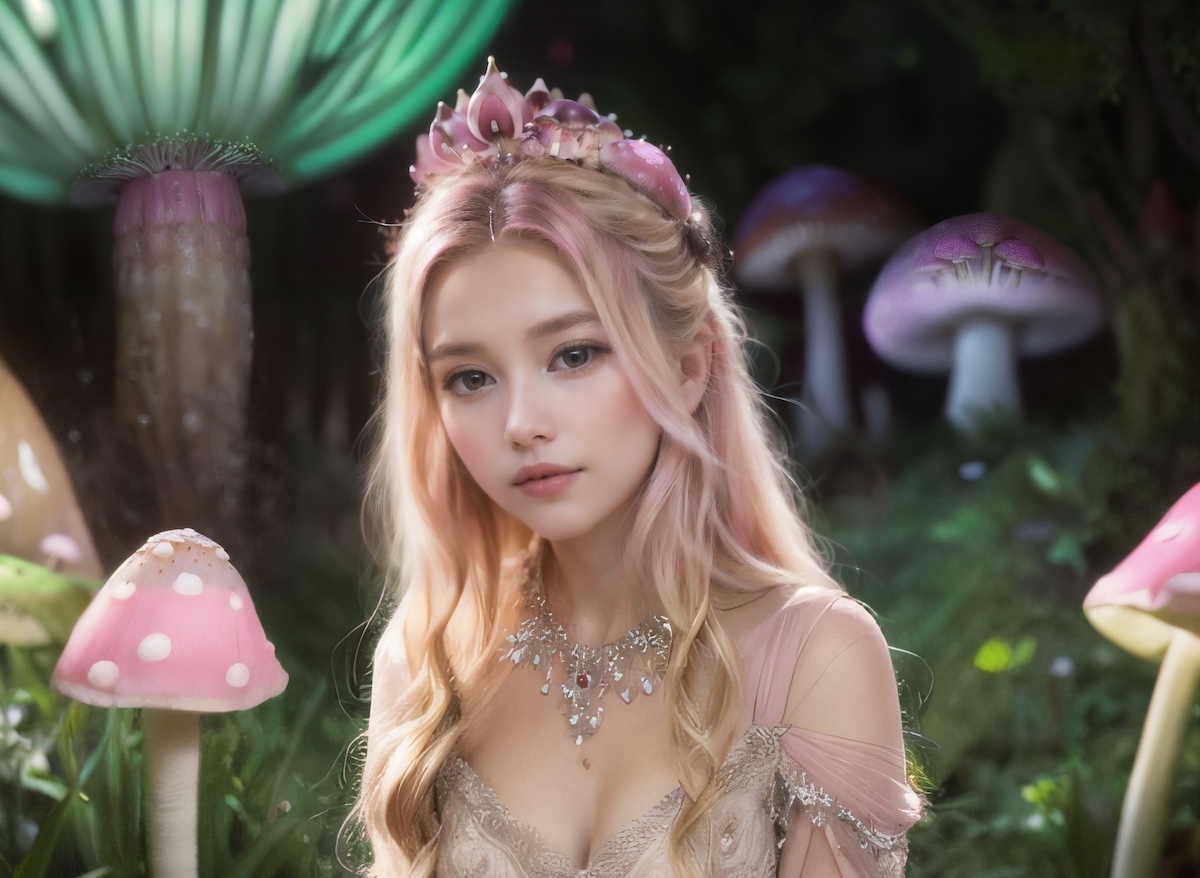
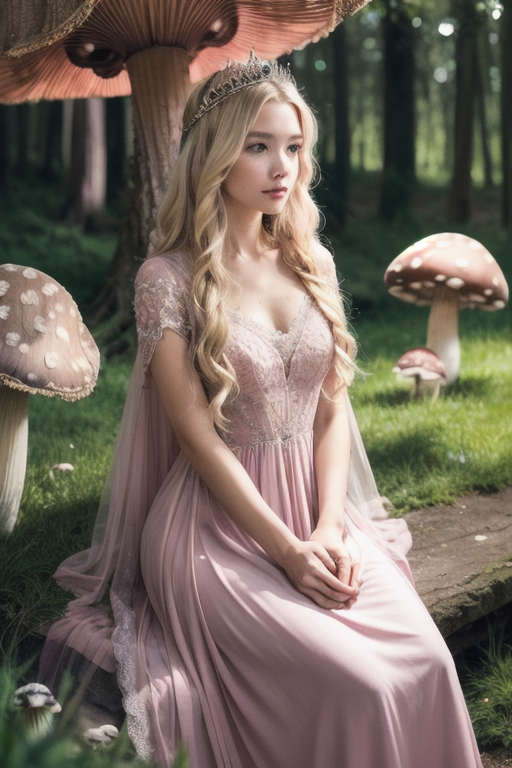
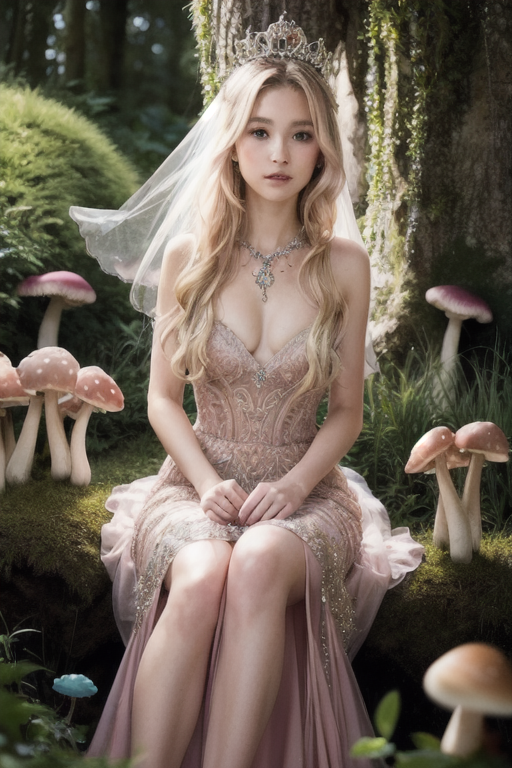
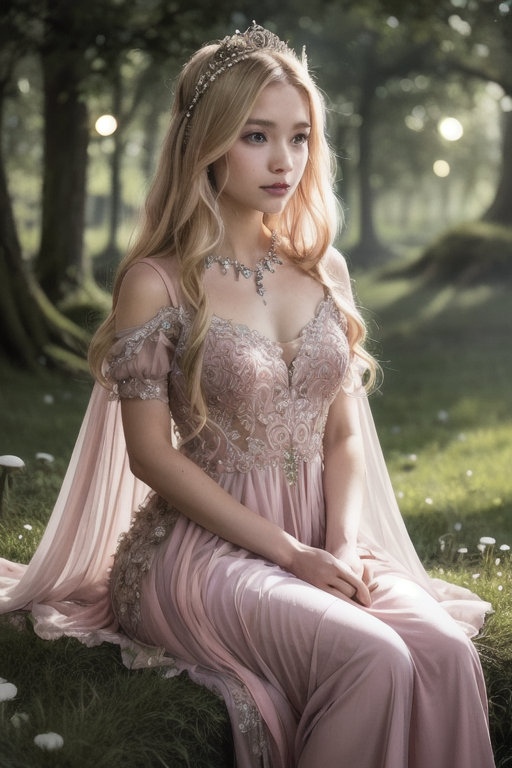
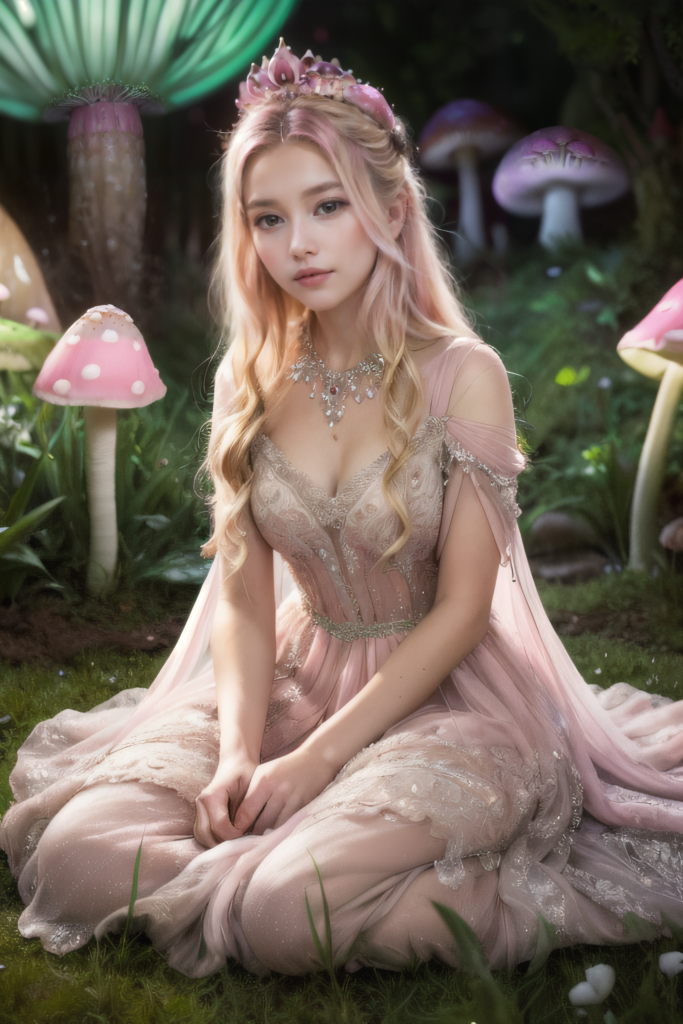
Do you wonder what a Disney Princess looks like in real life? Now you can imagine with a little help from AI. This is a simple workflow for generating realistic princesses in a fantasy forest.
You will learn how to generate high-resolution images like these in this article.
Software setup
We will use AUTOMATIC1111 Stable Diffusion GUI to create images. You can use this GUI on Windows, Mac, or Google Colab.
I really like this method with everything but realistic renders and people actually. I have used it for a long time with models like RPG4.3 and it removes details and give a slight glossy aspect to the skin.
Works perfrectly well non realistic models, or objects, landscapes though.
Do they all need to be blonde? ;-p
No 🙂
The model you use is far too Asian looking, try with another one.
I find that you didn’t give enough details to follow such as : sampling method, cfg scale, Sampling steps.
I think it must be much easier if you capture your setting, your article is helpful though
I ran a 7 cfg, 30 for steps and DPM++ 2M Karras. The Henmix model is a must. Tried it with other models but didn’t get that face.
OK added. I barely change these parameters so they slip my mind.
I used this blog post for a lot of things a lot of testing and stuff. I had trouble getting her to sit on the ground. And I experimented with her clothes, her face and various other parameters. Found it very helpful. Especially when I did an upscale I definitely think the combination of controlling that and ultimate SD is really helpful. Plus I had to inpaint her hand around the mushroom I don’t think you see it in your picture.
I’ve spent the entire week in your blog entries. Plus I bought your book the PDF version. I guess I’m going to leave you a cup of coffee since I owe you at least that much.
I’m happy you enjoy this post! This is a new kind of post that walks through an example. I also see some of those bad compositions like the mushroom as a hat or she’s holding one. I simply generate more…
Thank you for support. This keeps me going..