
The Flux Fill model is an excellent choice for inpainting. Do you know it works equally well for outpainting (extending an image)? In this tutorial, I will show you how to use the Flux Fill model for outpainting in ComfyUI.


Table of Contents
Software
We will use ComfyUI, a free AI image and video generator. You can use it on Windows, Mac, or Google Colab.
Think Diffusion provides an online ComfyUI service. They offer an extra 20% credit to our readers.
Read the ComfyUI beginner’s guide if you are new to ComfyUI. See the Quick Start Guide if you are new to AI images and videos.
Take the ComfyUI course to learn how to use ComfyUI step by step.
What is the Flux Fill model?
Model
The Flux.1 Fill model is an inpainting model. It is trained to fill in missing content while maintaining maximum consistency with the rest of the image.
The Flux.1 Dev Fill model is a fast version of the Flux.1 Pro Fill model. It is sped up using guidance distillation and denoises without classifier-free guidance (CFG). The result is a twofold speedup with a slight degradation in quality.
License
The Flux.1 Dev Fill model is under the same non-commercial Flux.1 Dev license. You can use the images generated by the model for commercial purposes.
VRAM requirement
This model is memory-hungry. You need an NVidia card with 24 GB VRAM to run this workflow.
Outpainting using Flux vs Flux Fill model
You can outpaint with the original Flux checkpoint model. Why the Fill model? The benefit is that you can use the maximum denoising strength (1) while maintaining consistency with the original image.
Step-by-step guide
Step 0: Update ComfyUI
Before loading the workflow, make sure your ComfyUI is up-to-date. The easiest way to do this is to use ComfyUI Manager.
Click the Manager button on the top toolbar.

Select Update ComfyUI.
Restart ComfyUI.
Step 1: Download the fill diffusion model
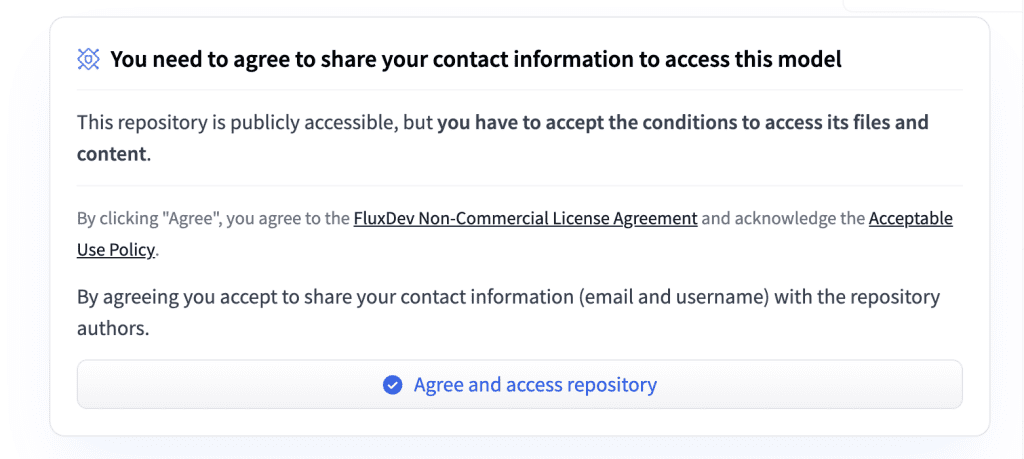
Visit the Flux.1 Fill model page and click “Agree and access repository.”
Download the Flux.1 Dev fill model and save it to the ComfyUI > models > diffusion_models folder.
(If you use Google Colab: AI_PICS > models > diffusion_models)
Step 2: Download the CLIP models
Download the following two CLIP models, and put them in ComfyUI > models > clip.
(If you use Google Colab: AI_PICS > models > clip)
Step 3: Download the Flux VAE
Download the Flux VAE model file. Put it in ComfyUI > models > vae.
Step 4: Load the workflow
Download the workflow JSON file below and drop it to ComfyUI.
Step 5: Load image
Load the image you want to outpaint in the Load Image node.
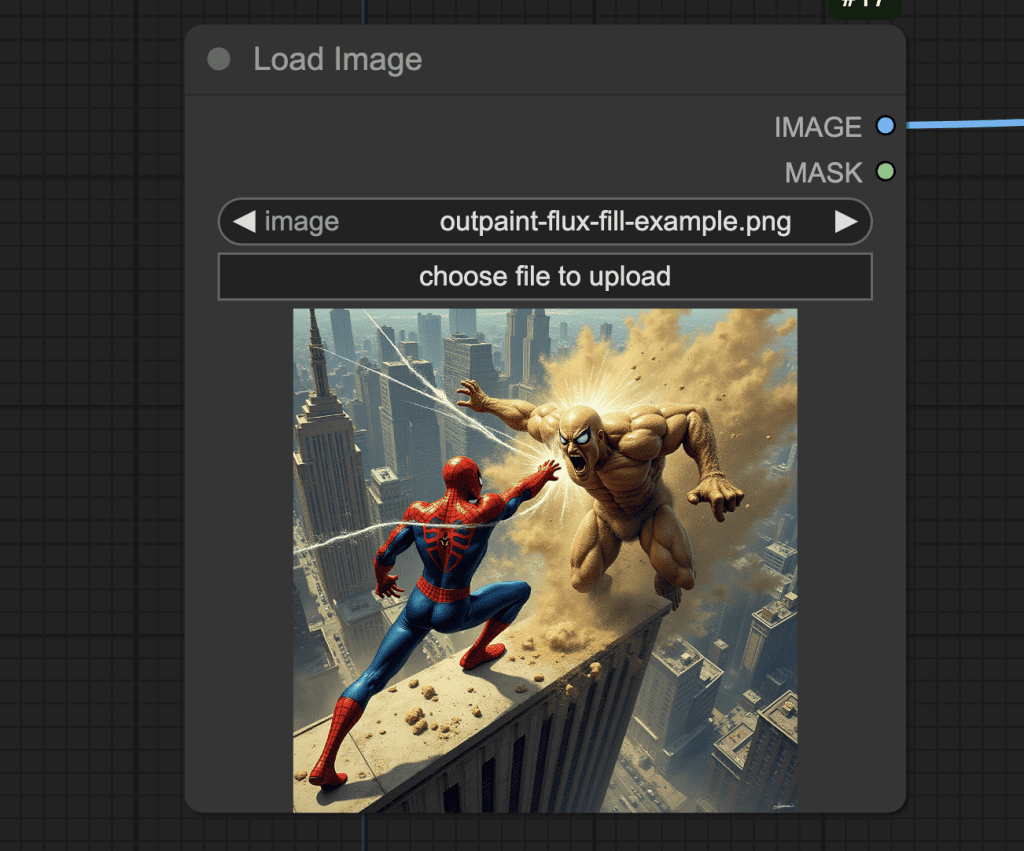
You can download the test image below.
Step 6: Specify the extension
Specify the number of pixels you would like to extend in each direction (left, top, right, and bottom) in the Pad Image for Outpainting node.

In this example, I will extend the left and right-hand sides by 400 pixels.
Step 7: Enter a prompt
Enter a prompt to describe the extended area. It can be as simple as a few words.
city, buildings
Step 8: Generate the new image
Click Queue to start outpainting.
You can see how well the image is seamlessly extended!
Notes
Change the seed value in the KSampler node to generate a different image.
Hi Andrew
I am using Mimic pc for running Confyui. Where must I put Flux.1 Dev fill mode since there is no ComfyUI > models > diffusion_models folder? I put it in checkpoint folder but Im still new on this and dont know if that was correct.
Btw was no good, i tryed to outpainting a portrait of a man and always generate with blur his body. Does it posible a good outpainting from the face and body with this workflow?
You can try creating the folder. The flux inpaint/outpaint model is a bit hit or miss. You can try sd or sdxl.
Ty for answer so fast. The loc of flux1-dev.safetensors goes on Models\unet in MimicPc Confyui. Anyway the outpainting for a portrait always give me bad results. The image genrated is distorsioned, the head always result disproporcioned compared with the rest of body generated with outpaintg. I already tried with Fooocus, Defooocus, A1111Forge and automatic1111 and always the same so I don´t really know how iam doing wrong o what´s the better option for do that.
It likely the model then.
Hi Andrew,
It works also very well with an empty prompt 🙂
Great!