CodeFormer is a robust face restoration tool that enhances facial features, making them more realistic and detailed. Integrating CodeFormer into ComfyUI allows you to improve facial quality seamlessly within their workflows. This tutorial will guide you through installing and using CodeFormer in ComfyUI.
Table of Contents
Software
We will use ComfyUI, a free AI image and video generator. You can use it on Windows, Mac, or Google Colab.
Think Diffusion provides an online ComfyUI service. They offer an extra 20% credit to our readers.
Read the ComfyUI beginner’s guide if you are new to ComfyUI. See the Quick Start Guide if you are new to AI images and videos.
Take the ComfyUI course to learn how to use ComfyUI step by step.
CodeFormer
CodeFormer is an AI model that detects and restores faces in images. It identifies facial regions, enhances their features, and reintegrates them into the original image. This process produces more precise and refined facial details, improving the overall image quality.
By integrating CodeFormer into ComfyUI, you can automate this enhancement process within their image generation workflows.
Demonstration
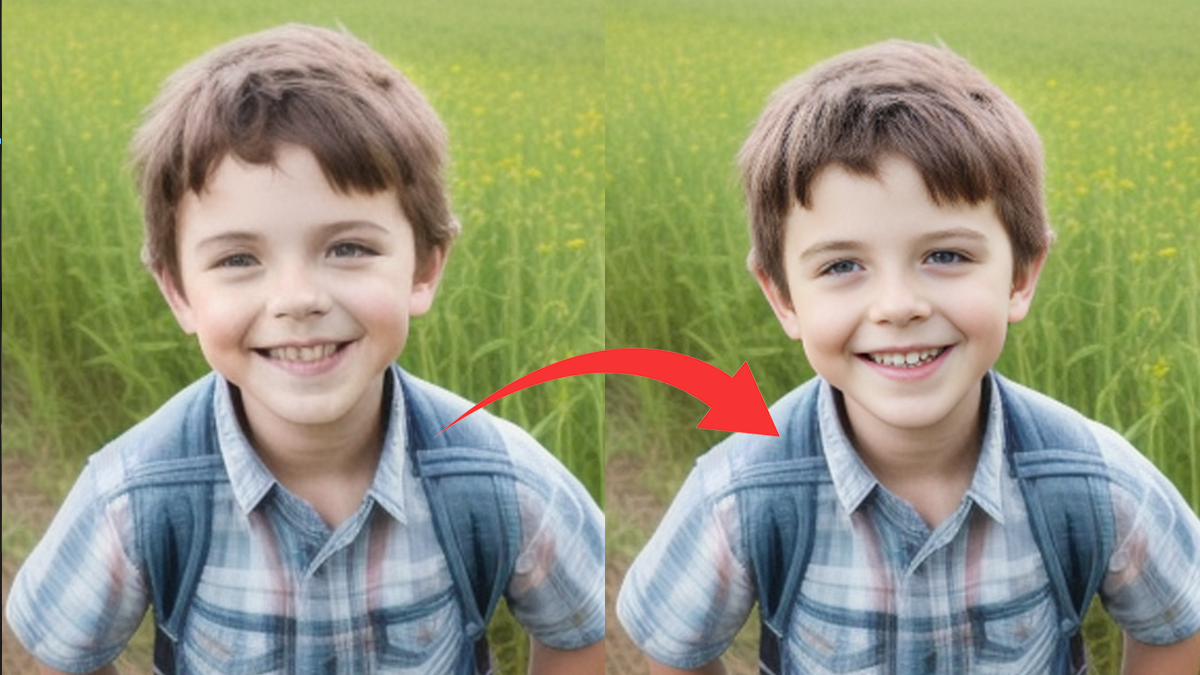
Below is a comparison table showcasing the impact of applying CodeFormer to an image:


As demonstrated, the enhanced image exhibits improved facial clarity and detail, highlighting the effectiveness of CodeFormer in image restoration.
Standalone Face restoration
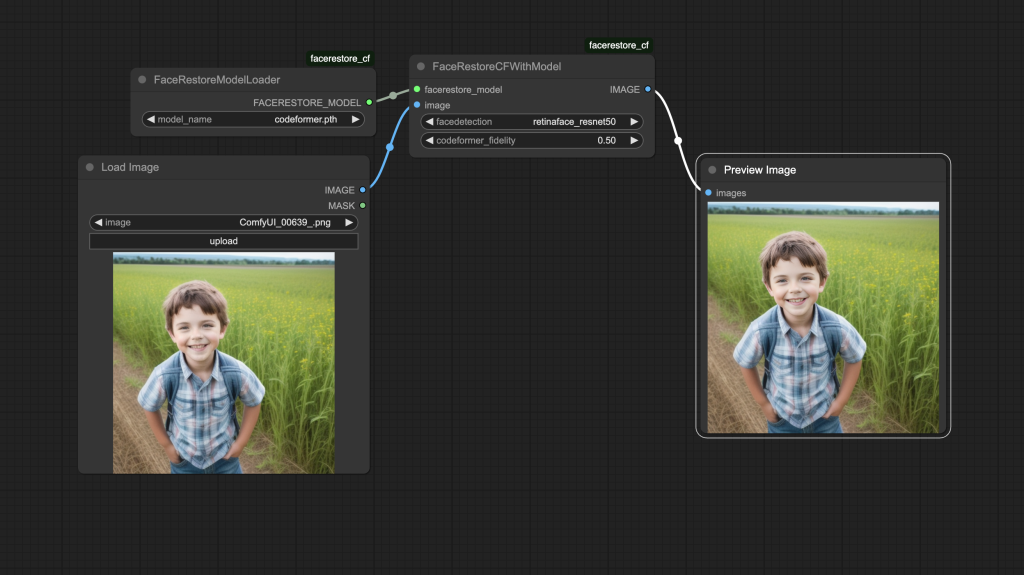
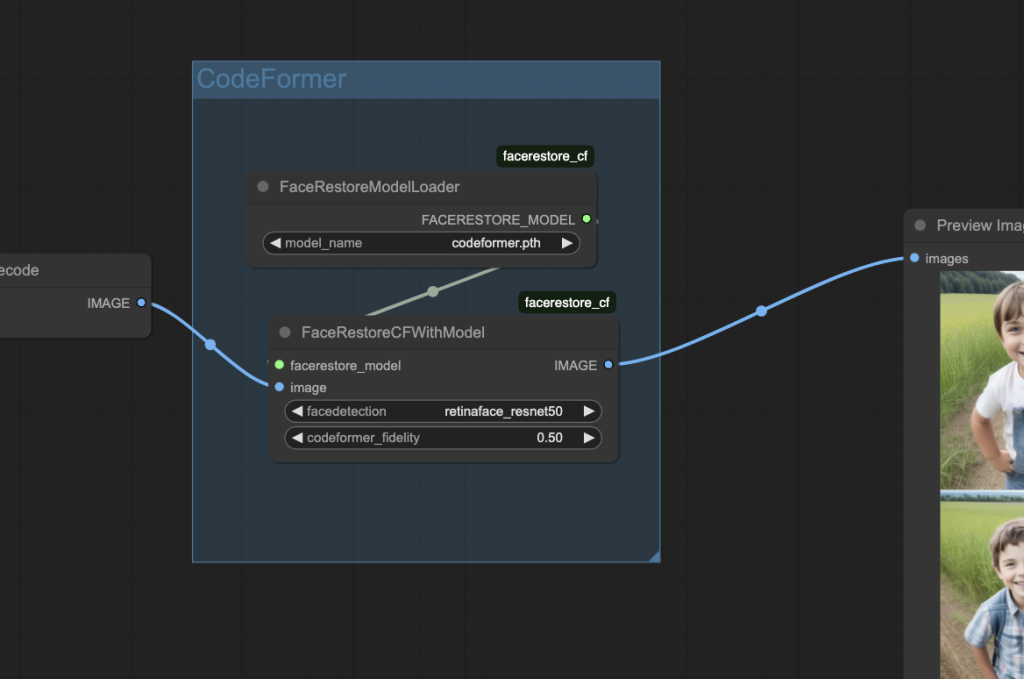
You can use the CodeFomer model with the Facerestore CF custom nodes. Follow these steps to run a workflow that applies the CodeFormer face restoration model to an image.
This workflow is simple: It loads an input image and apply the CodeFormer model to restore facial details.
Step 1: Download the CodeFormer Model
Download the CodeFormer AI model codeformer.pth. Put it in ComfyUI > models > facerestore_models. Create the facerestore_models folder if it doesn’t exist.
Step 2: Load the CodeFormer workflow
Download the CodeFormer workflow below and drop it to ComfyUI to load.
Step 3: Install missing nodes
If you see nodes with red borders, you don’t have the custom nodes required for this workflow. You should have ComfyUI Manager installed before performing this step.
Click Manager > Install Missing Custom Nodes.
Install the nodes that are missing.
Restart ComfyUI.
Refresh the ComfyUI page.
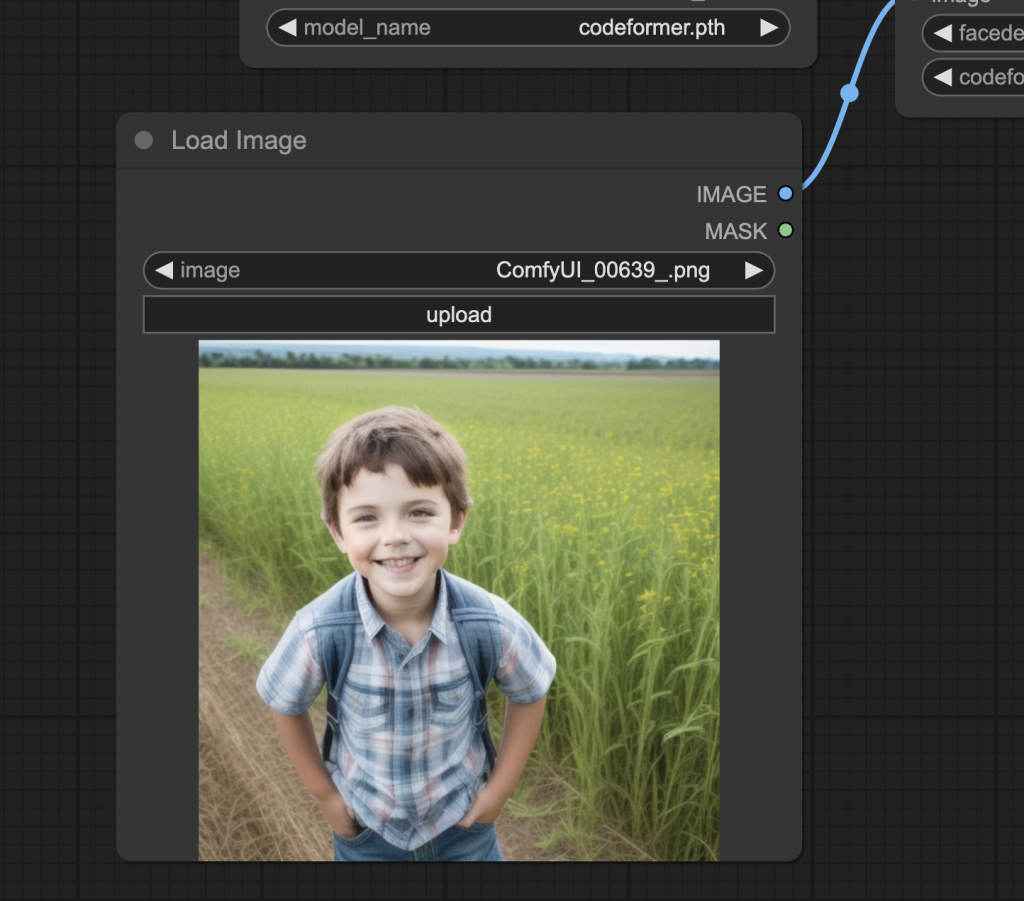
Step 5: Upload the input image
Upload an image to the Load Image node.
Step 6: Review the CodeFormer setting
Adjust the codeformer_fidelity value in the FaceRestoreCFWithModel node.
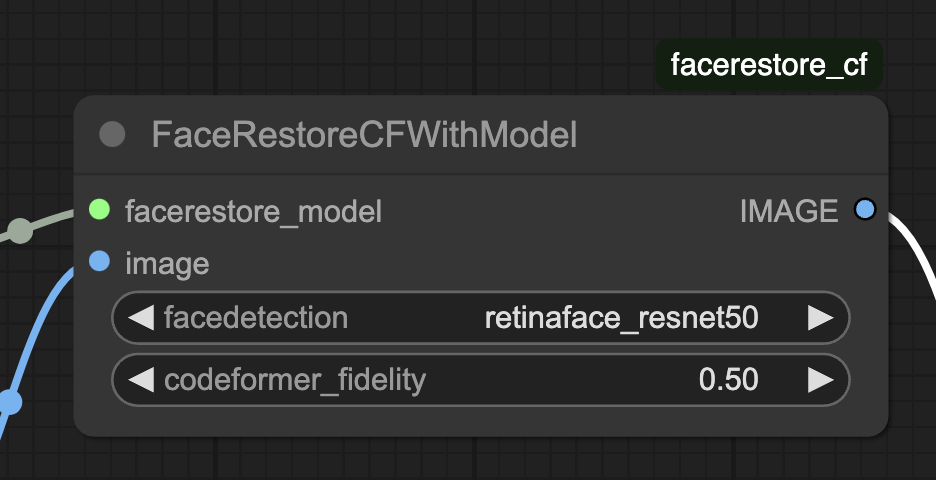
- 0 – High restoration (change more)
- 0.5 – Medium restoration
- 1.0 – Low restoration
Below are examples. The changes are subtle so inspect closely to see them.


Step 7: Run the workflow
Click the “Queue” button to execute the workflow.

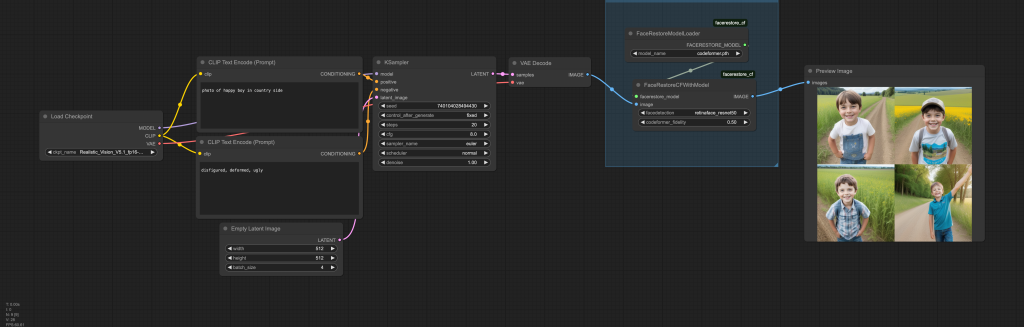
CodeFormer integrated with text-to-image
It is easy to integrate the CodeFormer nodes to a text-to-image workflow. You can attach the codeFormer nodes AFTER the VAE decoder node. Why after? CodeFormer model works in the pixel space and not the latent space.
You can download the text-to-image CodeFormer workflow below. This workflow automatically enhance faces with the CodeFormer model.
Drop it to ComfyUI to load.
Resources
- CodeFormer CF Project Page
- ComfyUI beginner’s guide
- You can also use inpainting to fix faces.
Great! Is there one for hands?
How would you handle hands after doing the face?
CodeFormer is only for faces. You can use the hand fixer controlnet.
Try GPEN-BFR models – they provide much better face similarity then Codeformer .
https://github.com/yangxy/GPEN
I mean the new image has different teeth