You can quickly generate new AI backgrounds for an existing image in ComfyUI. This workflow keeps the image’s foreground unchanged and generates new backgrounds consistent with the original foreground. You can specify the background in the prompt.
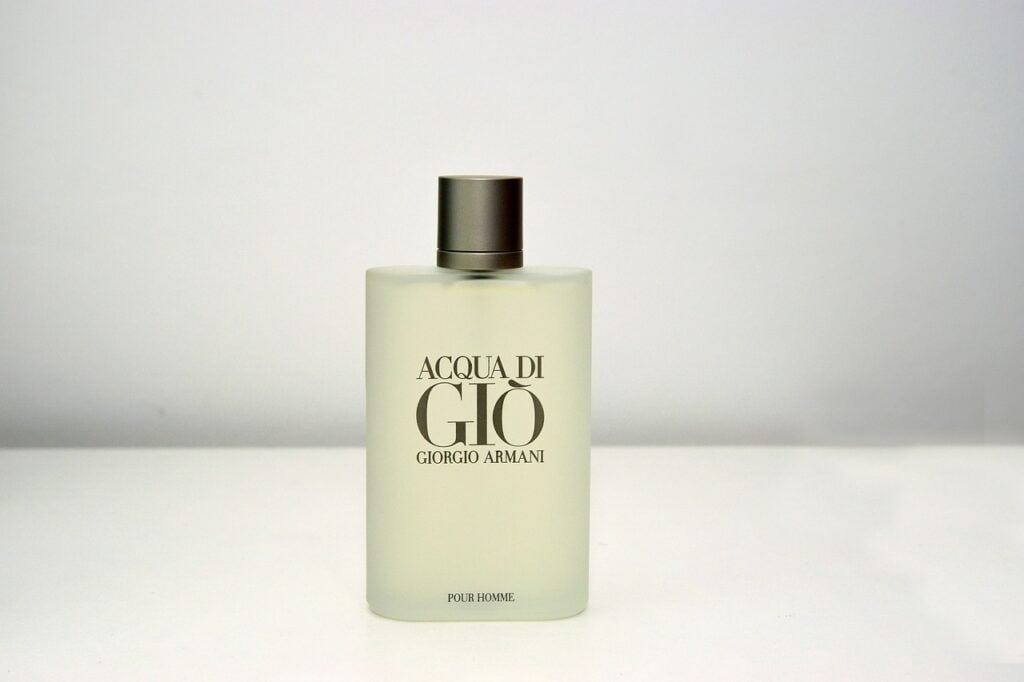
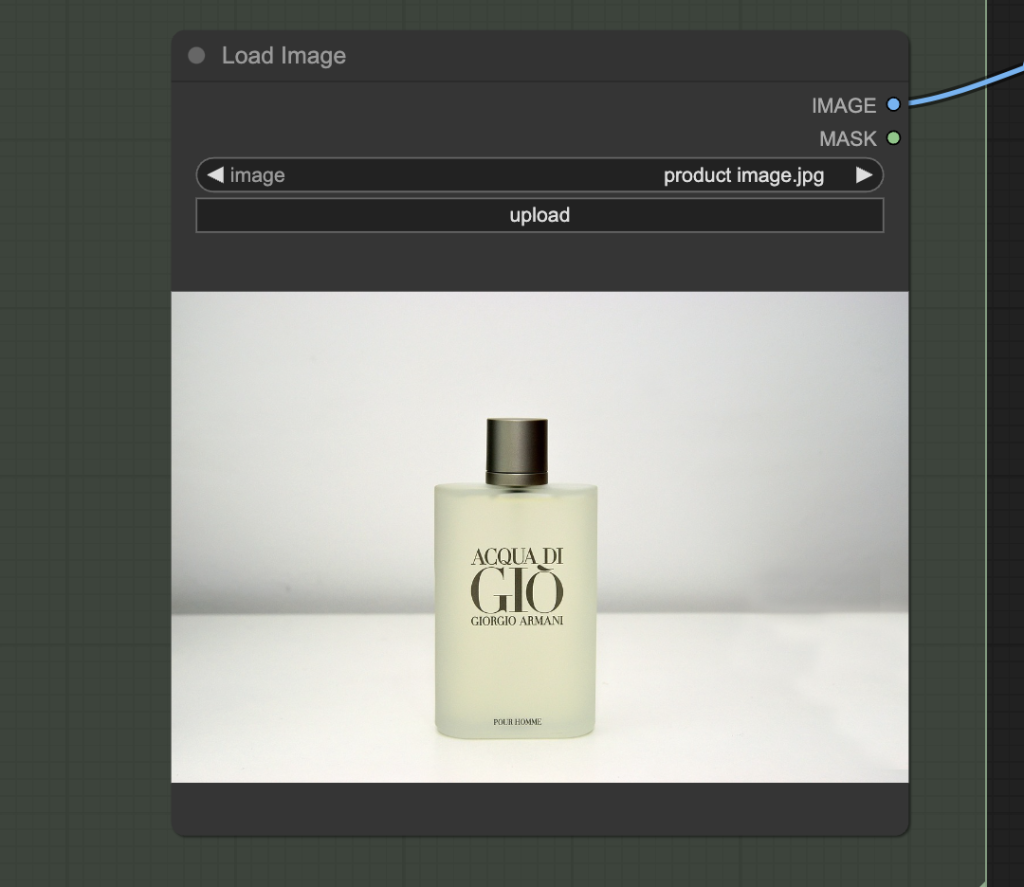
Here’s the original image.
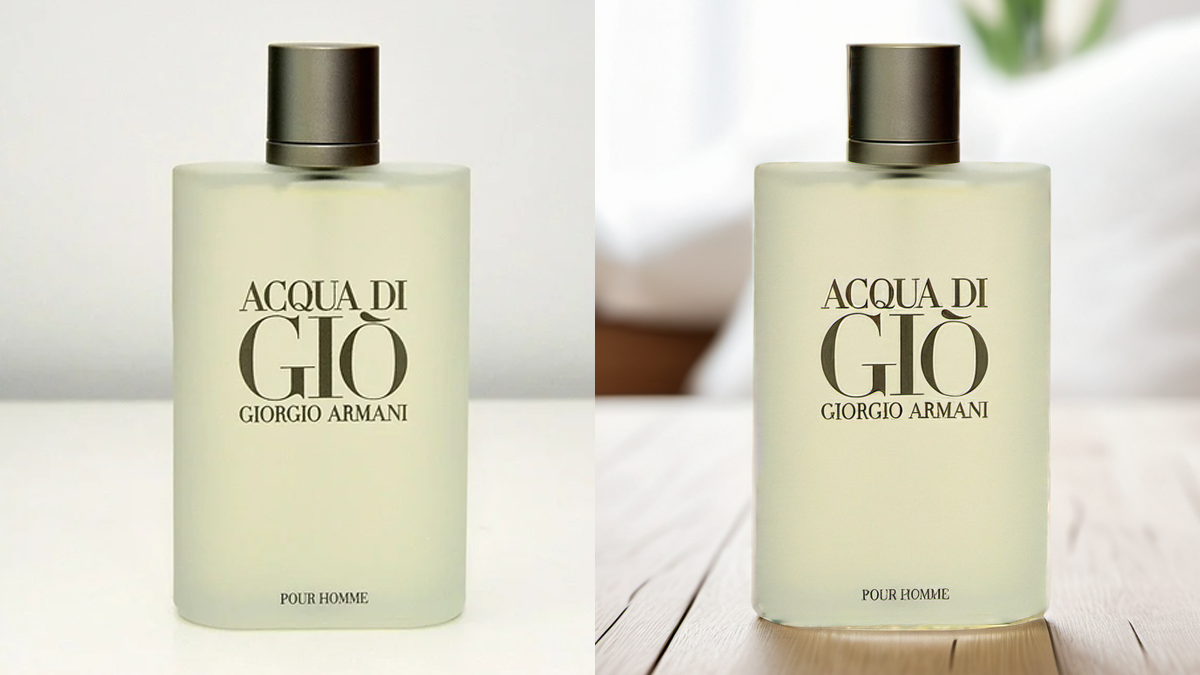
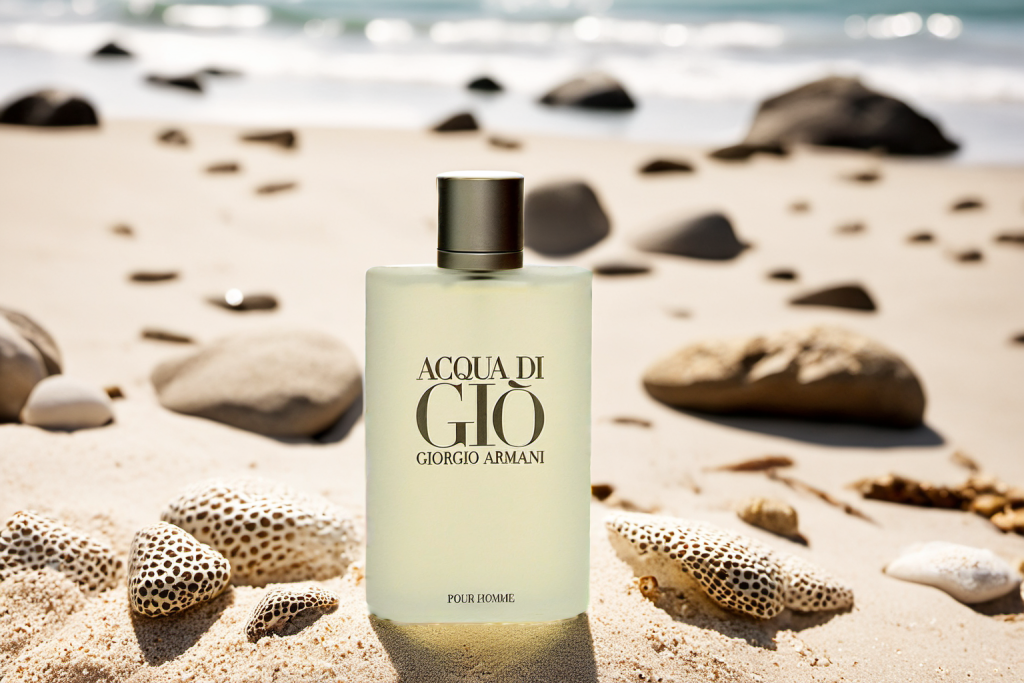
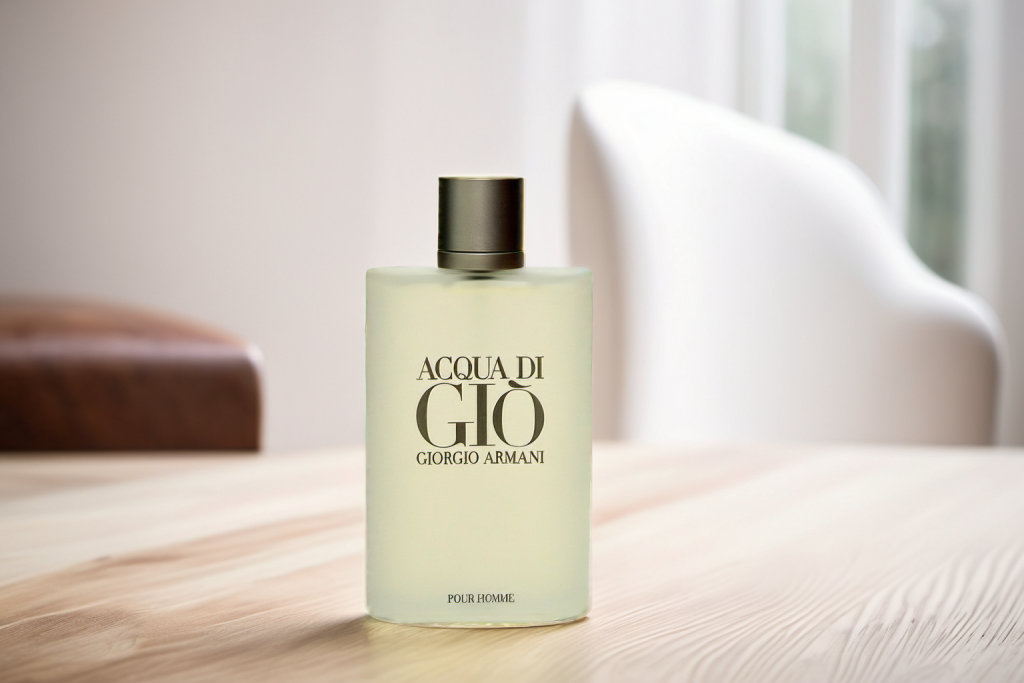
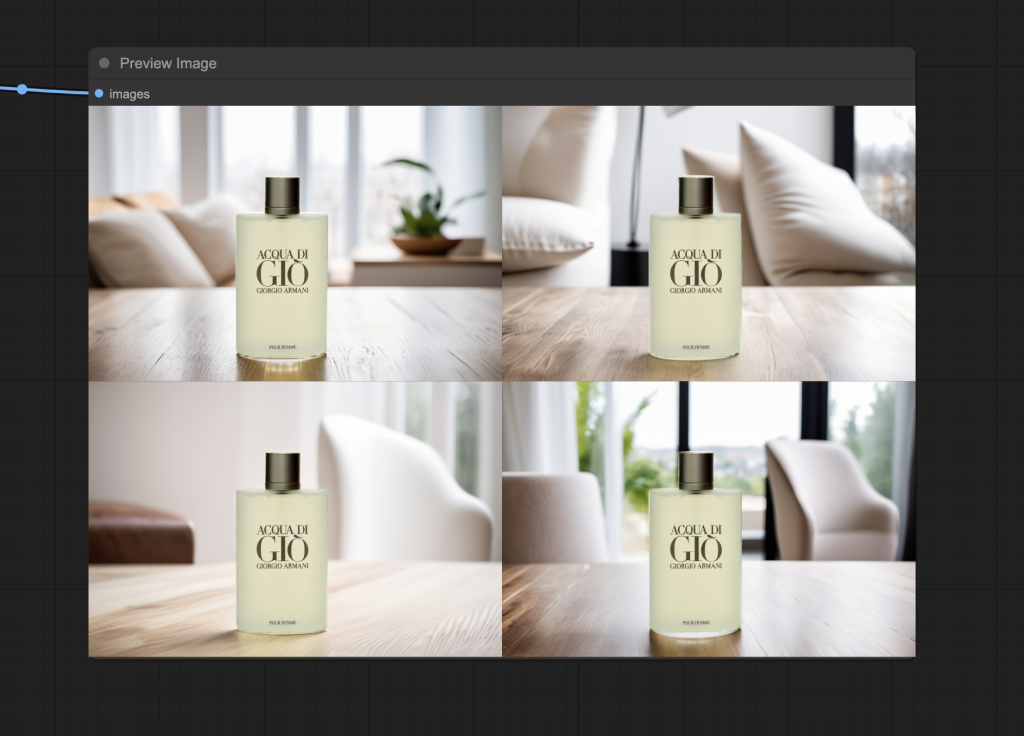
Here are the product images with new AI backgrounds.
You must be a member of this site to download the following ComfyUI workflow.
Table of Contents
Software
We will use ComfyUI, an alternative to AUTOMATIC1111.
Read the ComfyUI installation guide and ComfyUI beginner’s guide if you are new to ComfyUI.
Take the ComfyUI course to learn ComfyUI step-by-step.
Workflow overview
This workflow uses the BRIA model to remove the image background and create the mask for inpainting the background using an SDXL model. The background generated is further guided by a depth ControlNet.
Generate AI backgrounds
Step 1: Update ComfyUI
Before loading the workflow, make sure your ComfyUI is up to date. The easiest way to do this is to use ComfyUI Manager.
Click the Manager button on the top toolbar.

Select Update ComfyUI.
Restart ComfyUI.
Step 2: Download the checkpoint model
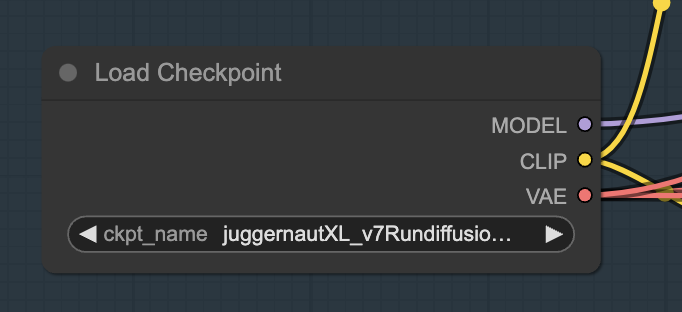
Download the Juggernaut v7 model and put it in ComfyUI > models > checkpoints.
Google Colab
If you use my ComfyUI Colab notebook, you can select the JuggernautXL_v8 model. It’s not that different.

Step 3: Download the Depth ControlNet model
Download the SDXL Depth ControlNet LoRA and put it in ComfyUI > models > controlnet.
Google Colab
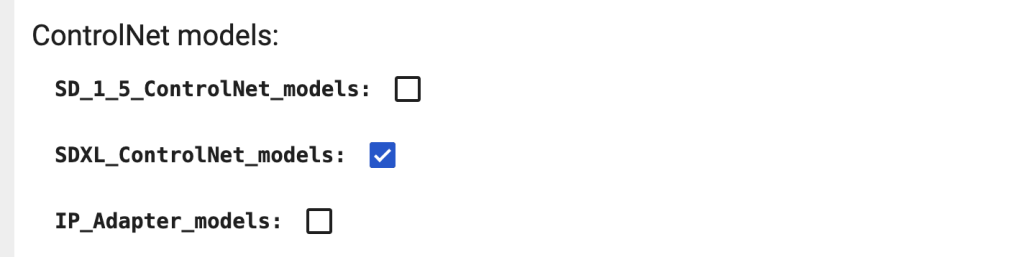
If you use my ComfyUI Colab notebook, you can select the SDXL_ControlNet_models. It will download the depth model.
Step 4: Load workflow
Download the ComfyUI JSON workflow below.
Drag and drop the JSON file to ComfyUI.
Step 5: Install missing nodes
Click Manager > Install Missing Custom Nodes.
Install the nodes that are missing.
Restart ComfyUI.
Step 6: Install background removal model
Download the BRIA background removal model. Put it in ComfyUI > custom_nodes > ComfyUI-BRIA_AI-RMBG > RMBG-1.4
Step 7: Fix the model nodes
Select the JuggernautXL model in the Load Checkpoint node.
Select the ControlNet Depth model in the Load ControlNet Model node.

Step 8: Upload the input image
Upload the input image to the Load Image node.
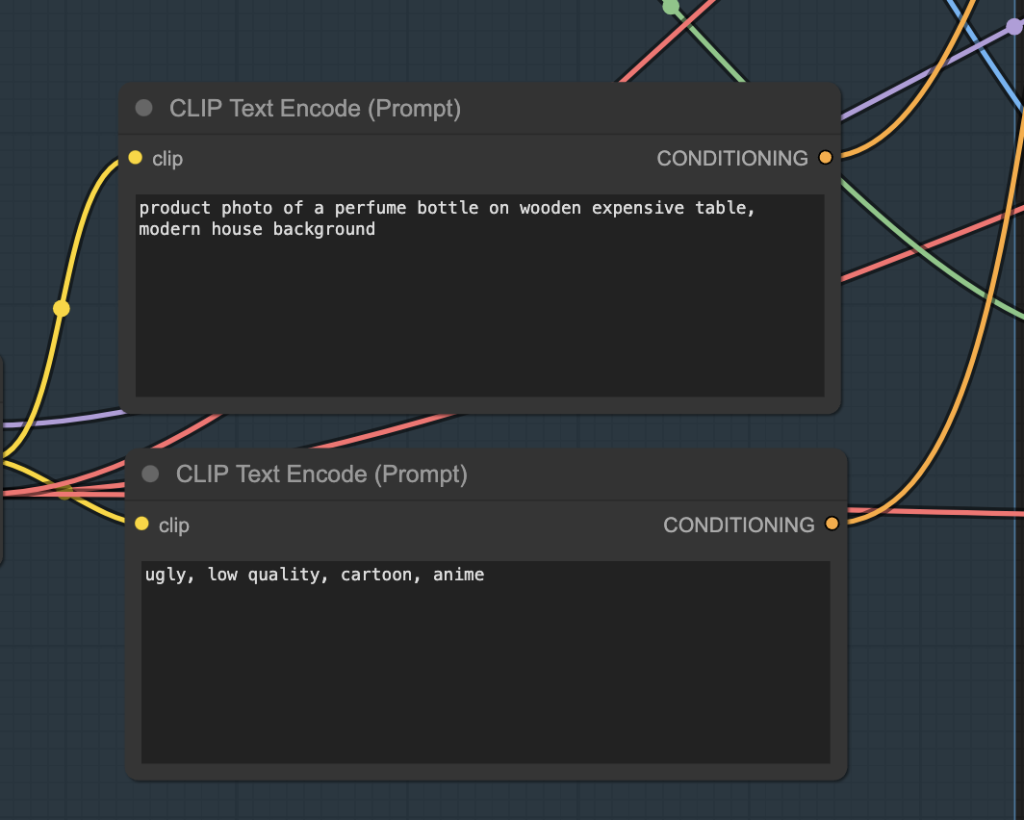
Step 9: Revise the prompt
Revise the prompt and the negative prompt in the CLIP Text Encode node. Describe the foreground and background of the final image.
Step 10: Run the workflow
Click Queue to run the workflow.

Right-click on an image and select Save image to save.
Settings
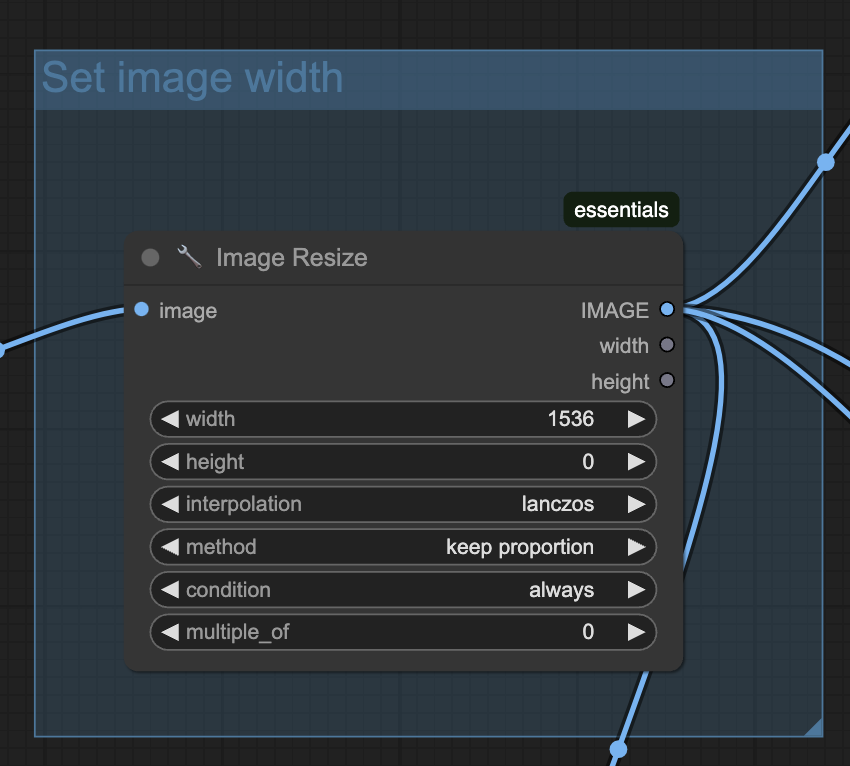
Width
Change the width of the final image by setting the width in the Image Resize node. The height is set automatically to keep the proportion.
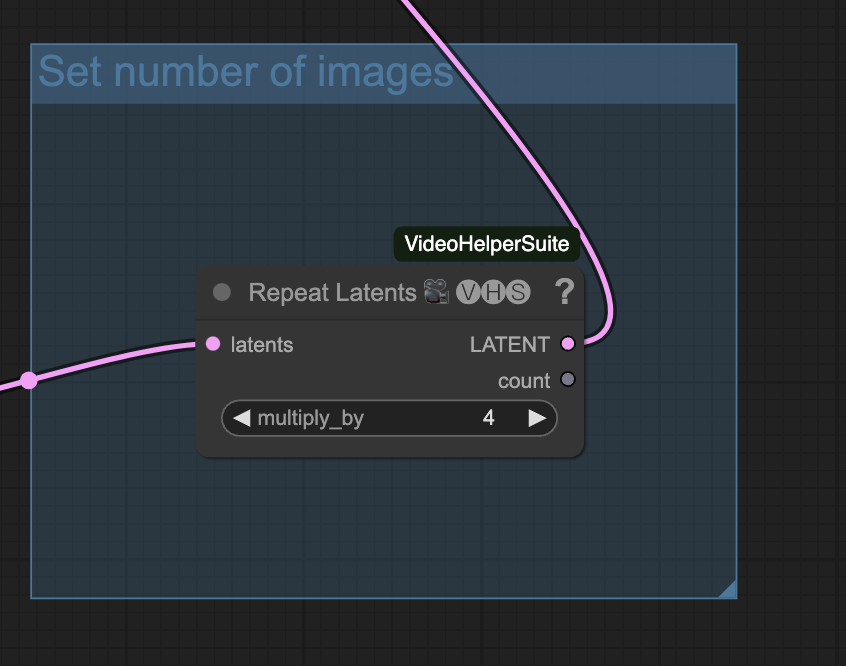
Number of images
This workflow generates 4 images per run. Change it by changing the Repeat Latent node,
VRAM usage
This workflow uses about 12 GB of VRAM. To reduce the VRAM usage, you can reduce the image width or the number of images.
Hello,
I run the workflow and i receive this error.
BRIA_RMBG_ModelLoader_Zho
[Errno 2] No such file or directory: ‘C:\\ComfyUI_windows_portable\\ComfyUI\\custom_nodes\\ComfyUI-BRIA_AI-RMBG\\RMBG-1.4/model.pth’
I have already install all the missing custom nodes with the manager.
Any sollution?
Apologies. I missed a model download step. Please see the newly added step 6.
where’s Warkflov?
member only
This is an awesome update instead BgRem!
Glad you like it!