
Qwen Image Edit is an image-editing model. It enables you to make precise edits to images, from subtle retouches to complex scene transformations, all through simple text prompts.
Qwen Image Edit can preserve lighting and style while seamlessly integrating your edits. It supports both edits using text prompts alone and with masks (inpainting).
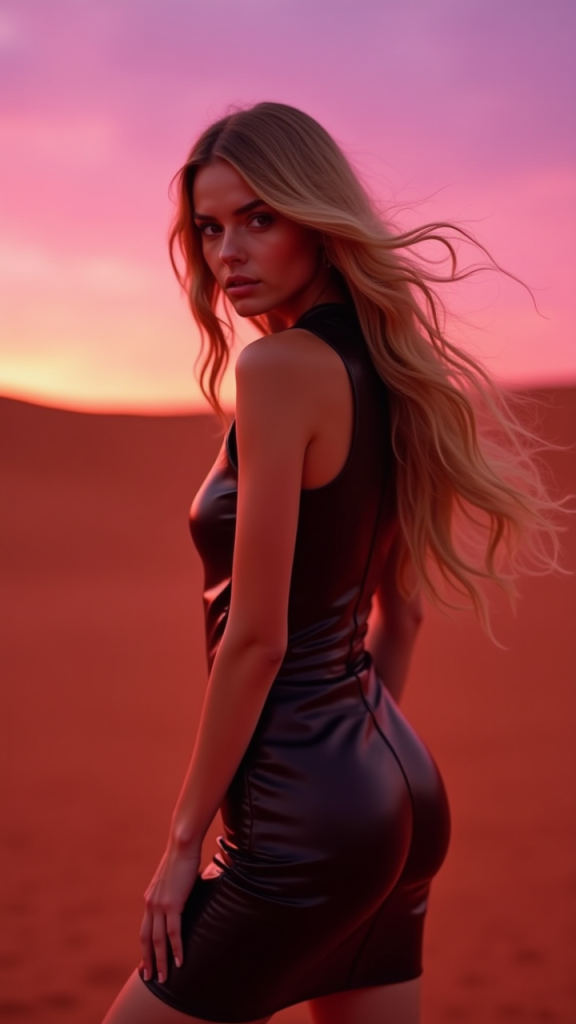
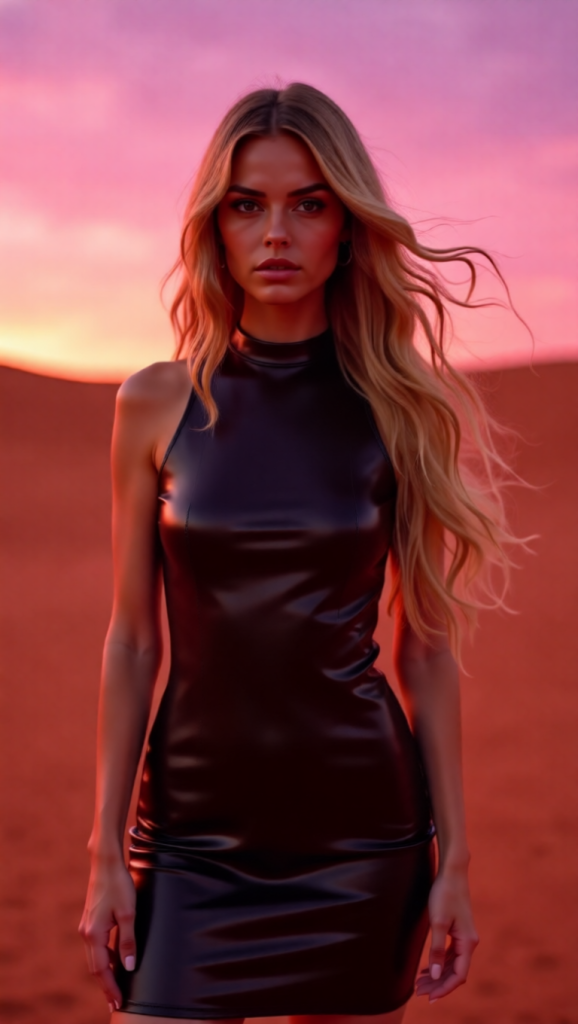
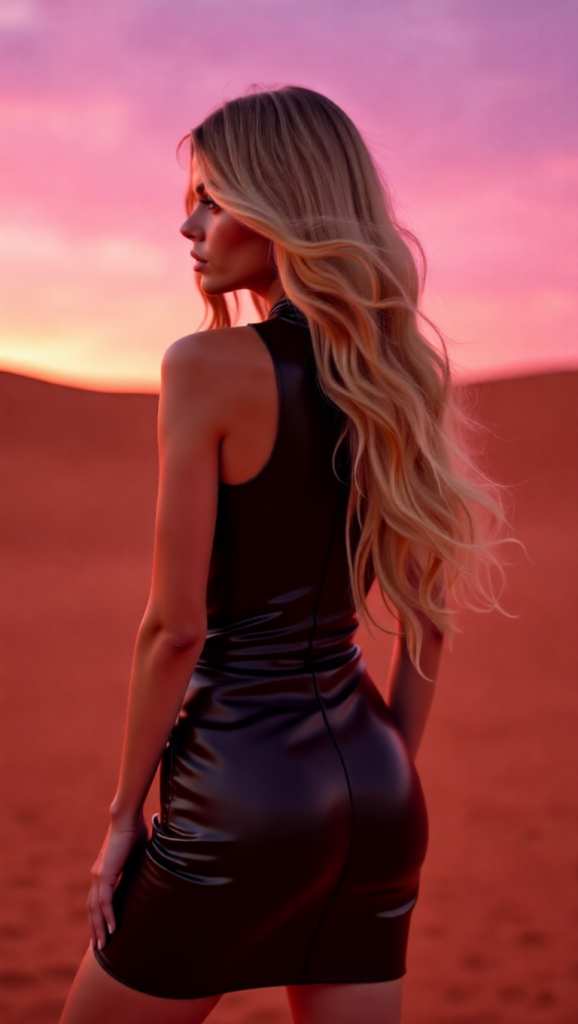
For example, you can use Qwen Image Edit to create different viewing angles of the same character.
In this tutorial, you’ll learn how to:
- Set up Qwen Image Edit on ComfyUI or Google Colab
- Use prompt-based editing
- Rotate a character and cast her to a different scene
- Export and upscale your final image for production use
Let’s dive in and explore how to edit images intelligently with Qwen!
Table of Contents
Software
We will use ComfyUI, a free AI image and video generator. You can use it on Windows, Mac, or Google Colab.
Think Diffusion provides an online ComfyUI service. They offer an extra 20% credit to our readers.
Read the ComfyUI beginner’s guide if you are new to ComfyUI. See the Quick Start Guide if you are new to AI images and videos.
Take the ComfyUI course to learn how to use ComfyUI step by step.
ComfyUI Colab Notebook
If you don’t have a powerful GPU card, you can still run the Qwen Image model on Google Colab, Google’s cloud computing platform, with my ComfyUI notebook.
You don’t need to download the model as instructed below. Select the Qwen_Image_Edit model before running the notebook.

Use cases
To showcase the power of Qwen Image Edit, here are some edits generated using the prompt-only workflow.
Rotate a character
Front view
back view
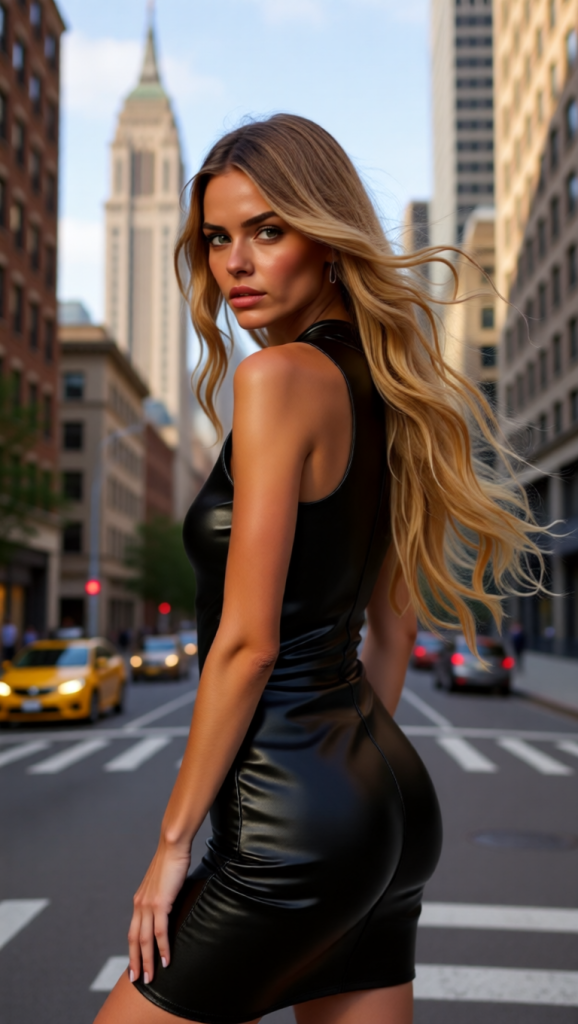
Changing background
You can change the background easily with Qwen Image Edit.
She’s in New York City
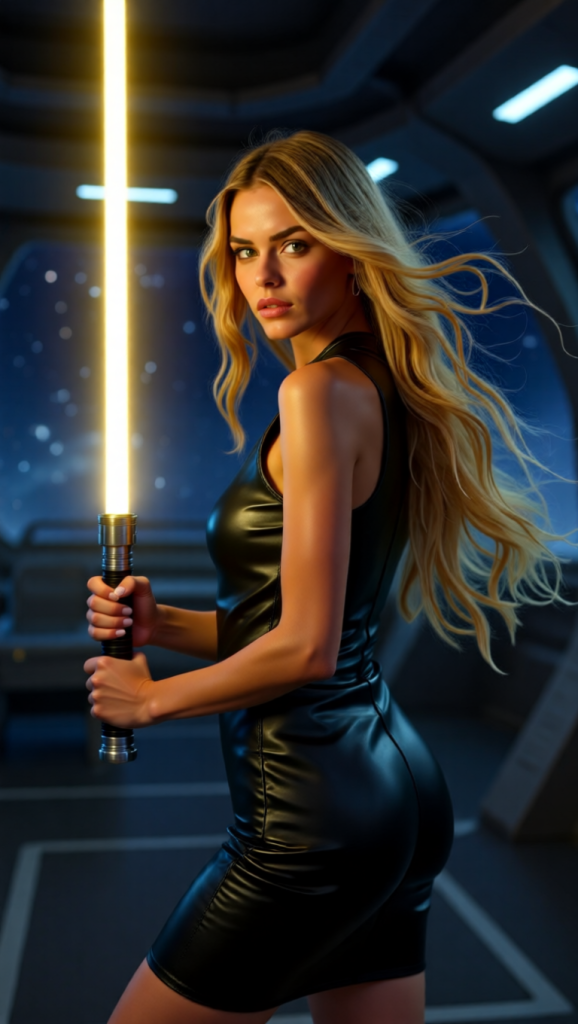
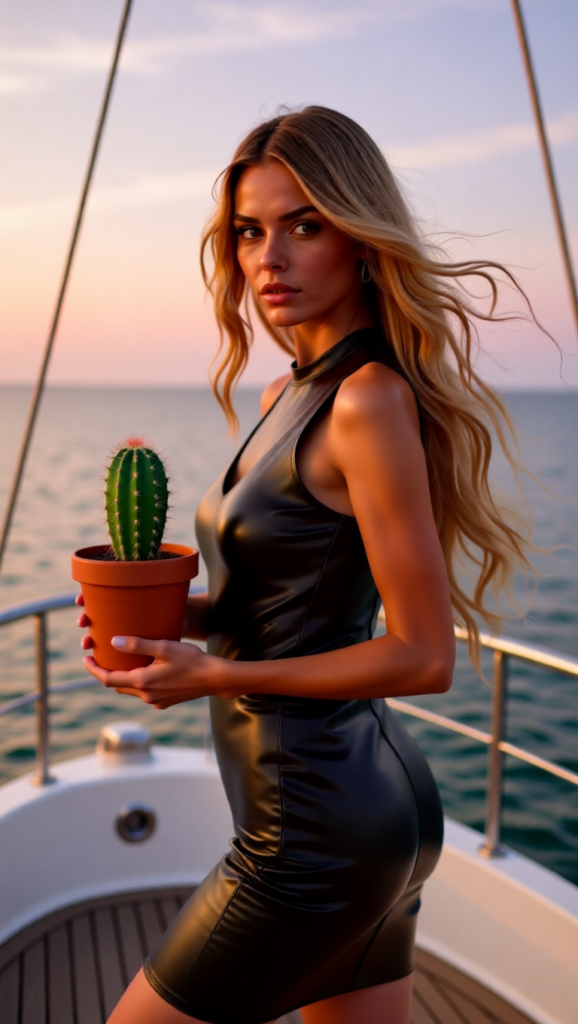
Adding objects
You can ask her to hold any object!
she’s holding a light saber on a spaceship
she’s holding a pot of small cactus on a private ship
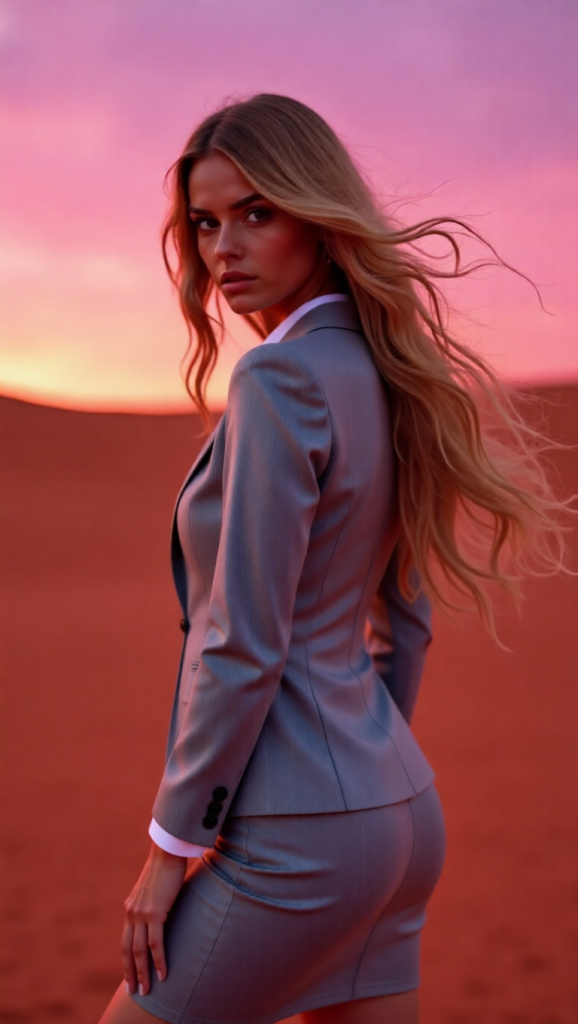
she’s wearing business formal dress in gray and white. keep the same background
Qwen Image Edit (Prompt)
This workflow edits an image using instructions in the prompt alone.
This workflow uses Qwen Image Lightning LoRA to speed up the workflow to 4 steps.
Step 0: Update ComfyUI
Before loading the workflow, make sure your ComfyUI is up to date. The easiest way to do this is to use ComfyUI Manager.
Click the Manager button on the top toolbar.

Select Update ComfyUI.
Restart ComfyUI.
Step 1: Install models
After loading the workflow JSON file, ComfyUI should prompt you to download the missing model files. You can use the dialog box to download the models, or use the links below.
Here are the models you need to download:
- Download qwen_image_edit_fp8_e4m3fn.safetensors and put it in ComfyUI > models > diffusion_models.
- Download qwen_2.5_vl_7b_fp8_scaled.safetensors and put it in ComfyUI > models > text_encoders.
- Download qwen_image_vae.safetensors and put it in ComfyUI > models > vae.
- Download Qwen-Image-Lightning-4steps-V1.0.safetensors and put it in ComfyUI > models > loras.
Step 2: Load the workflow
Download the workflow below. Drop it into ComfyUI to load.
Step 3: Upload an image to edit
Upload the image you wish to edit.
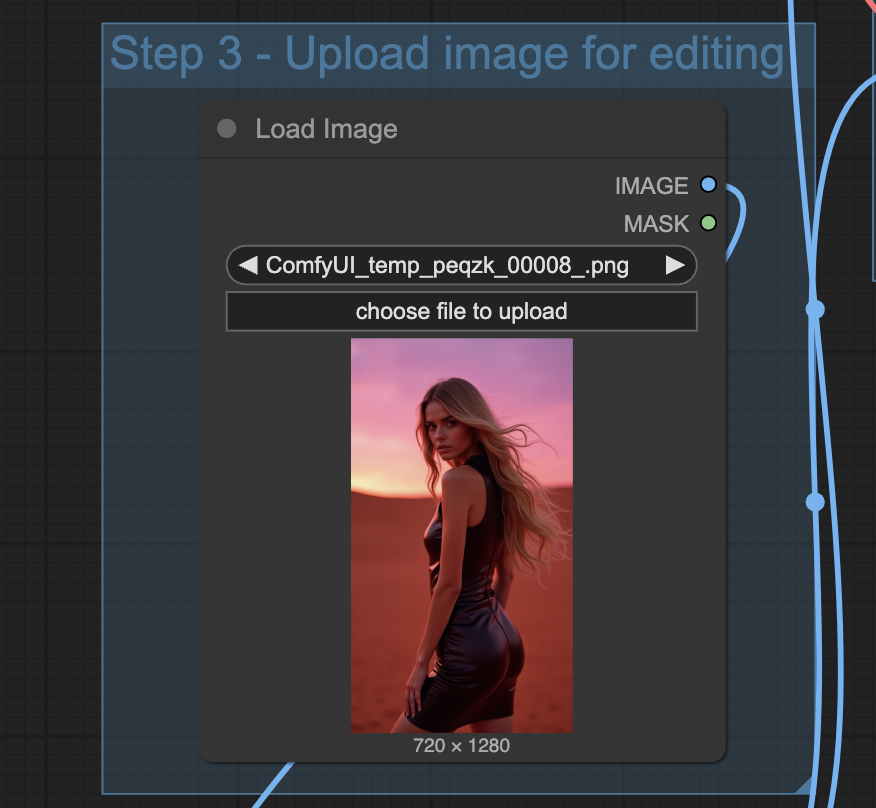
You can use the test image below.
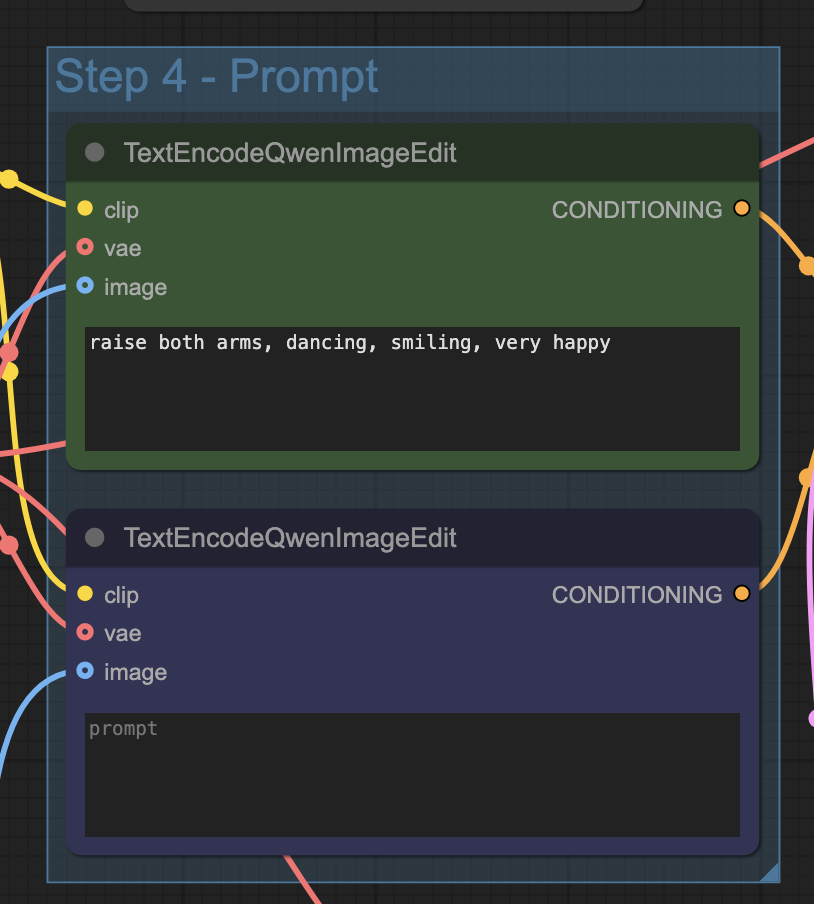
Step 4: Revise the prompt
Write the instructions for editing in the prompt.
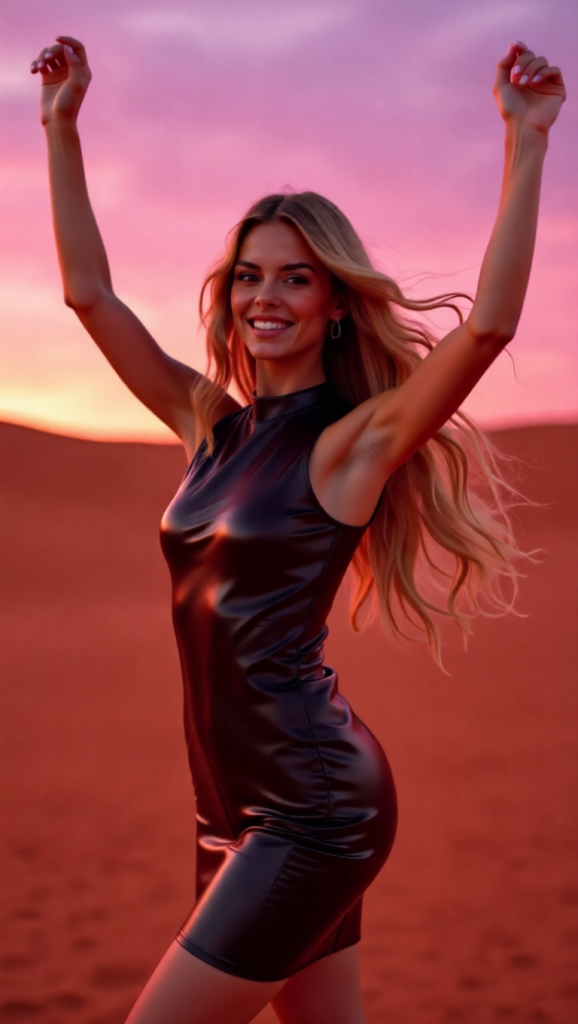
Step 5: Generate an image
Click the Run button to run the workflow.

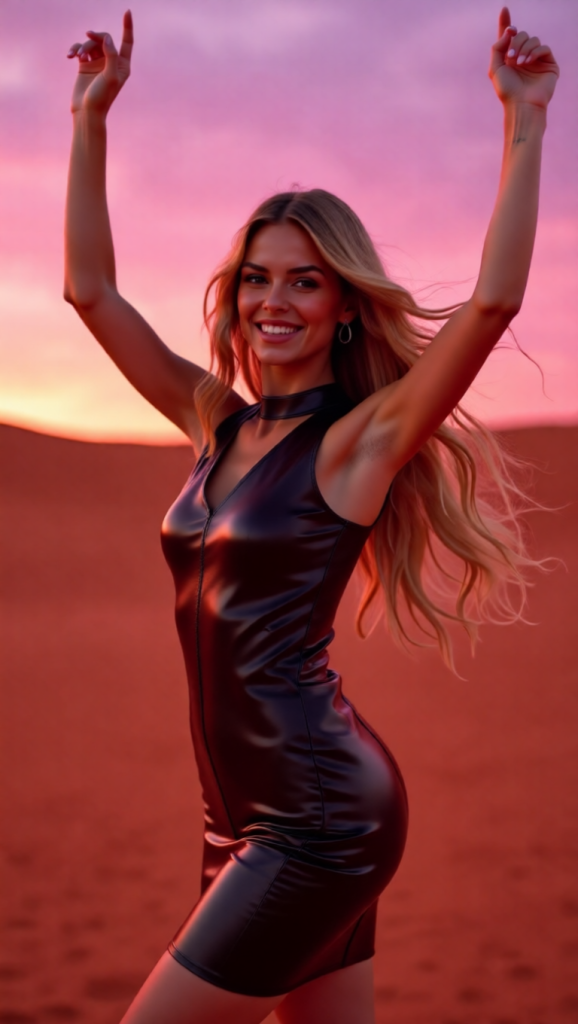
Run it again to generate a variation.
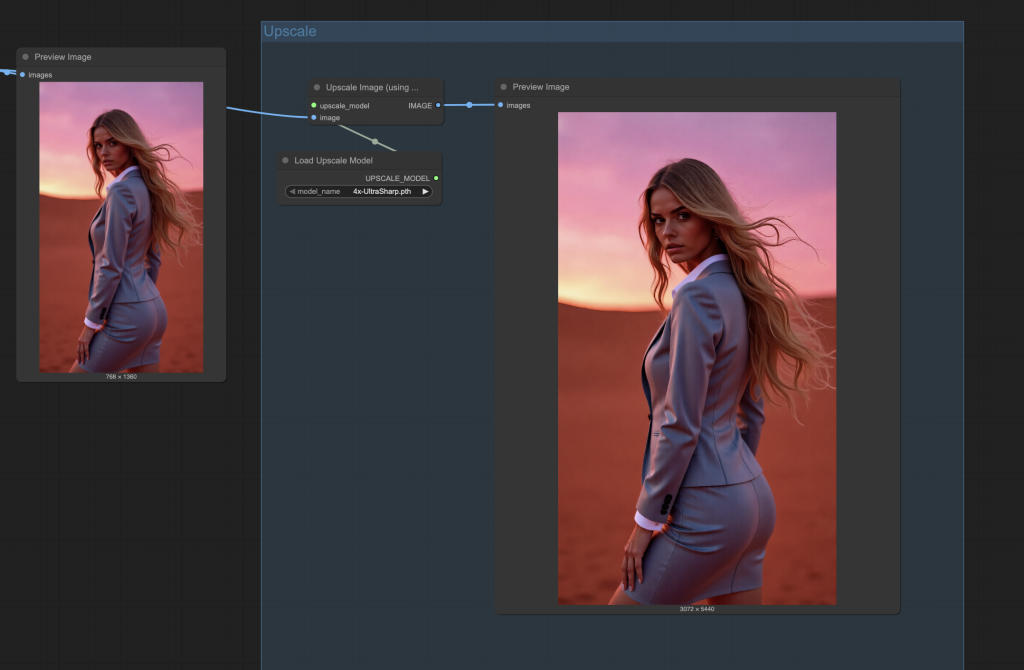
Qwen Image Edit Upscale workflow
The input image is rescaled to a fixed size so that the Qwen Image Edit model can process it. However, you can enlarge the final image using an AI upscaler.
Workflow
Use the following nodes to upscale the final image.
- Uscale image (using model)
- Load Upscale Model
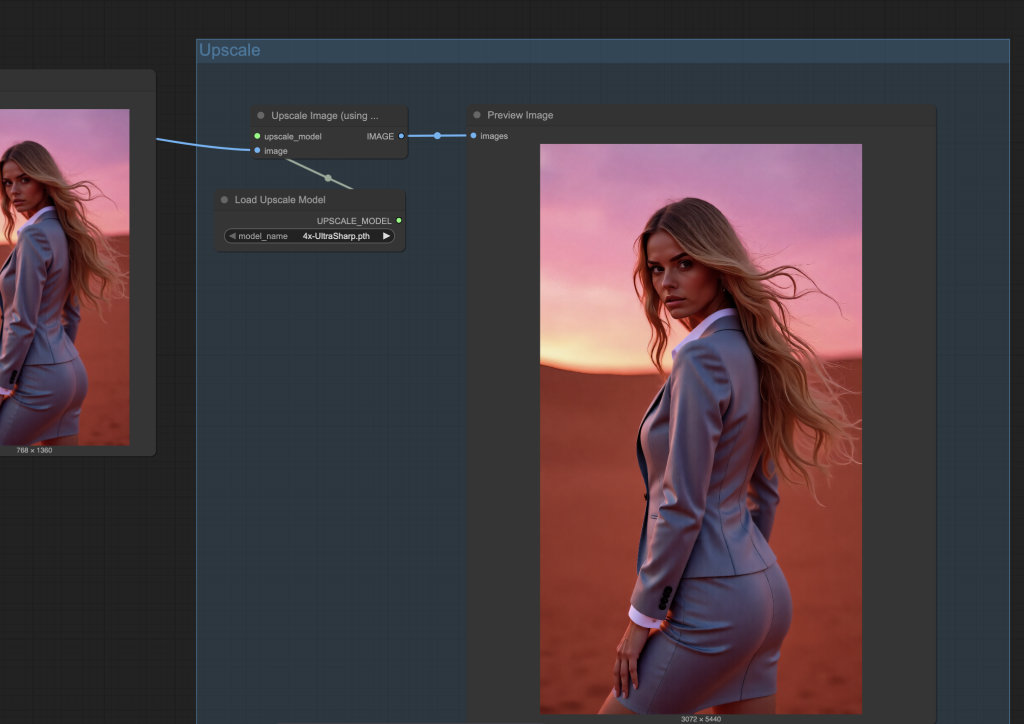
Here’s the Qwen Image Edit with upscaling nodes:
Install Upscale Model
You will need an upscale model to run this workflow.
Download the 4x-Ultrasharp model. Put it in ComfyUI > models > upscale_models folder.
Running the workflow
Follow the same instructions as the last section to run this workflow.
The upscaled image is on the left in the Upscale group.
Next Steps
In the next post, I will show you how to use Qwen Image Edit with masks, i.e., inpainting. Stay tuned!
What are the VRAM bare minimum requirements for this? I’m trying with a RTX 2070 with 8GB, and it crashes during “Requested to load QwenImageTEModel_ – loaded partially 5675.675 5675.674842834473 0”
I suspect the VRAM is not enough, any workaround? (besides online services)
Thank you very much for the workflow Andrew. It’s exactly what I’ve been looking for. Unfortunately, I get really noisy images when I run the first workflow (without upscale) without changing anything and using your reference image. My ComfyUI runs on RunPod with an RTX 4090. Do you have any idea what could be causing this? Thank you very much for your help and your incredibly valuable work!
It is working on my side. any error messages?
I have been using Qwen Image Edit with amazing results. One big advantage is it allows 3 inputs images which we can use for adding objects and even pose. Something to consider in next tutorials
Thanks for the suggestion!
As is the case for many of the workflows in the Tutorials and Courses, I can run them, I but I’m not learning enough to set one up from scratch. Just as two examples in this workflow, (1) why do I need the “Scale Image to Total Pixels” step, and (2) What is the ModelSamplingAruaFlow node doing? It seems a lot of detail is missing and I’m not getting the depth of understanding I would like to have.
These tutorial are meant to be at the usage level. I can try to explain the workflow more if there’s an interest from the audience.
Scale Image to Total Pixels: All models have their native resolution, e.g. 512×512 for SD 1.5, and 1024×1024 for SDXL. We should use a dimension close to them. However, we don’t always want an square image. A rule of thumb is that the pixels in height x width should still be about 1024×1024, so that the model can handle it correctly.
ModelSamplingAruaFlow: Apply default parameters for the Arua Flow model. It is basically a hack because Qwen Edit is also a flow matching model and share similar default parameters.
Thanks, Andrew, I’ve been trying this today and found a good use case: previously, I found it was very hard to get two characters to look at each other in a realistic way but I can use the edit model to correct their gazes so the scene is more realistic. One thing I discovered is that prompting for moving the head eg to the left needs to be from the viewer’s point of view, not the character’s.
The 4 step lora and reducing the input image size to 1 Mpixel makes the lightning version very quick. I suspect it may help in these cases to have a negative prompt so I’ve been bypassing the lora and using the higher step size and cfg in the ksampler, assuming that is how to do it. Increasing the cfgnorm value from 1 just makes the contrast go mad and I’ve not seen that node before – can you explain what it does?
Thanks
Great question. Qwen Edit is a flow-matching model, you should set the shift parameter (works like CFG), not cfgnorm. The CFGnorm node is meant to remove the artifact introduced by applying CFG. When using a large CFG value, the magnitude of the predicted noise could be higher than what it supposed to be, causing color saturation. CFGnorm normalizes it back to what the model thinks it should be. The strength value in the CFGnorm node is a multiplicative factor to the normalized noise. Setting it higher than 1 essentially undo the CFG normalization.