
Image-to-image allows you to generate a new image based on an existing one. Inpainting lets you regenerate a small area of the image. The Flux AI model supports both img2img and inpainting.
In this article, you will learn how to use img2img and inpainting with the Flux AI model.
Table of Contents
Software
The best software for using img2img and inpainting with Flux AI is Forge, an interactive GUI similar to AUTOMATIC1111. As of writing, AUTOMATIC1111 does not support Flux AI models so I recommend using Forge.
See the Flux AI installation Guide on Forge if you don’t have the Flux model on Forge.
If you are new to Stable Diffusion, check out the Quick Start Guide.
Take the Stable Diffusion course if you want to build solid skills and understanding.
What you will learn
Use Forge to do image-to-image and inpainting for Flux AI. The GUI has good support for Flux.
If you are already familiar with image-to-image and inpainting for Stable Diffusion, you can stop here because their usage with the Flux AI model is almost identical. 😄
In the rest of the article, I will walk you through how to use image-to-image and inpainting with Flux AI models in Forge.
Image-to-image with Flux AI model
You can use image-to-image to generate image variations.
Step 1: Generate an image on txt2img
On the txt2img page of SD Forge WebUI:
- Select flux in the UI profile.
- Select the flux1-dev-fp8.safetensors checkpoint.
- Enter a prompt, e.g.
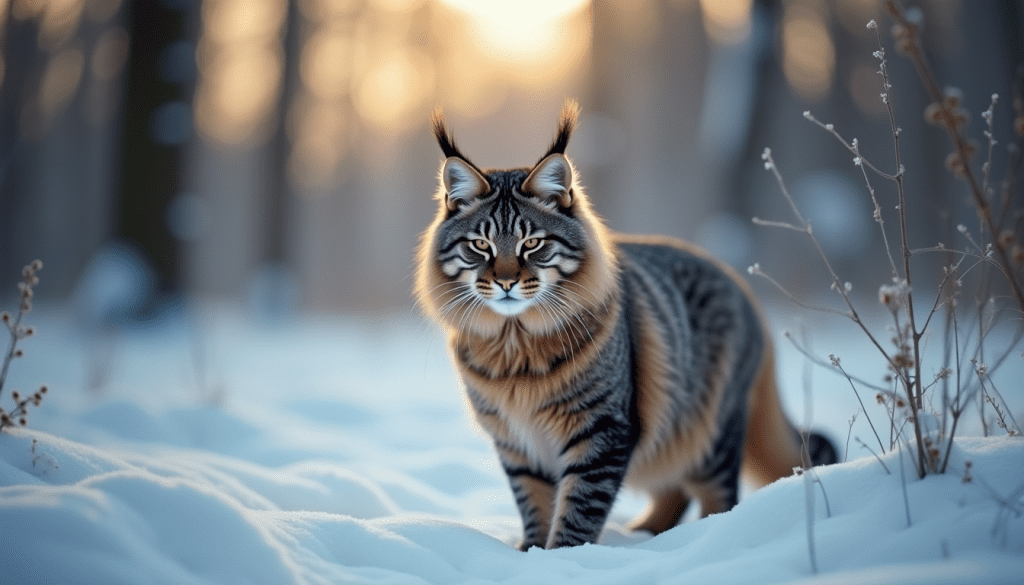
Photo of a siberian cat in russian forest, national geographic winner, photo of the year, bokeh, winter
4. Set the desired image size, e.g. 1344 x 768 (16:9).
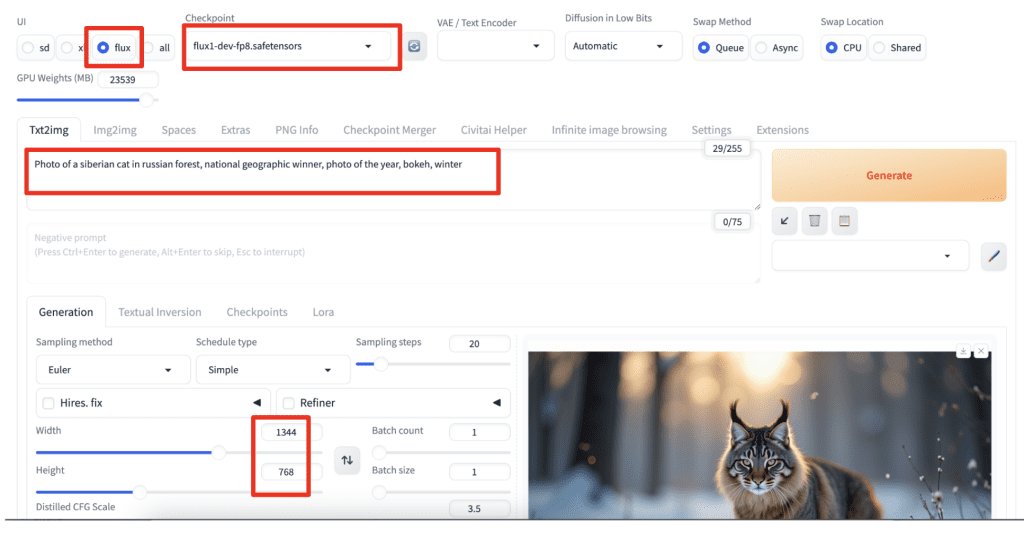
You can leave the rest of the settings as the default.
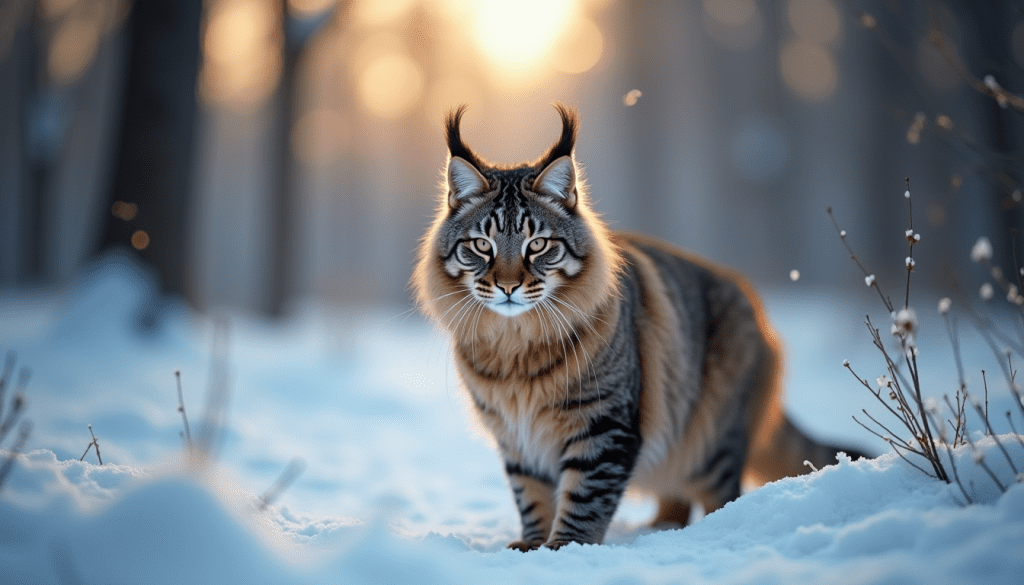
Press Generate to generate an image.
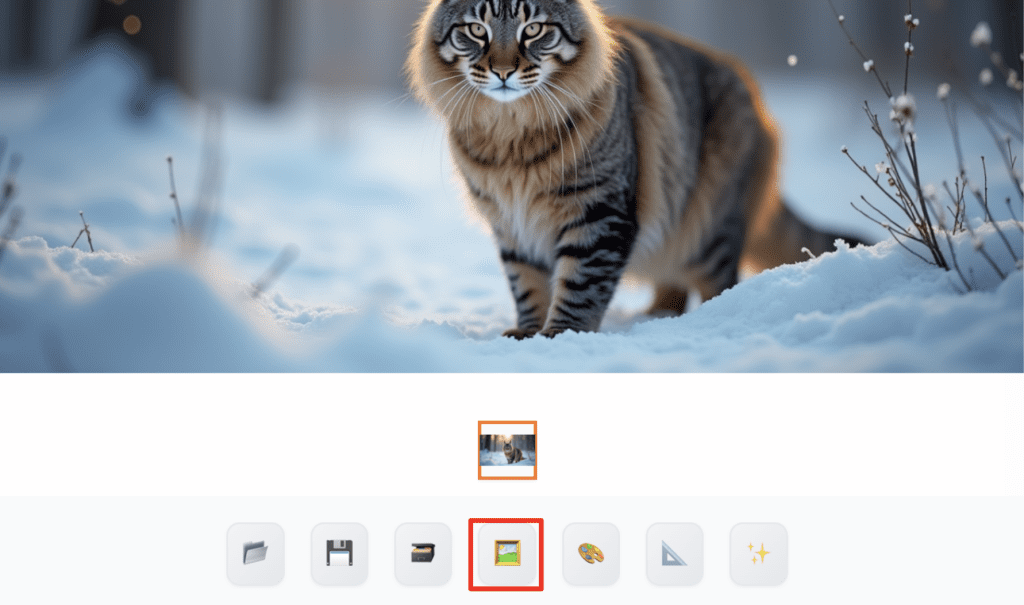
Step 2: Send the image to img2img
Click the send to img2img button under the image to send the image to the img2img page.
Step 3: Adjust img2img setting
The most important parameter is the denoising strength. Set it high to change more. Set it low to change less.
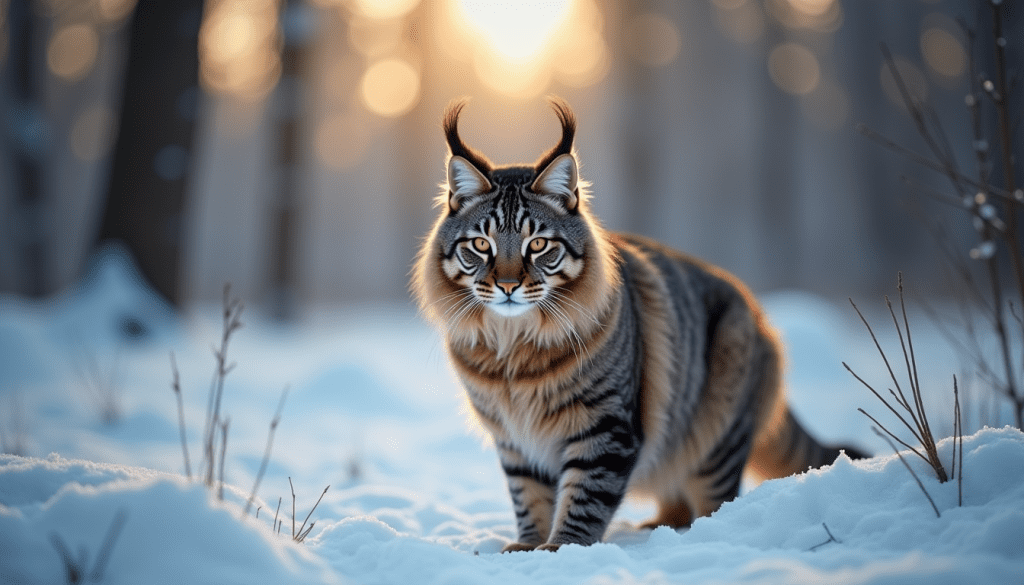
Press Generate to generate an image variation.
Denoising strength
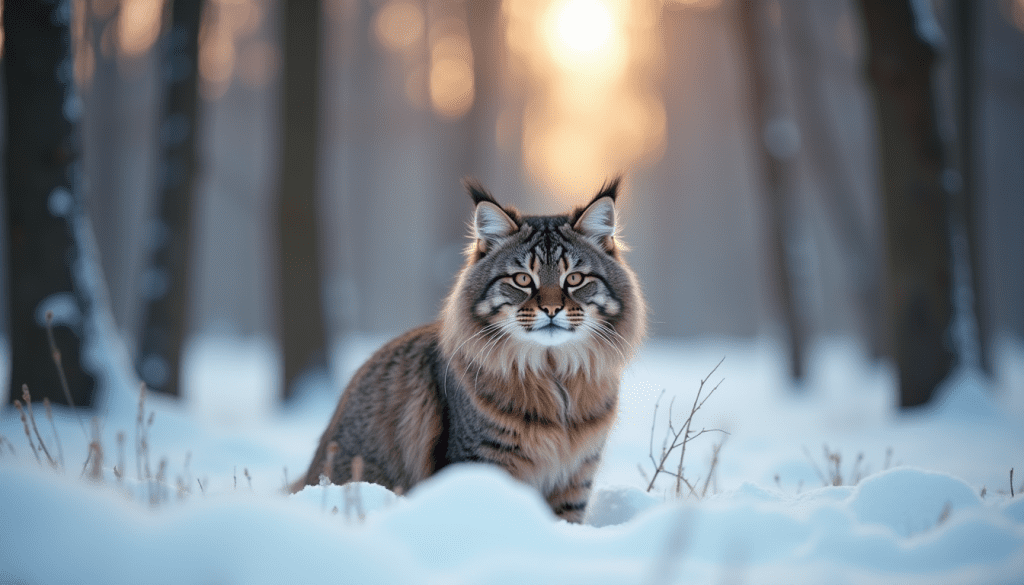
Below are images generated with denoising strengths from 0.5 to 0.95. As the value increases, there are more changes.
Prompt
Another common technique is to change the prompt.
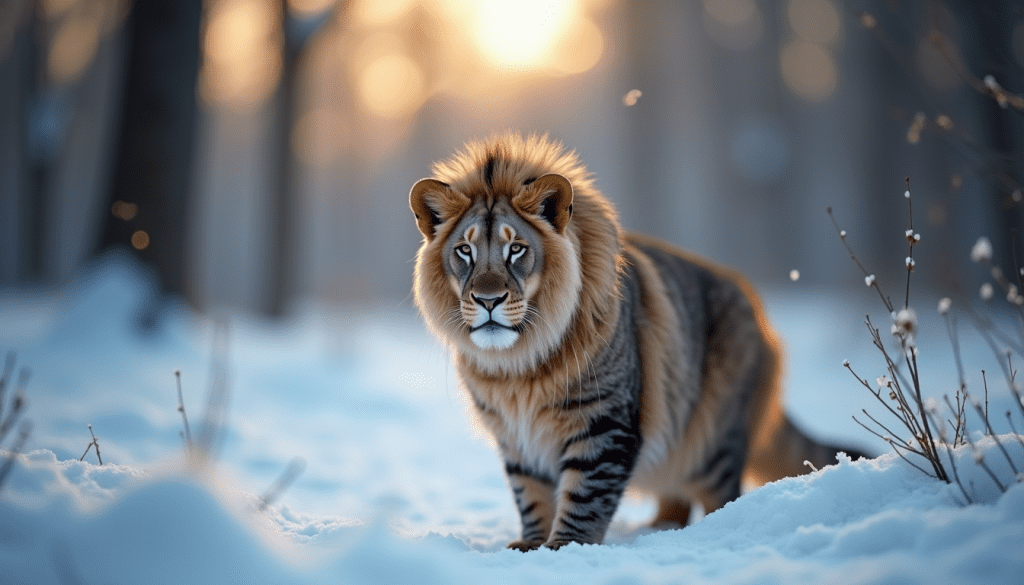
Let’s turn the cat into a lion by changing the prompt.
Photo of a lion in russian forest, national geographic winner, photo of the year, bokeh, winter
You will need to experiment with the denoising strength to get the right amount of change you want. Below is setting it to 0.8.
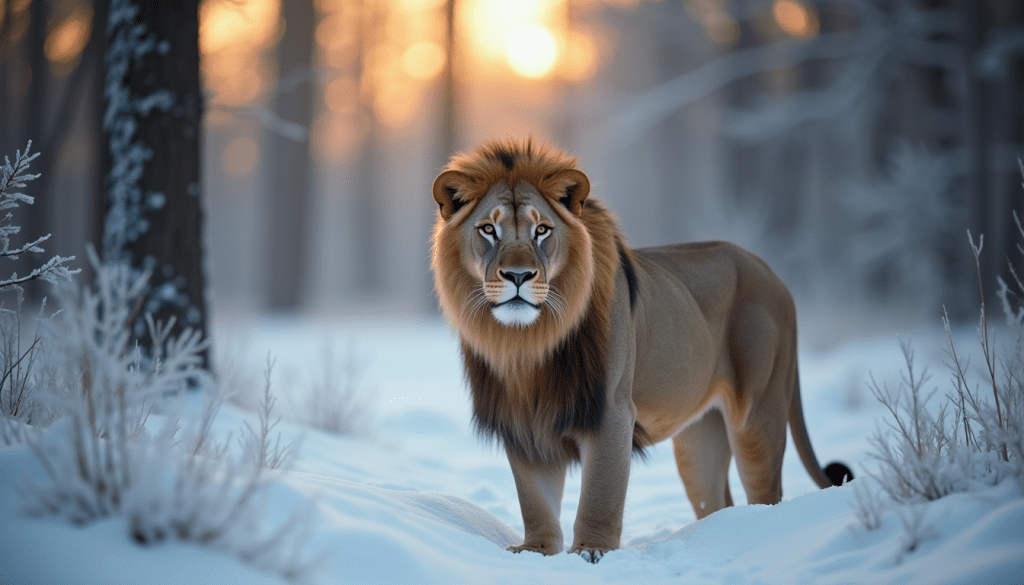
Now, you know how to generate a different subject with a similar background!
Inpainting with Flux AI model
Inpainting is similar to image-to-image, except you only change a small part of the image. You can pick which part of the image to change.
Step 1: Generate an image with txt2img
On the txt2img page of SD Forge WebUI:
- Select flux in the UI profile.
- Select the flux1-dev-fp8.safetensors checkpoint.
- Enter a prompt, e.g.
Photo of a siberian cat in russian forest, national geographic winner, photo of the year, bokeh, winter
4. Set the desired image size, e.g. 1344 x 768 (16:9).
You can leave the rest of the settings as the default.
Press Generate to generate an image.
Step 2: Send the image to inpainting
Click the Send to inpaint button to send the image to inpainting.

You should now on the img2img page > inpaint tab.
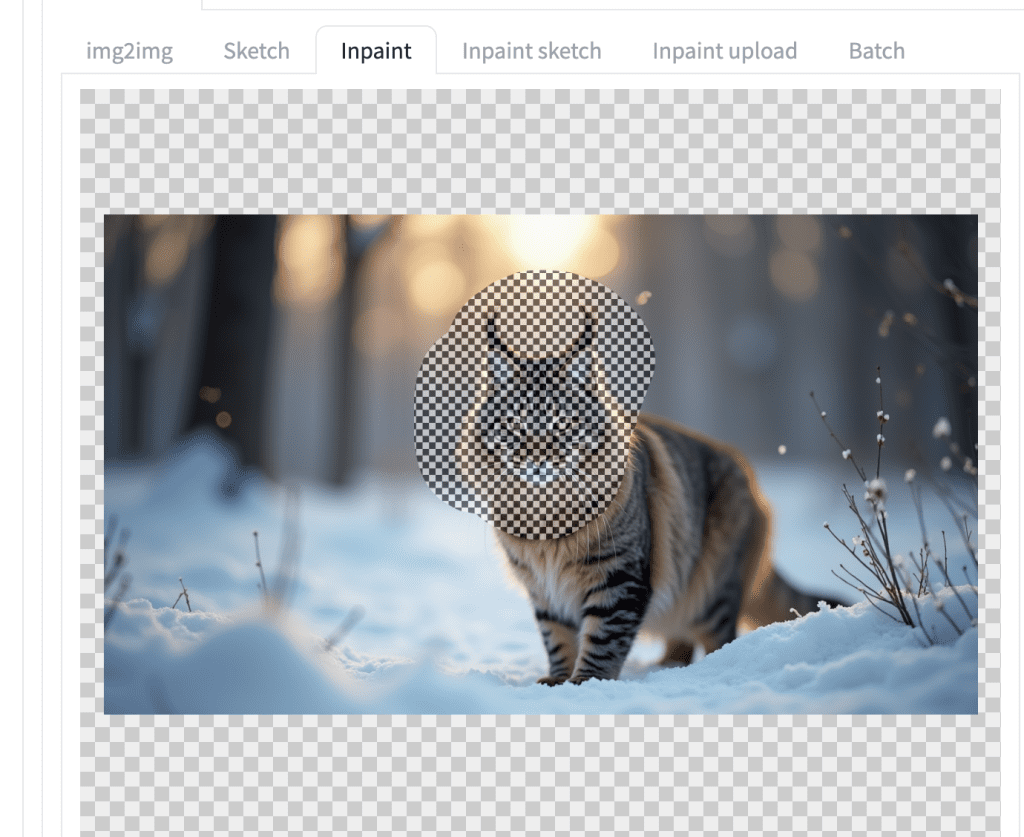
Step 3: Select the inpaint area
Use the brush tool to paint over the area you want to regenerate.
Below is an example of regenerating the head of the cat.
Step 4: Enter inpainting settings
Similar to img2img, you can adjust the prompt and the denoising strength.
Let’s change the cat to the lion by adjusting the prompt.
Photo of a lion in russian forest, national geographic winner, photo of the year, bokeh, winter
Set the denoising strength to 0.8. Set it higher to change more. Set it lower to change less.
Press Generate.
Now you get a lion head with the rest of the image unchanged!
I just followed the course “How to install Flux AI model on ComfyUI” to make Flux run locally. Is there any update on how to set up image2image or inpainting using ComfyUI? Many thanks.
Here’s a workflow for flux fill model for inpainting. https://stable-diffusion-art.com/flux1-fill-inpaint/
With Fal.Ai it possible to inpaint with Flux.
don`t we need Flux inpaint models first ?!
An inpainting model is not necessary. This is also true for SD.
well this is not true for SD1.5 for sure – at least if you want some good inpainting results … lol
That’s not entirely correct. At low to medium denoising strength, inpainting model is not necessary. Inpainting model helps at high denoising strength but you can use controlnet to achieve the same without an inpainting model.
More info:
https://stable-diffusion-art.com/inpainting/