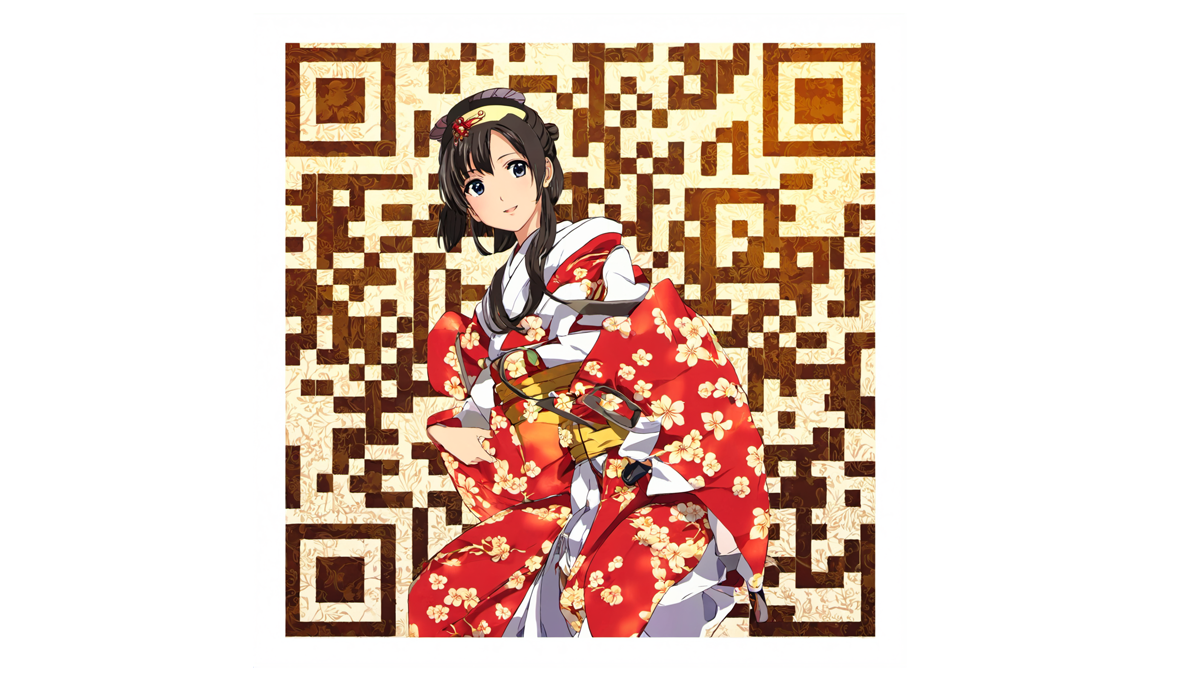
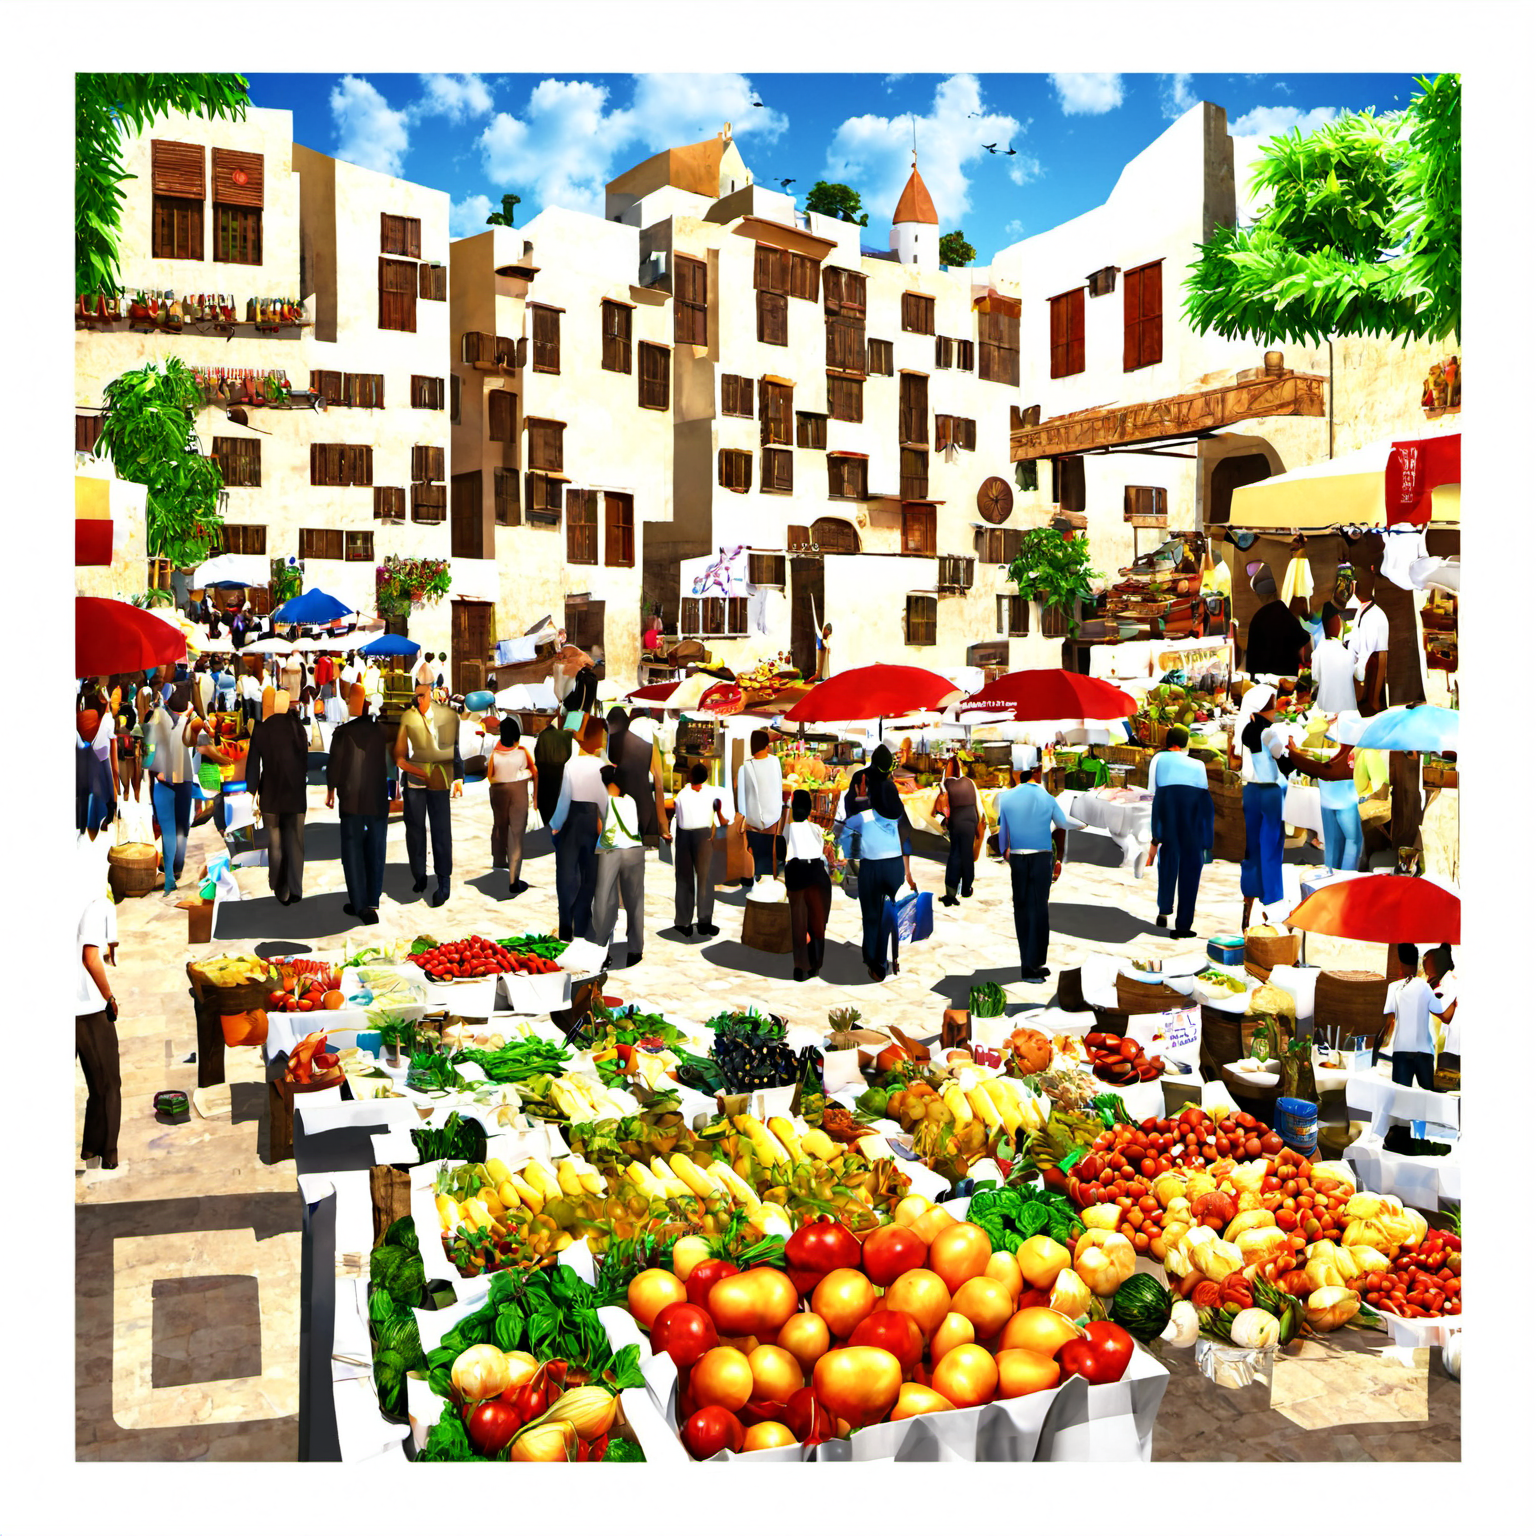
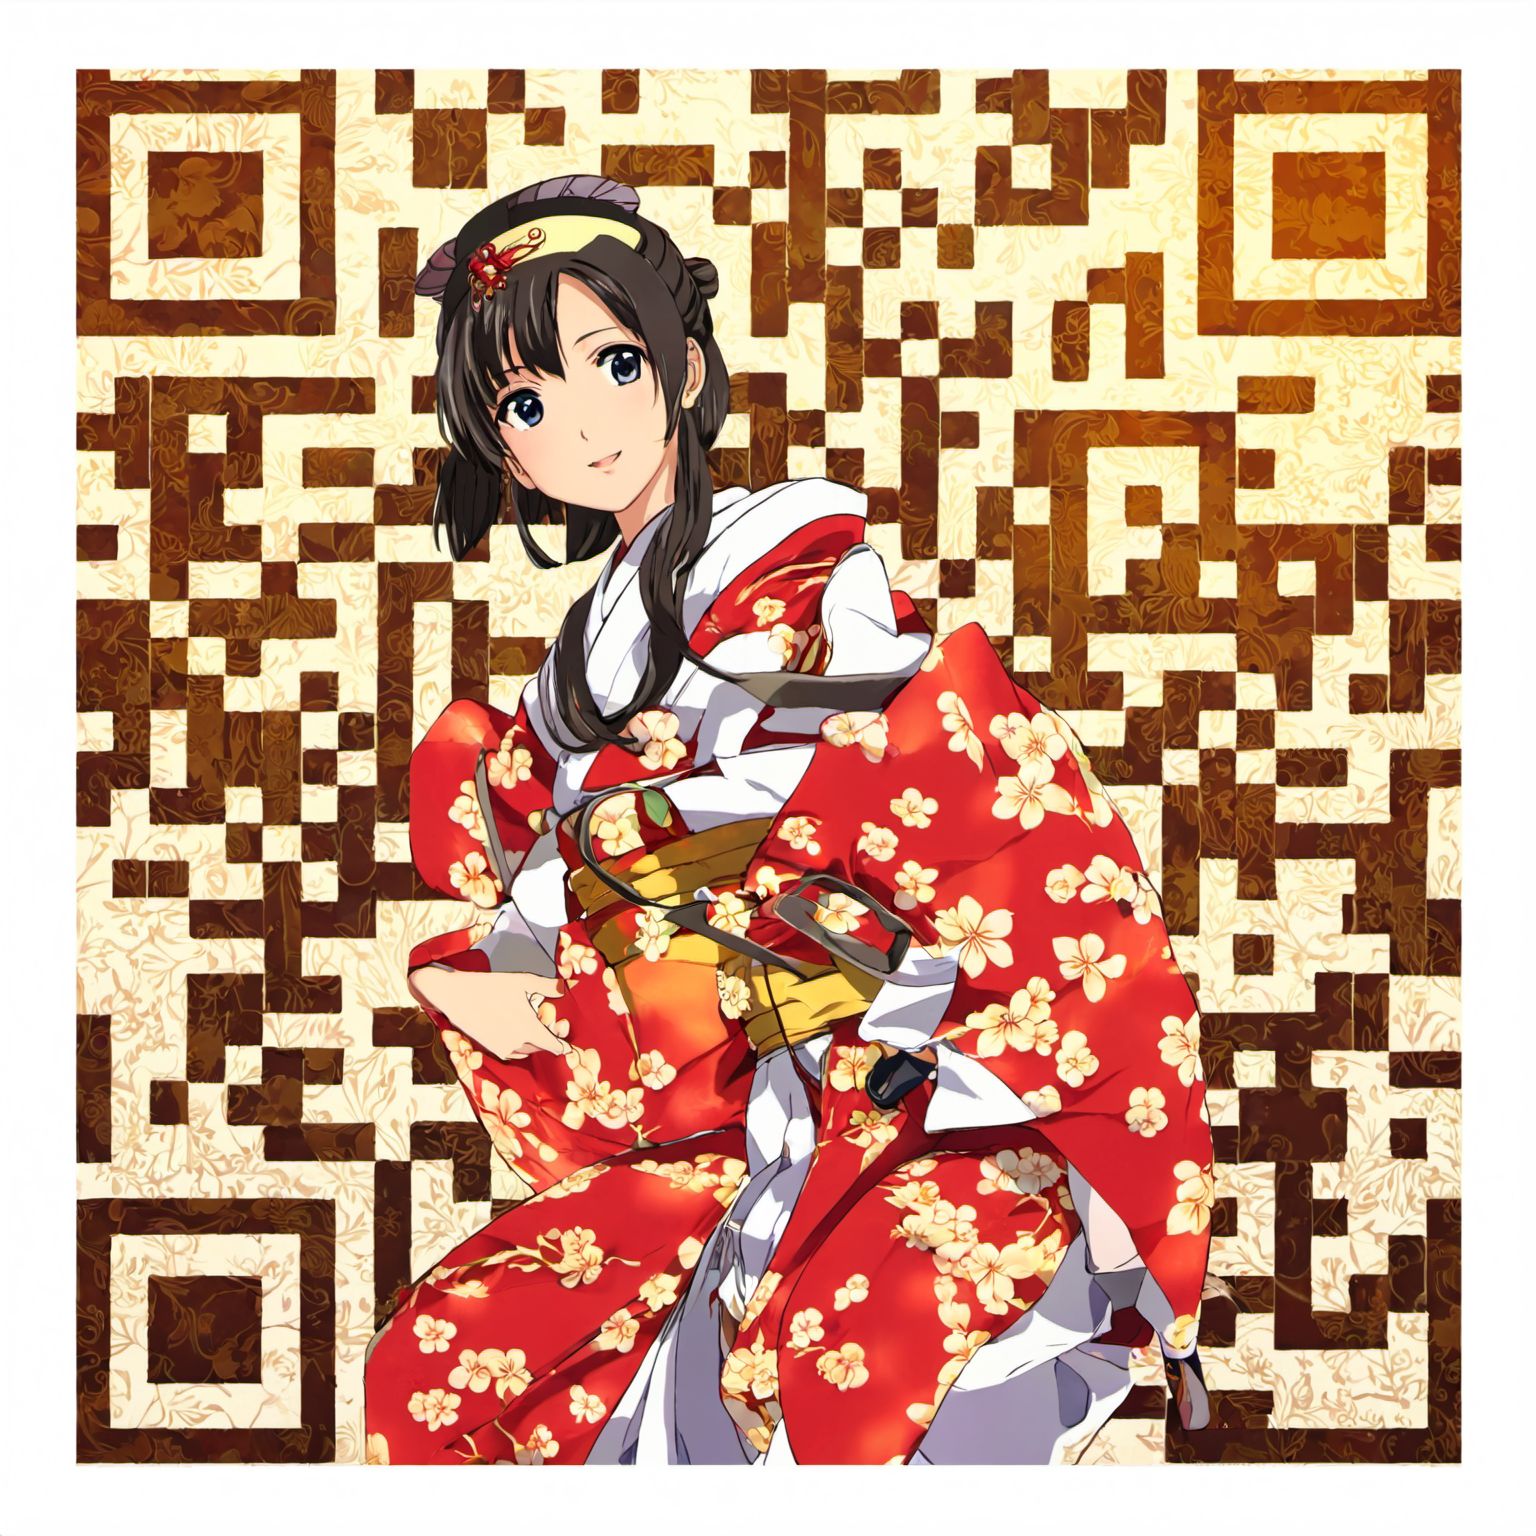
Transform a boring black-and-white QR code into a creative, colorful artwork with this workflow. Whether you want to innovate or captivate your audience, you will find it fun to explore the possibilities of this workflow.
You must be a member of this site to download the following ComfyUI workflow.
Table of Contents
Software
We will use ComfyUI, an alternative to AUTOMATIC1111.
Read the ComfyUI installation guide and ComfyUI beginner’s guide if you are new to ComfyUI.
Take the ComfyUI course to learn ComfyUI step-by-step.
How does this workflow work?
This ComfyUI workflow uses an SDXL checkpoint model, with an optional LoRA, to transform a standard black-and-white QR code to an artistic one while remaining readable.
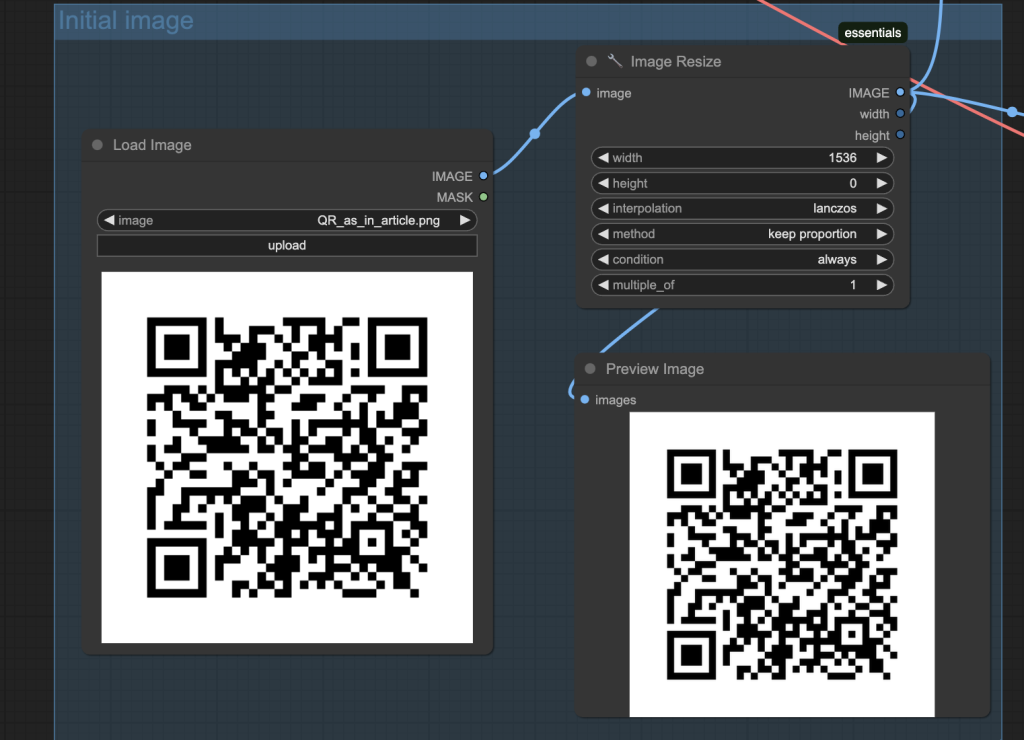
It takes a QR code as the input, resizes it, and encodes it into a latent image.
It then performs image-to-image with the maximum denoising strength (1) with the QR monster ControlNet to add the artwork to the QR code. The prompt controls the image.
Generate an AI QR code
Step 1: Generate a QR code
To increase your chance of success, use a QR code that meets the following criteria.
- Use a high fault tolerance setting (30%).
- Have a white margin around the QR Code (the quiet zone).
- Use the most basic square fill with a black-and-white pattern.
- Avoid using generators that introduce a thin white line between black elements.
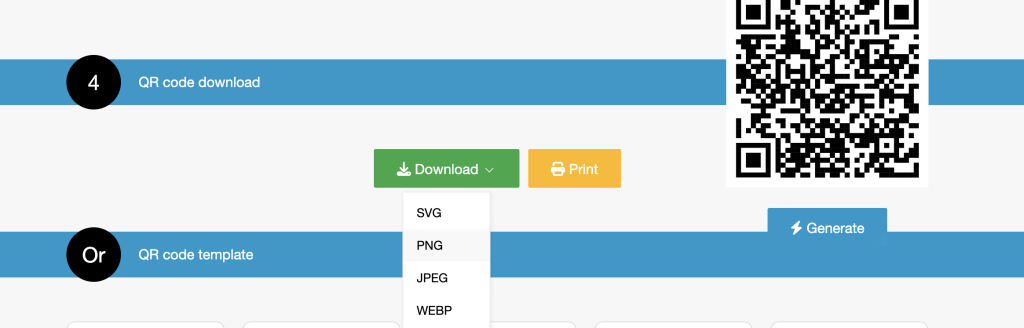
We will use this QR Code generator in this tutorial.
Select Link in the Category.
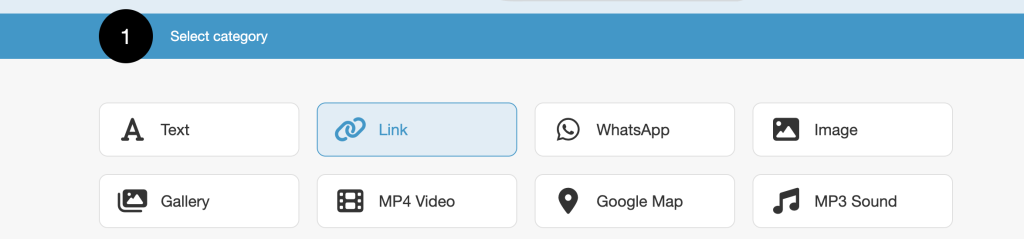
Enter a link in the content.
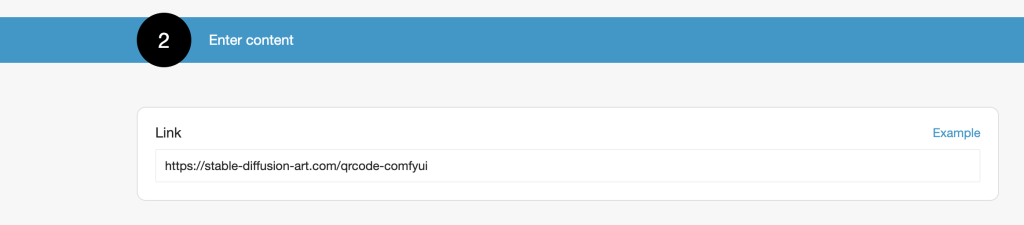
Click Generate.
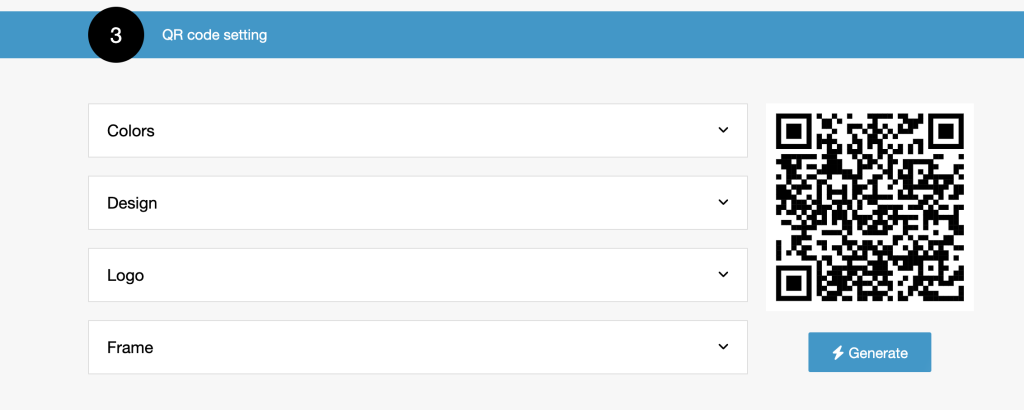
Download the QR Code as a PNG file.
Step 2: Download the checkpoint model
Download the Juggernaut v7 model and put it in ComfyUI > models > checkpoints.
Google Colab
If you use my ComfyUI Colab notebook, you can select the JuggernautXL_v8 model. It’s not that different.

Step 3: Download the QR monster model
Download the QR Monster XL ControlNet model. Rename the model file to control_v1p_sdxl_qrcode_monster.safetensors
Put it in ComfyUI > models > controlnet.
Google Colab
If you use my ComfyUI Colab notebook, put the renamed ControlNet model in AI_PICS > models > ControlNet.
Step 4: Load workflow
Download the ComfyUI JSON workflow below.
Drag and drop the JSON file to ComfyUI.
Step 5: Install missing nodes
If you see nodes with red borders, you don’t have the custom nodes required for this workflow.
Click Manager > Install Missing Custom Nodes.
Install the nodes that are missing.
Restart ComfyUI.
Step 6: Fix the model nodes
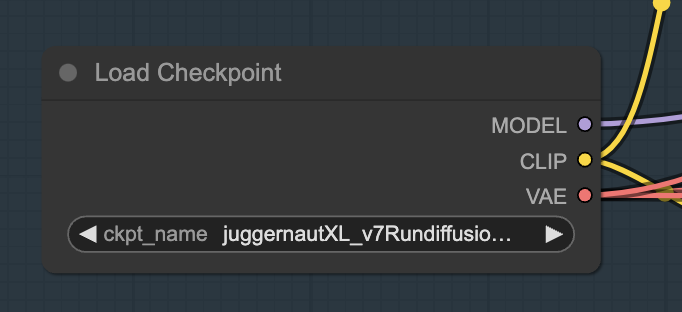
Select the JuggernautXL model in the Load Checkpoint node.
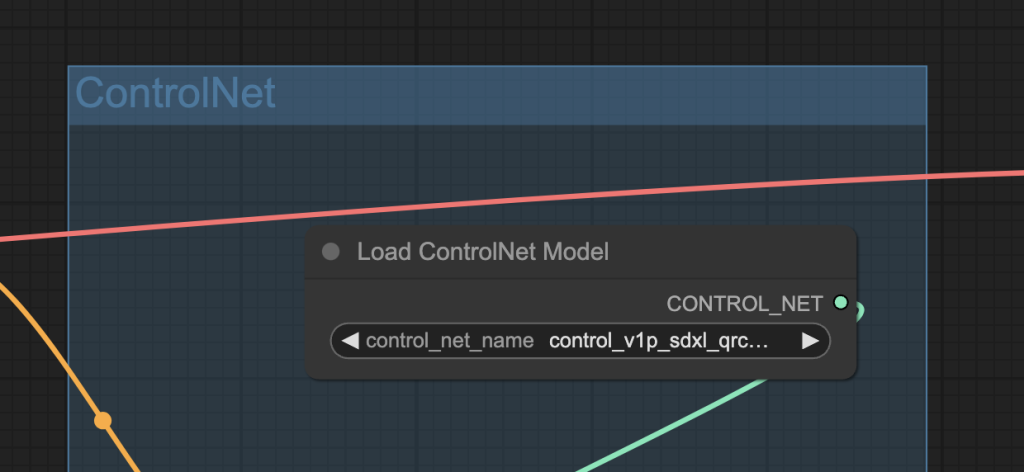
In the Load ControlNet Model node, select the SDXL QR Code monster model.
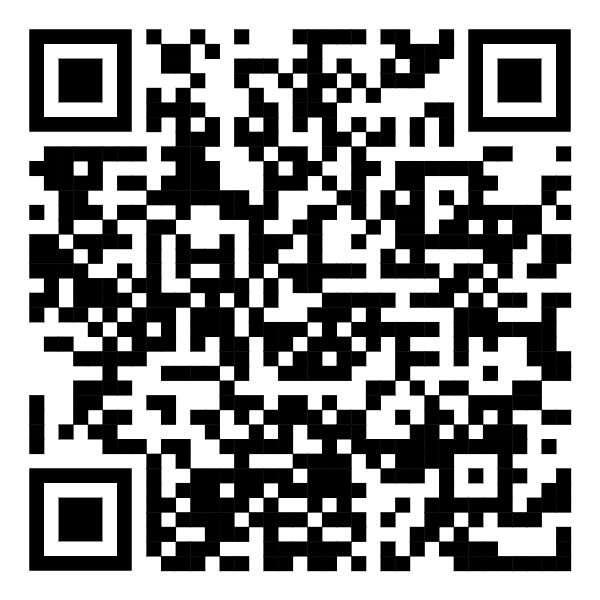
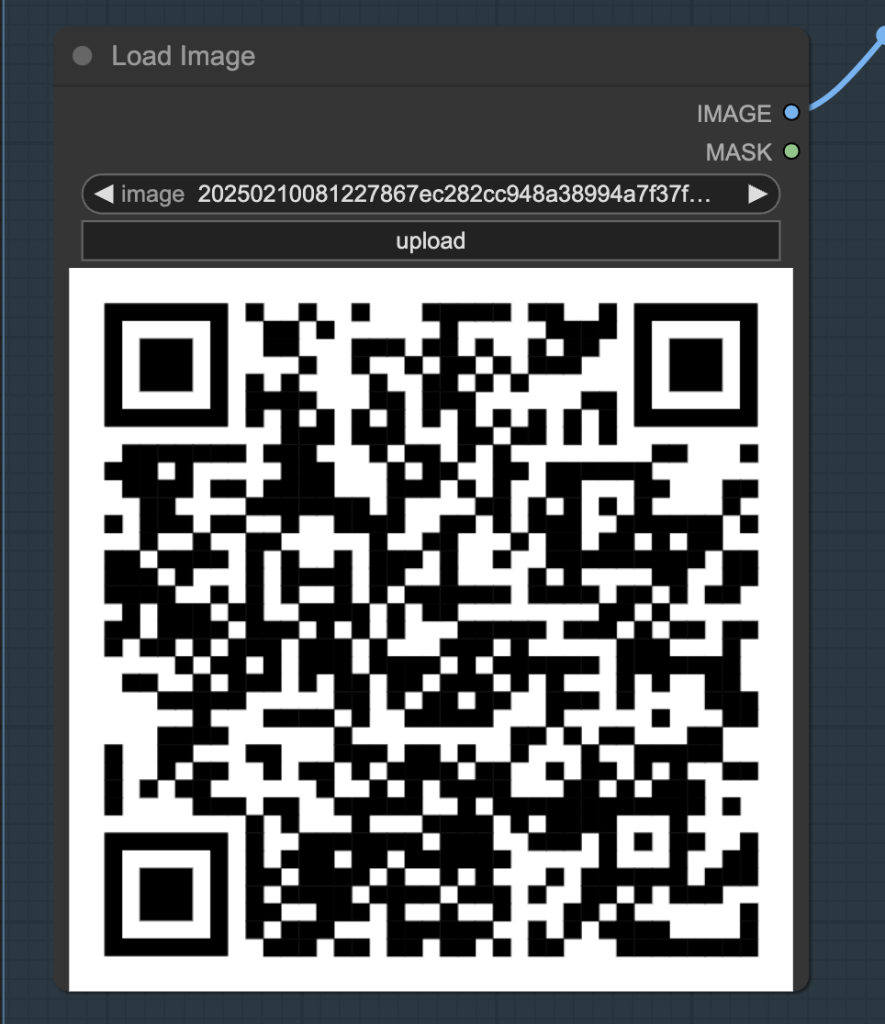
Step 7: Upload the input image
Upload the input QR code image to the Load Image node.
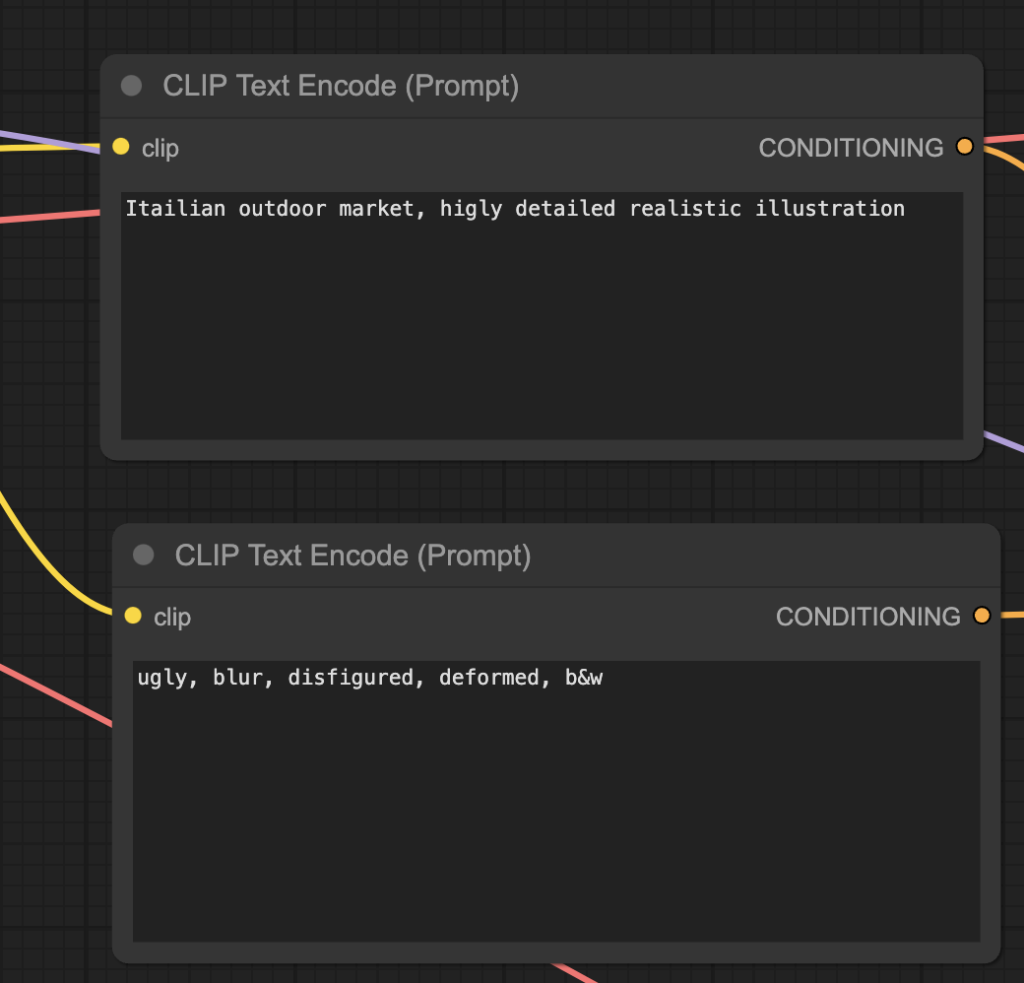
Step 8: Revise the prompt
Revise the prompt and the negative prompt in the CLIP Text Encode node. Describe the foreground and background of the final image.
Note: After adjusting the prompt, the ControlNet setting typically needs to be adjusted to show the QR code more or less. See the ControlNet Setting section below.
Step 9: Run the workflow
Click Queue to run the workflow.

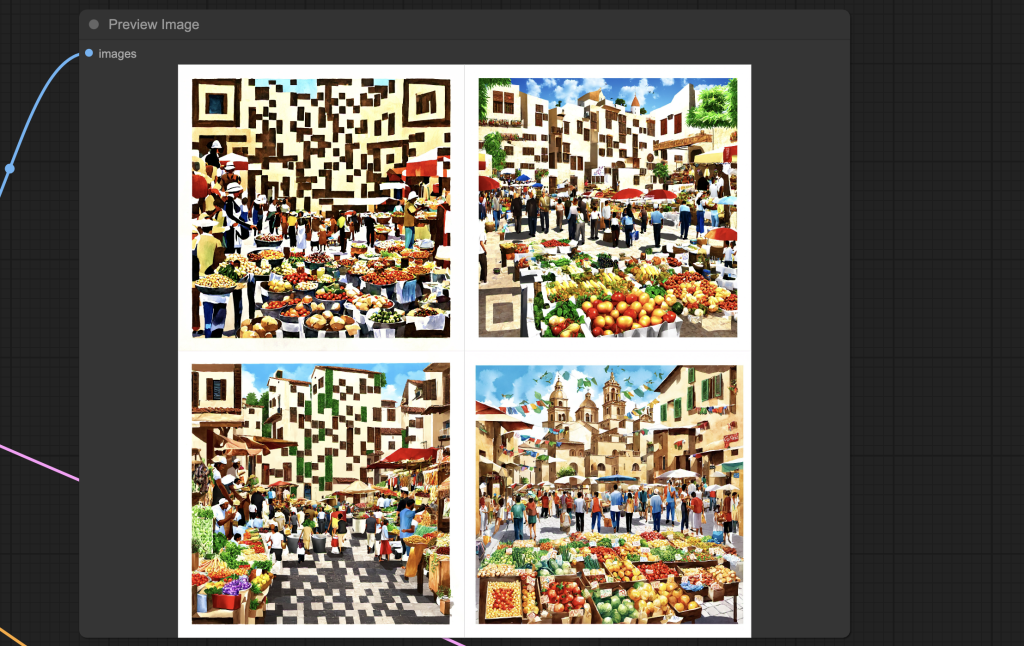
Test the output QR code with your phone. The success rate of this workflow is about 1 in 4.
Right-click on an image and select Save image to save.
If none of them work:
- Change the seed value in the KSampler note to generate new ones.
- Adjust the ControlNet setting (see below) to show the QR code more.
If they show the QR code too much, adjust the ControlNet setting to show less.
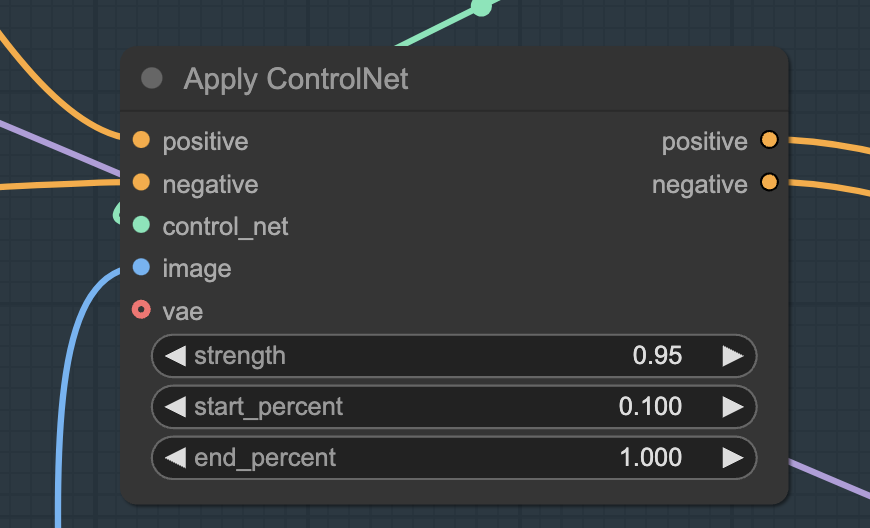
ControlNet setting
Try the following to show the QR code more.
Increase the strength of the ControlNet.
Decrease the start_percent of the ControlNet.
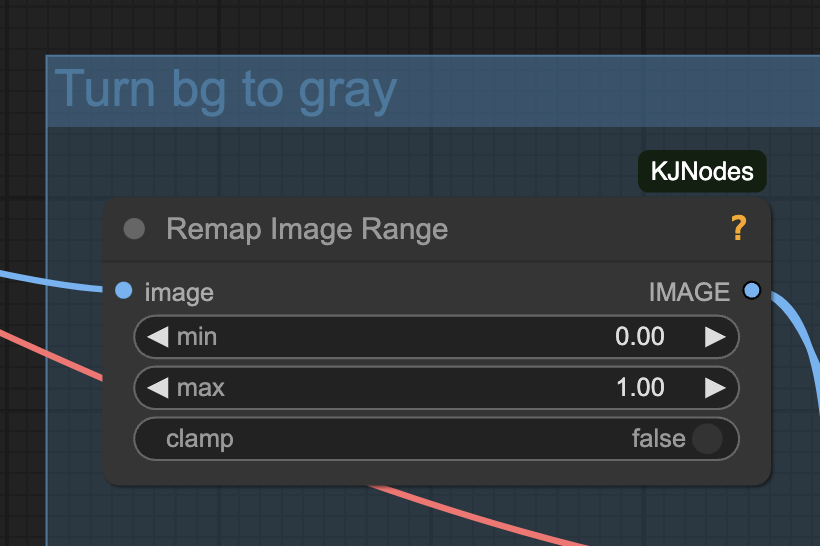
Set the max of the Remap Image Range node to a higher value (1 is the highest value).
Settings
Increasing details
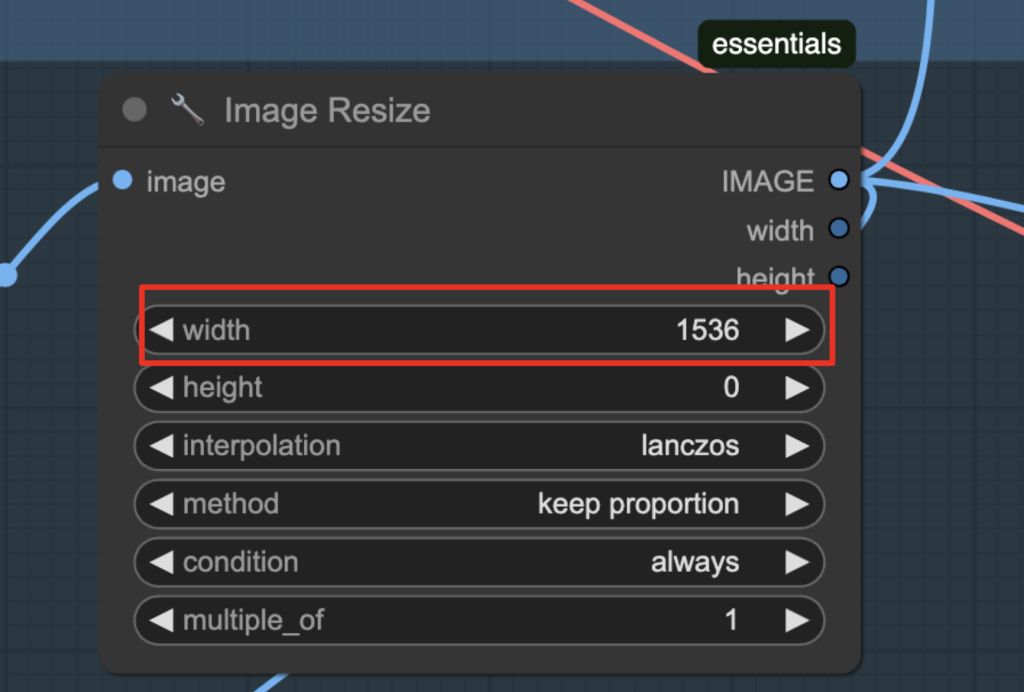
The image resolution controls the level of detail since the model can generate more details within the QR code with more pixels.
Increase the width in the Image Resize node to increase details.
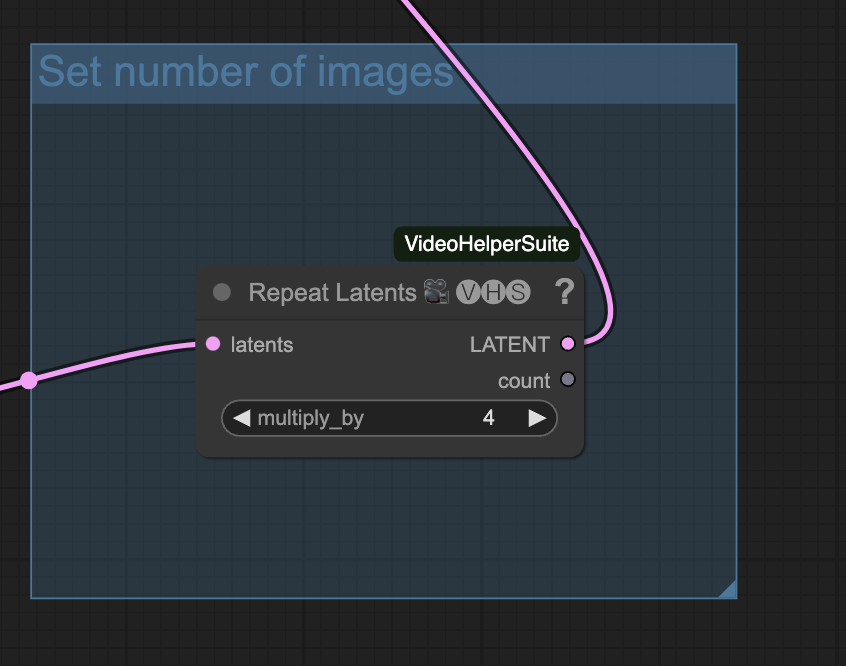
Number of images
This workflow generates 4 images per run. Change it by changing the Repeat Latent node,
VRAM usage
To reduce the VRAM usage, you can reduce the image width or the number of images.
Additional workflow

Download the workflow below.
It would be better to use the QR Code node from the comfyqr custom node.