
AI image generators such as Flux and SDXL generate good virtual AI influencers, but their skins can look plastic, like making out of rubber. This workflow enhances the skin of your AI influencer to look more realistic.


You must be a member of this site to download the following ComfyUI workflow.
Table of Contents
Software
We will use ComfyUI, a free AI image and video generator. You can use it on Windows, Mac, or Google Colab.
Think Diffusion provides an online ComfyUI service. They offer an extra 20% credit to our readers.
Read the ComfyUI beginner’s guide if you are new to ComfyUI. See the Quick Start Guide if you are new to AI images and videos.
Take the ComfyUI course to learn how to use ComfyUI step by step.
How does this workflow work?
This workflow uses a skin detailer LoRA, followed by a skin-enchancing AI upscaler.
Step-by-step guide
Step 1: Download models
- Download the Juggernaunt XL v7 model. Put it in ComfyUI > models > checkpoints.
- Download the Skin Realism LoRA model. Put it in ComfyUI > models > loras.
- Download the 1x ITF SkinDiffDetail Lite v1 upscaler. Put it in ComfyUI > models > upscale_models.
Google Colab instructions
Do the following instead if you use my ComfyUI Colab notebook.
Select rgthree in the Custom Nodes section.

Select JuggernautXL in the SDXL model section.

Now, you need to download some models to your Google Drive.
- Download the Skin Realism LoRA model. Put it in AI_PICS > models > LoRA in your Google Drive.
- Download the 1x ITF SkinDiffDetail Lite v1 upscaler. Put it in AI_PICS > models > ESRGAN in your Google Drive.
Step 2: Load workflow
Download the ComfyUI JSON workflow below.
Drag and drop the JSON file to ComfyUI.
Step 3: Install missing nodes
If you see nodes with red borders, you don’t have the custom nodes required for this workflow. You should have ComfyUI Manager installed before performing this step.
Click Manager > Install Missing Custom Nodes.
Install the nodes that are missing.
Restart ComfyUI.
Refresh the ComfyUI page.
Step 4: Upload an image
Upload an image to the Load Image node you want to enhance.
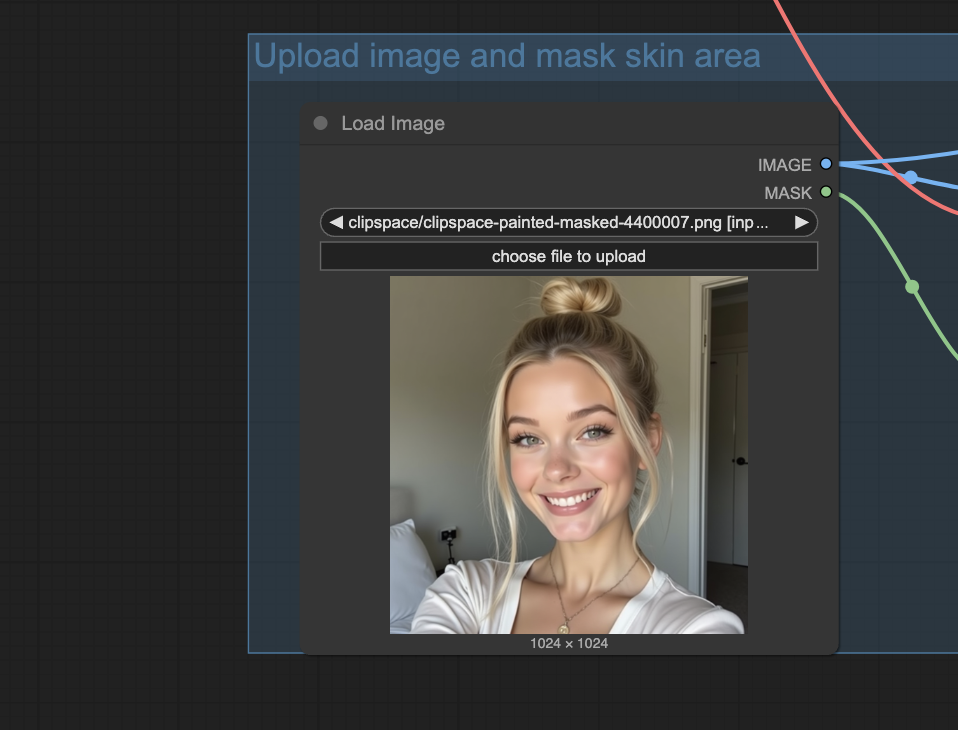
You can use the test image below.

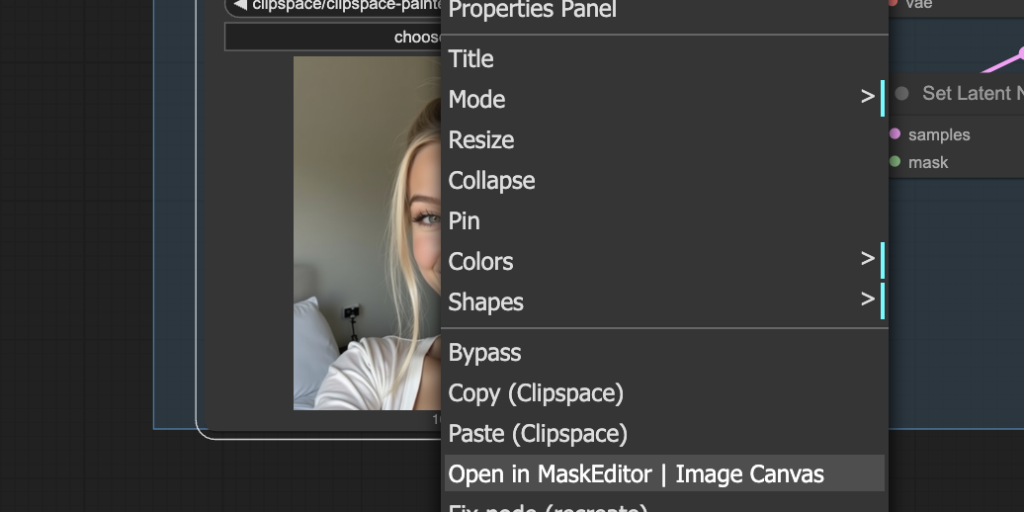
Step 5: Mask skin areas
Now, you need to tell ComfyUI which skin area you want to enhance.
Right-click the image to bring up the context menu. Select Open in MaskEditor | Image Canvas.
Mask the skin area you want to enhance.
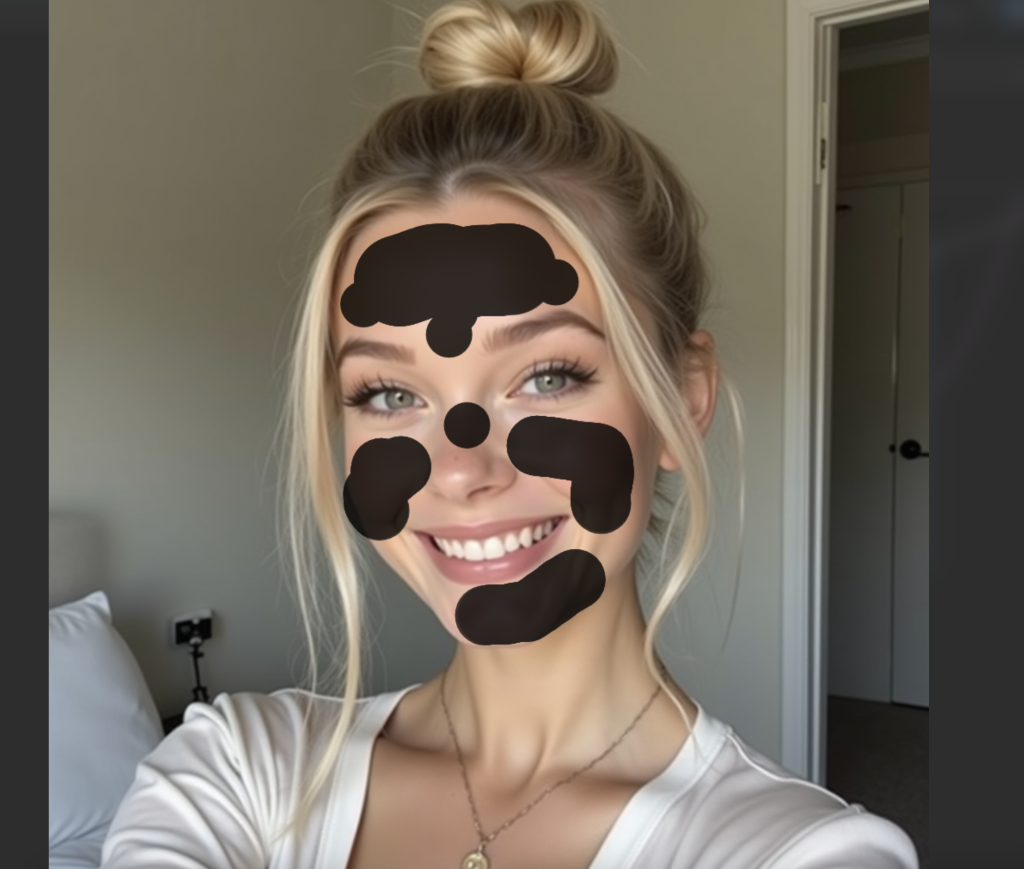
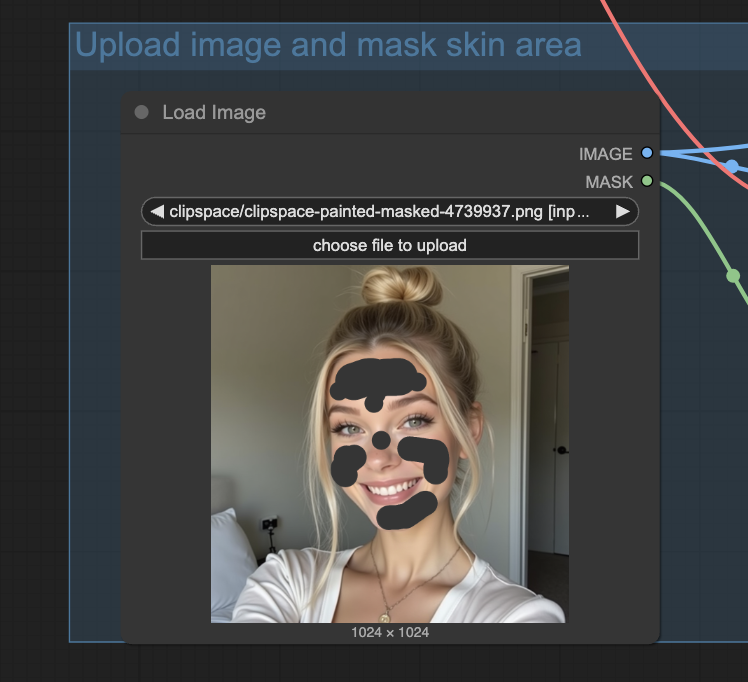
Click Save. You should see the mask on the thumbnail of the node.
Step 6: Adjust the amount of changes
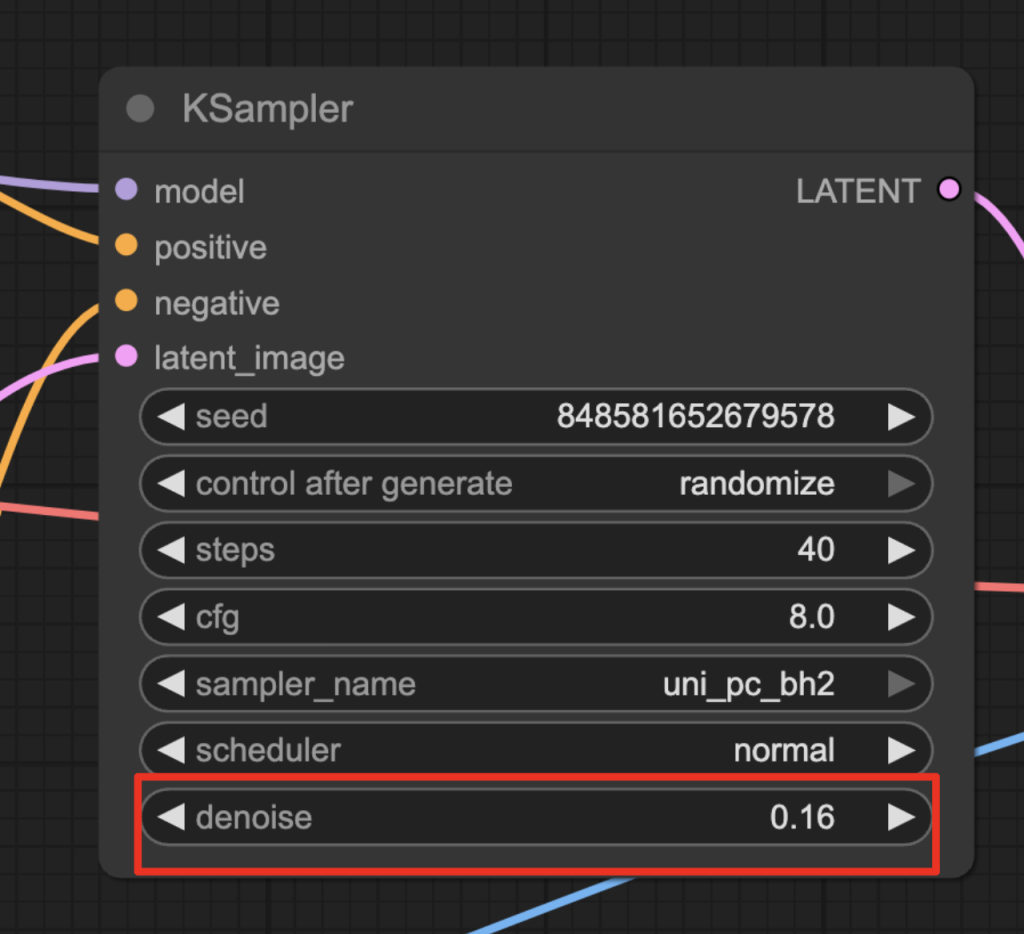
Adjust the denoise setting in the KSampler node to adjust the effect.
- 0.16 is a good starting point.
- The typical range is 0.05 – 0.3.
- The higher the value, the more changes it will make.
Step 7: Run the workflow
Click the Run button to run the workflow.

There are two output images.
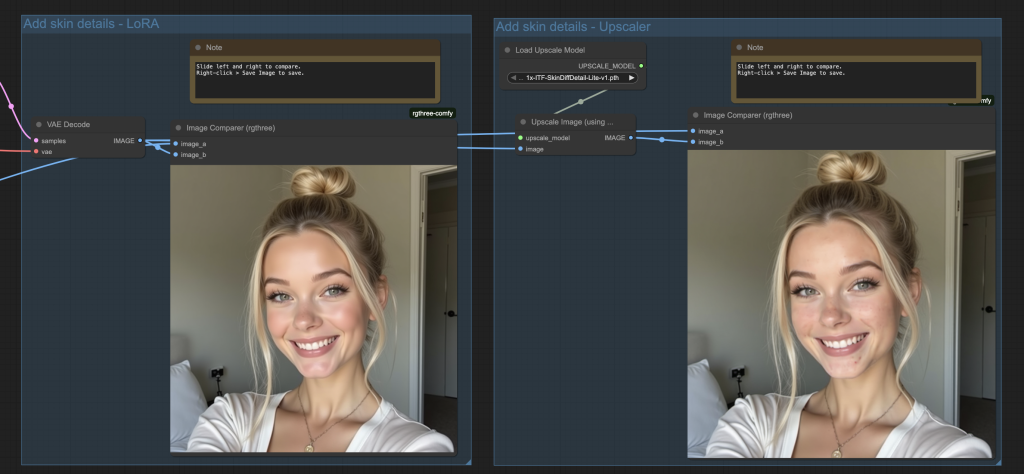
- The left one applies only the skin detailing LoRA.
- The right one applies the skin detailing LoRA and the skin detailing AI upscaler. (It is a 1x “upscaler” so the image size won’t change.)
Hover the mouse pointer over an output image. Move the pointer left and right to see changes.
Right-click an image and select Save Image to save.