This ComfyUI workflow copies the input image and generates a new one with the Flux.1 Dev model.
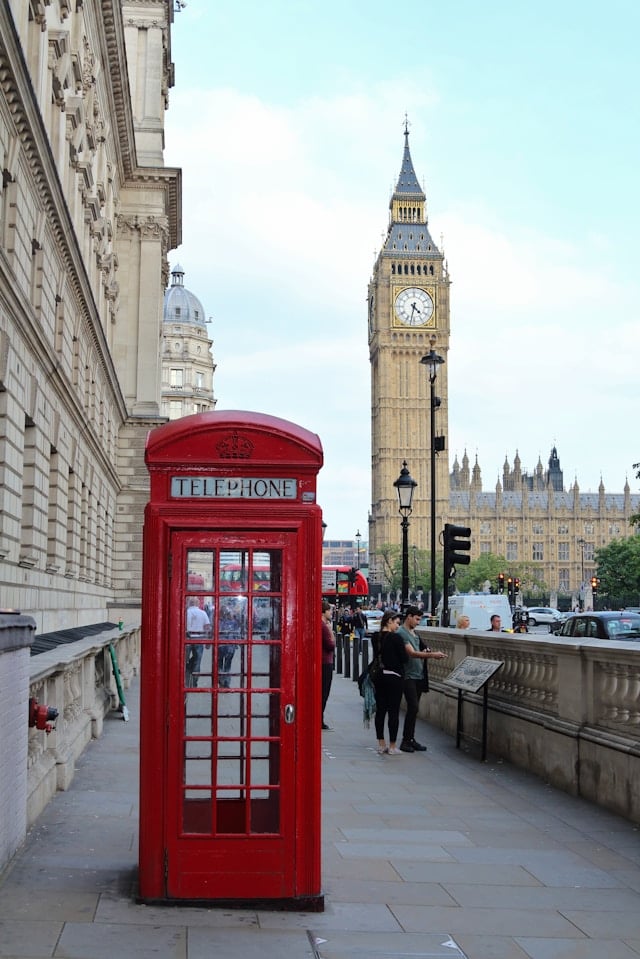
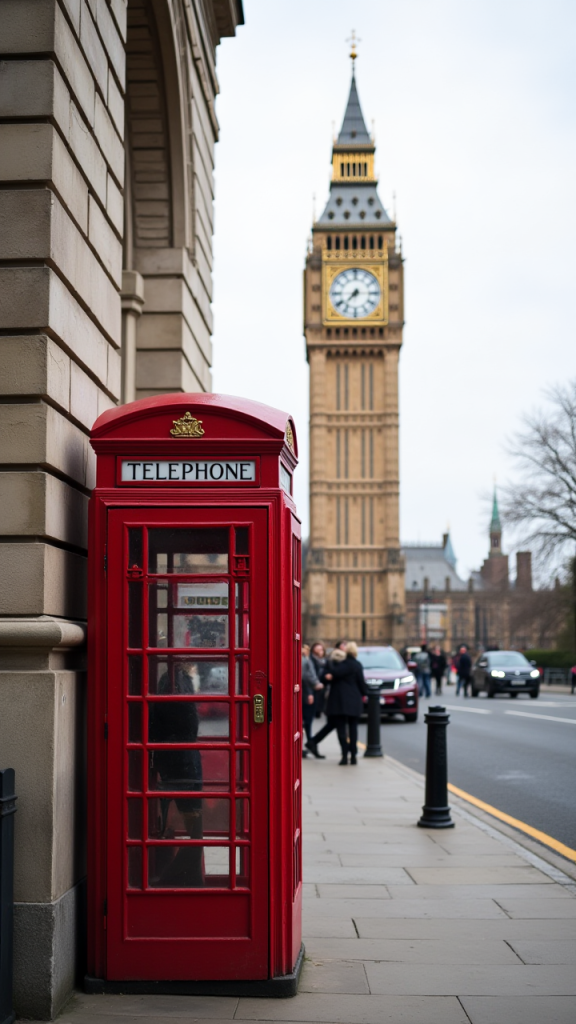
You can also add keywords to the prompt to modify the image.

You must be a member of this site to download the following ComfyUI workflow.
Table of Contents
Software
We will use ComfyUI, an alternative to AUTOMATIC1111.
Read the ComfyUI installation guide and ComfyUI beginner’s guide if you are new to ComfyUI.
Take the ComfyUI course to learn ComfyUI step-by-step.
How does this workflow work?
This workflow uses the BLIP visual model to extract a prompt from the input image.
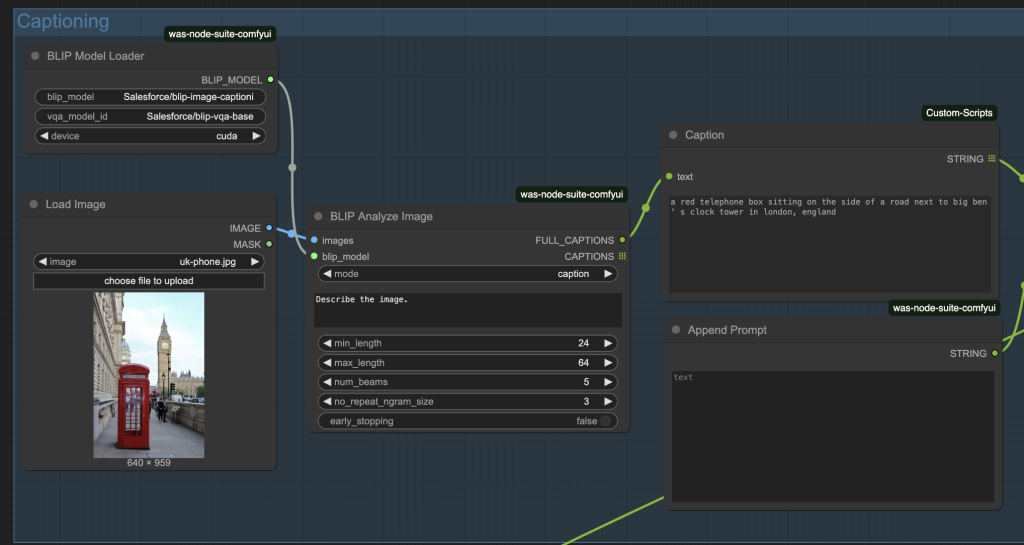
You can optionally append the prompt to modify it.
The prompt is then used by the Flux.1 Dev model to produce an image.
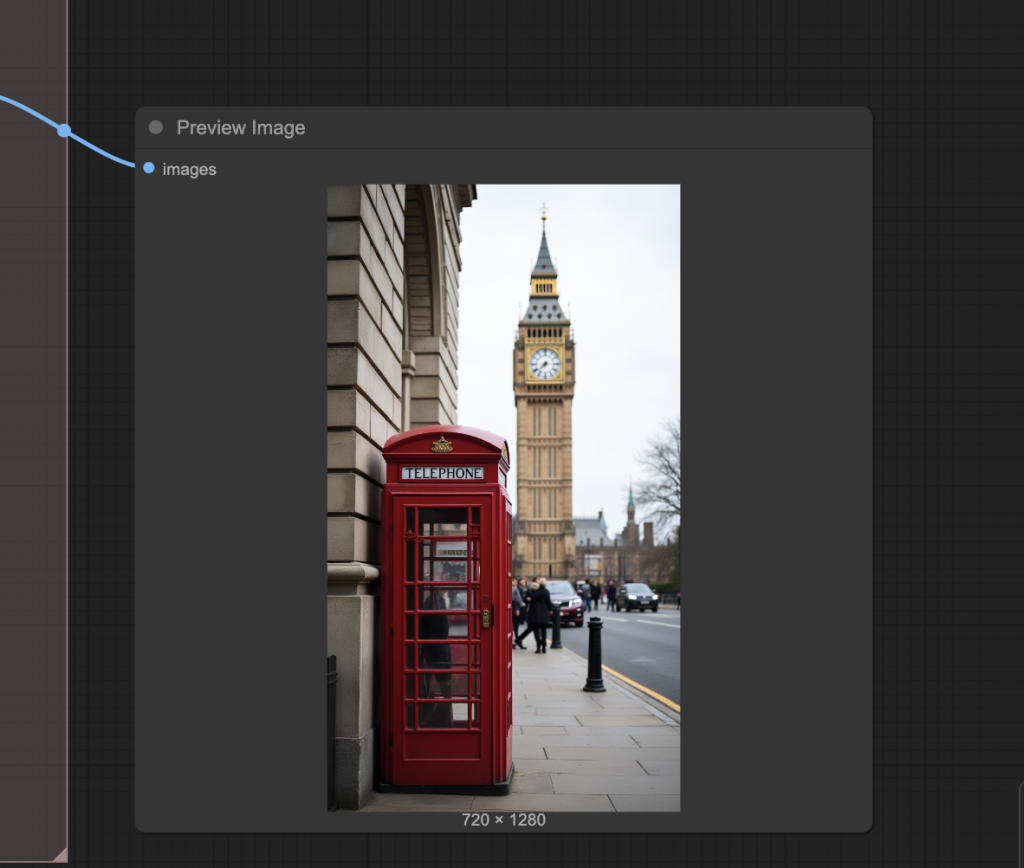
Step-by-step guide
Step 1: Load workflow
Download the ComfyUI JSON workflow below.
Drag and drop the JSON file to ComfyUI.
Step 2: Install missing nodes
If you see nodes with red borders, you don’t have the custom nodes required for this workflow. You should have ComfyUI Manager installed before performing this step.
Click Manager > Install Missing Custom Nodes.
Install the nodes that are missing.
Restart ComfyUI.
Refresh the ComfyUI page.
Step 3: Download models
Download the flux1.Dev model flux1-dev-fp8.safetensors. Put it in ComfyUI > models > checkpoints.
Google Colab
If you use my ComfyUI Colab notebook, you don’t need to download the model. Select the Flux1_dev model.
Step 4: Upload an input image
Upload the image you want to copy to the Load Image node.

Step 5: Revise the prompt
Revise the prompt in the Fooocus Loader. You must put the desired text (E.g., “How are you?”) in the prompt.
Step 6: Run the workflow
Click the Queue button to run the workflow.

You should get an image similar to the input.

Optionally, change the seed value in the KSampler node to get a new one.

Step 7: Append prompt (optional)
Optionally, add prompt to the Append Prompt box to modify the image.
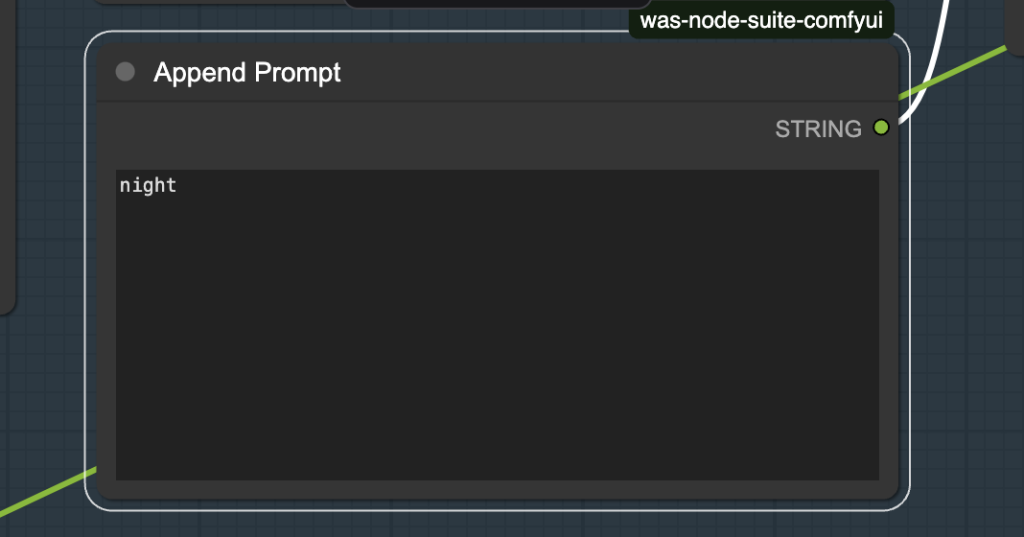
For example, adding “night” to the prompt casts the scene to a nighttime view.


Hello Andrew, it stops on BLIP Model Loader 7% and do not move further.
Can you advise?
got prompt
model weight dtype torch.float8_e4m3fn, manual cast: torch.bfloat16
model_type FLUX
Using pytorch attention in VAE
Using pytorch attention in VAE
VAE load device: cuda:0, offload device: cpu, dtype: torch.bfloat16
CLIP/text encoder model load device: cuda:0, offload device: cpu, current: cpu, dtype: torch.float16
Using a slow image processor as `use_fast` is unset and a slow processor was saved with this model. `use_fast=True` will be the default behavior in v4.52, even if the model was saved with a slow processor. This will result in minor differences in outputs. You’ll still be able to use a slow processor with `use_fast=False`.
The blip loader node downloads the blip models automatically so it may be slow to show. You can try
– You can try changing the seed of KSampler and rerun.
– refresh the browser page and reurn.
– Delete the model folders in ComfyUI > models > blip.
Below is the log when running this workflow on Colab.
got prompt
FETCH ComfyRegistry Data: 35/81
FETCH ComfyRegistry Data: 40/81
FETCH ComfyRegistry Data: 45/81
FETCH ComfyRegistry Data: 50/81
FETCH ComfyRegistry Data: 55/81
WAS Node Suite: BLIP Caption: a red telephone box sitting on the side of a road next to big ben ‘ s clock tower in london, england
FETCH ComfyRegistry Data: 60/81
model weight dtype torch.float8_e4m3fn, manual cast: torch.float16
model_type FLUX
FETCH ComfyRegistry Data: 65/81
FETCH ComfyRegistry Data: 70/81
FETCH ComfyRegistry Data: 75/81
FETCH ComfyRegistry Data: 80/81
FETCH ComfyRegistry Data [DONE]
[ComfyUI-Manager] default cache updated: https://api.comfy.org/nodes
FETCH DATA from: https://raw.githubusercontent.com/ltdrdata/ComfyUI-Manager/main/custom-node-list.json [DONE]
[ComfyUI-Manager] All startup tasks have been completed.
Using pytorch attention in VAE
Using pytorch attention in VAE
VAE load device: cuda:0, offload device: cpu, dtype: torch.float32
CLIP/text encoder model load device: cuda:0, offload device: cpu, current: cpu, dtype: torch.float16
Requested to load FluxClipModel_
loaded completely 11305.569073486327 4777.53759765625 True
Requested to load Flux
loaded partially 11305.568993377685 11305.052795410156 0
100% 20/20 [01:18<00:00, 3.91s/it]
Requested to load AutoencodingEngine
loaded completely 4463.737823486328 319.7467155456543 True
Prompt executed in 215.41 seconds
Hello, Andrew. The proposed solutions don’t work. The process still stay on BLIP Model Loader and doesn’t move further.
Also one additional matter when installing the nodes that were missing there was a message:
Failed to find the following ComfyRegistry list. The cache may be outdated, or the nodes may have been removed from ComfyRegistry.
________________________________________
• pr-was-node-suite-comfyui-47064894
• pr-was-node-suite-comfyui-47064894
• pr-was-node-suite-comfyui-47064894
• pr-was-node-suite-comfyui-47064894
The error message is unrelated. I tested the workflow on colab, see the same error message but it is working. It seems that the blip models cannot be downloaded to your PC.
I’m interested in learning to use Stable Diffusion to produce images. I have both Mac (Sequoia) and Windows (11) laptops. Which would you recommend that I use first? And, in addition to the book, what will I need to purchase to get started? Is the necessary software available for free use, or will I have an annual subscription to commit to? Last question (for now!): will I be limited in the kinds of images I will be able to produce, or will my options extend to anything legal that I want to portray?Thanks for sharing your experience and your knowledge!
DJB
A windows machine is better but you need an nvidia gpu card. I offer online courses to learn SD from ground up https://stable-diffusion-art.com/stable-diffusion-courses/
The license of use depends on the model but generally you can use the image or video output commercially.
The flux1.Dev model is a non-commercial use model, correct? Why does everyone use that for development (models/Loras) and tutorials instead of the schnell model? I don’t get it.
You cannot host the model commercially but you can use the result images commercially. See https://huggingface.co/black-forest-labs/FLUX.1-dev/blob/main/LICENSE.md section 2.4
Thanks, Andrew. I have read the license several times and was always left feeling like there was wiggle room for misunderstanding. I am going to take your word on it and stop questioning it. Appreciate the input!