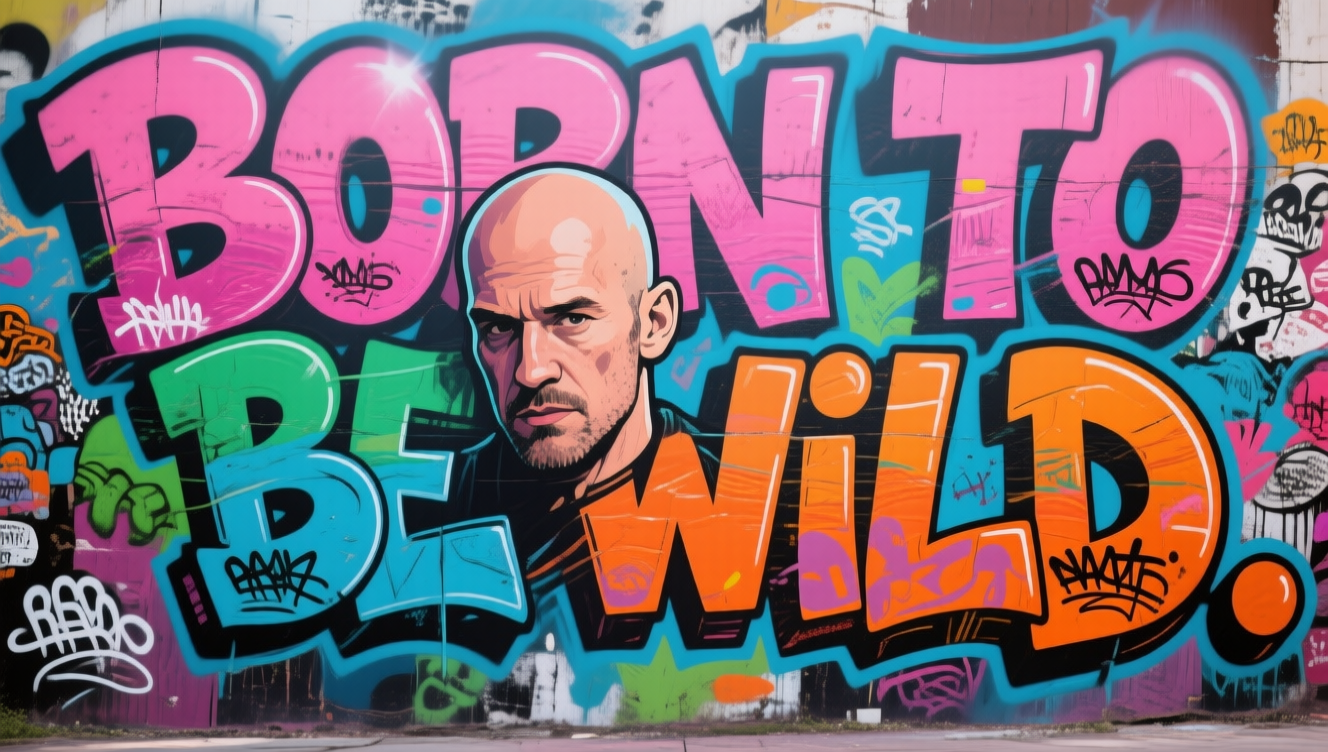
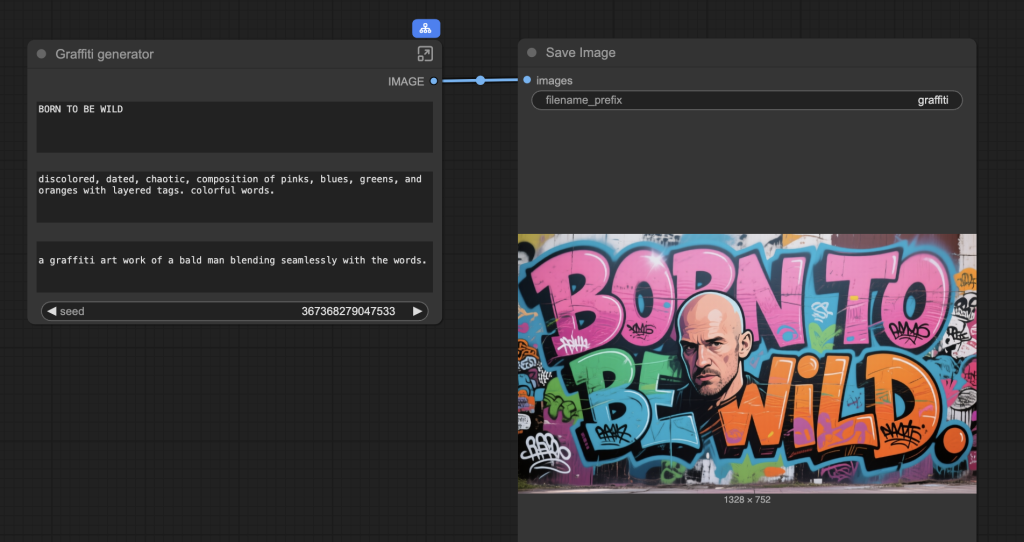
This easy-to-use local AI Graffiti generator creates graffiti artworks like the ones below. We will use ComfyUI, an AI image generator that you can run on your PC.

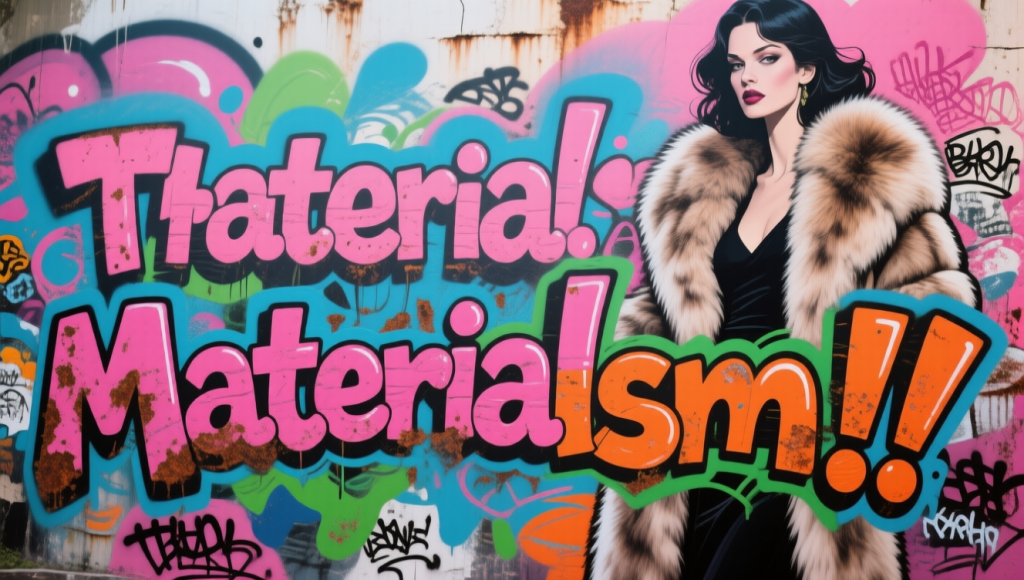
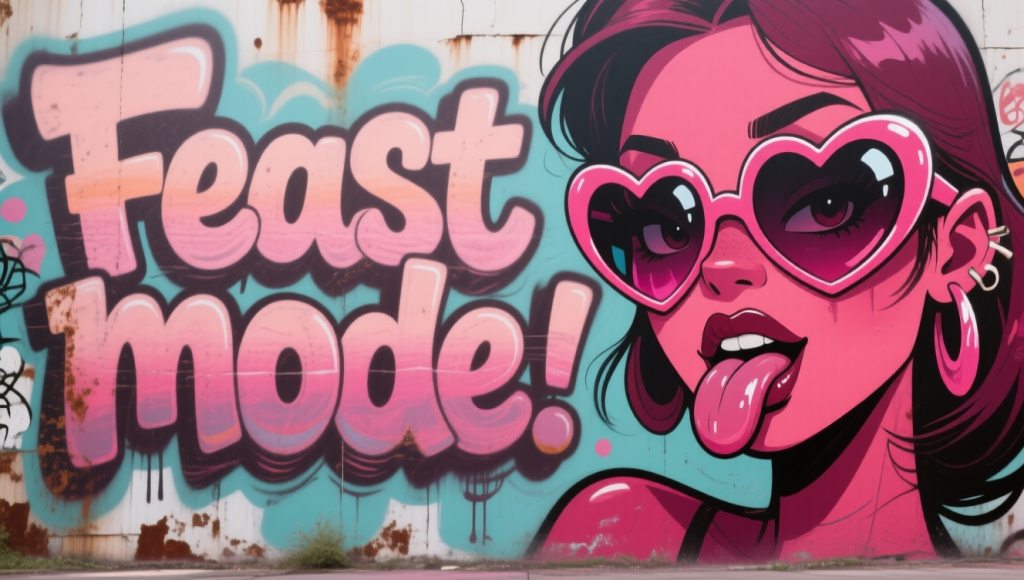
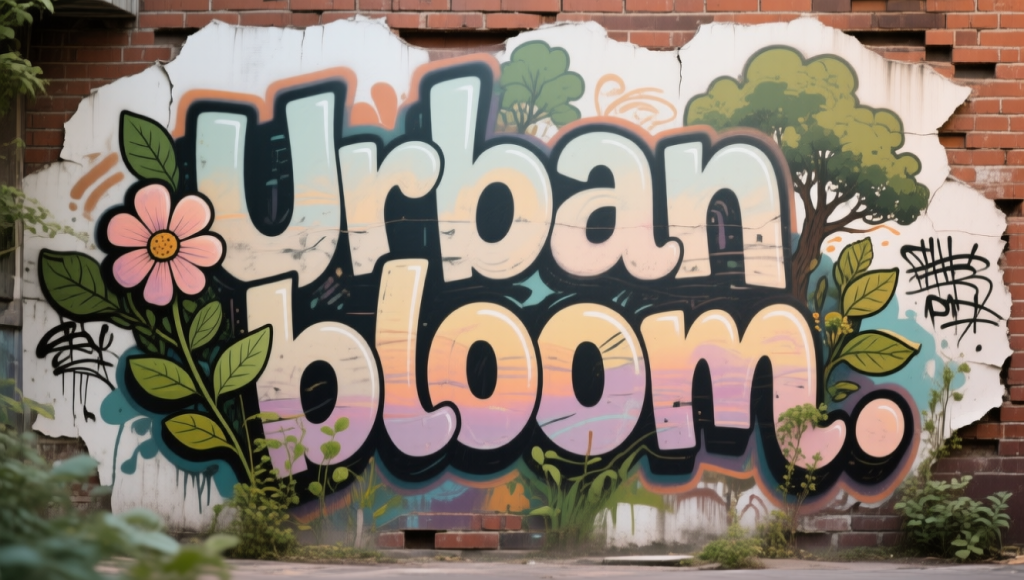
Table of Contents
Software
We will use ComfyUI, a free AI image and video generator. You can use it on Windows, Mac, or Google Colab.
Think Diffusion provides an online ComfyUI service. They offer an extra 20% credit to our readers.
Read the ComfyUI beginner’s guide if you are new to ComfyUI. See the Quick Start Guide if you are new to AI images and videos.
Take the ComfyUI course to learn how to use ComfyUI step by step.
Workflow overview
The workflow uses a subgraph to organize nodes, so it only shows the necessary input fields.
Under the hood, it leverages the Qwen Image model‘s excellent text rendering capabilities.
It is a simple text-to-image workflow. I used a prompt template with 3 changeable texts.
- Graffiti words: The words that appear on the graffiti.
- Graffiti style: Color, mood, and style.
- Additional artwork: Adding a person or an object, for example.
How do I implement a prompt template in ComfyUI? It is a brute-force method of concatenating two strings repeatedly using the Multiline TextBox (from the Was Node Suite) node and the Concatenate native node.
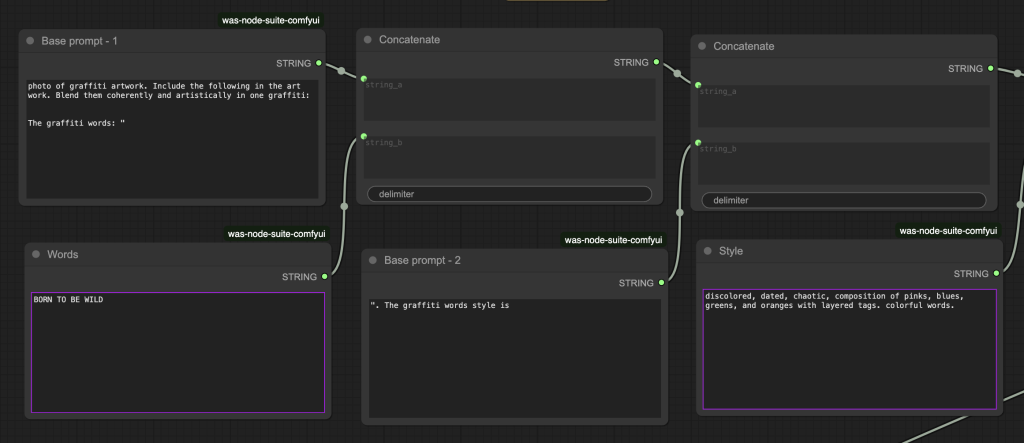
You can use the String native node instead of the Multiline TextBox node, but the readability suffers.
Google Colab
If you use my ComfyUI Colab notebook, you don’t need to download the model. Select the Qwen_Image model before running the notebook.

Graffiti generator workflow
Step 0: Update ComfyUI
Before loading the workflow, make sure your ComfyUI is up-to-date. The easiest way to do this is to use ComfyUI Manager.
Click the Manager button on the top toolbar.

Select Update ComfyUI.
Restart ComfyUI.
Step 1: Load the workflow
Download the workflow below. Drop it into ComfyUI to load.
Step 2: Install missing nodes
If you see nodes with red borders, you don’t have the custom nodes required for this workflow. You should have ComfyUI Manager installed before performing this step.
Click Manager > Install Missing Custom Nodes.
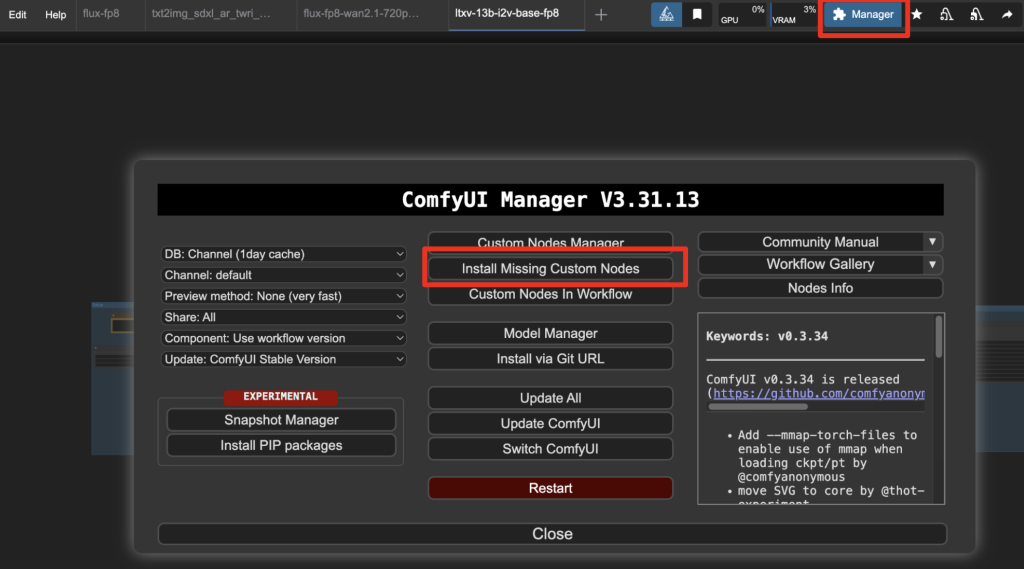
Install the nodes that are missing.
Restart ComfyUI.
Refresh the ComfyUI page.
Step 3: Install models
After loading the workflow JSON file, ComfyUI should prompt you to download the missing model files.
Here are the models you need to download:
- Download qwen_image_fp8_e4m3fn.safetensors and put it in ComfyUI > models > diffusion_models.
- Download qwen_2.5_vl_7b_fp8_scaled.safetensors and put it in ComfyUI > models > text_encoders.
- Download qwen_image_vae.safetensors and put it in ComfyUI > models > vae.
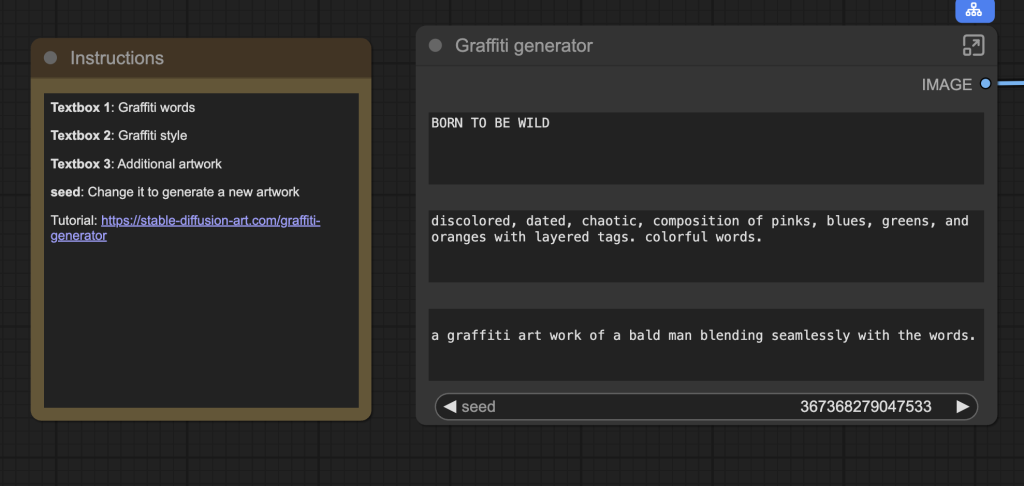
Step 4: Revise the prompt
Revise the prompt to match what you want to generate.
- Textbox 1: Enter the words to appear in the graffiti.
- Textbox 2: Enter the style.
- Textbox 3: Enter a description of additional characters or objects in the graffiti.
Step 5: Generate an image
Click the Run button to run the workflow.

Change the seed value to generate a new image.
Subgraph sometimes scares me))
Not perfect but a good solution to simplify the interface.
Seems like workflow is not a correct json, it’s qwen-image-lightning with only 2 (positive and negative) conditioning nodes.
my bad – corrected.