Kling AI is one of the best online video generators that can turn any image into a video. Although Kling has its own text-to-image generator, it pairs with the Flux AI model really well, which can generate extremely high-quality images locally.
When generating a video from an image, you describe the motion in the text prompt and keep your fingers crossed to get a video you have imagined.
In this article, you will learn an additional way to precisely direct motions in Kling AI videos like the one below.
Table of Contents
What you need before you start
I will generate an image with the Flux AI model and turn it into a video with Kling AI.
You can use ComfyUI or Forge to generate an image with the Flux AI model. Mac users can follow this guide.
You will need an account to generate an AI video with Kling. Follow the Kling setup guide. I am using the Standard Plan.
Directing motion in Kling
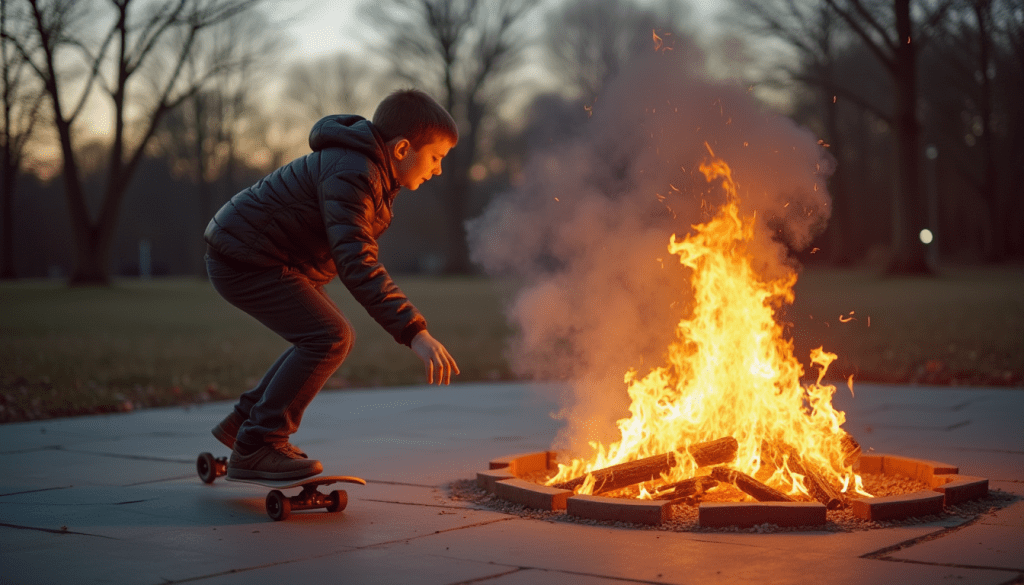
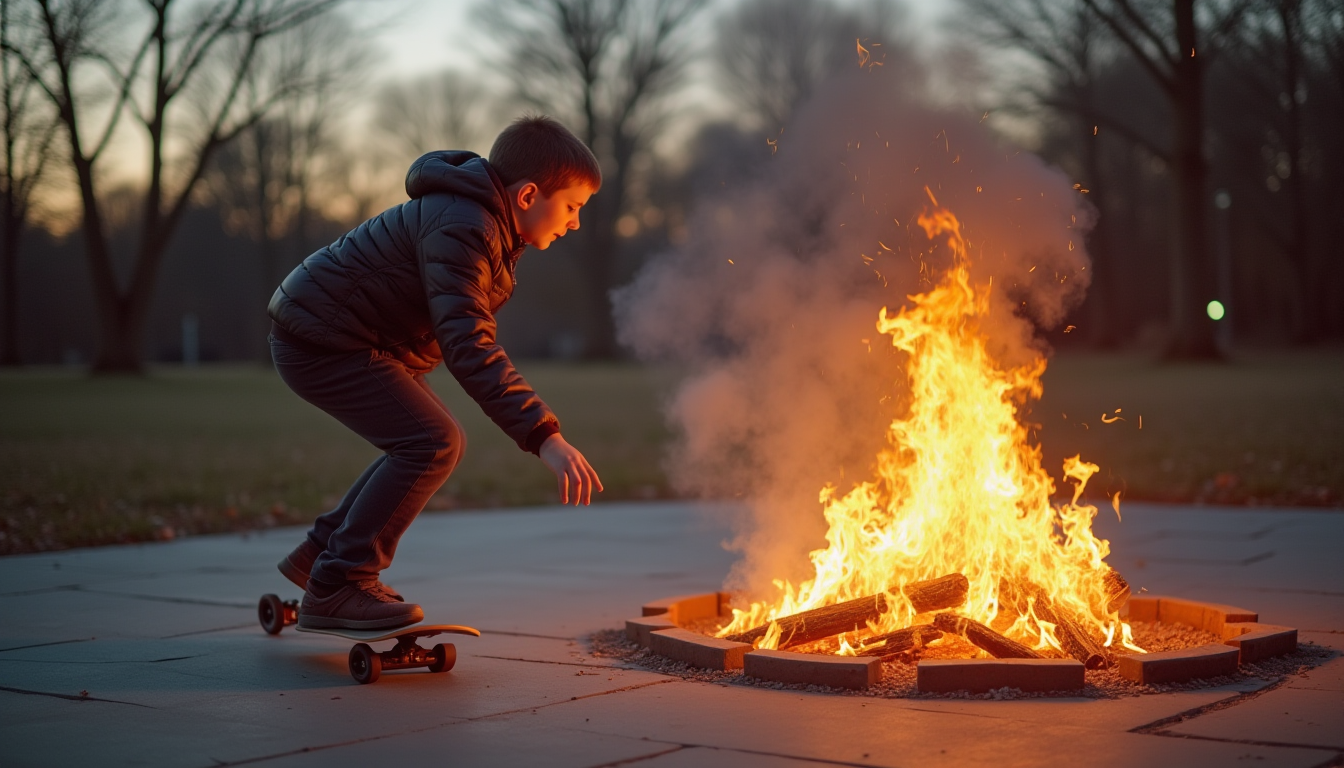
The following image is generated using the Flux AI model. Let’s turn this image with a video of a boy jumping over the the fire pit.

Step 1: Upload the image
Go to Kling’s image-to-video page. Upload the image to the image canvas.

Step 2: Enter a prompt
Enter a prompt to describe the subject and motion. It is important to specify the motion in the text prompt. Otherwise, the video may not show the motion you want.
I used this prompt:
A boy skating fast jump over the fire pit.
Step 3: Add Motion brush
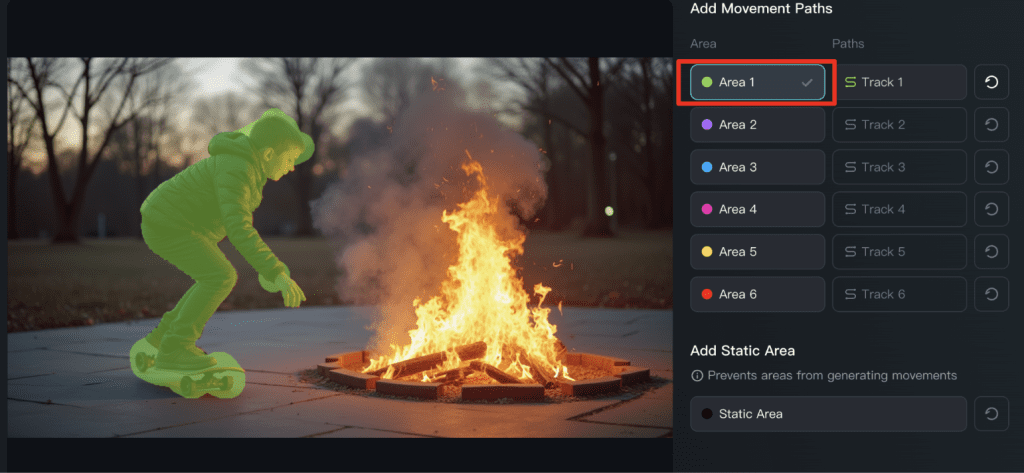
You can specify how an object move by using the Motion Brush function in Kling AI.
Click the Motion Brush tile.

Select Area 1. Mask the the subject you want to move in the video. Tip: Turn on Auto-segmentation to easy masking.

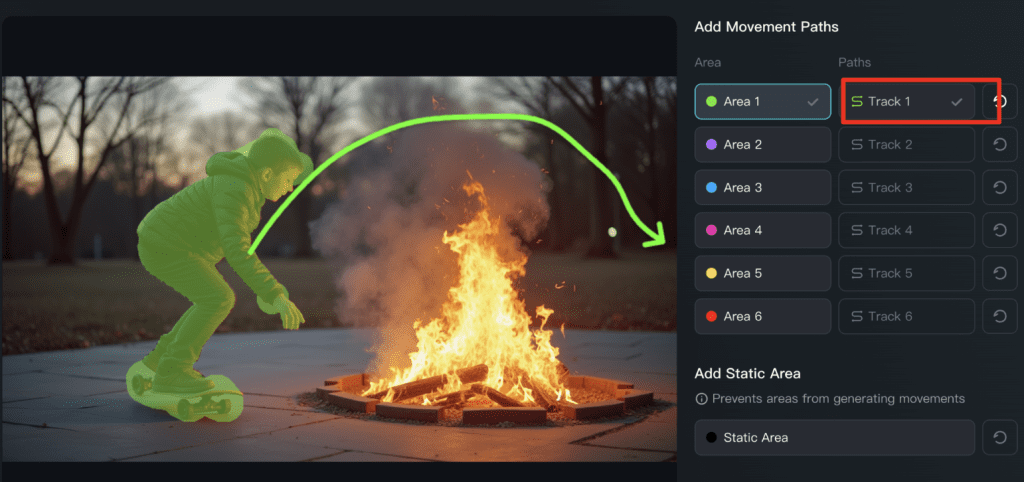
Select Track 1 to draw the movement path.

Click Confirm to save.
Step 3: Generate the video
Click Generate.
Tips for using Motion Brush in Kling AI
- The motion brush and the prompt have to work together. Use a prompt that describes the motion in the motion brush.
- It may be better to mask body part that moves first rather than the whole person. The motion would be more direct.
