Images speak volumes. They express what words cannot capture, such as style and mood. That’s why the Image prompt adapter (IP-Adapter) in Stable Diffusion is so powerful. Now, you can also use the same with a Flux model.
In this post, I will share 3 workflows for using image prompts with Flux.1 Dev model.
- Flux Redux: Generate image variations. This can be used to generate similar images with different sizes. The new image is controlled by the image prompt only.
- Flux Redux Control: Control the image using both text and image prompts.
- Flux Redux Advanced: Adjust the relative weights of text and image prompts. Plus, a wider range of the strength of the image prompt.
Table of Contents
Software
We will use ComfyUI, a free AI image and video generator. You can use it on Windows, Mac, or Google Colab.
Think Diffusion provides an online ComfyUI service. They offer an extra 20% credit to our readers.
Read the ComfyUI beginner’s guide if you are new to ComfyUI. See the Quick Start Guide if you are new to AI images and videos.
Take the ComfyUI course to learn how to use ComfyUI step by step.
What is the Flux Redux model?
Model
The Flux.1 Redux model is an Image Prompt adapter (IP-adapter) model. It adds the functionality of using an image as a prompt for the Flux model.
What is released is not the full model but the Dev model distilled from the Pro model.
License
The Flux.1 Dev Fill model is under the same non-commercial Flux.1 Dev license. You can use the images generated by the model for commercial purposes.
VRAM requirement
You can run these workflows with an NVidia card with 16 GB VRAM.
Flux Redux workflow
This Flux Redux workflow generates an image using the single-file Flux Dev FP8 checkpoint model and the Redux IP adapter.
Although the workflow accepts a text prompt, it has no effect on the image.
This workflow is best for generating image variations. For example, you can create an image with similar content but a different aspect ratio.

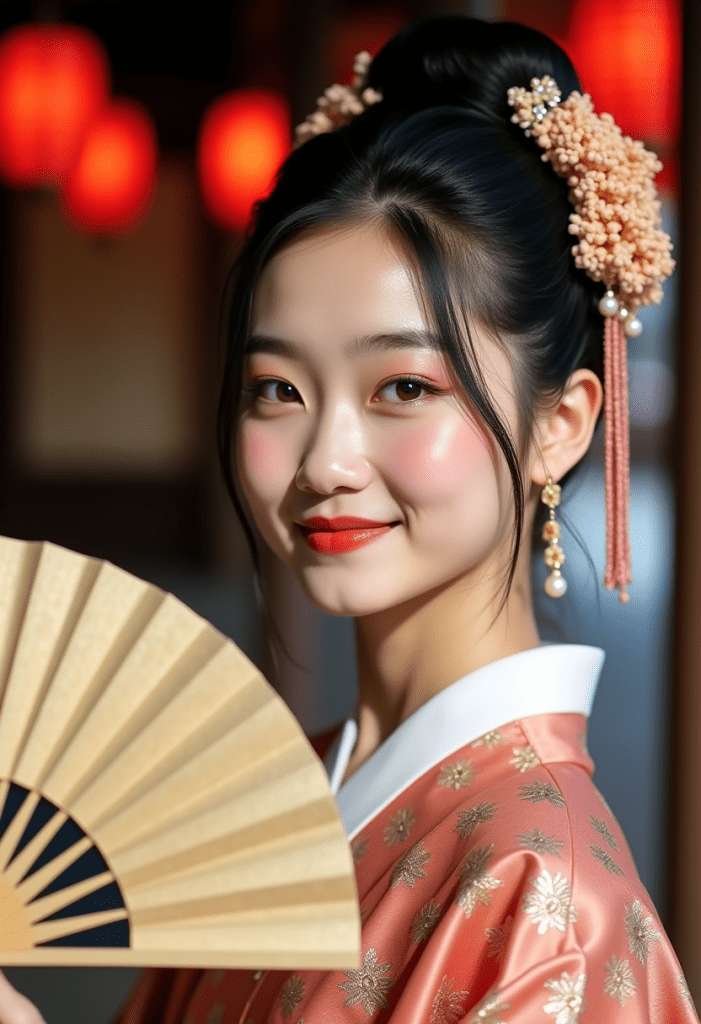
Step 0: Update ComfyUI
Before loading the workflow, make sure your ComfyUI is up to date. The easiest way to do this is to use ComfyUI Manager.
Click the Manager button on the top toolbar.

Select Update ComfyUI.
Restart ComfyUI.
Step 1: Download the Flux checkpoint model
Download the Flux1 dev FP8 checkpoint.
Put the model file in the folder ComfyUI > models > checkpoints.
(If you use Google Colab: Select the Flux1_dev model)
Step 2: Download the Flux Redux model
Visit the Flux.1 Redux Dev model page and click “Agree and access repository.”
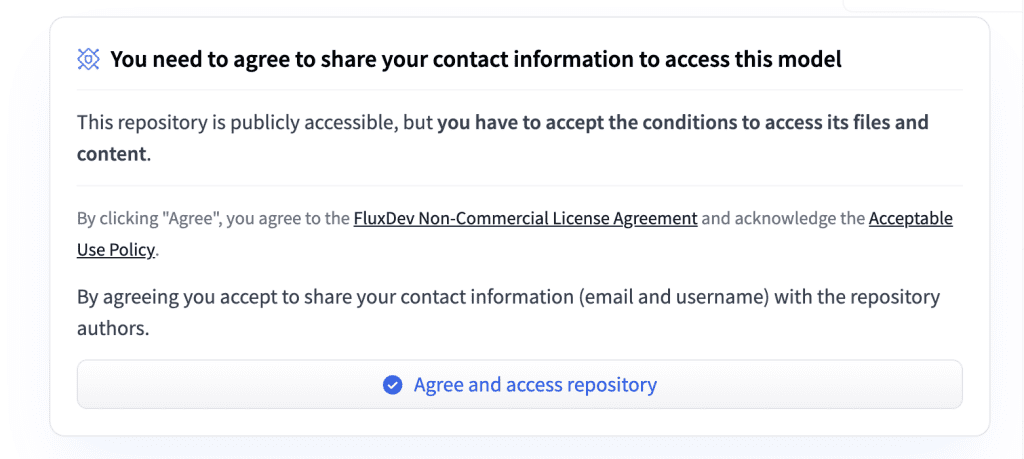
Download the Flux.1 Redux Dev model and save it to the ComfyUI > models > style_models folder.
(If you use Google Colab: AI_PICS > models > style_models)
Step 3: Download the CLIP vision model
Download the sigclip vision model, and put it in the folder ComfyUI > models > clip_vision.
(If you use Google Colab: AI_PICS > models > clip_vision)
Step 4: Load the workflow
Download the workflow JSON file below and drop it to ComfyUI.
Step 5: Load reference image
Load the reference image in the Load Image node.

Step 6: Generate the new image
Click Queue to generate an image.
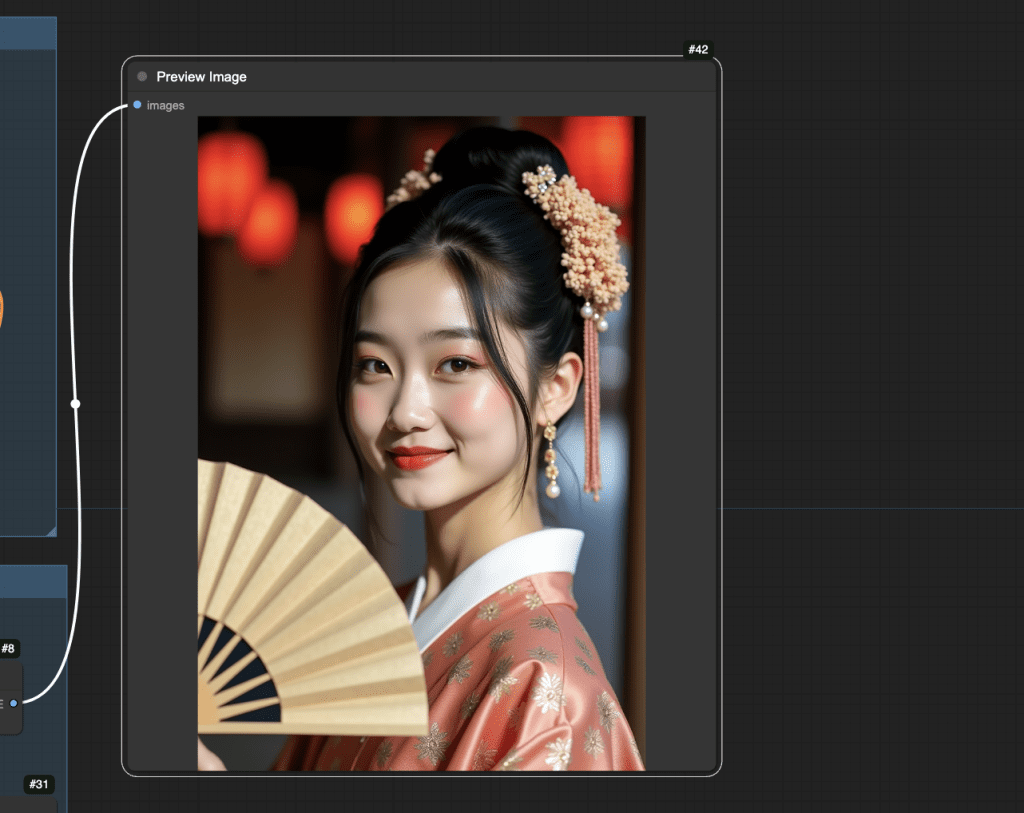
Notes
The text prompt has no effect on this workflow. The Redux image prompt is overwhelmingly strong.
To use text prompts with Flux, use the following two workflows.
Flux Redux Control workflow
This Flux Redux workflow uses the custom node ComfyUI_AdvancedReduxControl to control the strength of the Redux image prompt conditioning. Specifically, the conditioning tensor is downsampled to reduce its strength.
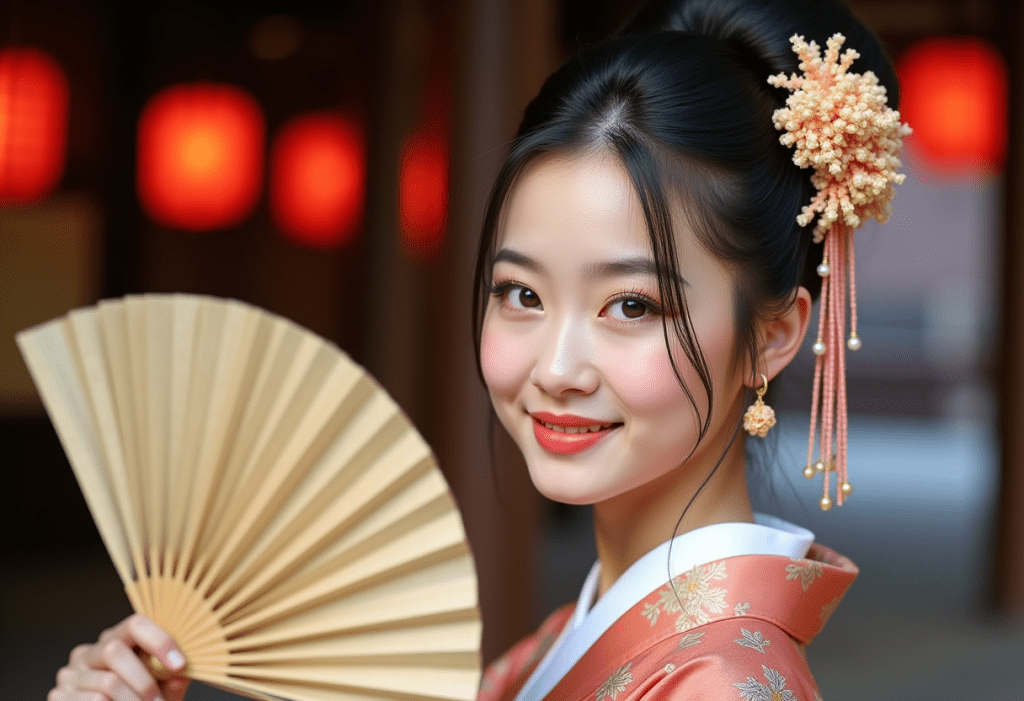
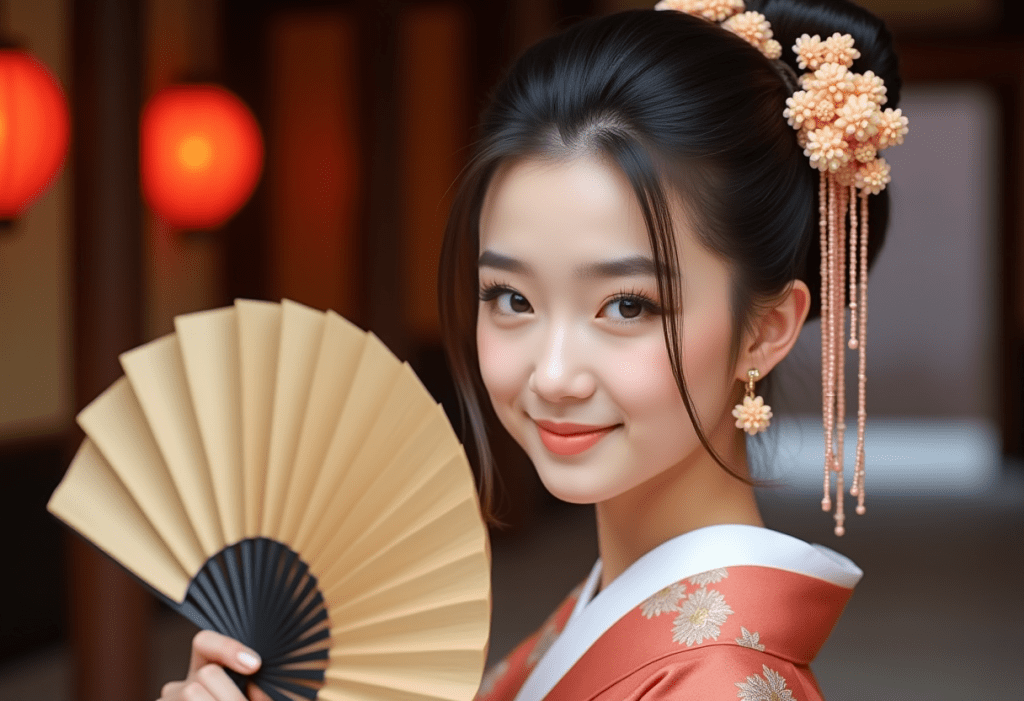
The weaker Redux IP-adapter allows the prompt to play a role in image generation. In this workflow, the image is controlled by both the reference image and the prompt.


The following steps assume that you have already installed all the models following the first workflow.
Step 1: Load workflow
Download the following workflow JSON file below. Drop it to ComfyUI.
Step 2: Install missing nodes
If you see red blocks, you don’t have the custom node that this workflow needs.
Click Manager > Install missing custom nodes and install the missing nodes.
Restart ComfyUI.
Step 3: Load reference image
Load the reference image in the Load Image node.

Step 4: Revise the prompt
The output image is controlled by the reference image and the prompt. Write keywords in the prompt you wish the image to look like, e.g.
anime
Step 5: Generate image
Click the Queue button to generate an image.
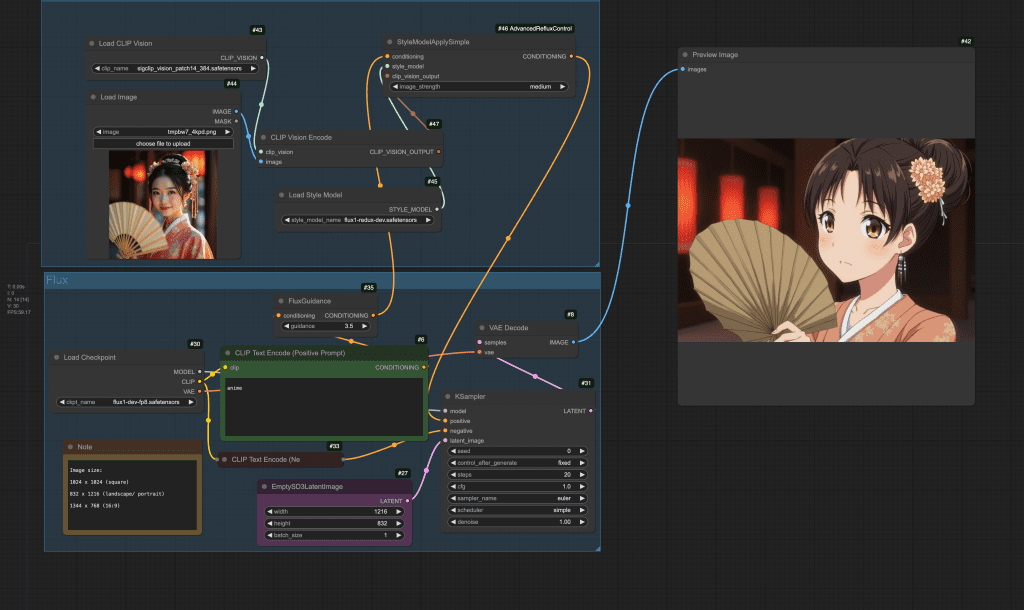
Notes
Adjust the image_strength setting to change how strong the IP-adapter is.



Flux Redux Advanced workflow
The Flux Redux Advanced workflow uses an advanced Redux control node and offers a few more knots for tweaking the image.

The most important settings are:
- downsampling_factor: Controls the strength of the Redux conditioning. This setting is equivalent to changing the image_strength in the previous workflow, with 1 to 5 corresponding to highest to lowest. You can go all the way up to 9 (weakest).
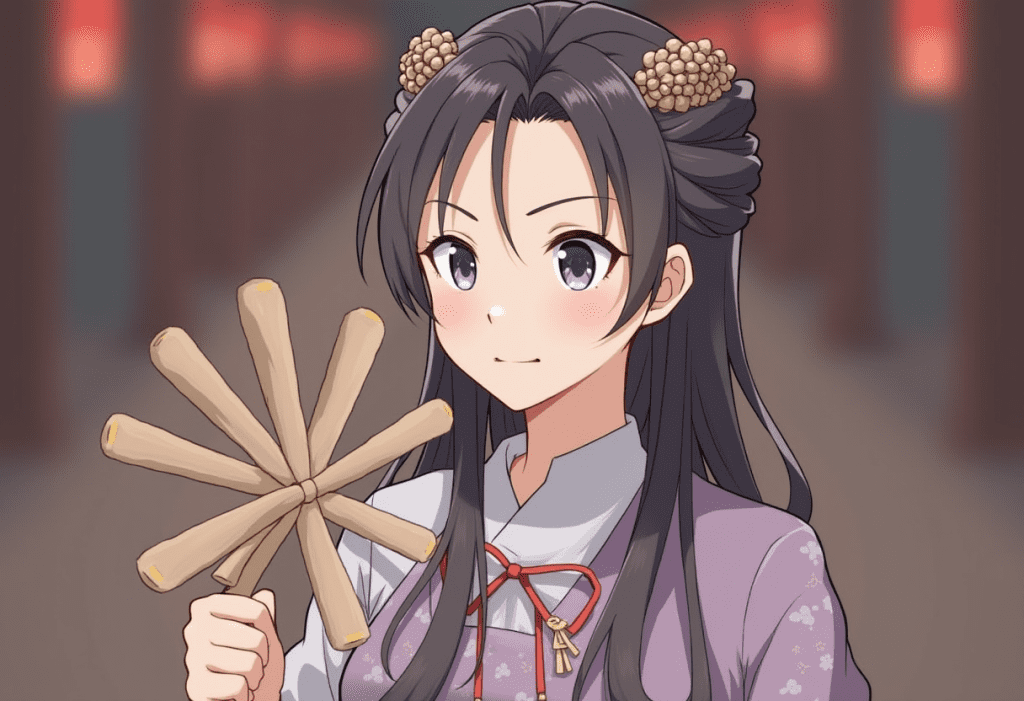
- Weight: The scale factor of the conditioning tensor. It is similar to the weights of ControlNet or IP-adapter. Setting it to 0 turns off Redux.
Fixing the downsampling_factor to 3 (medium), images with different weights are below.



The following steps assume you can run the previous workflow.
Step 1: Load workflow
Download the workflow below. Drop it to ComfyUI.
Step 2: Load reference image
Load the reference image in the Load Image node.

Step 3: Revise the prompt
The output image is controlled by the reference image and the prompt. Write keywords in the prompt you wish the image to look like, e.g.
anime
Step 4: Generate image
Click the Queue button to generate an image.

Notes

Changing the downsample_function can have a significant effect on the image.
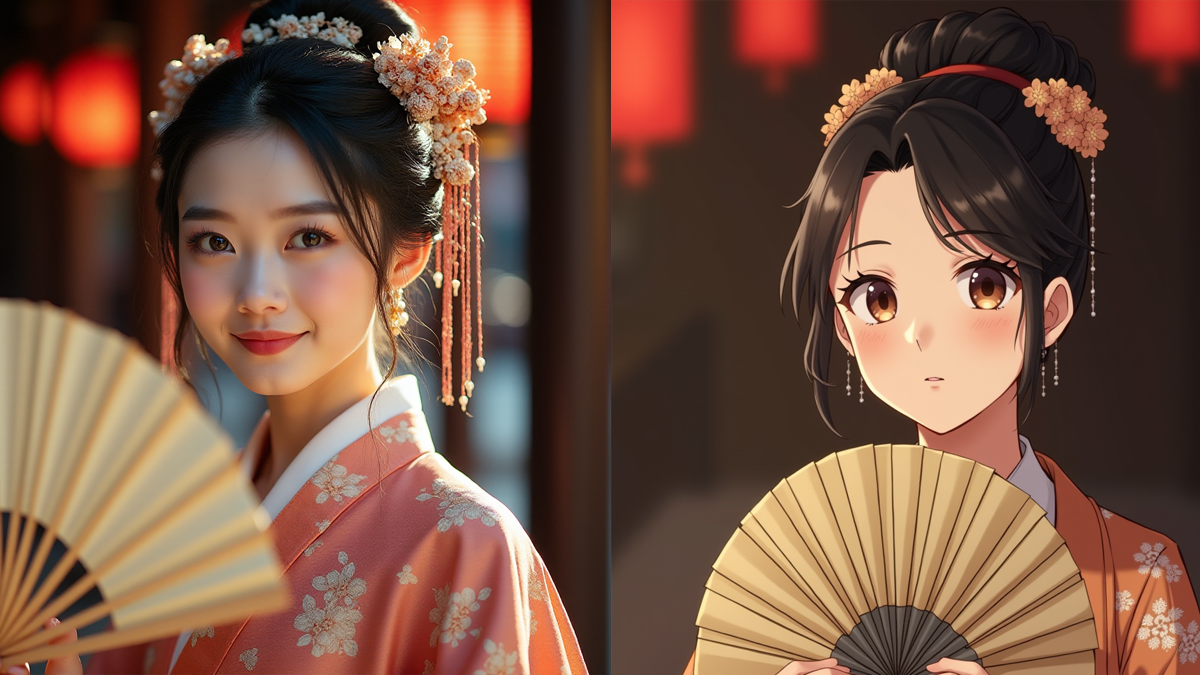
The mode setting controls how the reference image should be cropped before feeding into the vision model. The vision model takes a 384×384 image, so there’s a choice of whether the image should be cropped or padded if it is not square.
Can this be adapted to just change a persons pose, also can it be used to assist the creation of LTX image to video videos?
You can specify a new pose but the person’s face and outfit may change.
Yes, the output image can be used as the initial frame of an image-to-video model.
Hi Andrew,
The json file for the control workflow is almost the same as the advanced workflow, could you correct the control workflow?
Thanks.
Good catch. Fixed.
Are node 46 and node 48 different?
which workflow are you referring to?
Ok, I solved it, thanks.