The Flux AI model is the highest-quality open-source text-to-image AI model you can run locally without online censorship. However, being a relatively large model, running it on a Mac is not as easy as running it on a PC.
In this article, you will learn two methods to run the Flux.1 AI models on Mac: (1) DiffusionBee, and (2) Pinokio.
Table of Contents
Flux AI model on Mac with DiffusionBee
DiffusionBee is a Stable Diffusion App for MacOS. It can run Flux checkpoint models optimized for Apple Silicon. This is special because most Flux checkpoint models are optimized for Nvidia GPU cards.
To use the Flux.1 dev and Flux.1 Schnell models, you will need an Apple Silicon (M1/M2/M3/M4) machine with at least 16 GB RAM.
Step 1: Download DiffusionBee
You need a new version of the DiffusionBee App to run the Flux AI model. If you have installed it before, delete it from your Applications folder before reinstalling it.
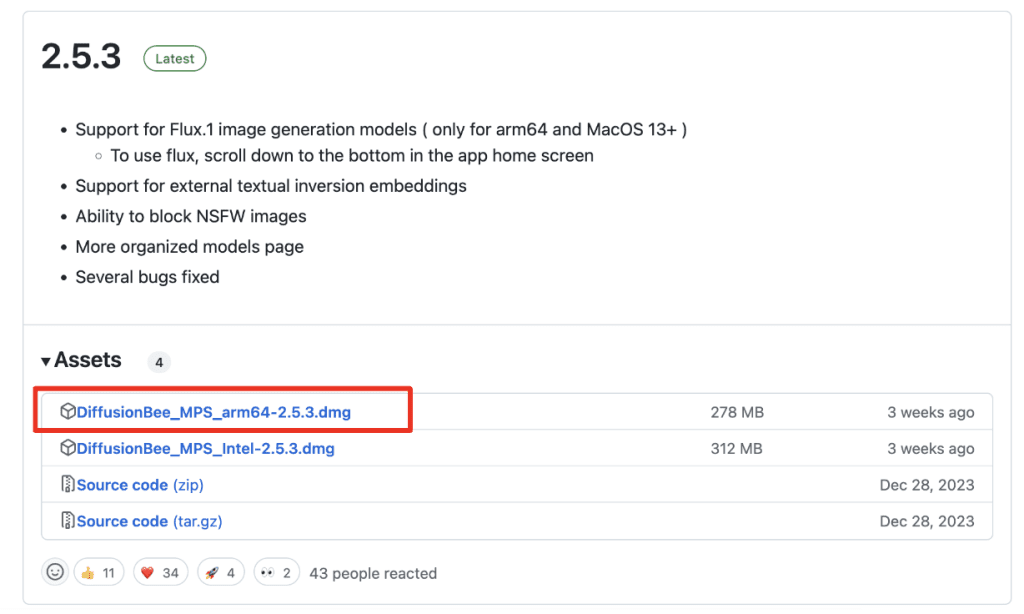
Go to DiffusionBee’s release page. Download the latest arm64 version. When I write this, it is the DiffusionBee_MPS_arm64-2.5.3.dmg file. You can download any version that is 2.5.3 or newer.
Step 2: Install DiffusionBee
Double-click the downloaded dmg file. A window should open. Drag the DiffusionBee icon on the left and drop it to the Applications folder icon on the right.

Now, you have installed the DiffusionBee App.
Step 3: Run the DiffusionBee App
Run the DiffusionBee App. You can find it in the Applications folder.
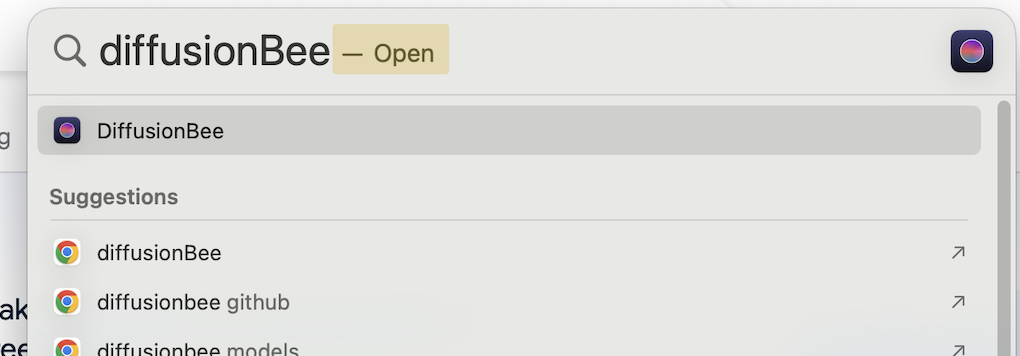
You can also press the Cmd + Space bar to bring up the Spotlight search, Type “DiffusionBee,” and press Enter.
Step 4: Select the Flux App
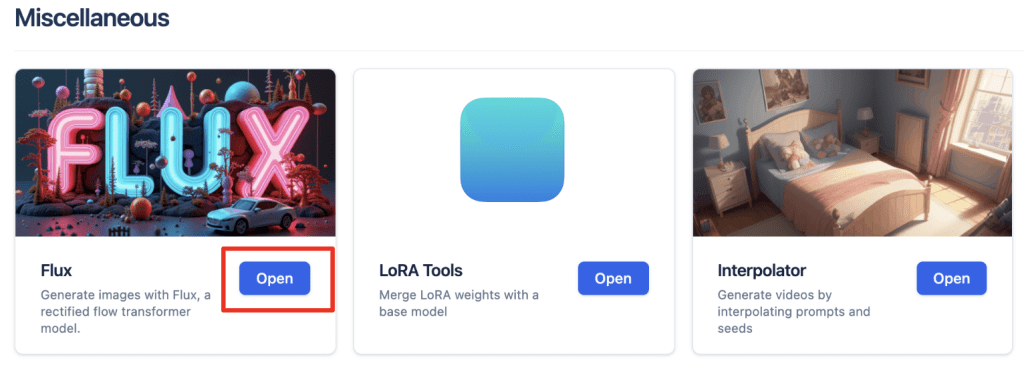
After opening DiffusionBee, scroll down to the Miscellaneous section. You should see the Flux tile. Click Open.
Step 5: Generate an image
Select a Flux model:
- FLUX.1-Schnell: Fast but with lower quality. It only takes 4 sampling steps to generate an image.
- FLUX.1-dev: The standard dev model, which takes 25 sampling steps.
You will be prompted to download the model the first time.
Enter a prompt, e.g.
A beautiful witch with white wings like angel, empty hall, victorian building, large window, dramatic light, looking at viewer
Click Generate and wait…
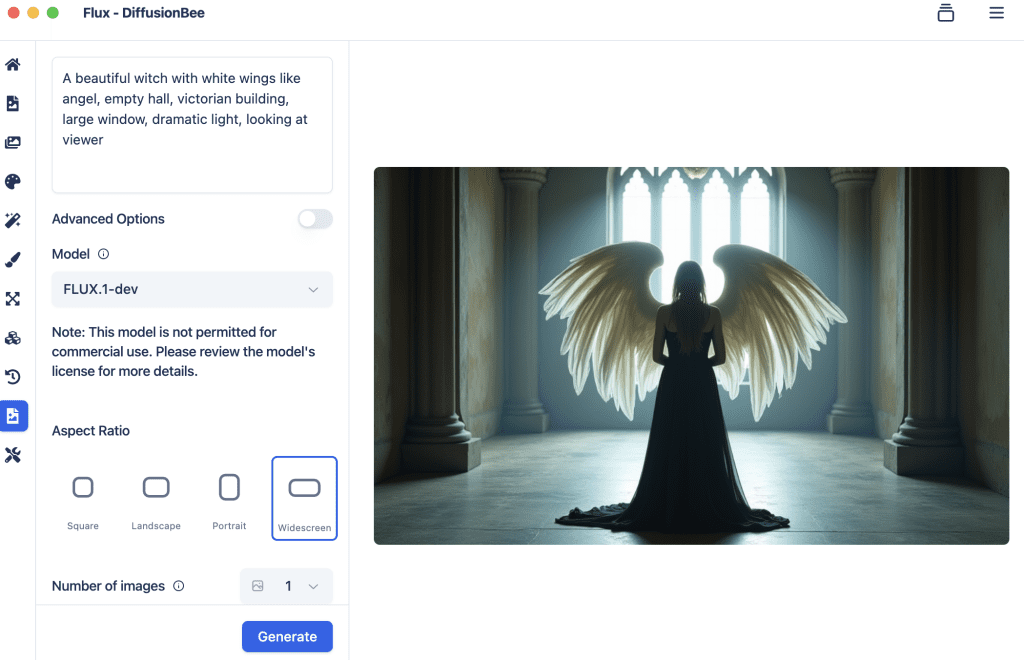
Now, you have generated a Flux image on your Mac!
Flux AI model on Mac with Pinokio
Pinokio is a platform app that allows you to run individual apps within it. The Flux WebUI app runs the Flux.1 checkpoint models with HuggingFace’s Diffusers library.
You need an Apple Silicon machine (M1/M2/M3/M4) with at least 24 GB of RAM.
Step 1: Install Pinokio
Go to Pinokio’s website. Click the Download button.

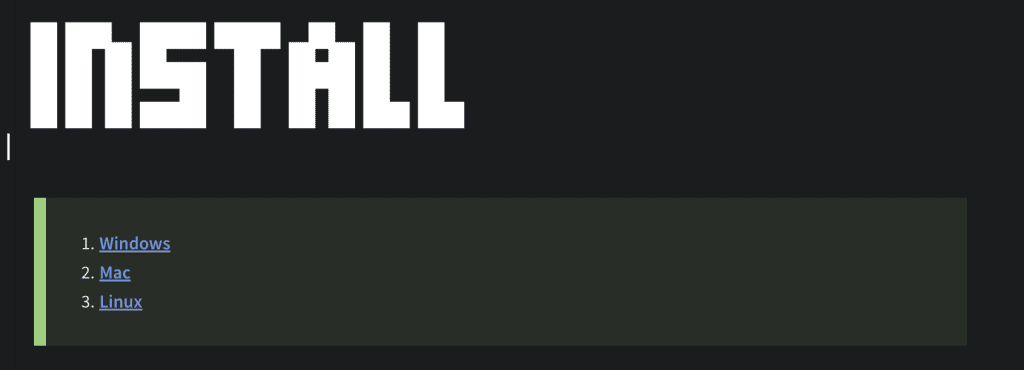
That should bring you to the Installation page. Click Mac.
Download the Apple Silicon Mac version.
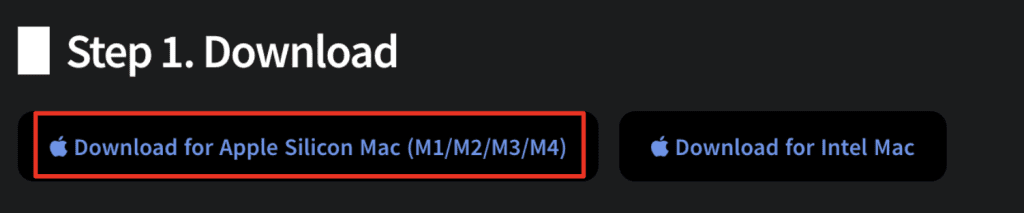
Follow the instructions on the page to complete the installation.
Step 2: Install the Flux-webui app
Open the Pinokio app.
Click Discover on the top menu.
Enter the search term “flux”. Select the flux-webui app.
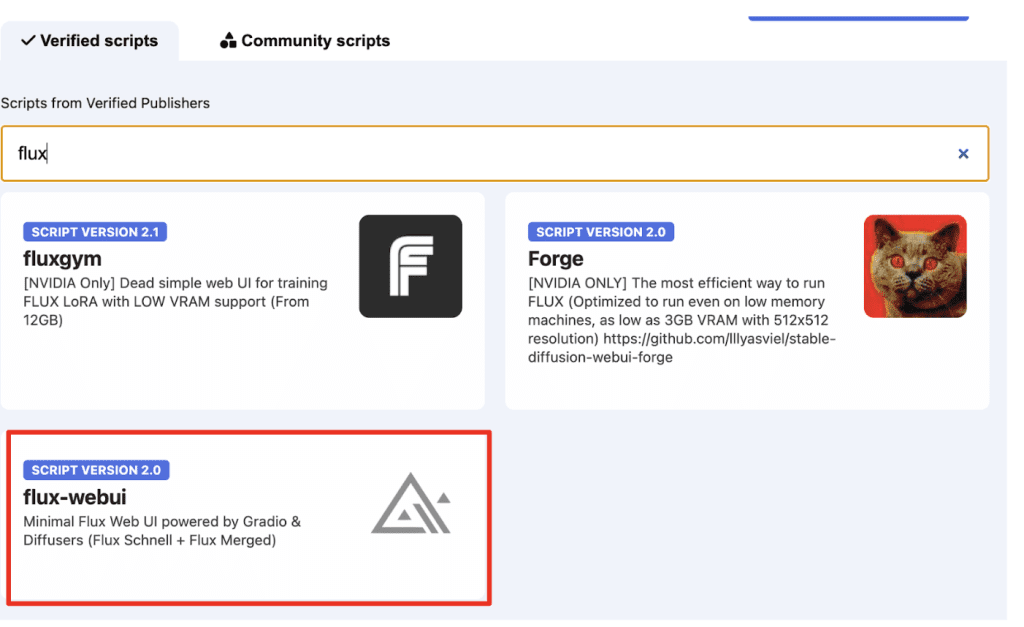
Download and install it.

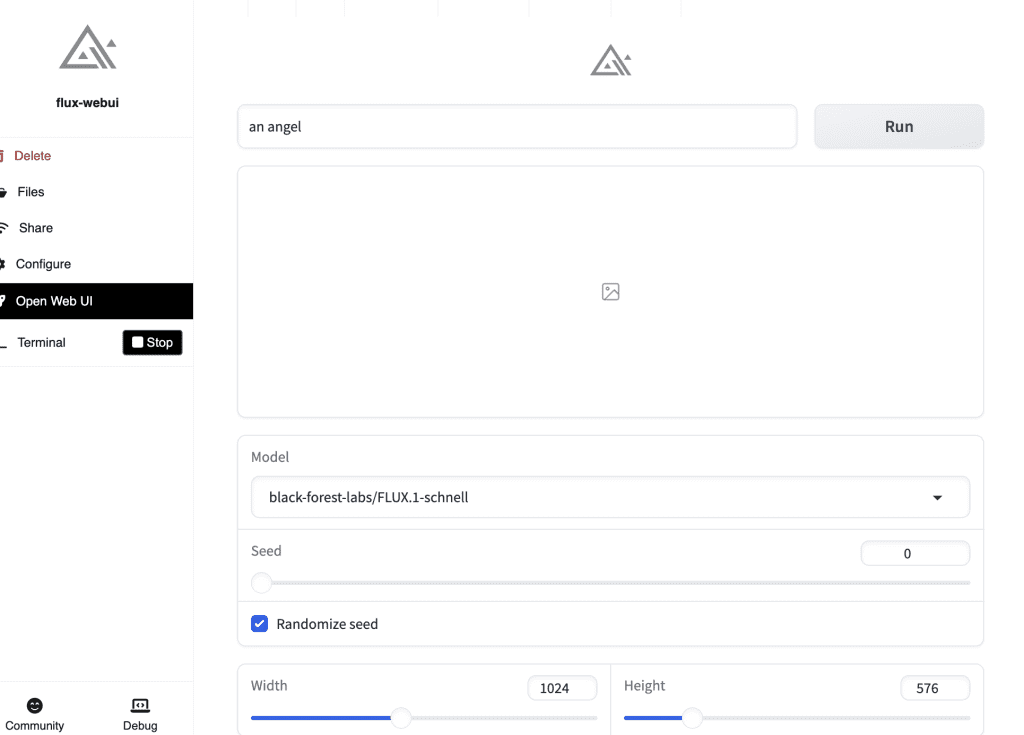
Step 3: Generate a Flux image
After installation, you can select a model and generate an image.
- FLUX.1-schnell: Fast but with lower quality. It only takes 4 sampling steps to generate an image.
- FLUX.1-merge: This version requires 8 steps with higher quality.
Click Run to generate an image.
If you are running it for the first time, it will download the model. Select Terminal on the side bar to monitor the progress.
I installed 2.5.3 DiffusionBee and manually uploaded lux1-dev-bnb-nf4-v2.safetensors and getting error Flux is not supported with this version when running a prompt with flux.dev model selected
Same issue.
Hi, is there a way to get it running in comfyUI on a mac M1 Max? ( I have the pinocio-version running)
Some reported success with updated version natively without using custom nodes. I am not able to confirm because I don’t have enough RAM 🙁
Ok, thanks, I’ll try. =)
Very useful! Thanks very much. But a quick question:
If using some 3rd party Flux models (i.e., characters) downloaded from CivitAI, for example, how can they be added to prompts (for instance using DiffusionBee)? Is there something similar to automatic1111’s “models” directory?
Thanks.
I figured iut about importing models. But even simple nudes seems to be blurred out.
Mmm… I thought diffusionbee has no filter.
Nevermind – found it!
Hello, I don’t see Flux listed with Miscellaneous after installing Diffusion Bee. Do you know what that is?
You have to download it from Github instead of the official page to get the latest version