LTX-Video is a fast local video model that can quickly produce high-quality video. The model has an image-to-video mode, which can turn a still image into a video.
Naturally, the Flux model is the best choice for generating that initial still image. This approach combines Flux’s excellent image quality with a fast video generation workflow.
This ComfyUI workflow uses the Flux AI model to generate a high-quality image, followed by an image-to-video generation with LTX-Video, saving you the trouble of running the two models separately. The result is a text-to-video workflow with quality far exceeding that of the original LTX text-to-video workflow.
You need to be a member of this site to download the ComfyUI workflow.
Table of Contents
Software
We will use ComfyUI, an alternative to AUTOMATIC1111.
Read the ComfyUI installation guide and ComfyUI beginner’s guide if you are new to ComfyUI.
Take the ComfyUI course to learn ComfyUI step-by-step.
Workflow overview
This workflow consists of three parts:
- Generate an image with the Flux.1 Dev model.
- Add noise to the image to improve video motion.
- Use the image and reuse the prompt to generate a video with the LTX-Video model.
Step-by-step guide
Step 0: Update ComfyUI
Before loading the workflow, make sure your ComfyUI is up to date. The easiest way to do this is to use ComfyUI Manager.
Click the Manager button on the top toolbar.

Select Update ComfyUI.
Restart ComfyUI.
Step 1: Download the Flux AI model
Download the Flux1 dev FP8 checkpoint.
Put the model file in the folder ComfyUI > models > checkpoints.
Note: If you use my ComfyUI Colab Notebook, you don’t need to download the Flux model. Simply select the Flux1_dev model.

Step 2: Download the LTX-Video model
Download the LTX checkpoint model and put it in ComfyUI > models > checkpoints.
Download the T5XXL text encoder and put it in ComfyUI > models > clips.
Note: If you use my ComfyUI Colab Notebook, you don’t need to download the models. Simply select the LTX model.

Step 3: Load the workflow
Download the ComfyUI JSON workflow below.
Drag and drop the JSON file to ComfyUI.
Step 4: Install missing nodes
Click Manager > Install Missing Custom Nodes.
Install the nodes that are missing.
Restart ComfyUI.
Step 5: Revise the prompt
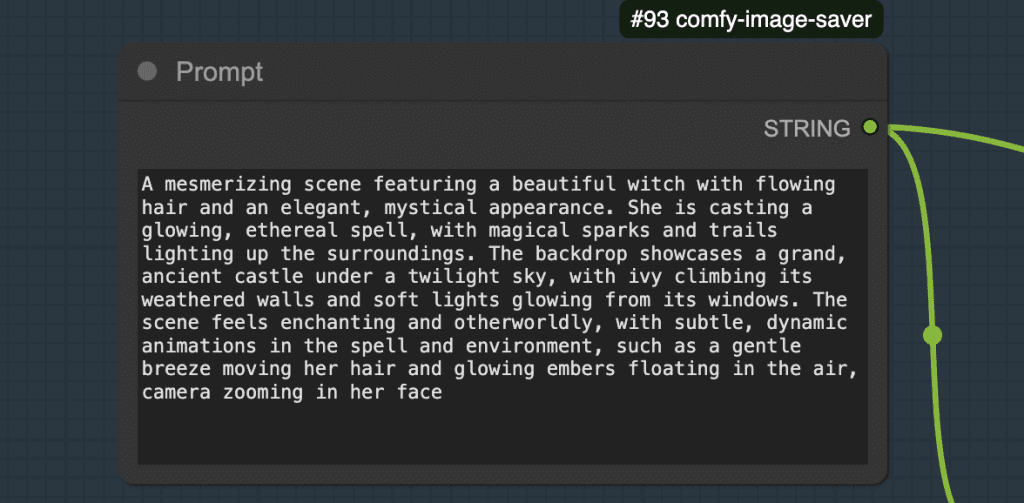
The prompt controls both the Flux image and the LTX video. Change it to what you want to generate.

Tips: Use the LTX Prompt Helper Custom GPT to expand your prompt.
Step 5: Run the workflow
Press the Queue button to generate a video.
Usage tips
It is best to treat the video generation as a 2-step process.
- Refine the prompt to generate a good image.
- Change the video’s seed to refine the video.
You can use the Fast Groups Muter to disable the video generation by disabling the LTX Video group, as shown below.

Revise the prompt and change the seed to get a good image.
When you are happy with the image, turn the LTX Video group back on.


Nice model and workflow – it gives good results quite quickly. Thanks
The ChatGPT bot is useful too
Is the length adjustment the field in ltxvimgtovideo node #77? How do we adjust that in seconds? I’m curious to make a long clip 🙂
You are correct. Length is the number of frames of the video. The frame rate is set in the video combine node (#83, the last one). It is 25 frames per sec, so length/frame_rate = number of seconds.
Good afternoon Andrew! I’m a beginner in comfi yuai. I have assembled the circuit shown in the video. The process was successful but in the end I got not a video but a video of one frame. I used LTX Prompt Helper Custom GPT as you advised. Please help me with advice. Victor.
Can you try changing seed value or using a even longer prompt.
What is the “LTX Prompt Helper Custom GPT” ?
It’s a custom chatgpt bot that writes and expands prompts