
This Wan 2.2 image-to-video workflow lets you fix the first and last frames and generates a video connecting the two (FLF2V). See the example below.
Input images:


Output video:
I will provide instructions for the following two workflows:
- Wan 2.2 First Last Frame to Video (FLF2V) – Fast LoRA version
- Wan 2.2 First Last Frame to Video (FLF2V) – High quality version
Table of Contents
Software needed
We will use ComfyUI, a free AI image and video generator. You can use it on Windows, Mac, or Google Colab.
Think Diffusion provides an online ComfyUI service. They offer an extra 20% credit to our readers.
Read the ComfyUI beginner’s guide if you are new to ComfyUI. See the Quick Start Guide if you are new to AI images and videos.
Take the ComfyUI course to learn how to use ComfyUI step by step.
ComfyUI Colab Notebook
If you use my ComfyUI Colab notebook, you don’t need to download the model as instructed below. Select the Wan_2_2 model before running the notebook.
Wan 2.2 First Last Frame workflow (Fast 4-step LoRA)
This workflow takes two images as input and produces a video with the images as the first and last frames.
This workflow takes only 3 minutes on an RTX 4090 GPU card, thanks to the Wan 2.2 Lightning LoRA.
Step 0: Update ComfyUI
Before loading the workflow, make sure your ComfyUI is up-to-date. The easiest way to do this is to use ComfyUI Manager.
Click the Manager button on the top toolbar.

Select Update ComfyUI.
Restart ComfyUI.
Step 1: Load the workflow
Download the workflow below.
Step 2: Download models
After loading the workflow JSON file, ComfyUI should prompt you to download the missing model files.
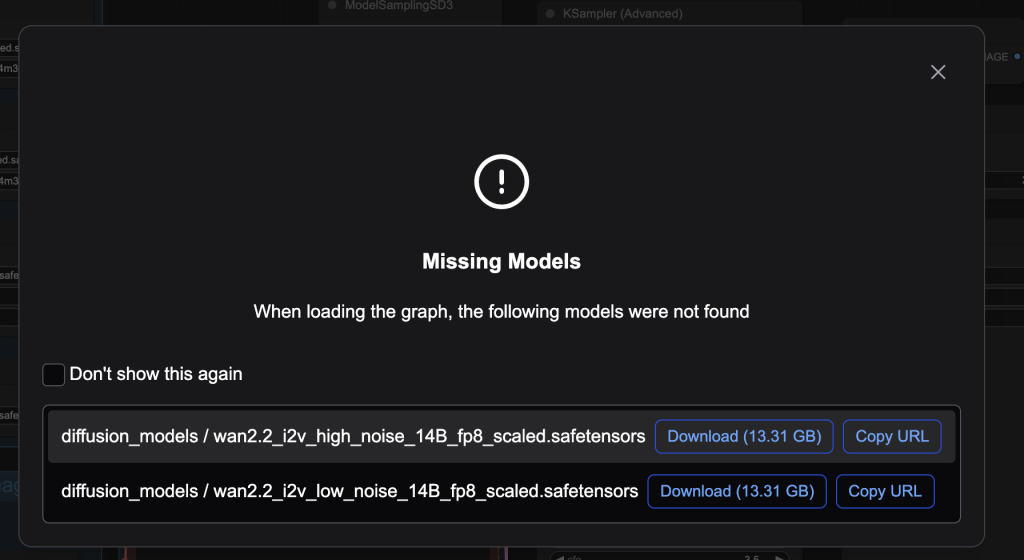
Here are the models you need to download:
- Download wan2.2_i2v_high_noise_14B_fp8_scaled.safetensors and put it in ComfyUI > models > diffusion_models.
- Download wan2.2_i2v_low_noise_14B_fp8_scaled.safetensors and put it in ComfyUI > models > diffusion_models.
- Download umt5_xxl_fp8_e4m3fn_scaled.safetensors and put it in ComfyUI > models > text_encoders.
- Download wan_2.1_vae.safetensors and put it in ComfyUI > models > vae.
- Download wan2.2_i2v_lightx2v_4steps_lora_v1_low_noise.safetensors and put it in ComfyUI > models > loras.
- Download wan2.2_i2v_lightx2v_4steps_lora_v1_high_noise.safetensors and put it in ComfyUI > models > loras.
Step 3: Upload the start and end frame images
Upload the images you wish to use as the first and last frames.
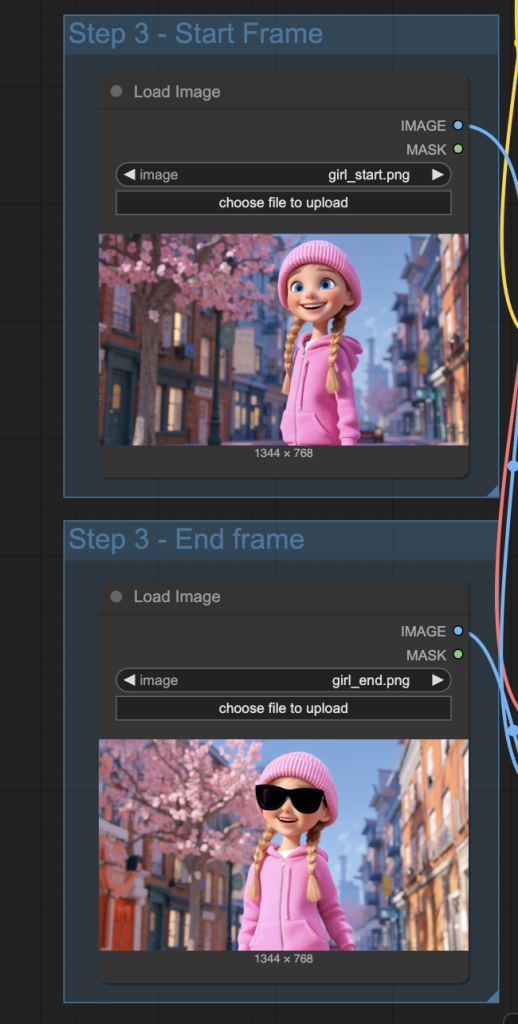
You can use the test image below.
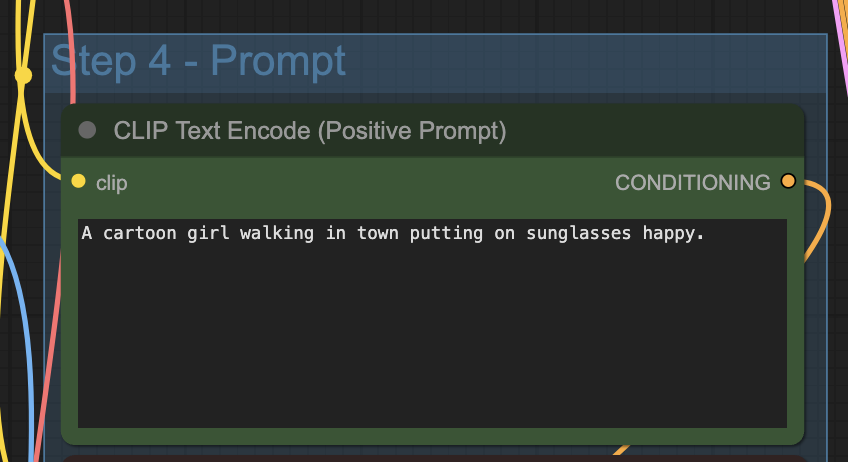
Step 4: Revise the prompt
Describe your video in the prompt. Use keywords to direct the camera.
Step 5: Set video size and length
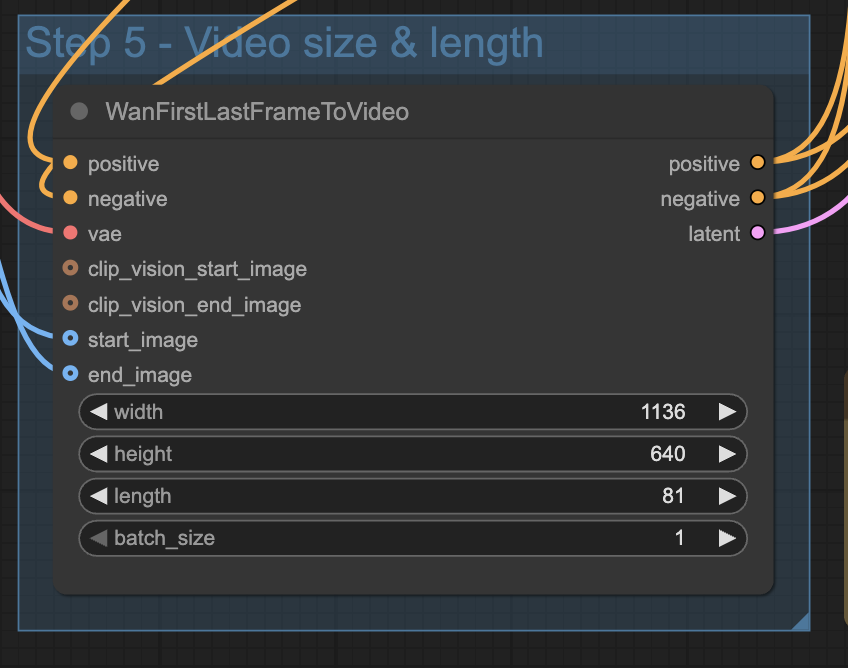
Adjust the width and height according to the aspect ratio of your input images.
The length is the number of frames of the video.
Step 6: Generate the video
Click the Run button to run the workflow.

Wan 2.2 First Last Frame workflow (High quality)
This workflow is functionally the same as the last one: It takes two images as input and produces a video with the images as the first and last frames.
Except that it doesn’t speed up the workflow using the Lightning LoRA. It takes longer to run, but the quality is higher (at least theoretically).
This workflow takes 26 minutes on an RTX 4090 GPU card.
Step 0: Update ComfyUI
Before loading the workflow, make sure your ComfyUI is up-to-date. The easiest way to do this is to use ComfyUI Manager.
Click the Manager button on the top toolbar.
Select Update ComfyUI.
Restart ComfyUI.
Step 1: Load the workflow
Download the workflow below.
Step 2: Download models
Skip this step if you have installed models in the first workflow.
After loading the workflow JSON file, ComfyUI should prompt you to download the missing model files.
Here are the models you need to download:
- Download wan2.2_i2v_high_noise_14B_fp8_scaled.safetensors and put it in ComfyUI > models > diffusion_models.
- Download wan2.2_i2v_low_noise_14B_fp8_scaled.safetensors and put it in ComfyUI > models > diffusion_models.
- Download umt5_xxl_fp8_e4m3fn_scaled.safetensors and put it in ComfyUI > models > text_encoders.
- Download wan_2.1_vae.safetensors and put it in ComfyUI > models > vae.
Step 3: Upload the start and end frame images
Upload the images you wish to use as the first and last frames.
You can use the test image below.
Step 4: Revise the prompt
Describe your video in the prompt. Use keywords to direct the camera.
Step 5: Set video size and length
Adjust the width and height according to the aspect ratio of your input images.
The length is the number of frames of the video.
Step 6: Generate the video
Click the Run button to run the workflow.
Useful links
- Wan2.2 FLF2V ComfyUI native support – Press release from ComfyUI Blog
- ComfyUI documentation on Wan 2.2 FLF2V
Привет! За счет чего во 2 воркфлов высокое качество? Только за счет увеличения шагов? А лора уменьшает качество? Спасибо. Виктор.
How many Vram do we need to run wan2.2 on comfyUI?