Image stylization is a process of transforming the style of an image to a new one. For example, you may want to create a pencil drawing from a photo you have taken.
There has been a long line of research in style transfer, starting with hand-crafted algorithms to the state-of-the-art neural-network based methods.
In this article, I will explore image stylization using Stable Diffusion, a text-to-image model trained with millions of image-text pairs.
While existing methods have already created impressive results, the benefit of using text-to-image model is that all styles are already embedded in the model. No training is required. You will only need to specify the style you want with the text prompt. Lastly, if you are not happy with the result of the embedded model, you can further fine-tune and create your own model.
Table of Contents
GUI
I will show you how to do it with AUTOMATIC1111 GUI. See my quick start guide for setting up in Google’s cloud server.
Workflow for stylizing images
Basic idea
The basic idea is to use img2img to modify an image with the new style specified in the text prompt.
Instead of using a random latent state, the original image was used to encode the initial latent state. With a small amount of randomness added, which is controlled by the denoising strength, the model constructs a new image according to the text prompt.
So if you include pencil drawing in your text prompt, the synthesized image will include visual elements of pencil drawing but the content of the image still follows the original one.
Step-by-step workflow
OK, enough of these theoretical stuffs! Here’s how you would actually do it.
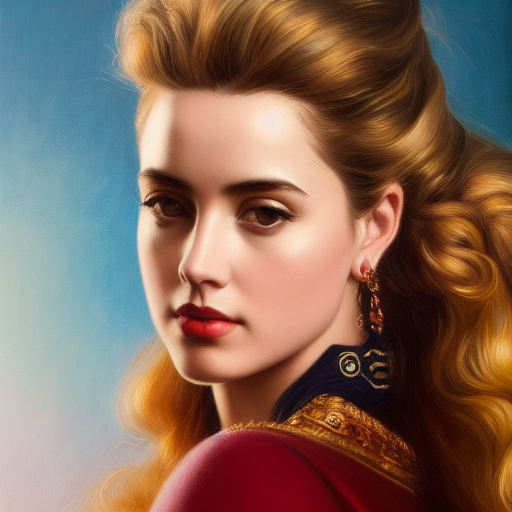
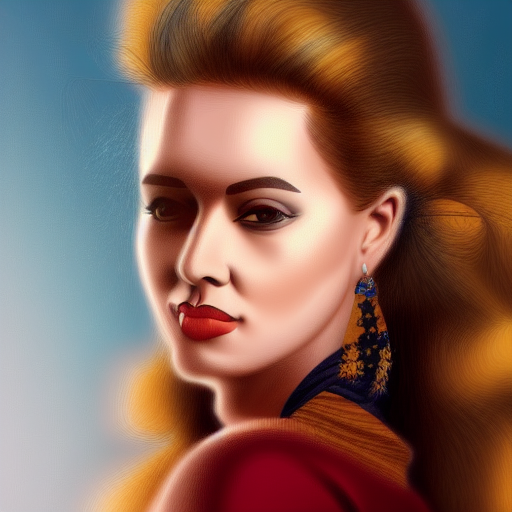
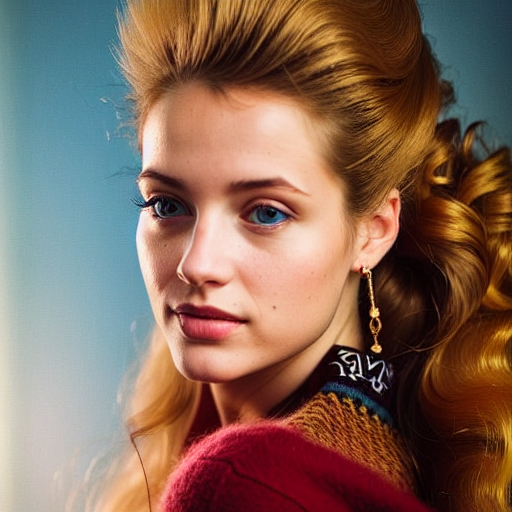
I will use the following starting image generated using the Victorian girl prompt:
In AUTOMATIC1111 GUI, go to img2img tab and select the img2img sub tab. Upload the image to the img2img canvas.
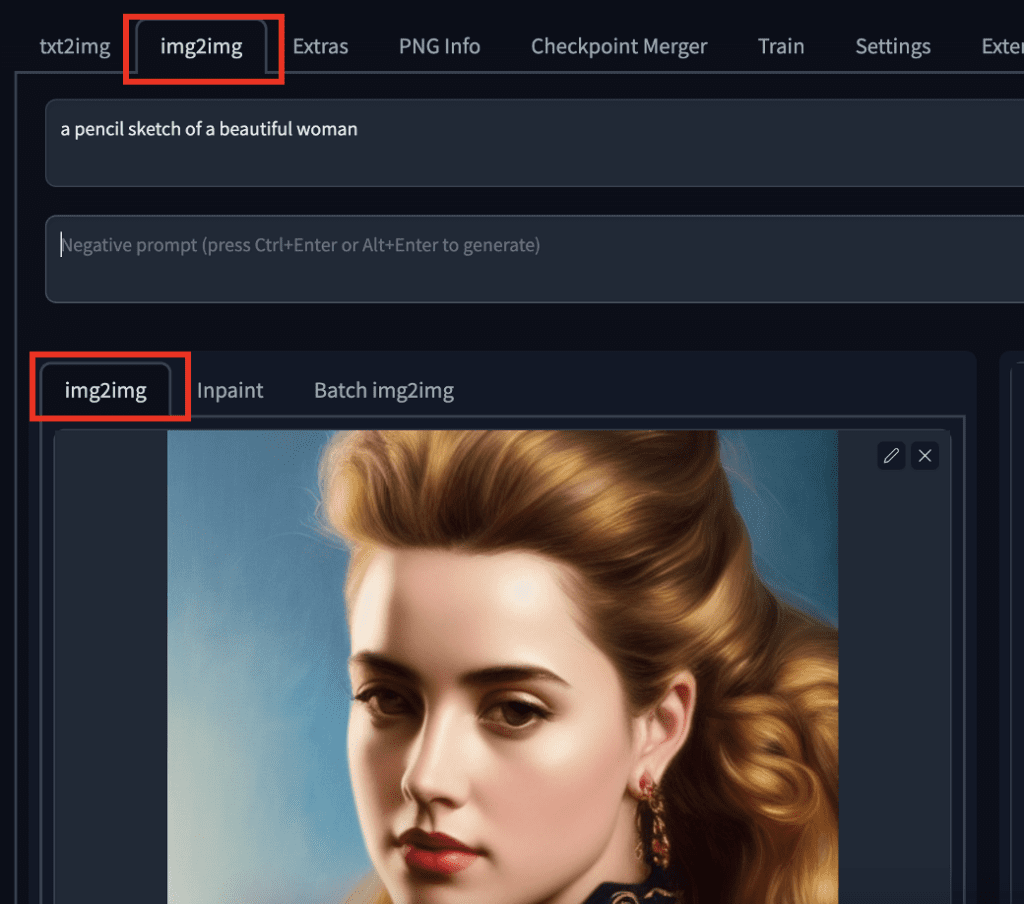
Next you will need to give a prompt. The prompt should describes both the new style and the content of the original image. It does not need to be super detailed. Below is what I will use.
a _______ of a beautiful woman
Insert the art style to the blank. (E.g. a charcoal sketch of a beautiful woman)
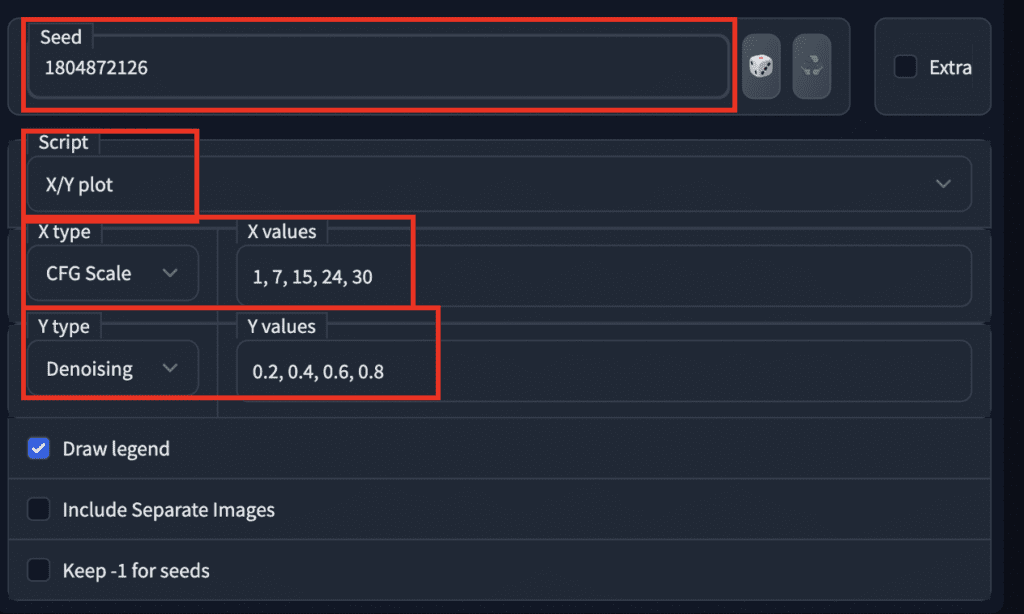
For stylizing images, you will be most tweaking two parameters: CFG scale and denoising strength.
RECAP
CFG scale controls how much the model should follow the prompt. The higher the more it follows. Denoising strength controls how much the image should change. The lower the less changes it will be.
If you want to be systematic, you can use the X/Y plot script to explore the interplay between CFG scale and Denoising strength. The image is specified by the seed value.
Using the prompt:
A pencil sketch of a beautiful woman
Below is what you will get.

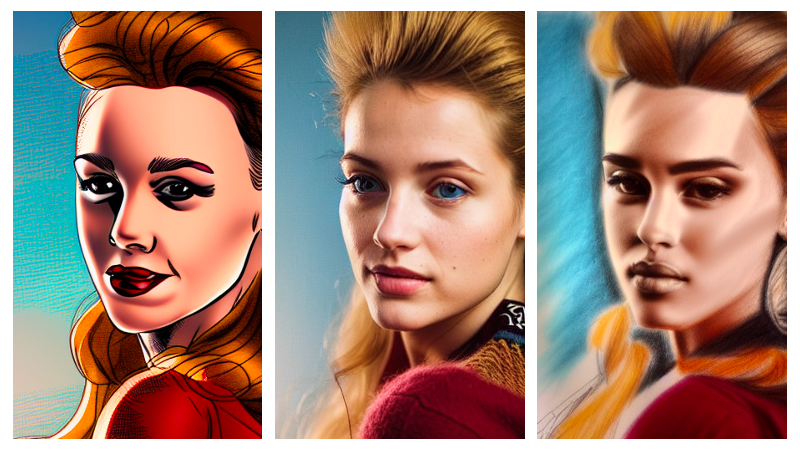
When denoising strength is high, the image changes too much and loses it original content. When it is low, not much is changed.
The higher the CFG scale, the stronger the style is.
Euler sampling method with 50 steps works for most situations.
As a rule of thumb, set CFG scale to a high value between 20-30, and change denoising strength between 0.2 and 0.6 to achieve a good stylization while preserving the content.
Examples of stylized images
All stylized images in this section is generated from the original image below with zero examples. Only text prompts are provided.
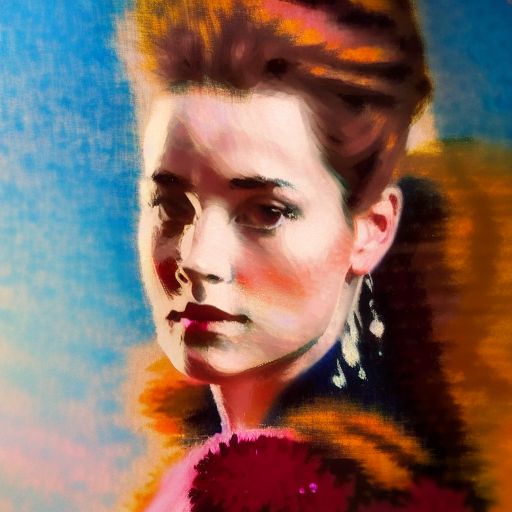
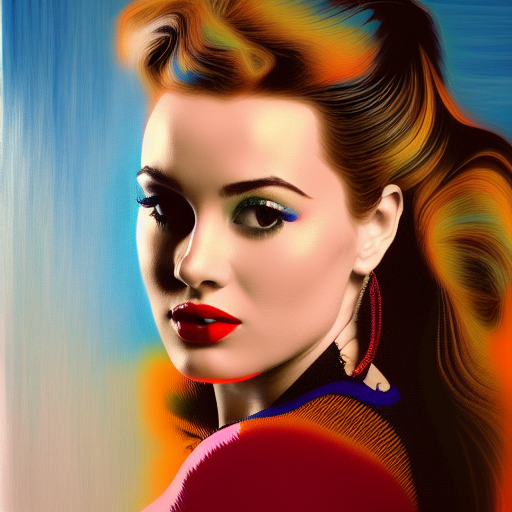
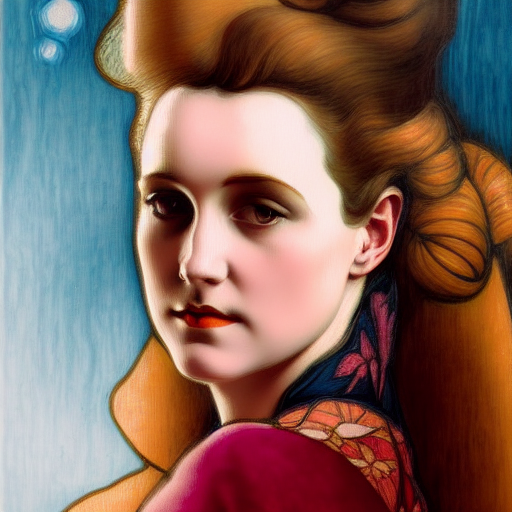
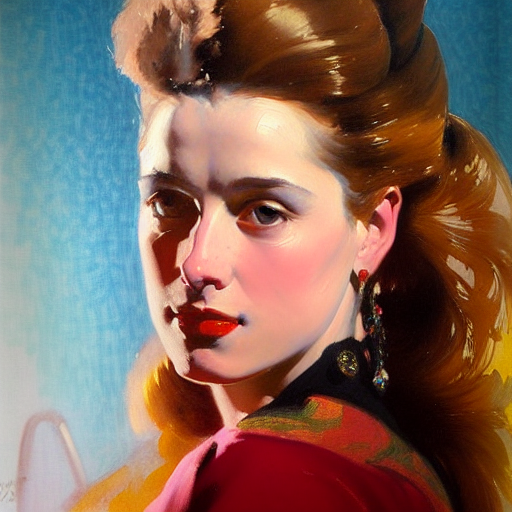
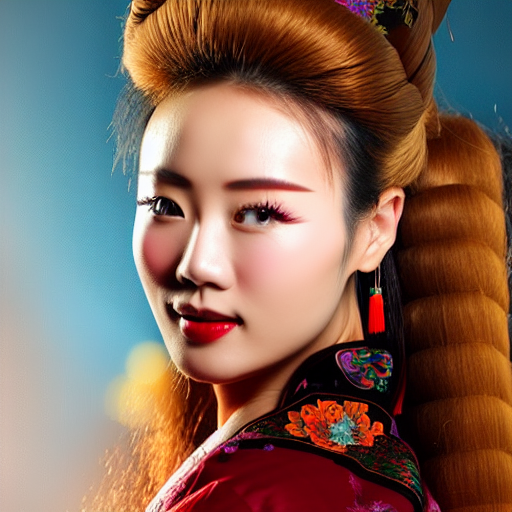
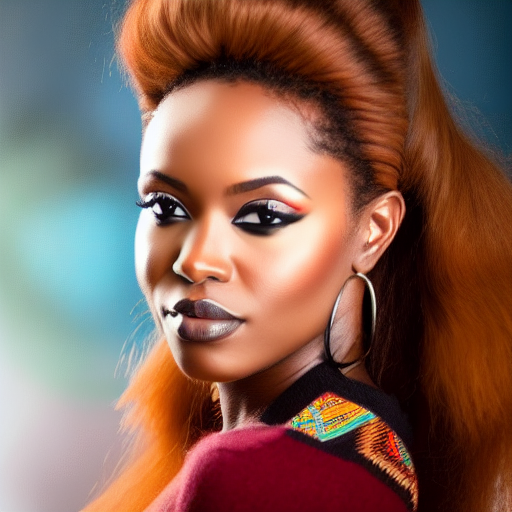
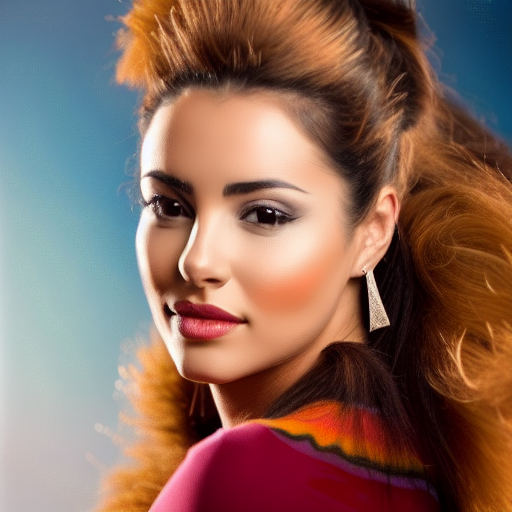
Here are some stylized images. The prompt is
A ______ of a beautiful woman
The blank is filled in with the caption.
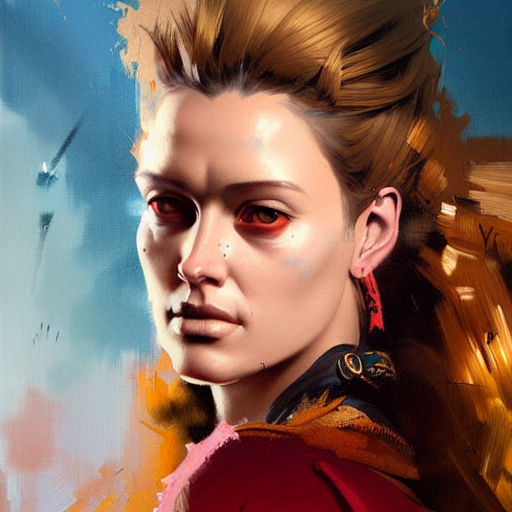
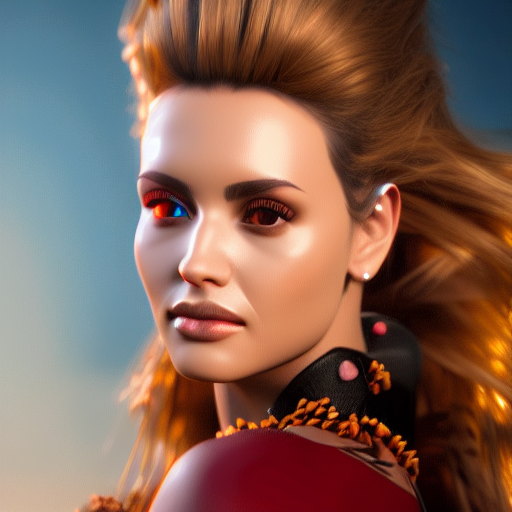
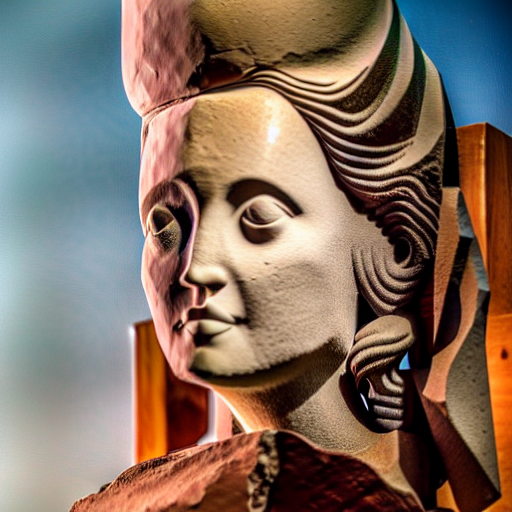

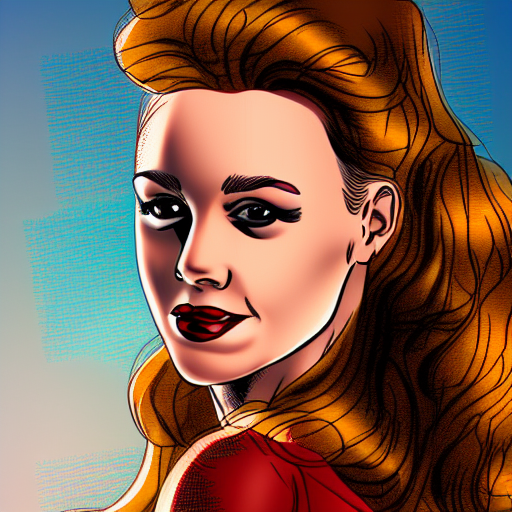

It is also possible to switch the model to a different ethnicity.
Alternative method
Adventurous readers can experiment with the so-called alternative img2img test which can preserve the content of original image far better than the method above.
The idea is to use the original image to create the latent noise pattern so that that it contains information of the original content.
To use the alternative noise, select img2img alternative test in the script dropdown menu.
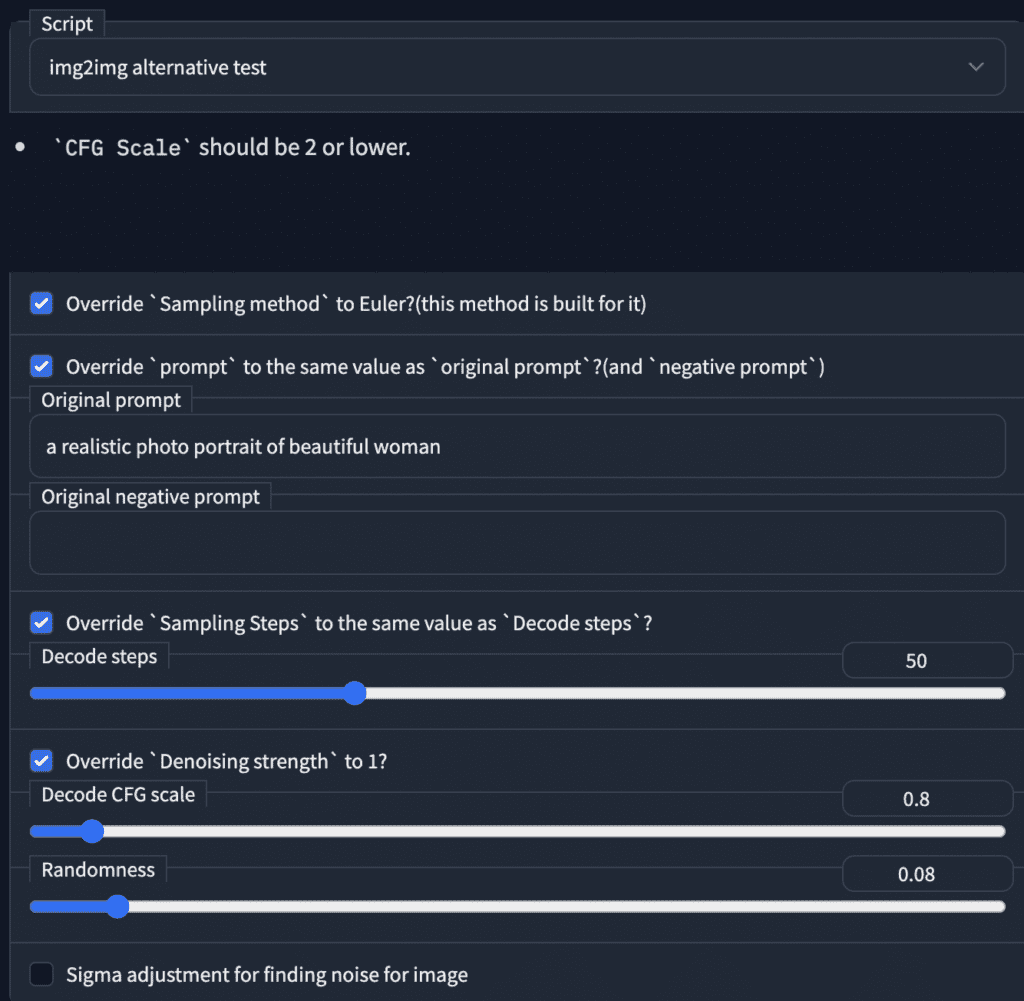
New users should go through the example in the feature demo. Contrary to the demo, I found it useful to increase CFG scale so that the prompt is followed. Sometimes the weight of the style keyword needs to be increased.
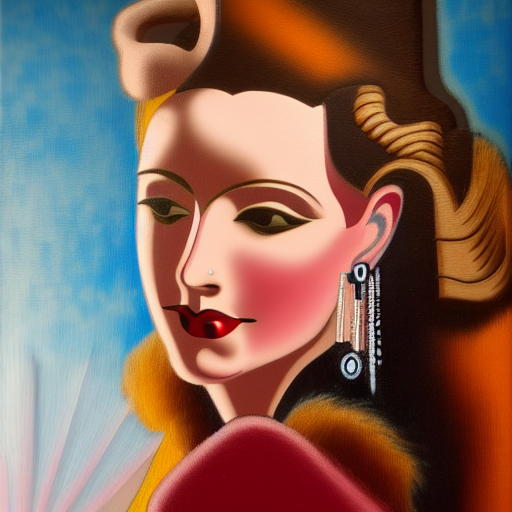
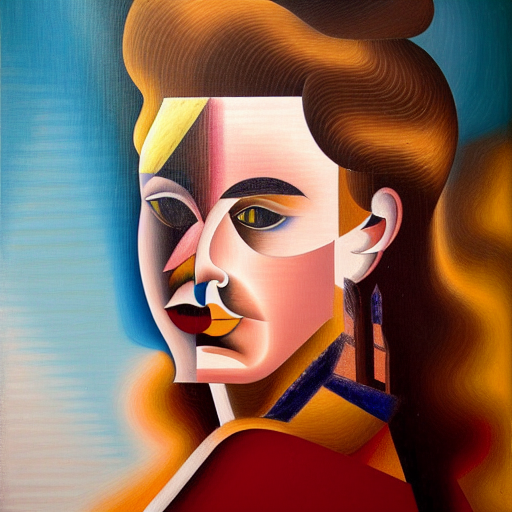
Below is an example of pop art style generated with alternative img2img.
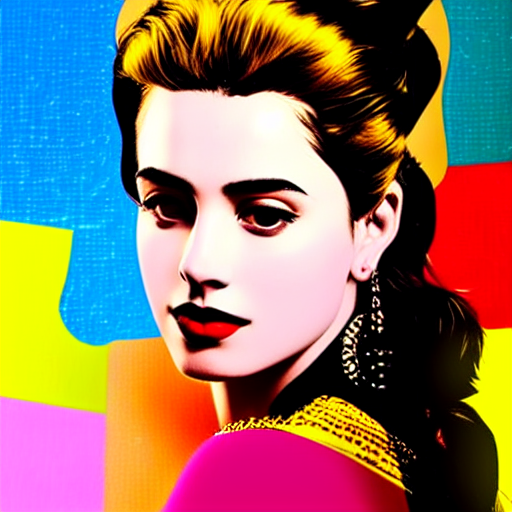
Whether it is better would be a matter of taste but it definitely follows the original content closely.
Treat it as an tool in your toolbox.
Summary
I have showed you how easy it is to use Stable Diffusion to stylize images. All you need to do is to use img2img method, supply a prompt, dial up the CFG scale, and tweak the denoising strength.
I hope this will inspire you to create some new artworks!
Thank you for this great guide. How can I use this without text to prompt but using one of my own photos? I tried the img2img alternative test but that wasn’t working. I’m trying it with the gta5-artwork textual inversion.
Hi, you will need to find a prompt that is close enough to describe your photo. You can start with the prompt given by clip interrogator in img2img and edit.
You can also try instruct pix2pix. There’s an article on this site that has a section for stylization.