Stable Diffusion AI is a great way to synthesize images from text. Do you can spice up your artworks with animation?
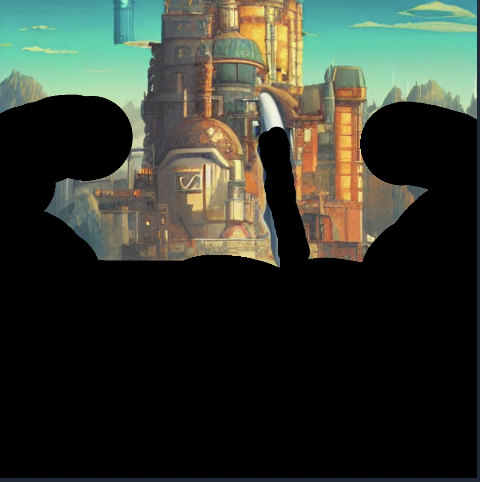
In this step-by-step guide, we will add an animated waterfall and moving clouds to the image of a fantasy steam punk castle shown below. The prompt for generating this image can be found in this page.
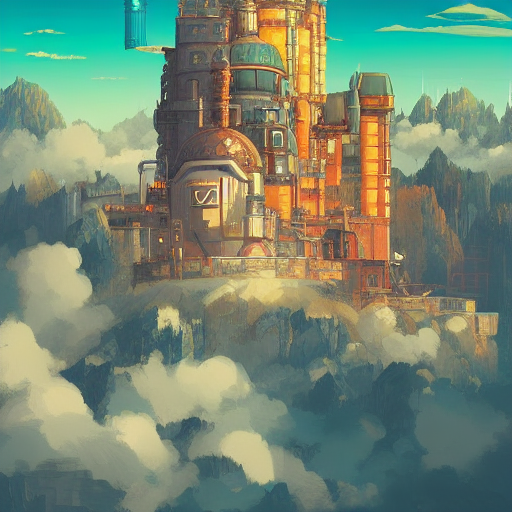
After this tutorial, you will be able to recreate this final animated GIF image:
Table of Contents
Stable Diffusion GUI
We will need to use a more advanced Stable diffusion GUI for this tutorial. Most online generators won’t cut it. We will use this GUI. See my quick start guide for setting up in Google’s cloud server.
Starting image
The prompt and parameters necessary to generate the original image can be found in this page. Alternatively, you can save the following image to your computer for this tutorial.
Step 1: Add a waterfall
We will use inpainting to add the waterfall.
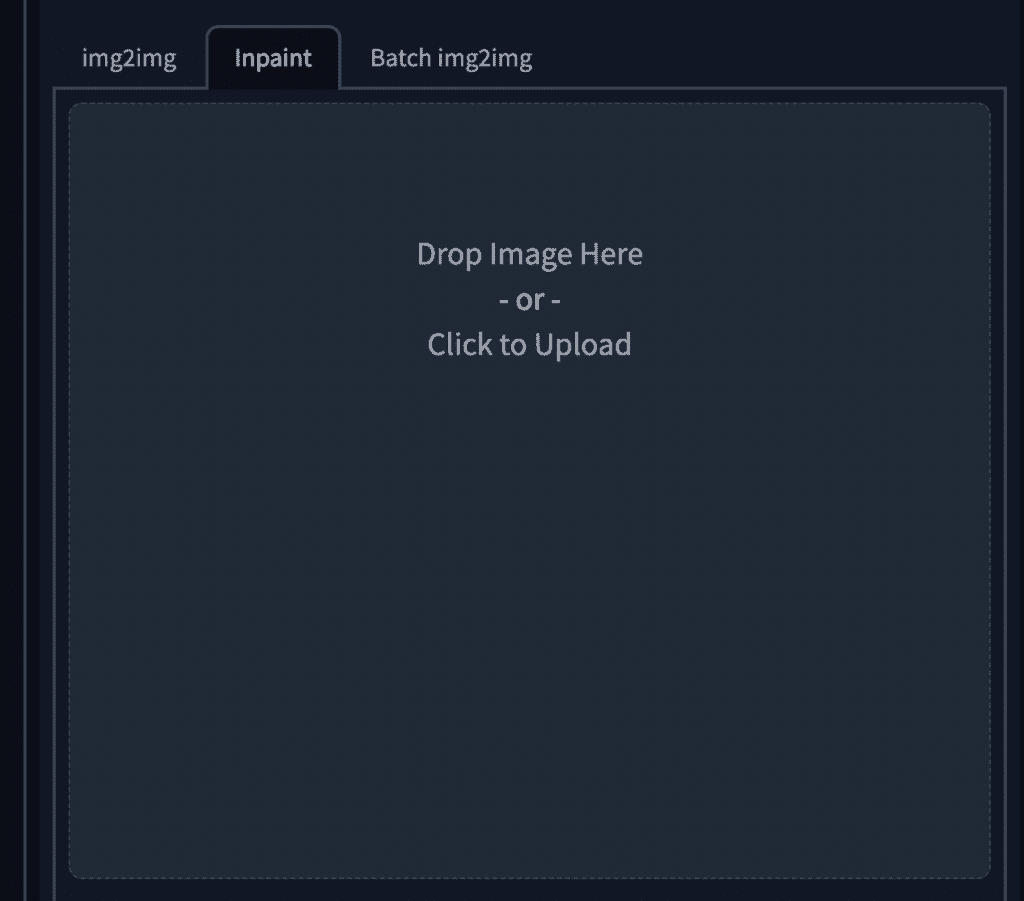
In the Stable Diffusion GUI, go to img2img tab and select the inpaint tab.
Upload the starting image by dragging and dropping it to the inpaint image box.
Use the paintbrush tool to create a mask like below. The masked area is where the waterfall will be located.

Put in the following settings:
| Prompt | waterfall |
| Sampling method | Euler |
| Sampling steps | 40 |
| CFG | 20 |
| Batch size | 8 |
Hit Generate. You should get 8 different images with a waterfall added.
Increase CFG value if you see an unwanted object. Decrease it if you prefer to have more variations.
Hit generate again until you see an image you like. Save that image to your computer.
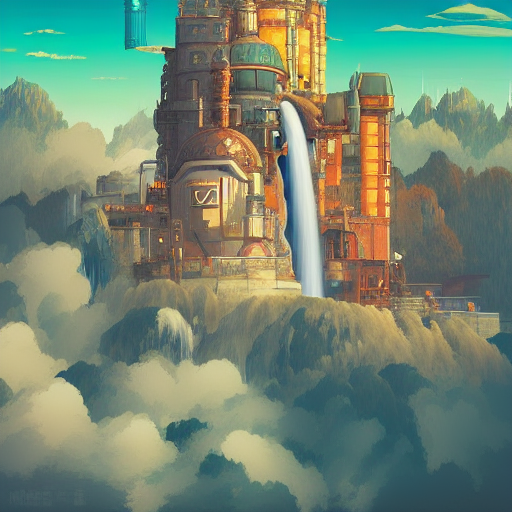
I picked the image below for the castle image with waterfall added.
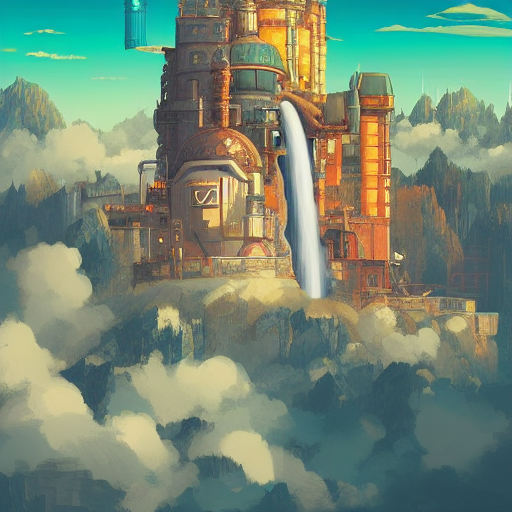
This image will be our base image for the animated GIF. In the next step, we will create small variations of this image and use them as the frames for the animated GIF.
Step 2: Animate the water fall and the clouds
An animated GIF is nothing but a series of images displayed consecutively. The variations between images should be subtle but noticeable in order to create a perception of animation.
To do so, we first drag and drop the castle image with the waterfall to the inpaint box.
Create the inpaint mask like below.
Use the following parameters for inpainting.
| Prompt | cloudy, steam |
| Sampling method | Euler |
| Sampling steps | 40 |
| CFG | 20 |
| Denoising strength | 0.2 |
| Batch size | 8 |
Recall we don’t want to change the image too much so using a low denoising strength like 0.2 is very important. (Recall that denoising strength of 0 changes nothing and at 1 your original image in the masked area will be completely ignored.)
Below are a few images I generated. If you pay close attention, you should see they have small differences.
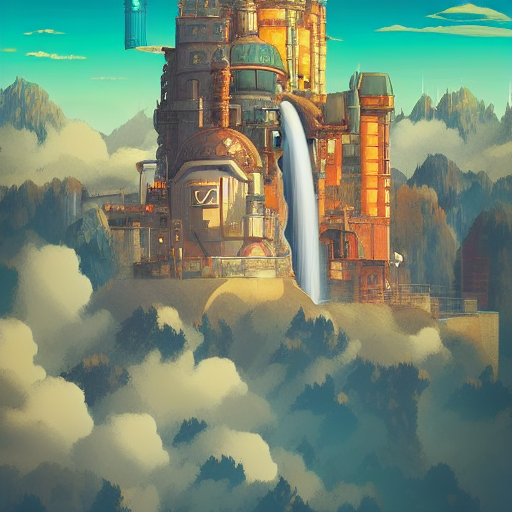
You will want to cherry-pick the images you want to use for the animated GIF.
You will need 5 to 10 images. Save them to your computer.
Increase denoising strength if you want more variations. Decrease if you want less.
Step 3: Create the animated GIF
Now we will make the animated GIF.
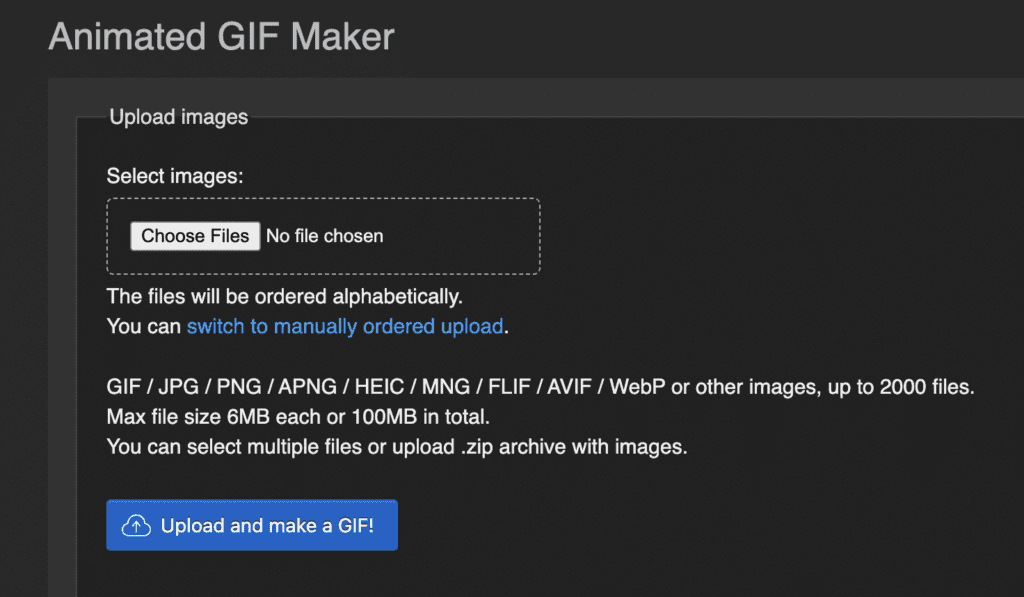
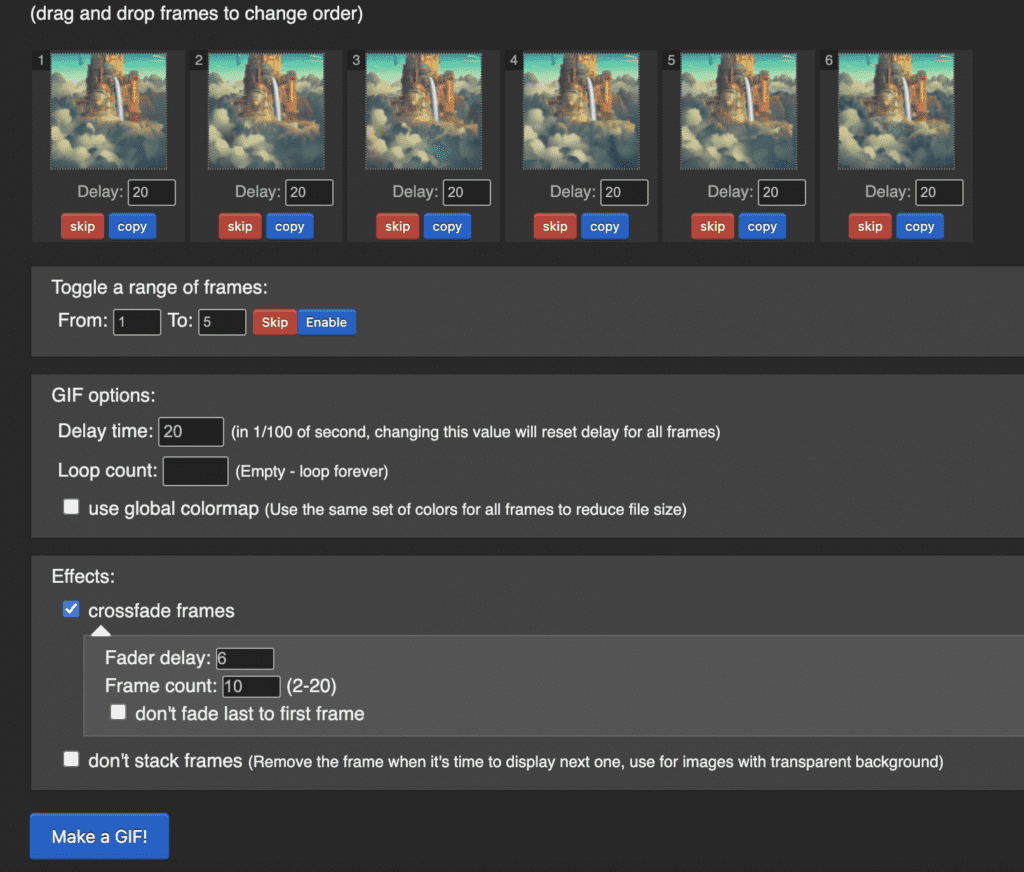
You can use any tool of your choice but in this tutorial we will use the free site ezgif.com. Upload the images of your choice by using the “Choose Files” button and then clicking the “Upload and make a GIF!” button.
In the next screen, check the “crossfade frames” under the “Effects” section and click “Make a GIF!”
Finally, save the animated GIF. The animated GIF should look like:
For comparison, this is the animated GIF created with denoising strength 0.1.

Tweaks for your own artwork
Note that the settings in this article are specific for the image we used. You may need to play with the following parameters when you create your own artworks.
- Prompts for inpainting: Change to what you want to add in place of the mask.
- CFG: Increase if you see irrelevant objects or too much variations.
- Denoising strength: Increase if you want more changes in your animated GIF.
- GIF delay time and crossfade parameters: Adjust to smooth out the animations.
Summary
In this tutorial, we detailed how to use inpainting to create images for making an animated GIF. I hope this serves as a good starting point for you to create your own artworks.
Don’t hesitate to drop me a line if you have any questions!
amazing