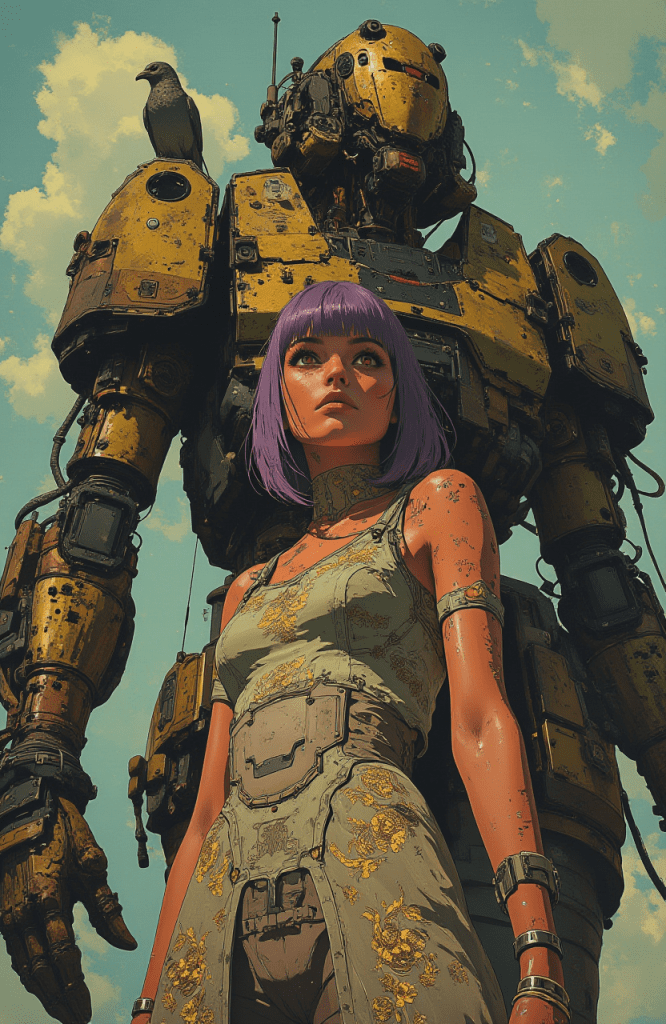
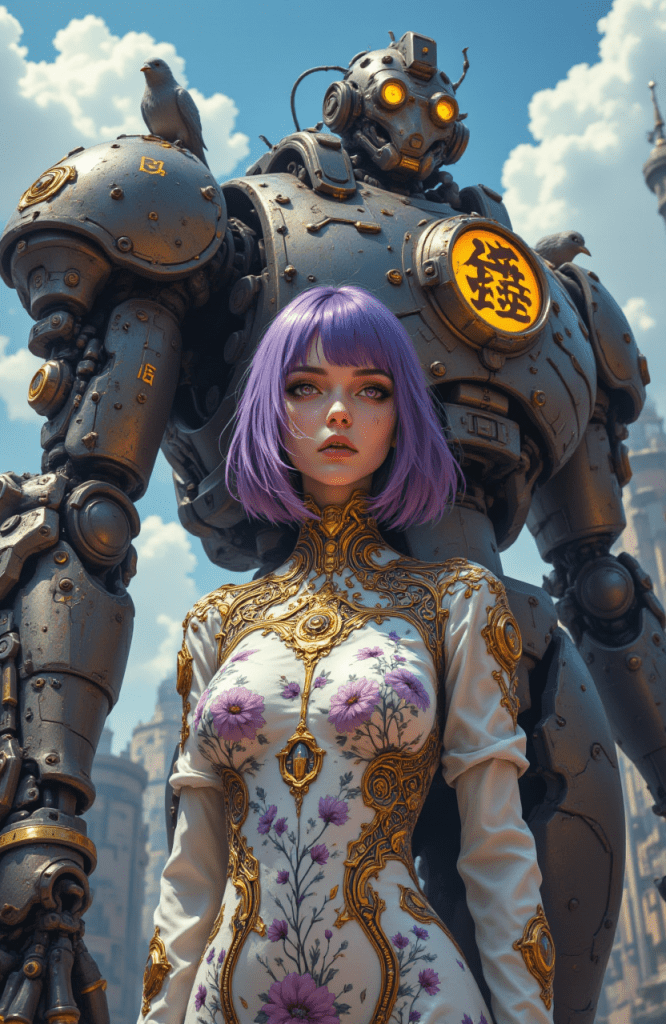
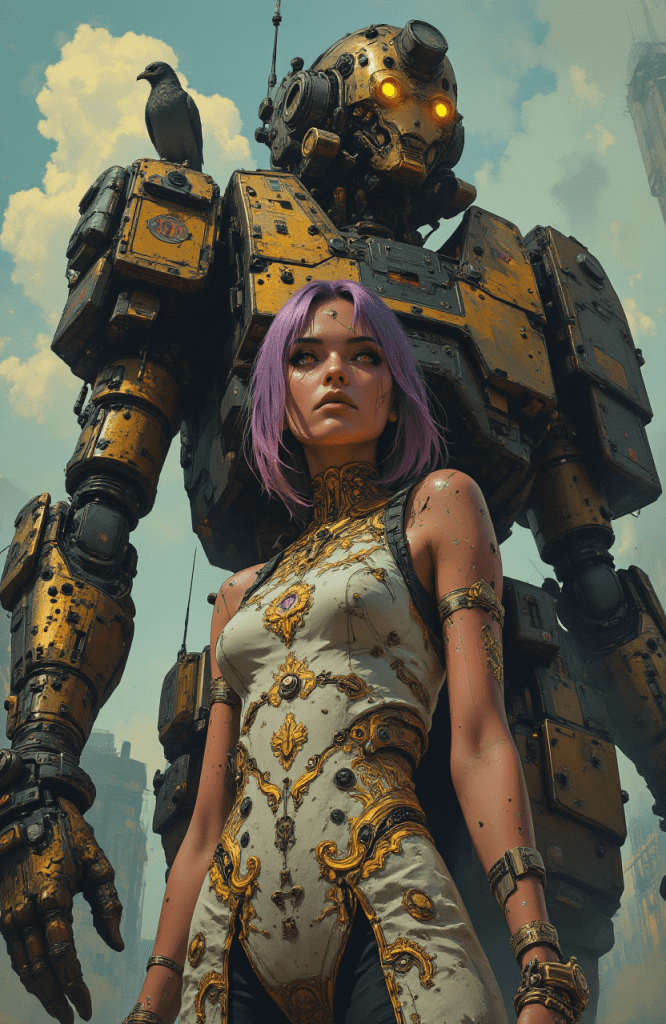
This beginner workflow generates this image in a cyberpunk anime style using the Flux.1 Dev model. It also enlarges the output images 4 times using an AI upscaler.

Table of Contents
Software
Stable Diffusion GUI
We will use ComfyUI, a node-based Stable Diffusion GUI. You can use ComfyUI on Window/Mac or Google Colab.
Check out Think Diffusion for a fully managed ComfyUI/A1111/Forge online service. They offer 20% extra credits to our readers. (and a small commission to support this site if you sign up)
See the beginner’s guide for ComfyUI if you haven’t used it.
Step-by-step guide
Step 0: Update ComfyUI
This workflow only uses standard nodes, but they have only recently added support for Flux AI.
Use ComfyUI Manager to update ComfyUI.
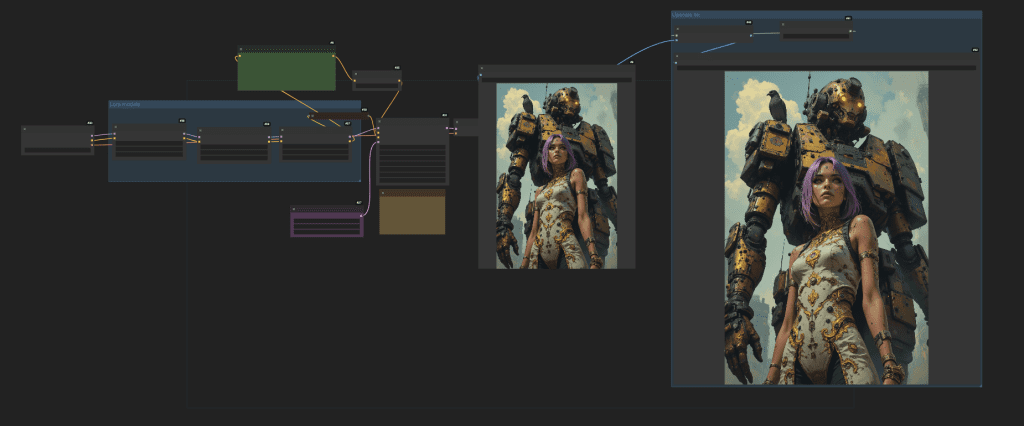
Step 1: Load the ComfyUI workflow
Download the workflow JSON file below. You will need to be a member to download the workflow.
Step 2: Download checkpoint model
Download the Flux1 dev FP8 checkpoint.
Put the model file in the folder ComfyUI > models > checkpoints.
(If you use my ComfyUI Colab notebook, simply select the Flux1_dev model.)
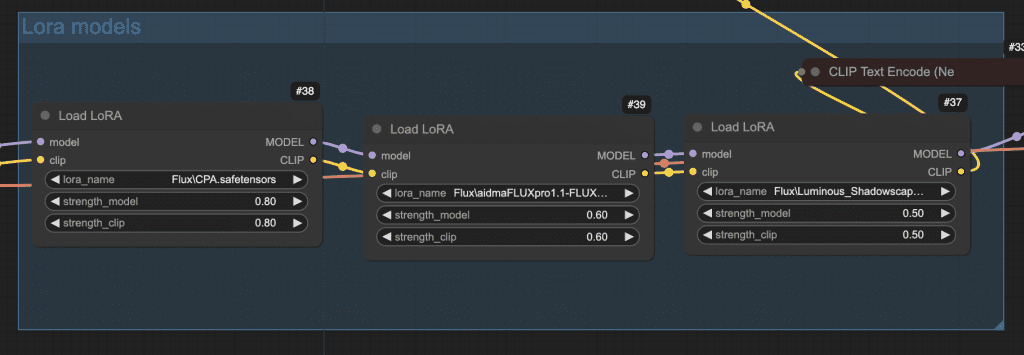
Step 3: Download LoRA models
Download the following LoRA models
- Luminous Shadowscape
- Cyberpunk Anime Style
- FLUX [pro] 1.1 Style Lora – Extreme Detailer for [FLUX.1-dev] – FLUX v0.1
Put them in the folder ComfyUI > models > loras.
(If you use my ComfyUI Colab notebook: AI_PICS > models > Lora in Google Drive)
You may need to refresh the ComfyUI page and re-select the LoRA models in the dropdown menu.
Step 4: Download upscaler model
Download the 4x UniversalUpscalerV2 Neutral upscaler model.
Put it in the folder ComfyUI > models > upscale_models.
(If you use my ComfyUI Colab notebook: AI_PICS > models > ESRGAN in Google Drive)
Step 4: Generate the image
You should be all set. Click Queue Prompt to generate the image.
Adjusting the style
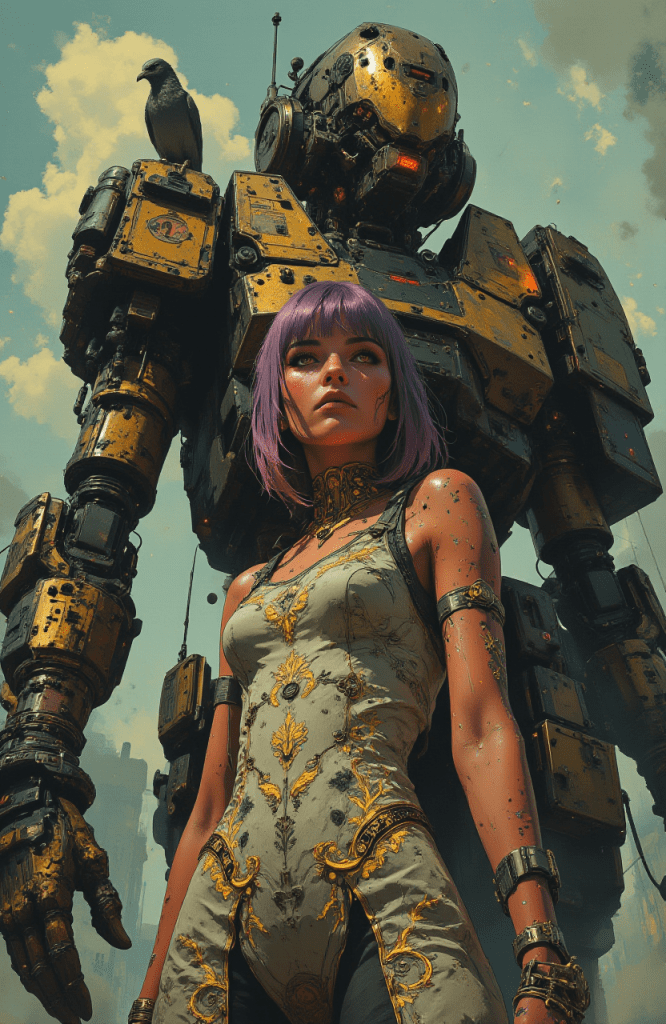
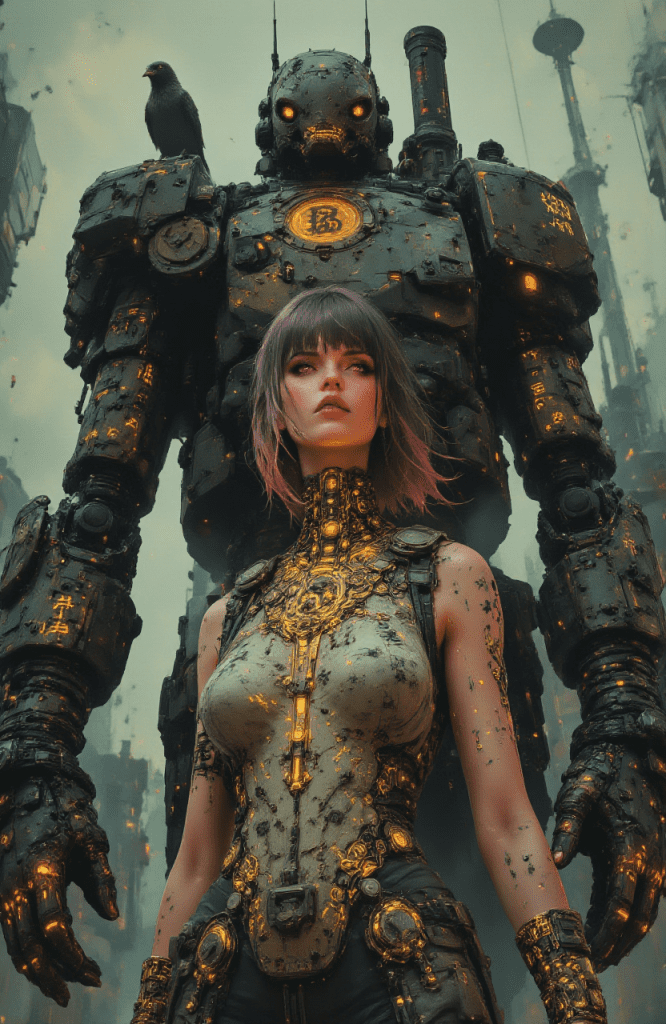
The Luminous Shadowscape LoRA creates a muted color style. Adjust its strength to tune the effect.
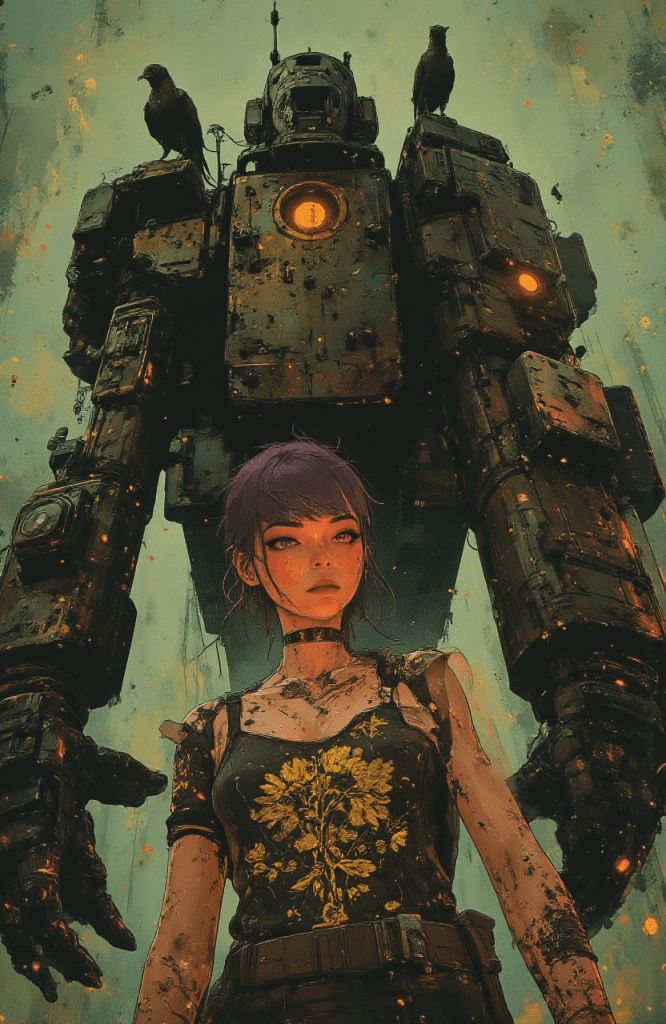
The Extreme Detailer LoRA adjusts how much details to add.