This workflow combines an image generation model (Flux) with a video generation model (Hunyuan). Here’s how it works:
- Generates an AI image using Flux
- Automatically inputs the AI image into Hunyuan, the video generator
- The AI image will be in the first frame of the video
Benefits:
- Compared to the LTX model, both the Flux and the Hunyuan models generate higher quality videos
- Faster to use. By merging the two separate processes of text-image and image-video, this workflow allows for you to accomplish both with just a click of a button!
You need to be a member of this site to download the ComfyUI workflow.
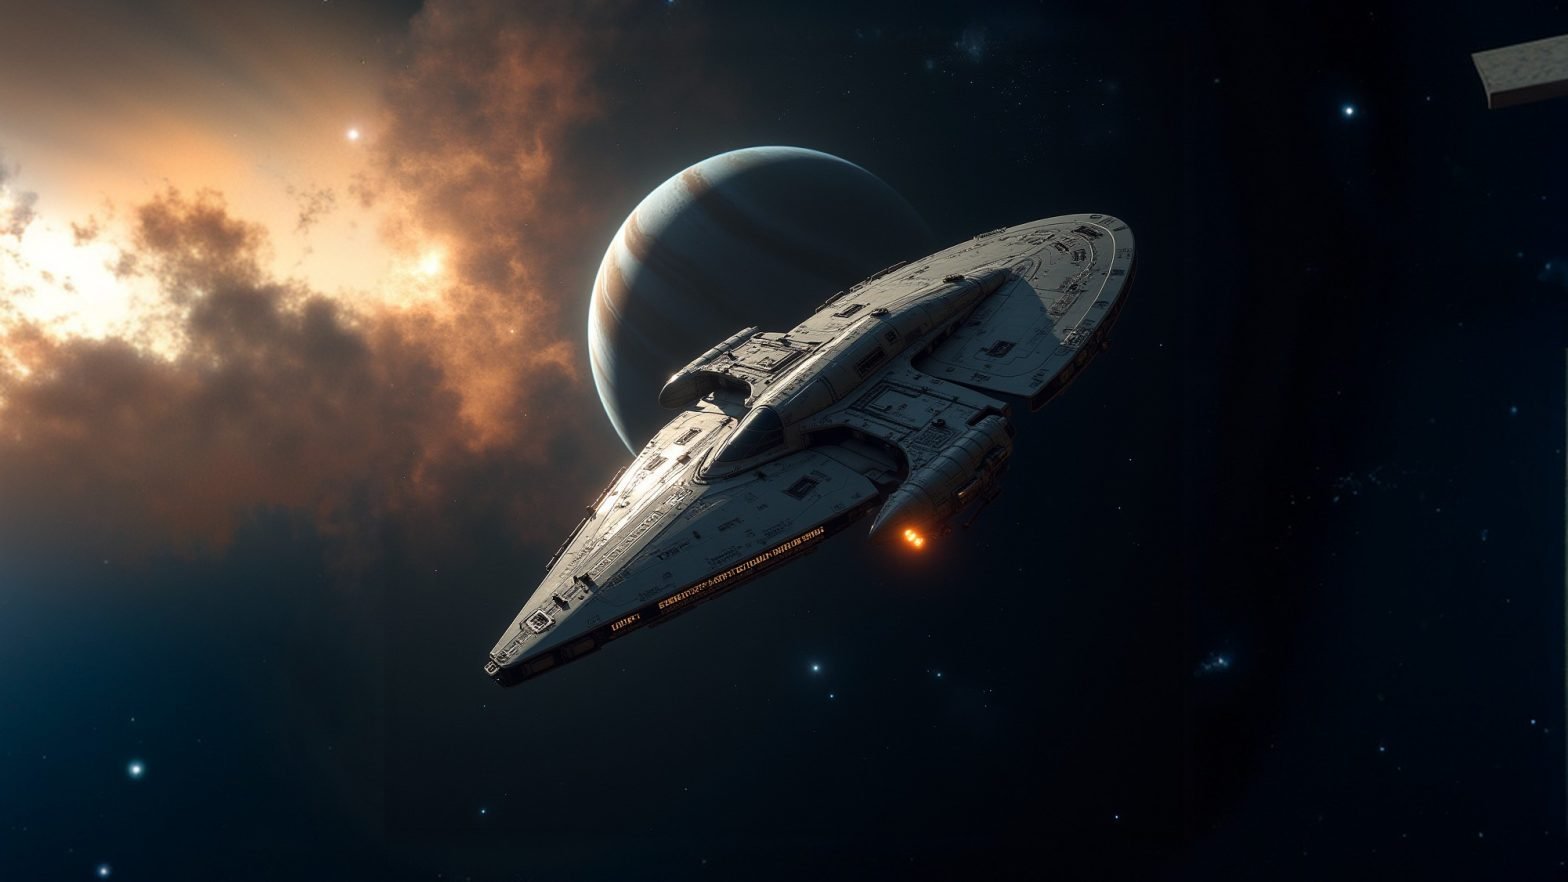
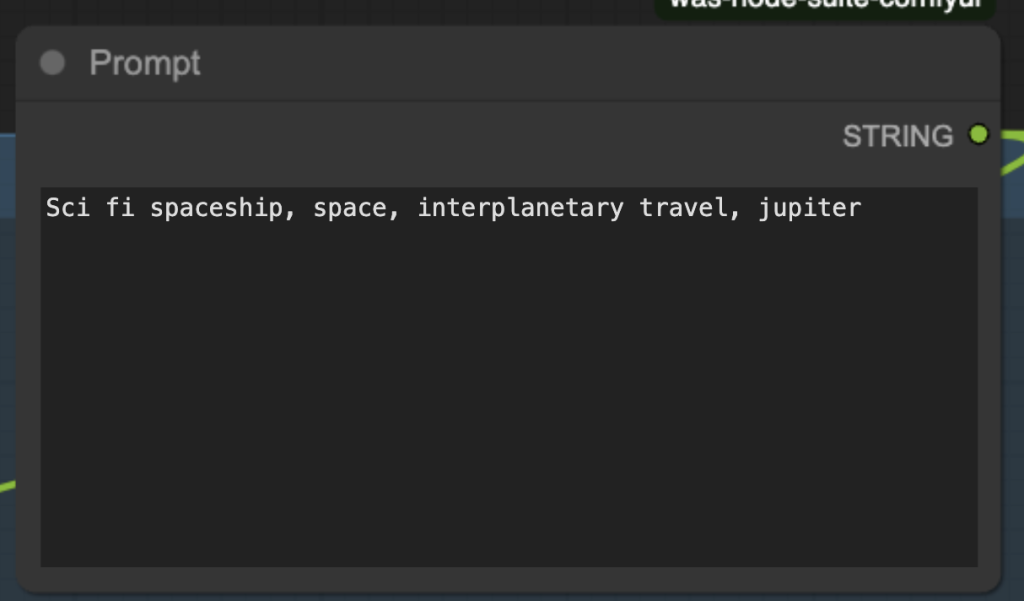
Sci-fi spaceship generated using the Flux Hunyuan workflow
Table of Contents
Software
We will use ComfyUI, an alternative to AUTOMATIC1111.
Read the ComfyUI installation guide and ComfyUI beginner’s guide if you are new to ComfyUI.
Take the ComfyUI course to learn ComfyUI step-by-step.
Workflow overview
- Generate an image with the Flux.1 Dev model
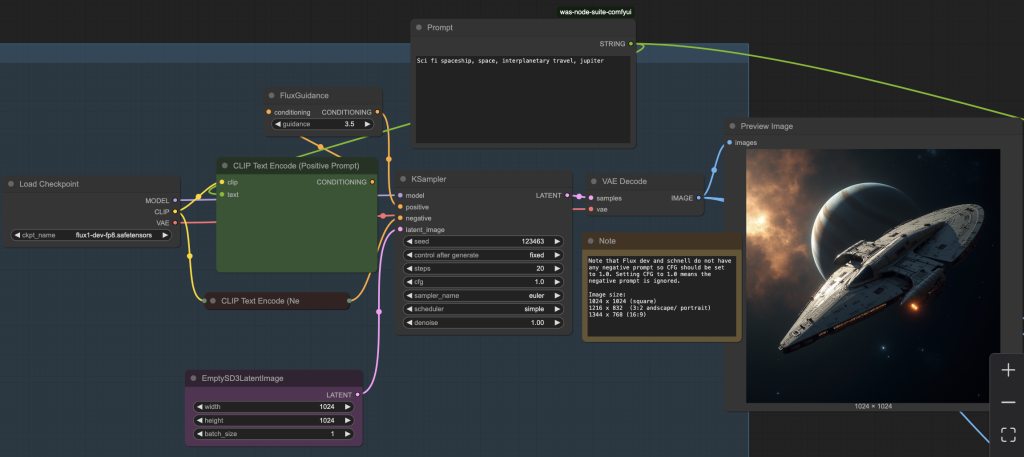
2. Generate a video with the Hunyuan model
Step-by-step guide
Step 0: Update ComfyUI
Before loading the workflow, make sure your ComfyUI is up-to-date. The easiest way to do this is to use ComfyUI Manager.
Click the Manager button on the top toolbar.

Select Update ComfyUI.
Restart ComfyUI.
Step 1: Download the Flux AI model
Download the Flux1 dev FP8 checkpoint.
Put the model file in the folder ComfyUI > models > checkpoints.
Note: If you use my ComfyUI Colab Notebook, you don’t need to download the Flux model. Simply select the Flux1_dev model.

Step 2: Download the Hunyuan-Video model
You have some of these models if you have installed the Hunyuan Video text-to-image model.
Download hunyuan_video_image_to_video_720p_bf16.safetensors and put it in ComfyUI > models > diffusion_models.
Download clip_l.safetensors and llava_llama3_fp8_scaled.safetensors. Put them in ComfyUI > models > text_encoders.
Download hunyuan_video_vae_bf16.safetensors and put it in ComfyUI > models > vae.
Download llava_llama3_vision.safetensors and put it in ComfyUI > models > clip_vision.
Google Colab
If you use my ComfyUI Colab notebook, you don’t need to install the model files. They will be downloaded automatically.
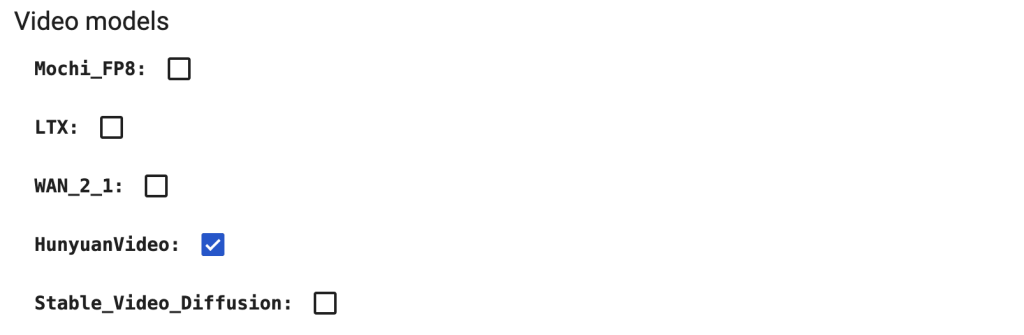
Select the HunyuanVideo models before starting the notebook.
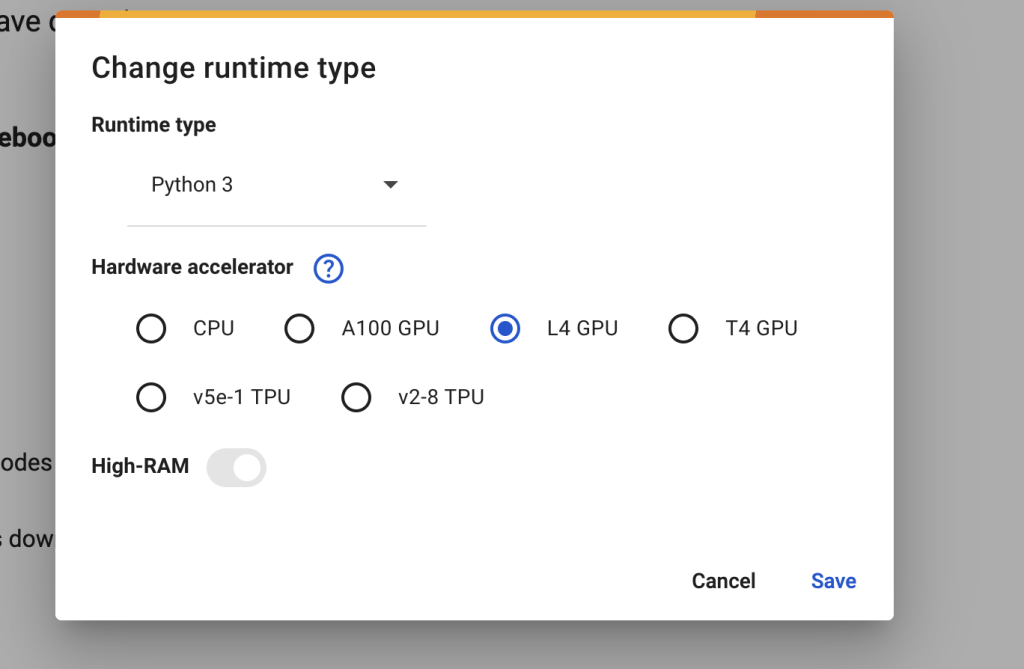
In the top menu, select Runtime > Change runtime type > L4 GPU. Save the settings.
Step 3: Load the workflow
Download the ComfyUI JSON workflow below.
Drag and drop the JSON file to ComfyUI.
Step 4: Install missing nodes
Click Manager > Install Missing Custom Nodes.
Install the nodes that are missing.
Restart ComfyUI.
Step 5: Revise the prompt
The prompt controls both the Flux image and the Hunyuan video. Change it to what you want to generate.
Step 6: Run the workflow
Press the Run button to generate a video.

Usage tips
It is best to treat the video generation as a 2-step process.
- Refine the prompt to generate a good image.
- Change the video’s seed to refine the video.
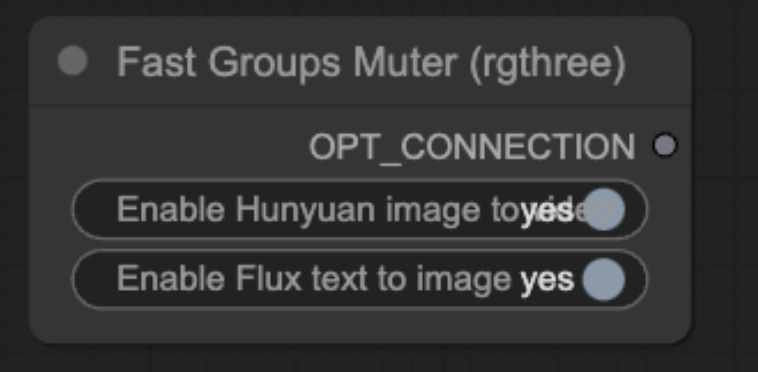
You can use the Fast Groups Muter to disable the video generation by disabling the Hunyuan Video group, as shown below.
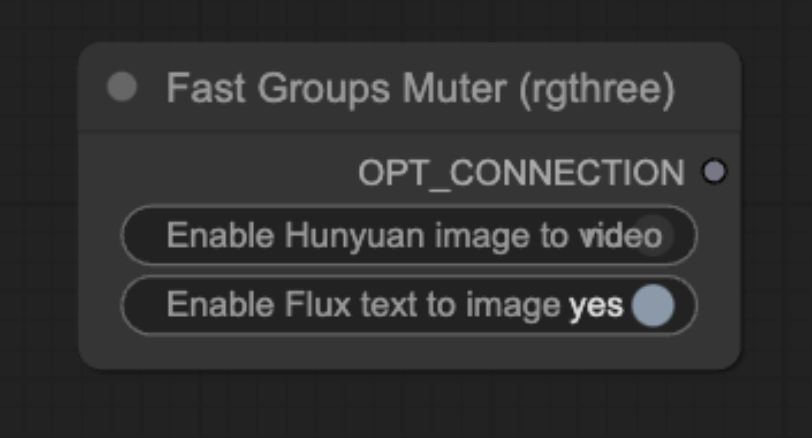
Revise the prompt and change the seed to get a good image.
When you are happy with the image, turn the Hunyuan Video group back on.
Happy AI video generating!!!
Thanks, Sage, that fixed it.
I added a Comfyroll Aspect Ratio node to the Flux image section to make selection easier and a TeaCache node to speed it up further.
With 3.2x acceleration selected on the video TeaCache and the Colab A100 GPU I’m getting 3 sec video generation times of just over a minute which is amazing!
I guess the model might be based on the 720p broadcast standard and I found 30fps gives smoother and more natural motion with people. Going up to 60 fps made it worse, however.
I discovered by accident that with a landscape format image, selecting width 720 and crop and fill rather than keep proportions in the resizer gives a closeup of the middle of the scene in portrait format. Not sure why this is but it has great detail and realistic motion.
I’ve found the TTP video sampler node loads ok if the nightly version is selected and it is a bit quicker than the other one.
Does the FluxGuidance in the video section need to be 6? I tried 3.5 as for the image generation and that seemed to work ok too.
Slightly off topic but does the Wan2.1 workflow also need the resizer to be set at multiples of 16?
Thanks, Sage, for making this complementary workflow to Andrew’s Wan2.1 insect one. The quality seems about the same and the generation time in Hunyuan is a bit quicker. But I couldn’t get it to do anything other than square videos – using the landscape or portrait image dimensions gave this error on the video sampler (I tried both versions):
shape ‘[1, 12, 30, 45, 16, 1, 2, 2]’ is invalid for input of size 1071360
Can you suggest what is going wrong?
Thanks
Hey, thanks for leaving a comment about that bug! It’s now fixed and you can download the updated JSON file. Specifically, the problem was with the “Image Resize” node. Initially, the dimensions were resized to be multiples of 8, but HunYuan’s video model only accepts dimensions which are multiples of 16, so we changed the value accordingly. Thanks for catching that!