
FramePack is a video generation method that allows you to create long AI videos with limited VRAM. If you don’t have a decent Nvidia GPU card, you can use FramePack on the Google Colab online service. It’s a cost-effective option, costing only around $0.20 per hour to use.
Table of Contents
What is FramePack?
FramePack overcomes the memory limitations of many video generators, such as Wan 2.1, Hunyuan, and LTX Video, by using a fixed transformer context length regardless of the total video length.
This means generating a 1-minute clip consumes the same VRAM as a 1-second one.
See my original FramePack tutorial for a full intro.
What is Google Colab?
Google Colab (also known as Google Colaboratory) is an interactive computing service provided by Google. It is a Jupyter Notebook environment that allows you to execute code.
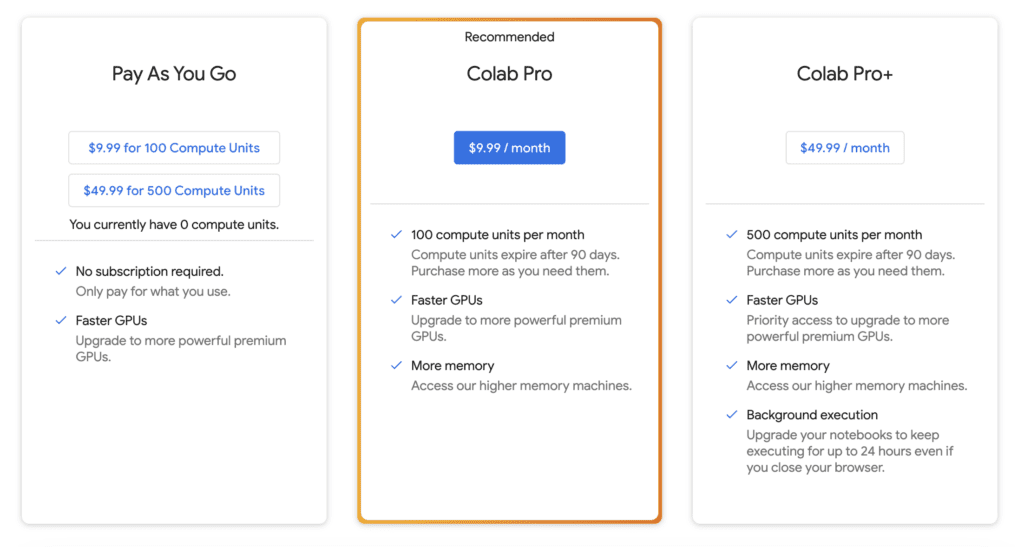
This notebook only runs on the L4 runtime (and probably the A100) in paid tiers, but not on the T4 runtime in the free tier. At the time of writing, it costs $0.20 per hour to use.
They have three paid plans. You need one of them. I recommend the Colab Pro plan because you need the high RAM option for my other notebooks.
FramePack on Google Colab
Step 1: Open the Colab Notebook
Go to the FramePack_Colab page. Give it a star. (Okay, this is optional…)
Click on the Open in Colab link to open the notebook.

Step 2: Start the notebook
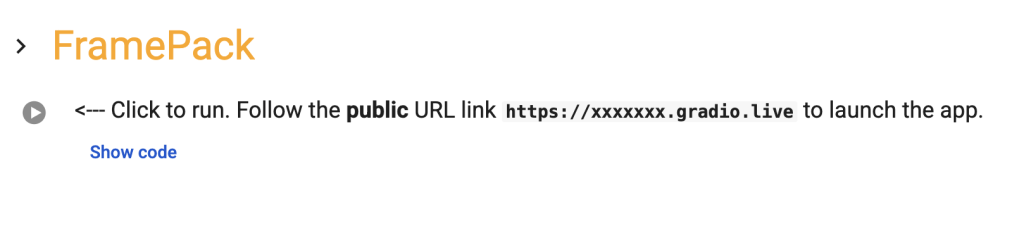
Run the notebook by clicking the Play button under the FramePack cell. It will take some time to install FramePack and download the models.
Step 3: Start FramePack
Visit the gradio.live public link to start FramePack.

You should see the FramePack app.
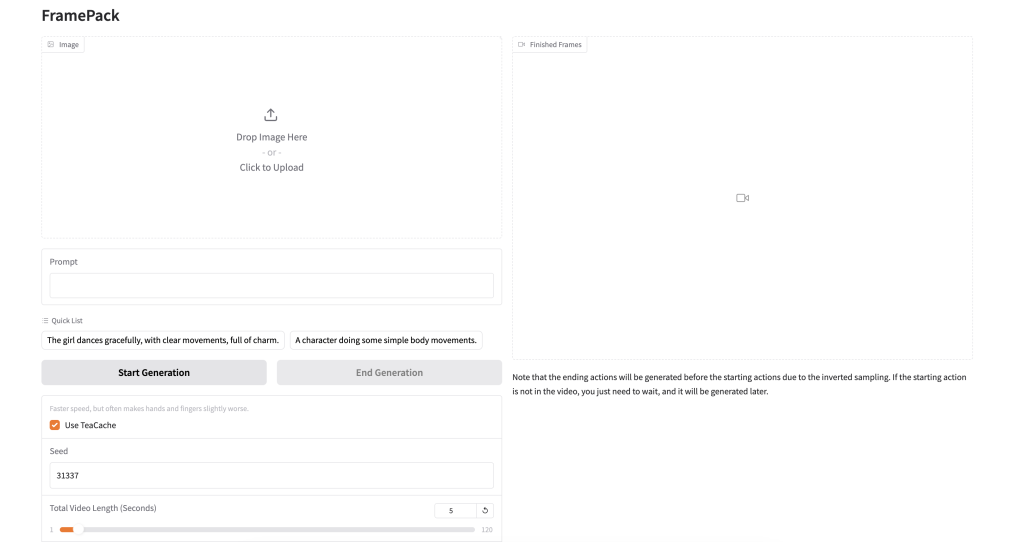
Step 4: Upload the initial image
Upload an image to FramePack’s Image canvas. You can use the test image below to test your setup.

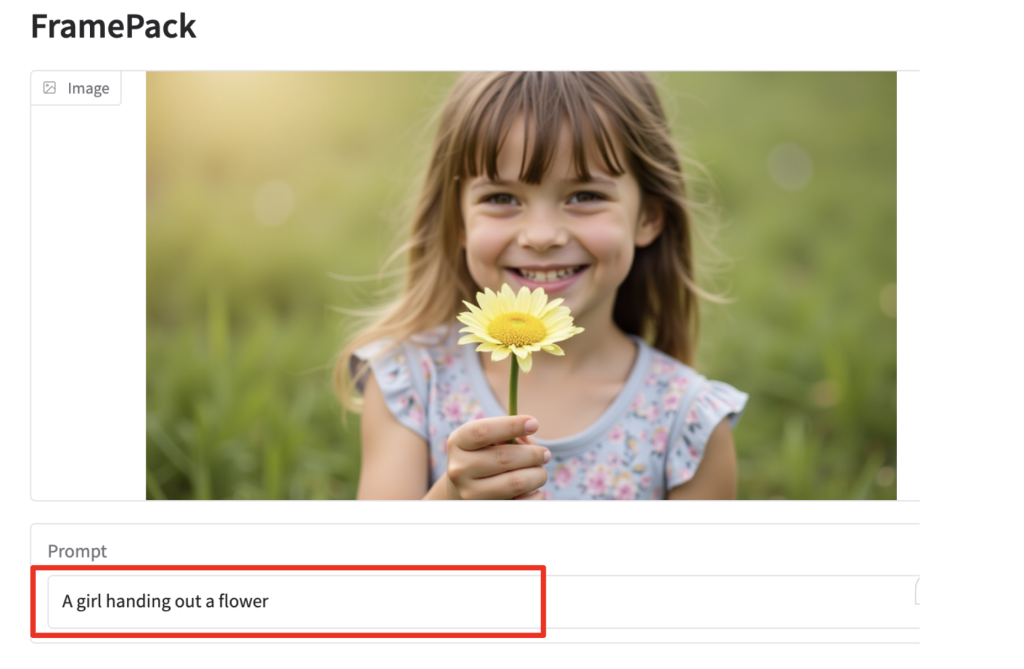
Step 5: Enter the prompt
Enter a prompt that matches the image in the Prompt text box.
A girl handing out a flower
Step 6: Generate a video
Click Start Generation to generate a video.
It will generate the end of the video first, and extend to the beginning. On the console, you will see several progress bars before a video is generated.
For a complete setting guide and instructions to generate longer videos, see my FramePack tutorial.
Ngrok support
You can use ngrok instead of Gradio’s public URL, which can sometimes be unstable.
You can enter the ngrok API key in the NGROK field, or add a notebook secret so that you don’t need to enter it every time.
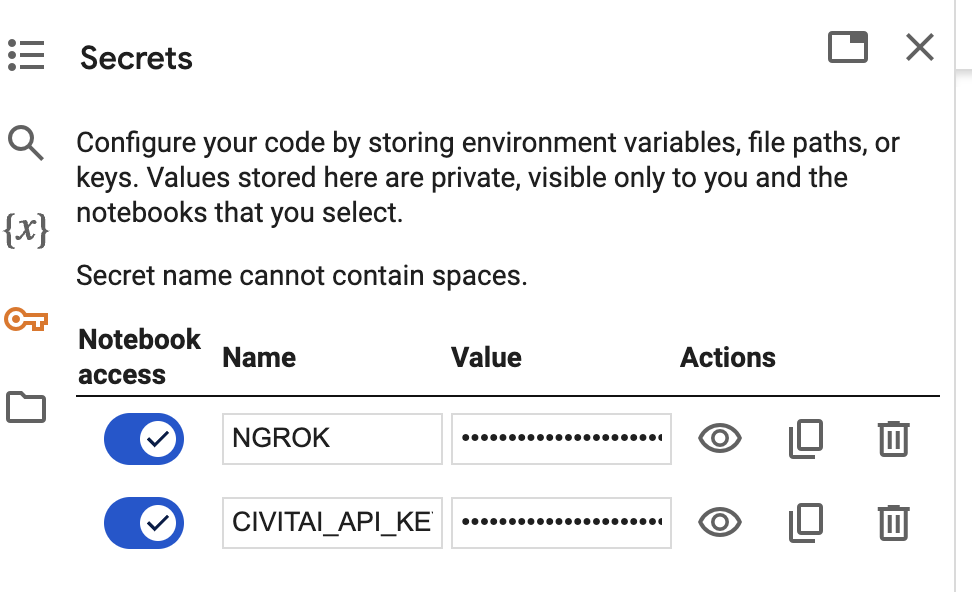
You will need to enable Notebook access for each key like above.
Find and access the ngrok public URL as shown below.

FramePack F1
This notebook supports FramePack F1, which uses historical frames to predict new frames. It creates more motion but could result in lower consistency.
Select FramePack_F1 before starting the notebook. It is a different model download.
I’ve tried to use this with every different GPU available and can’t get it to complete. it will run briefly with L4 and A100 but then says its out of cuda memory. anyone have an idea on what’s going wrong?
I am absolutely thrilled to be a satisfied user of this colab (both the regular one and the F1 version) almost since the time it came it. I modified it a bit to fully utilize the A100 80GB gpu. Results are very good with 10 sec videos generated in around 6-7 minutes.
The prompt sometimes does not follow the motion but generally it does. It can also be used an a T2V generator by using a blank starting image and it does follow the prompt well.
Can we expect a FirstFrame-LastFrame version anytime soon? That would just kill the competition!
Great work Andrew. You da man!
Does FramePack support first frame last frame? Don’t seem to see that in the doc.
Hello! It’s an awesome Notebook. Do you think that you can add the option to upload an image for the last frame? I read that is now possible with Framepack. Thanks!
Its currently only available through the command line. The notebook will have it when the support is added to the gradio demo.
Thanks, Andrew, that’s fixed it
This is a great new development. I used your Colab notebook and it worked pretty well with the L4. I have access to an A100 (40GB). Will see if it improves the overall time. It should in theory. My real test would be to generated a 60 sec video on an A100 and hopefully in less than 30 mins. Will share results here.
Is this available as a comfy workflow yet? I saw some reference elsewhere by haven’t tried so far.
I am glad that you find the notebook useful!
there’s a wrapper but i have not test it https://github.com/kijai/ComfyUI-FramePackWrapper
It is giving me error.I was using T4 gpu.Can you please check
heres the error output:-
https://pastebin.com/gf5sjiAV
I couldn’t make it work on T4 🙁
Thanks, Andrew. I noticed the notebook has a title implying that there was a problem with gradio policies not allowing it to link the session to my personal Google Drive like your other notebooks. If the ngrok tunnel can help that, that would be great.
An update on using TeaCache – I’m finding that if hands are in quick motion, using TeaCache tends to make them blurry, as it does with the regular Hunyuan workflow if I go over about 2x. Perhaps they’ve gone for max speedup in the FramePack approach.
Added ngrok.
Unfortunately, ngrok won’t help the save issue in google drive.
Thanks very much, Andrew, we asked for a notebook and you gave us one 🙂
FramePack seems to work well and with the A100 GPU it was using about 28 of the 40 Gb memory allocation. Your 5 sec test video took about 8 mins without TeaCache and about 4-5 mins with. A 10 sec video took about 8 mins with TeaCache and so far, I haven’t seen any significant reduction in quality using the faster version. This is all really good!
It seems to work with different aspect ratio images as well as the 7:4 you used. I tried using a high res image to give a better final result with the Hunyuan model and that worked well.
A couple of minor suggestions for the notebook: add ngrok (incl secrets) as a channel and add the time taken to complete the prompt.
It will be interesting to see how this develops and whether future versions can be used with ComfyUI and allow other video models.
*and a default save image to /outputs or somewhere, I keep forgetting to save the videos…
Thanks for sharing the stats! I will add ngrok.
The saved videos can be assessed through the file explorer sidebar: /content/FramePack/outputs
Thanks, Andrew,
Ngrok works (although with an error: [ngrok link]has an unkown api call pattern) but the notebook doesn’t seem to – I just see the word “processing” and the time in secs in the top window and nothing else. I’ve got up to 15 mins on L4 and no result.
I’ve not altered any settings, just uploaded an image.
There are no other errors listed on the console, in fact nothing at all after the ngrok error.
More on this. the UI loads with ngrok but doesn’t seem to work – it just indicates processing with a timer and no frames are generated. If I switch back to using gradio, it works fine.
The console indicates this error:
Traceback (most recent call last):
File “/usr/local/lib/python3.10/dist-packages/gradio/queueing.py”, line 616, in process_events api_route_path = route_utils.get_api_call_path(request=body.request)
File “/usr/local/lib/python3.10/dist-packages/gradio/route_utils.py”, line 397, in get_api_call_path raise ValueError(f”Request url ‘{root_url}’ has an unkown api call pattern.”)
ValueError: Request url ‘https://1ee2d077888b.ngrok.app’ has an unkown api call pattern.
Hope that helps
Hi David, fixed pls give it a try